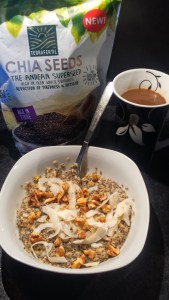
Nutritional Value of Chia Seeds & the Complete Nutrient and Calorie Profile

The nutritional value of chia seeds, the dried seeds of the Salvia hispanica plant, is far superior to most other seeds and nuts. But exactly how many health-benefiting nutrients do these tiny mottled seeds contain?
In this article, we first analyse the nutritional value and calorie count of whole chia seeds. We then present detailed nutrition fact charts which provide data on a whole array of nutrients found in chia, broken by the type of nutrient (macronutrients, vitamins, minerals, and other). For easy comparison with other foods, the charts provide the actual amounts per 100 grams, as well as the percentages of daily values (%DV) per 100 grams. If you need the nutrition facts for chia seeds per 1 tablespoon (tbsp) instead of 100 grams, simply divide each value by 10. For example: A 100-gram serving of chia seeds contains 669 milligrams of calcium – thus, the amount of calcium in 1 tablespoon of chia seeds is 66.9 milligrams.
Nutritional Analysis
How much omega-3 do chia seeds contain?
Chia seeds are at the top of the list of plant-based dietary sources of omega-3 fats, the health promoting essential fatty acids that are touted for their heart health protecting and inflammation fighting properties. Whole chia seeds contain about 18 grams of omega-3 fats per 100 grams, and chia oil contains even more: 55 grams per 100 milliliters (or 1.94 oz per 0.4 US cup). Most of the remaining fatty acids, both in whole chia seeds and in chia oil, are omega-6 fats.
How many calories do they provide?
Chia seeds are calorie-dense, but as the average recommended daily dose is only 2 tablespoons of dried seeds, these little goodies will not contribute that many calories to your diet. Two tablespoons of dried whole chia seeds provide 98 calories. Chia oil is more calorie-dense, with a single tablespoon of chia oil providing a whopping 120 calories, so be sure to use it sparingly.
Do they deliver antioxidants?
Yes, chia seeds are an extremely good source of antioxidants. According to a research paper by Dolores Alvardado from the University of the Valley of Guatemala, chia seeds have an antioxidant rating of over 1900, expressed as Vitamin C Equivalent Antioxidant Capacity (milligrams of vitamin C per 100 grams). With this antioxidant rating, chia seeds beat many common food sources of antioxidants including blackberries, grapes, pineapple, mango, noni fruit and carambola. Nutrients and phytochemicals that contribute to the antioxidant capacity of chia seeds include flavonoids (such as quercetin, myricetin, kaempferol), phenolic acids (such as caffeic acid), lignin (don’t confuse this with lignan which is a phytoestrogen found in flaxseed), and vitamins C and E.
Are chia seeds a good source of minerals?
Chia seeds are an excellent source of minerals. They are a particularly good source of the calcium-magnesium combo, which is needed for strong bones and a healthy nervous system. Two tablespoons of chia seeds will provide you with 13% of the daily value for calcium and 18% of the daily value for magnesium. Other minerals that are abundant in chia seeds include copper, iron, manganese, phosphorus and zinc (for details, see the Chia Nutrient Facts tables at the end of this article). Chia seeds are not a good source of sodium.
What are the key vitamins found in chia?
Chia seeds are a very good dietary source of vitamin B1 (thiamin) and vitamin B3 (niacin). Both thiamin and niacin are involved in biochemical processes that enable the body to metabolize carbohydrates, fats and amino acids (protein). In addition, thiamin and niacin, along with other B vitamins, play an important role in maintaining a healthy nervous system and healthy hair.
How much fiber do chia seeds provide?
Chia seeds are an excellent source of fiber which, along with their significant omega-3 content, contributes to the widely touted cardiovascular benefits of these powerhouse seeds. The total fiber content of dried chia seeds is around 38 percent, and the soluble fiber content is around 5 percent.
Nutrition Charts

Nutrition facts for whole dried chia seeds (Salvia hispanica) are provided per 100 grams (or 490 calories) in the charts below. The data below include both the absolute amount and the percent daily value for each nutrient. Note that nutritional values of foods are always estimates as numerous factors – such as the time of harvest, nutrient density of the soil, and weather conditions – can have a significant impact on the nutrient profile of a crop.
| Macronutrient |
Amount per 100g |
% Daily Value |
| Water |
4 g |
NA |
| Protein |
16 g |
31 % |
| Fat |
31 g |
NA |
| Carbohydrates |
44 g |
15 % |
| Fiber |
38 g |
151 % |
| Vitamin |
Amount per 100g |
% Daily Value |
| Vitamin A Equiv. |
30 IU |
NA |
| Thiamin (B1) |
0.8 mg |
53 % |
| Riboflavin (B2) |
0.05 mg |
3 % |
| Niacin (B3) |
8.6 mg |
43 % |
| Pyridoxine (B6) |
0.1 mg |
5 % |
| Cobalamin (B12) |
0.1 mcg |
2 % |
| Vitamin C |
3.7 mg |
6 % |
| Vitamin E |
0.74 mg |
4 % |
| Mineral |
Amount per 100g |
% Daily Value |
| Calcium (Ca) |
669 mg |
67 % |
| Copper (Cu) |
1.37 mg |
69 % |
| Iron (Fe) |
8 mg |
45 % |
| Magnesium (Mg) |
360 mg |
90 % |
| Manganese (Mn) |
2.2 mg |
110 % |
| Phosphorus (P) |
766 mg |
77 % |
| Potassium |
712 mg |
20 % |
| Sodium (Na) |
10.7 mg |
< 1 % |
| Zinc (Zn) |
3.5 mg |
23 % |
| Substance |
| Caffeic acid |
(✔) |
| Gluten (chia is gluten-free) |
|
| Lignin |
✔ |
| Myricetin |
✔ |
| Omega-3 fatty acids |
✔ |
| Quercetin |
✔ |
Source: http://www.healwithfood.org/nutrition-facts/chia-seeds-value.php?utm_campaign=VIP+281+-+Organic+Chia+Seeds+1kg+over+%3F20+%28mm7rAC%29&utm_medium=email&_ke=a2FyZW5jXzFAaG90bWFpbC5jby51aw%3D%3D&utm_source=VIP+Weekly#ixzz3znLamlQN


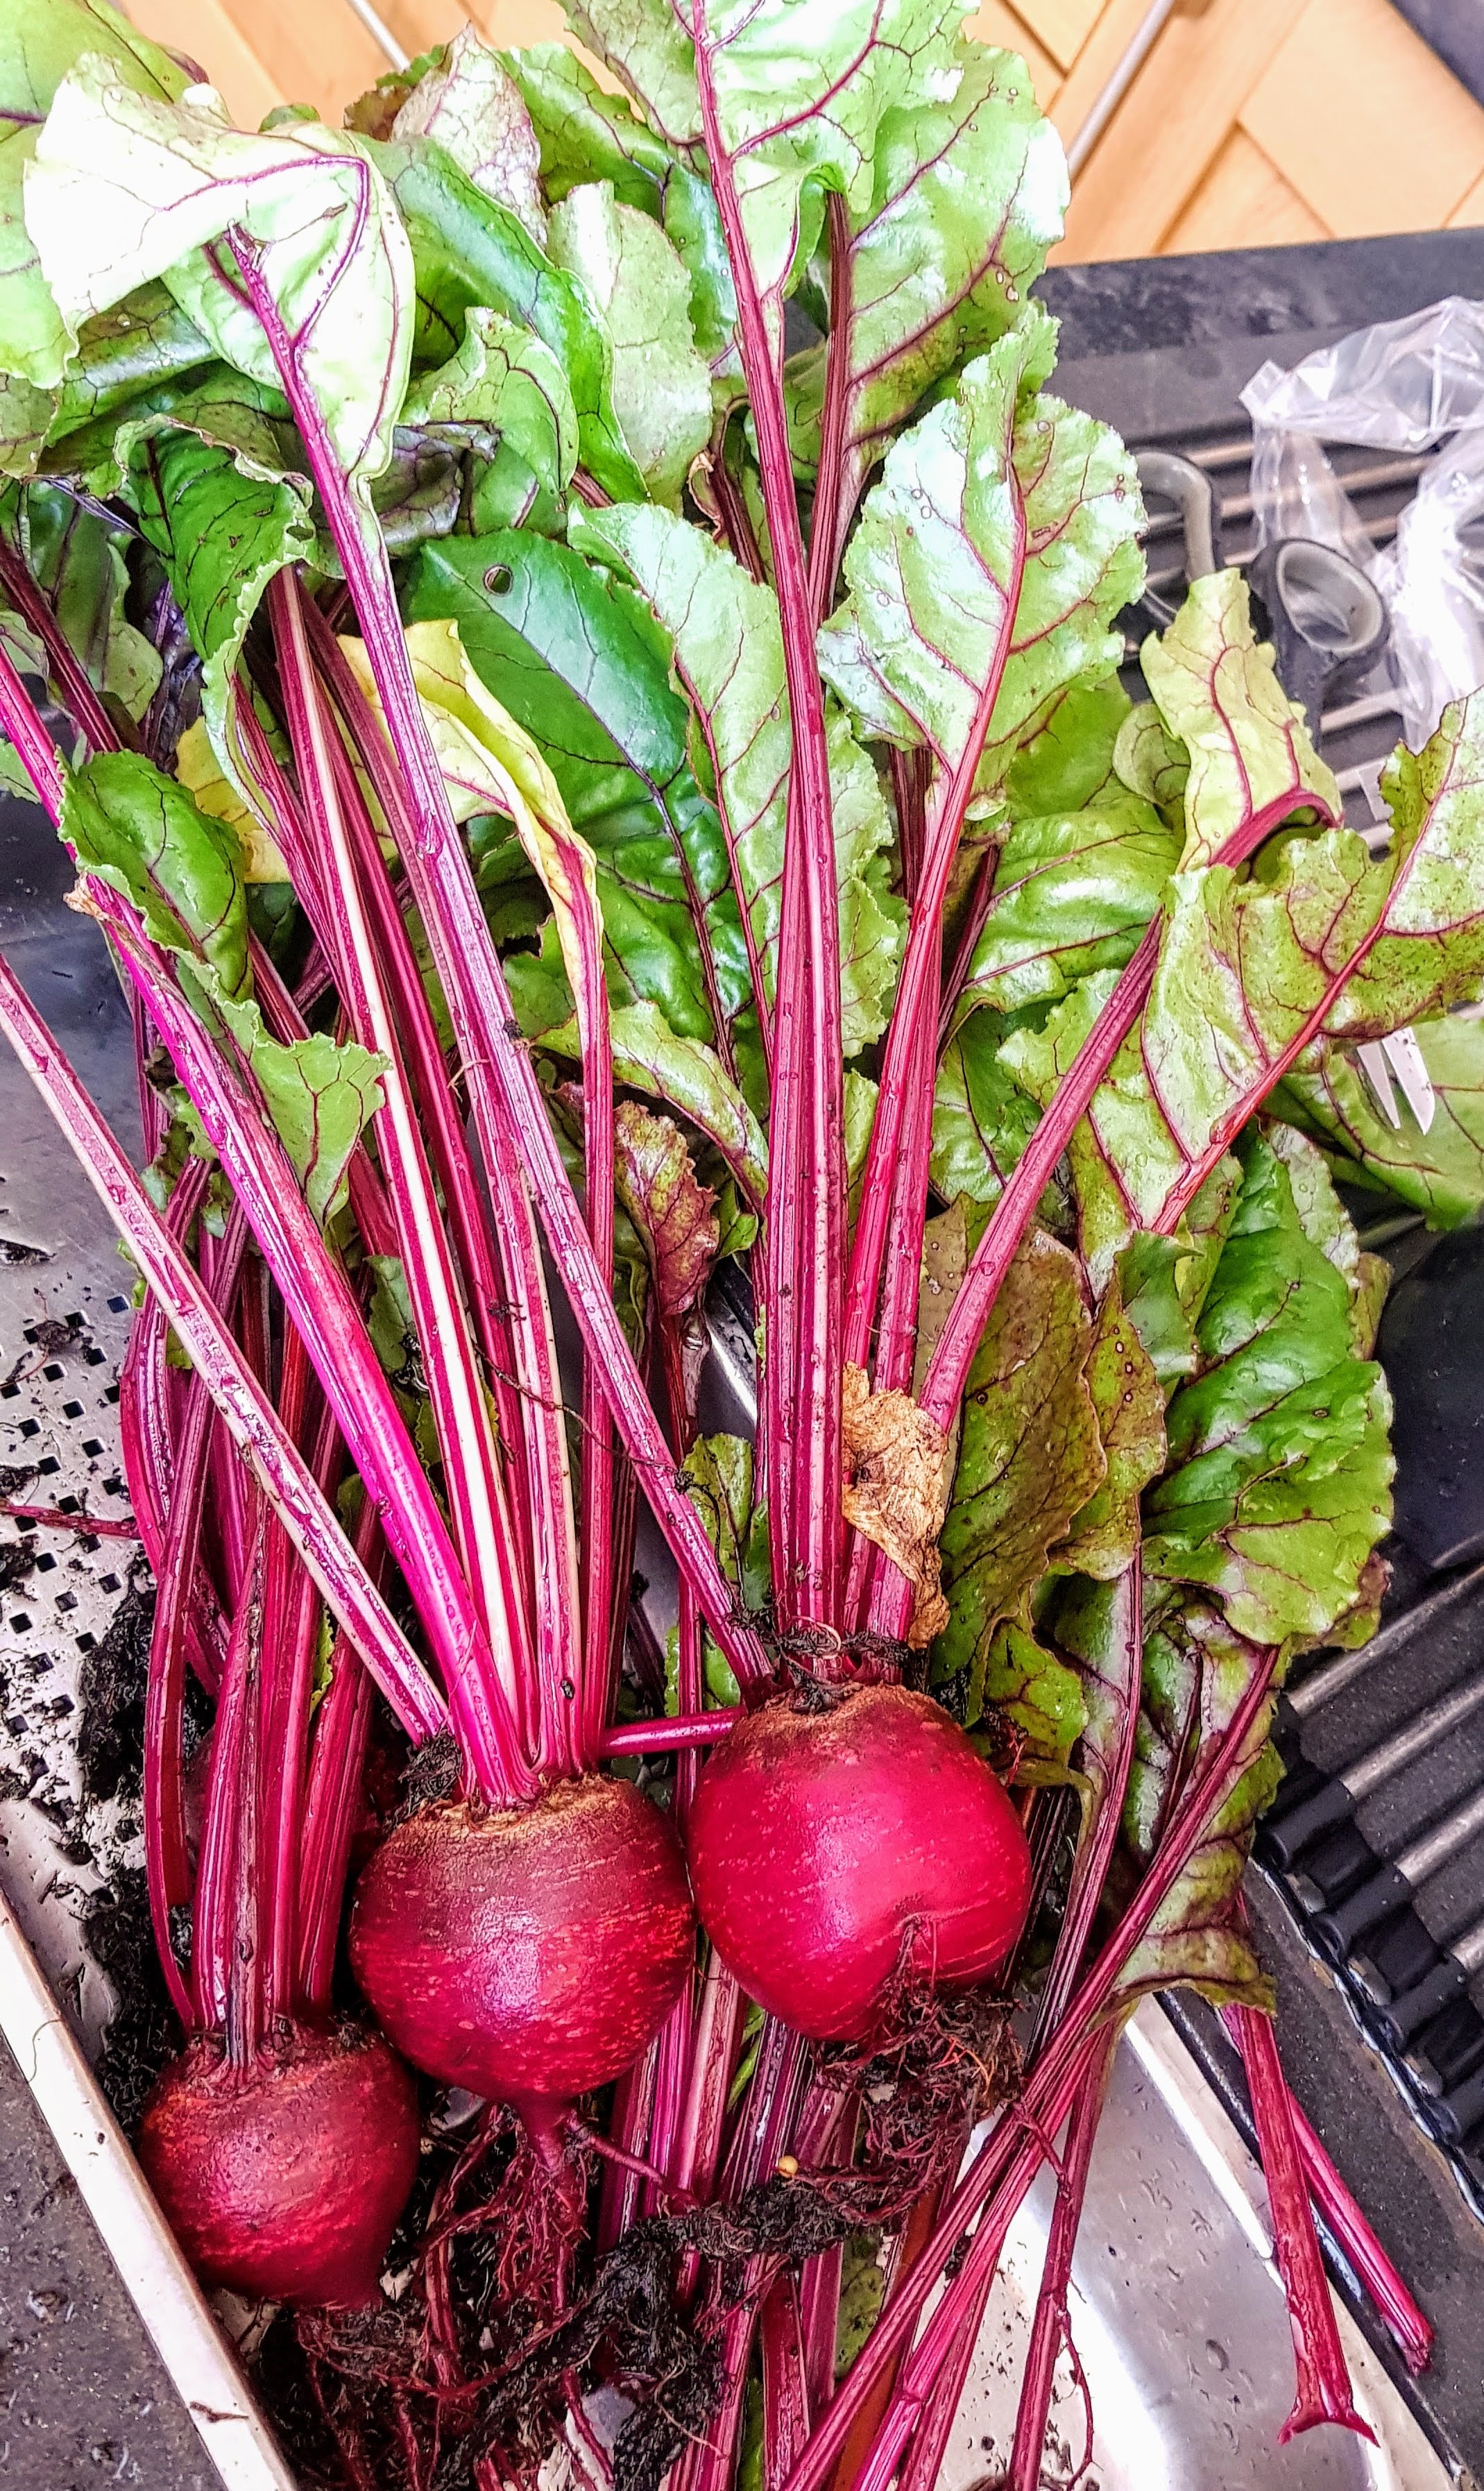


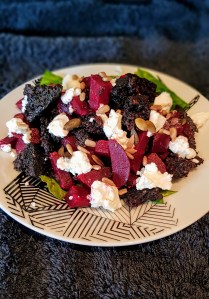


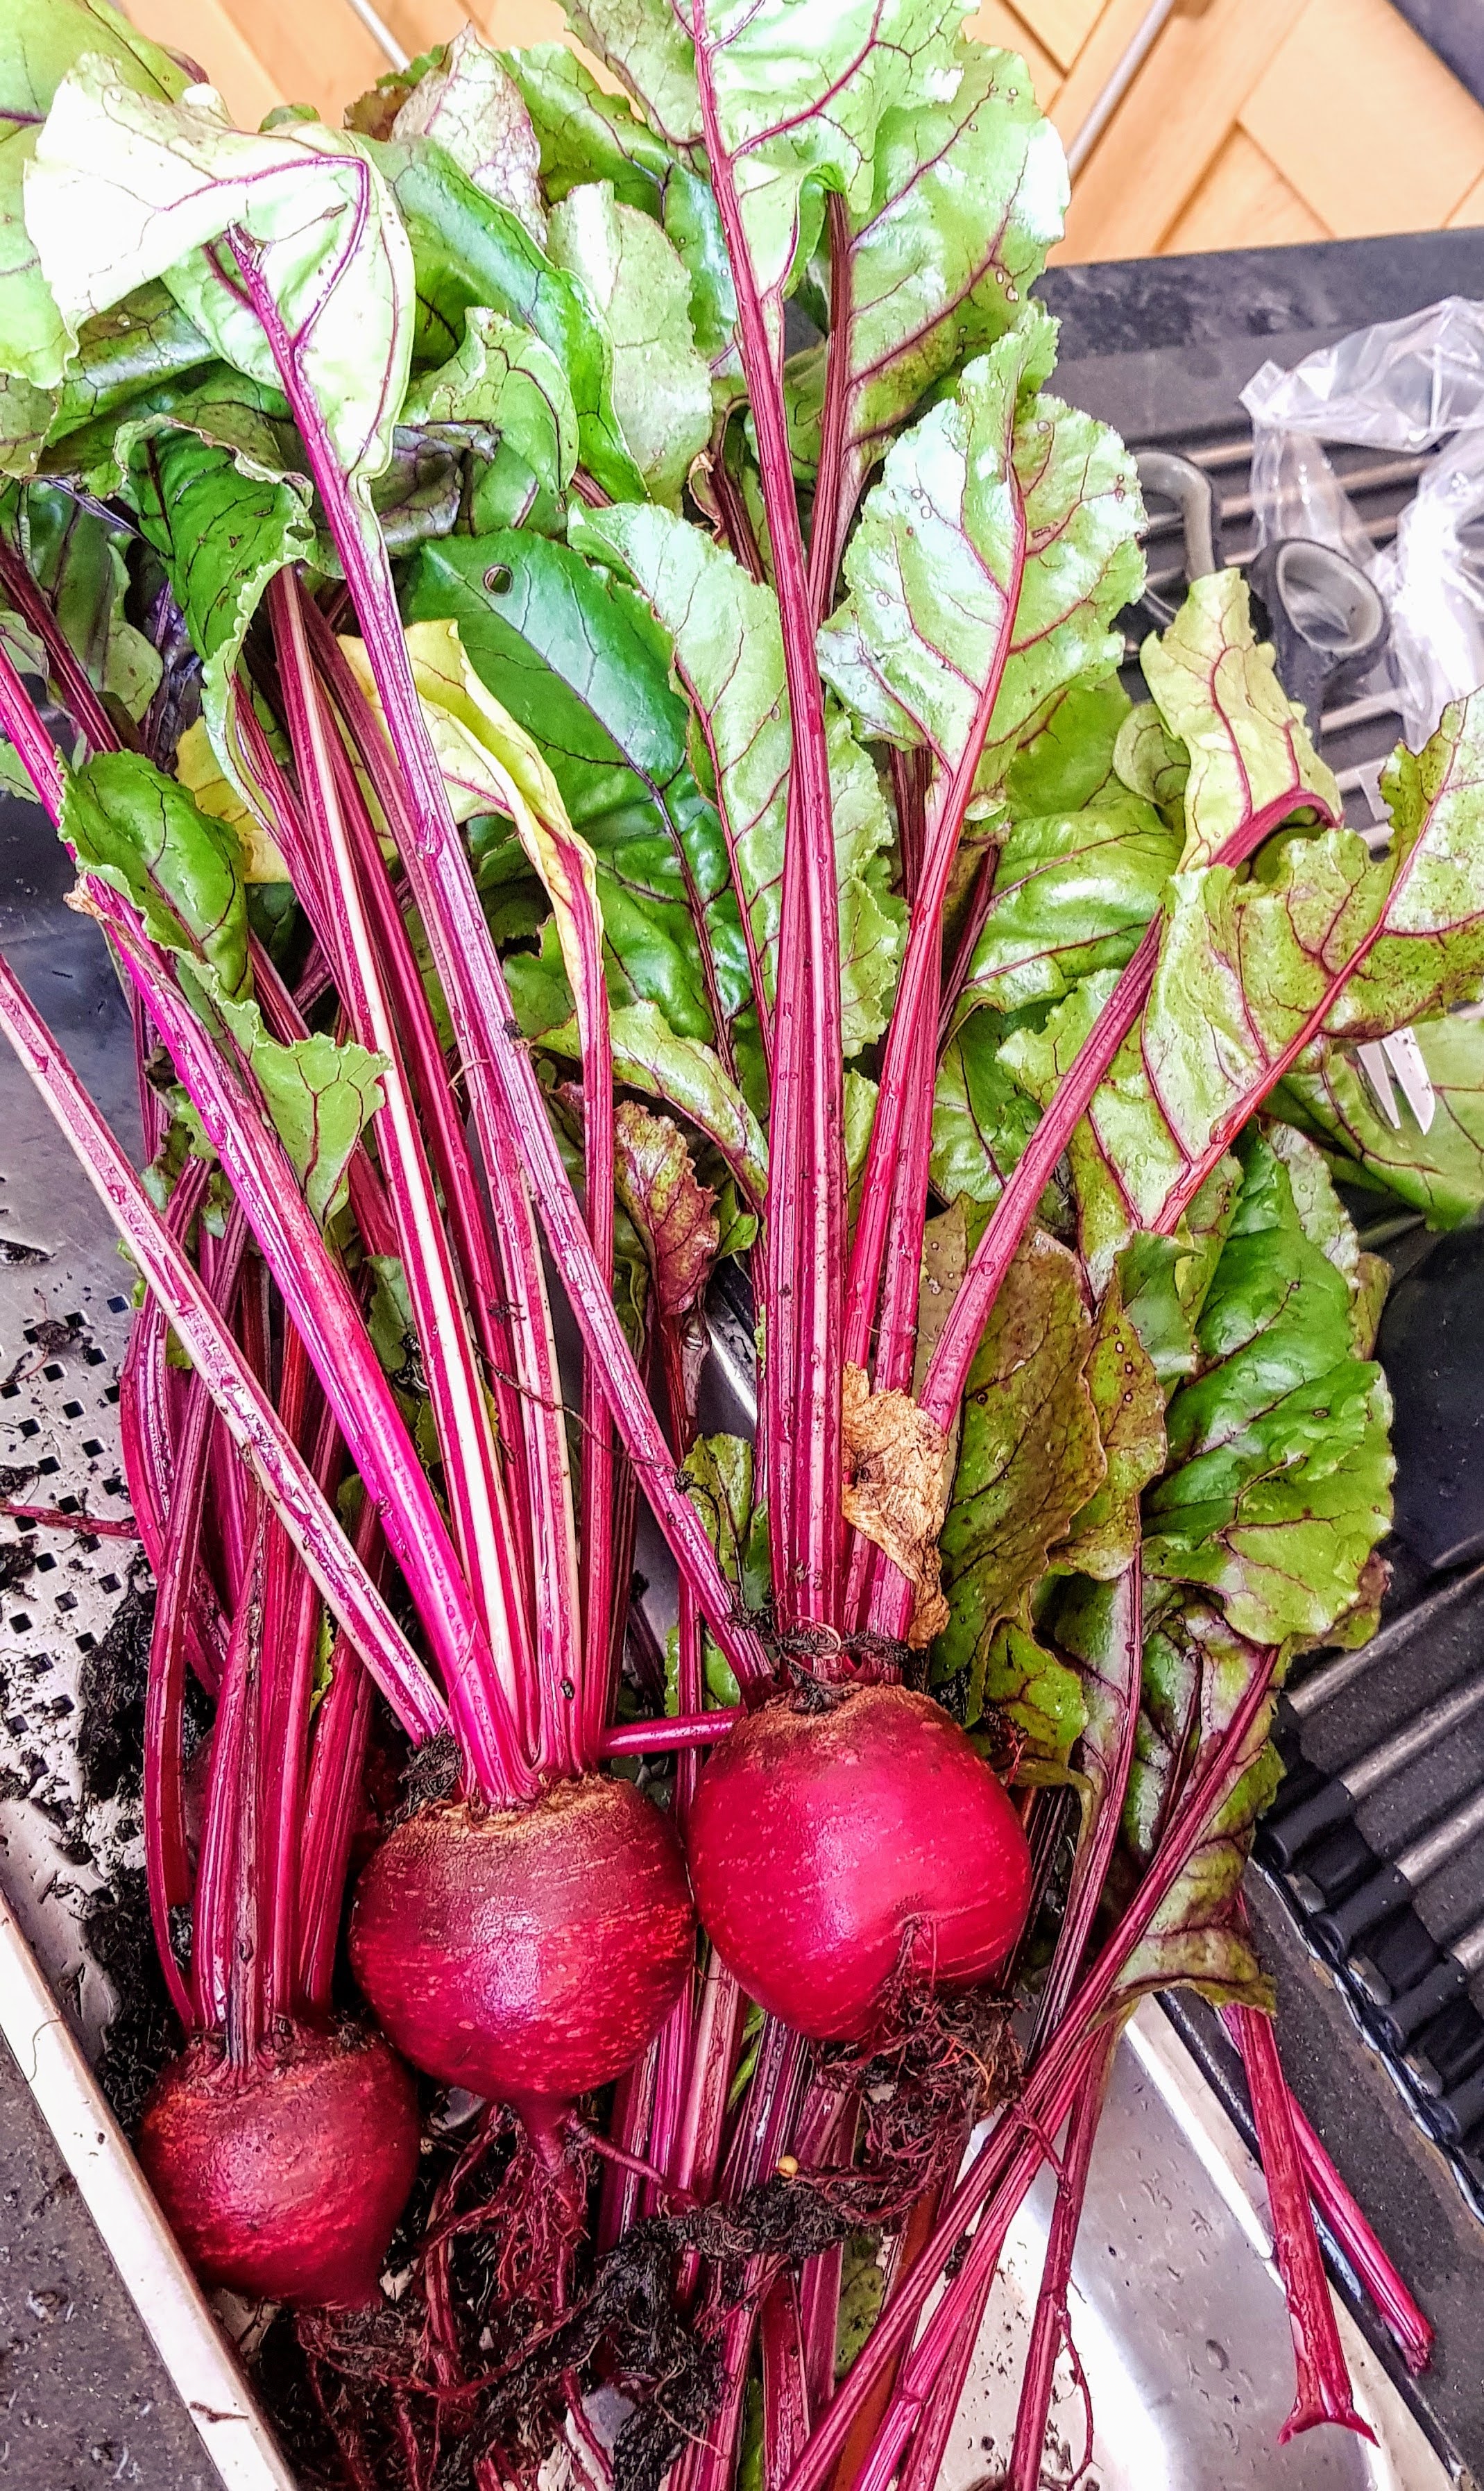


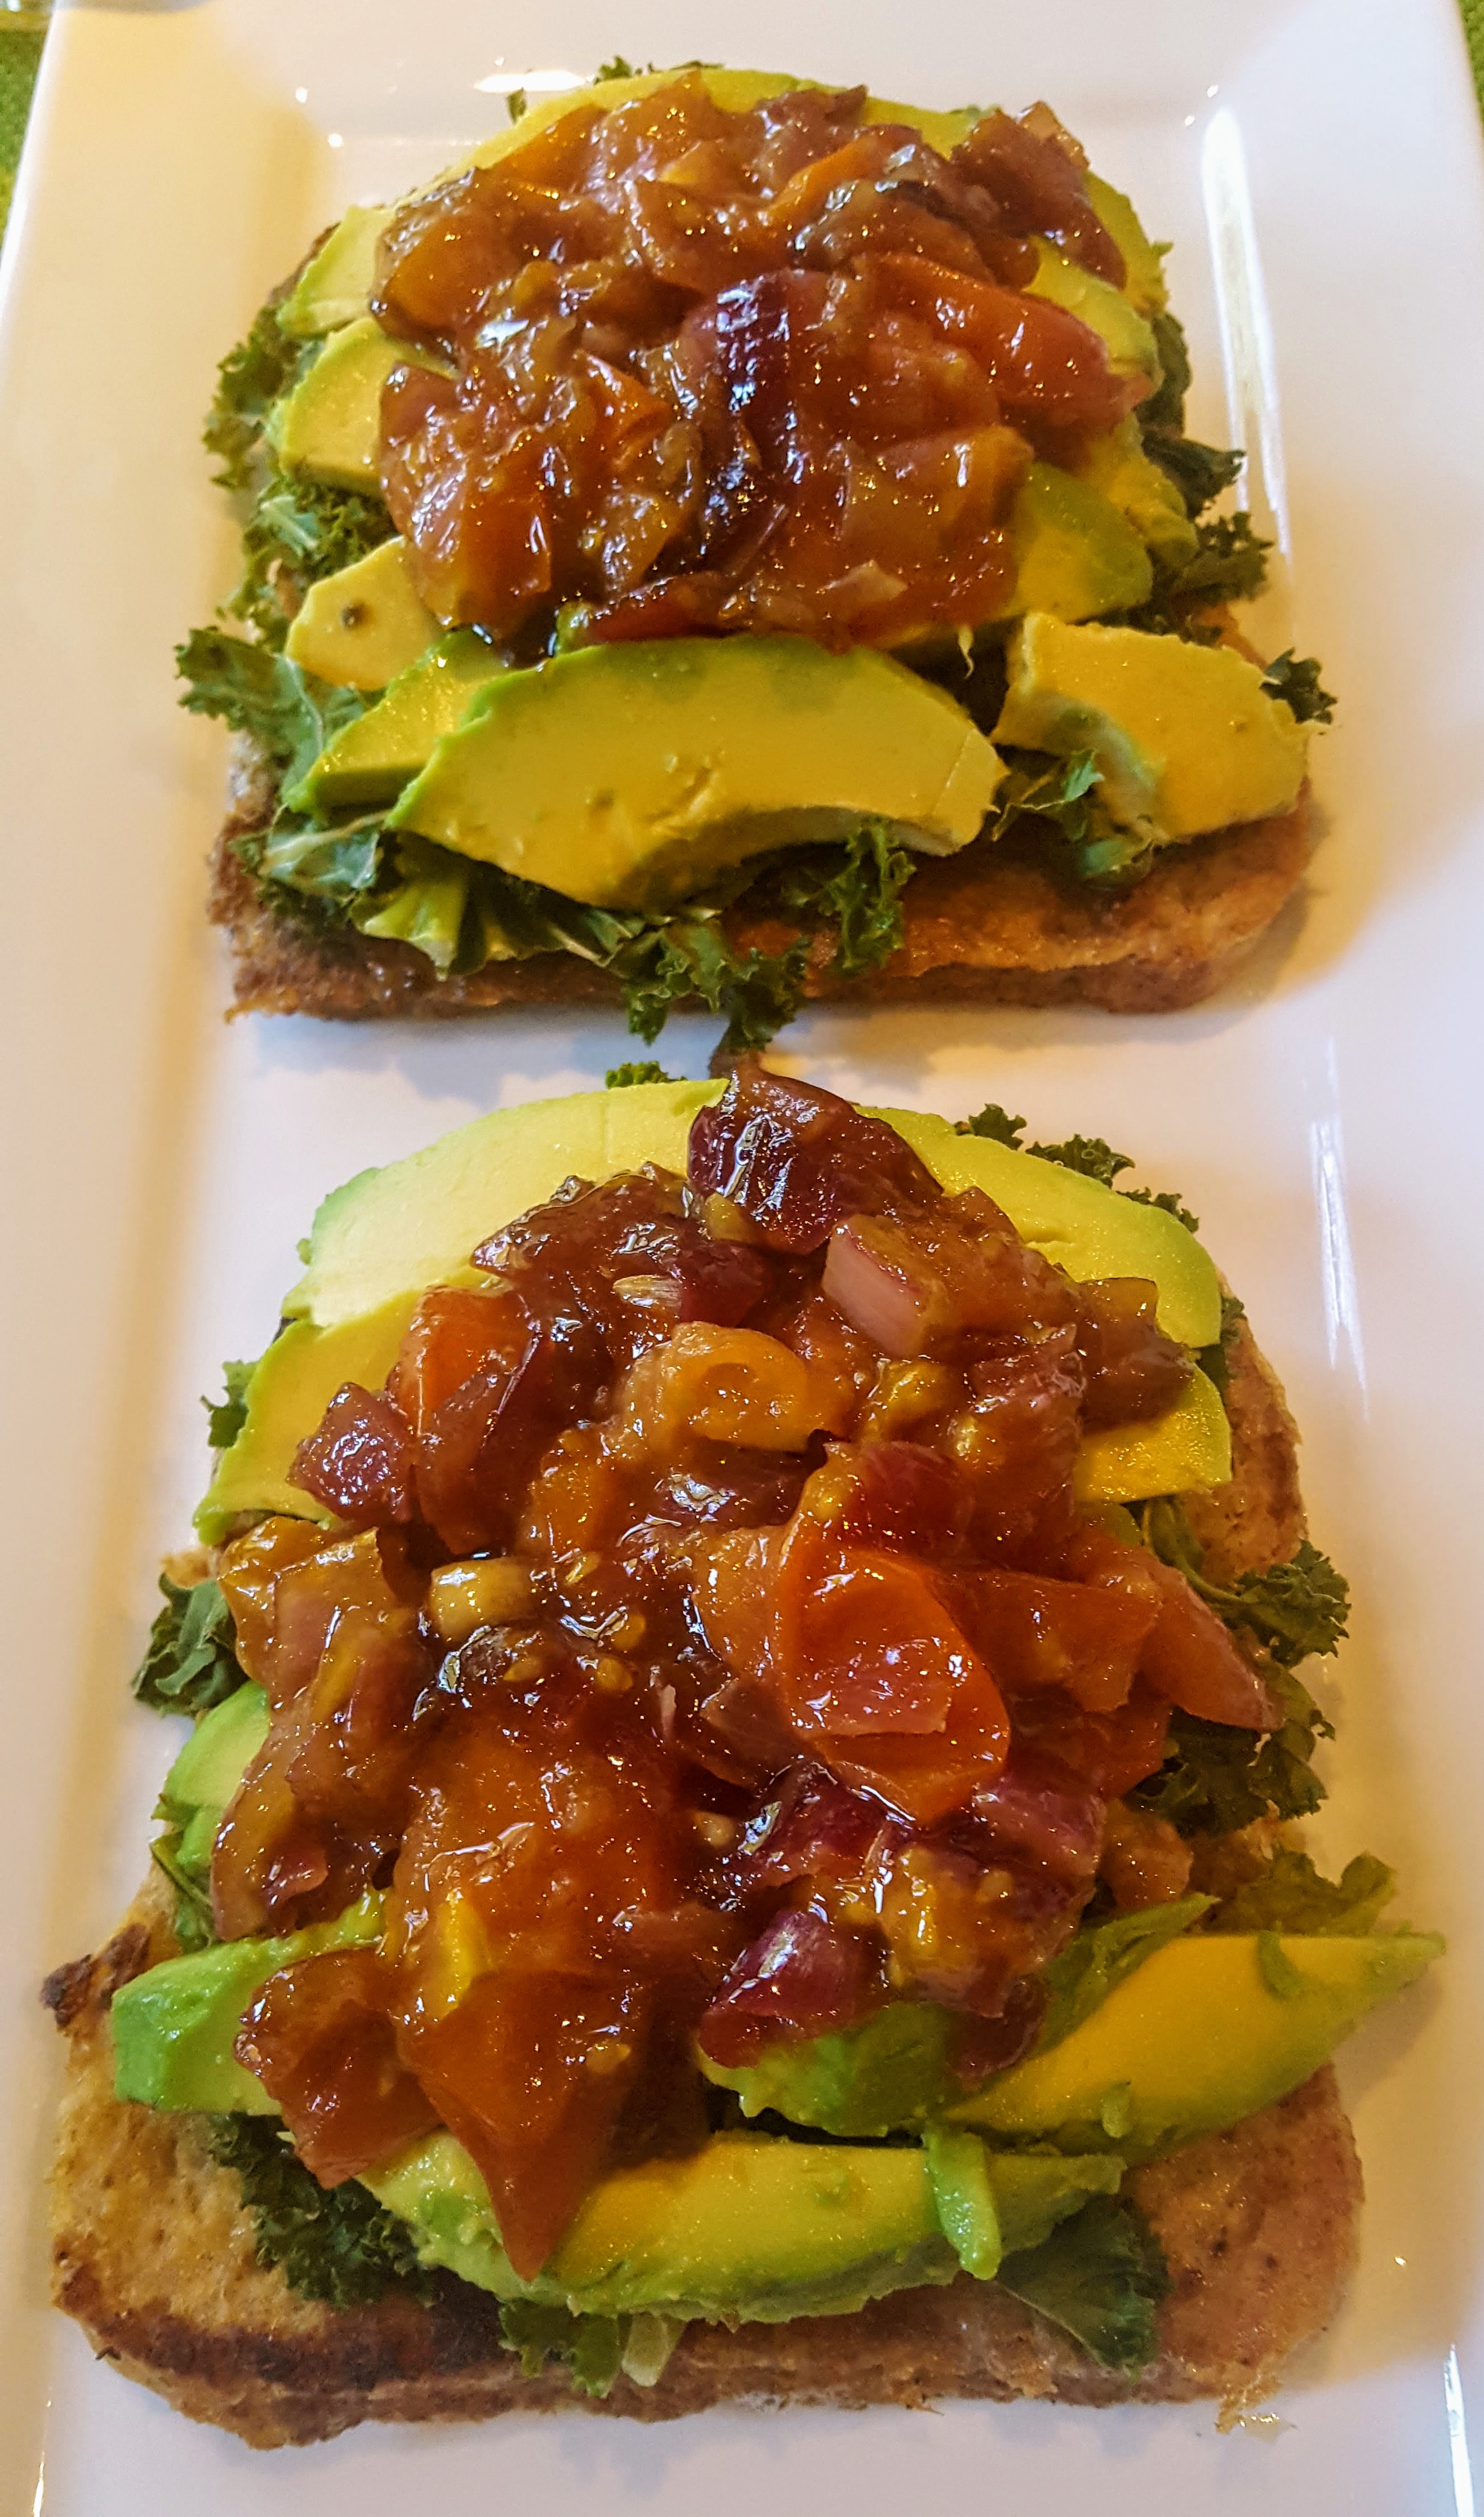


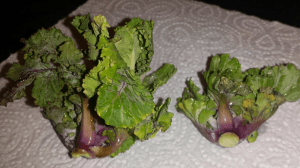
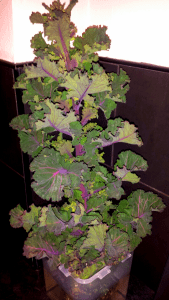
 Red Russian Kale.


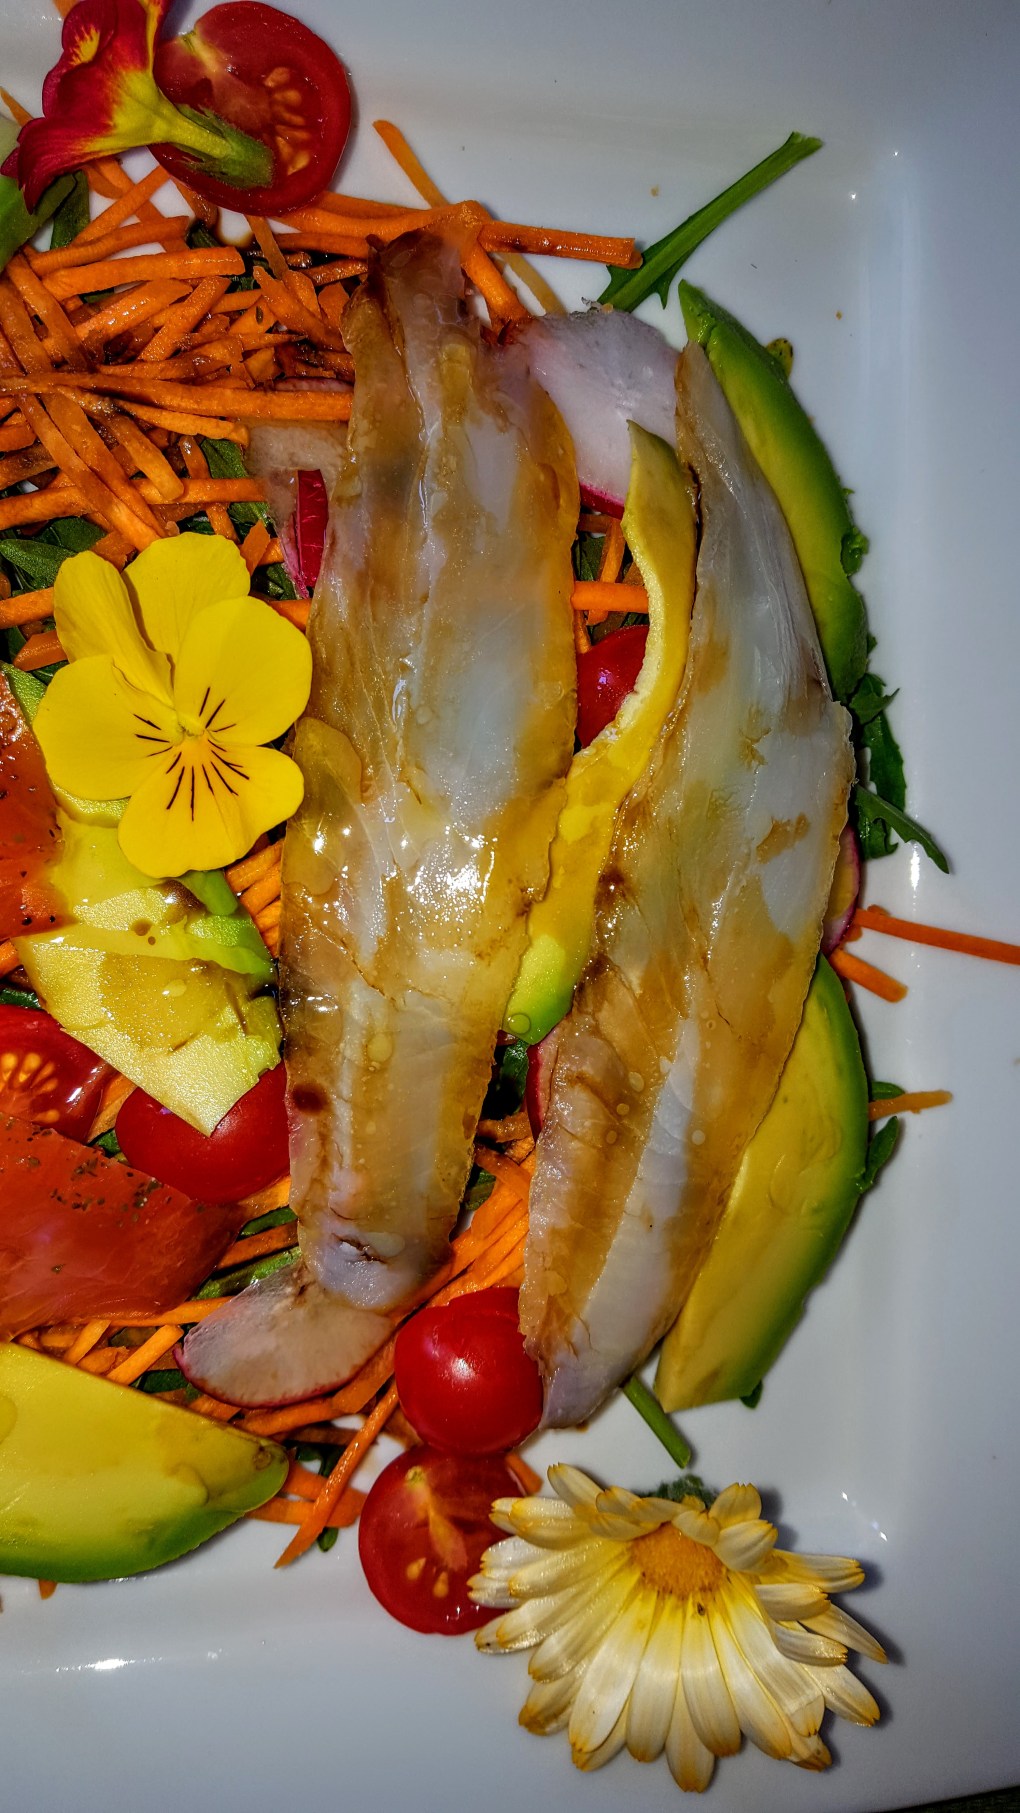


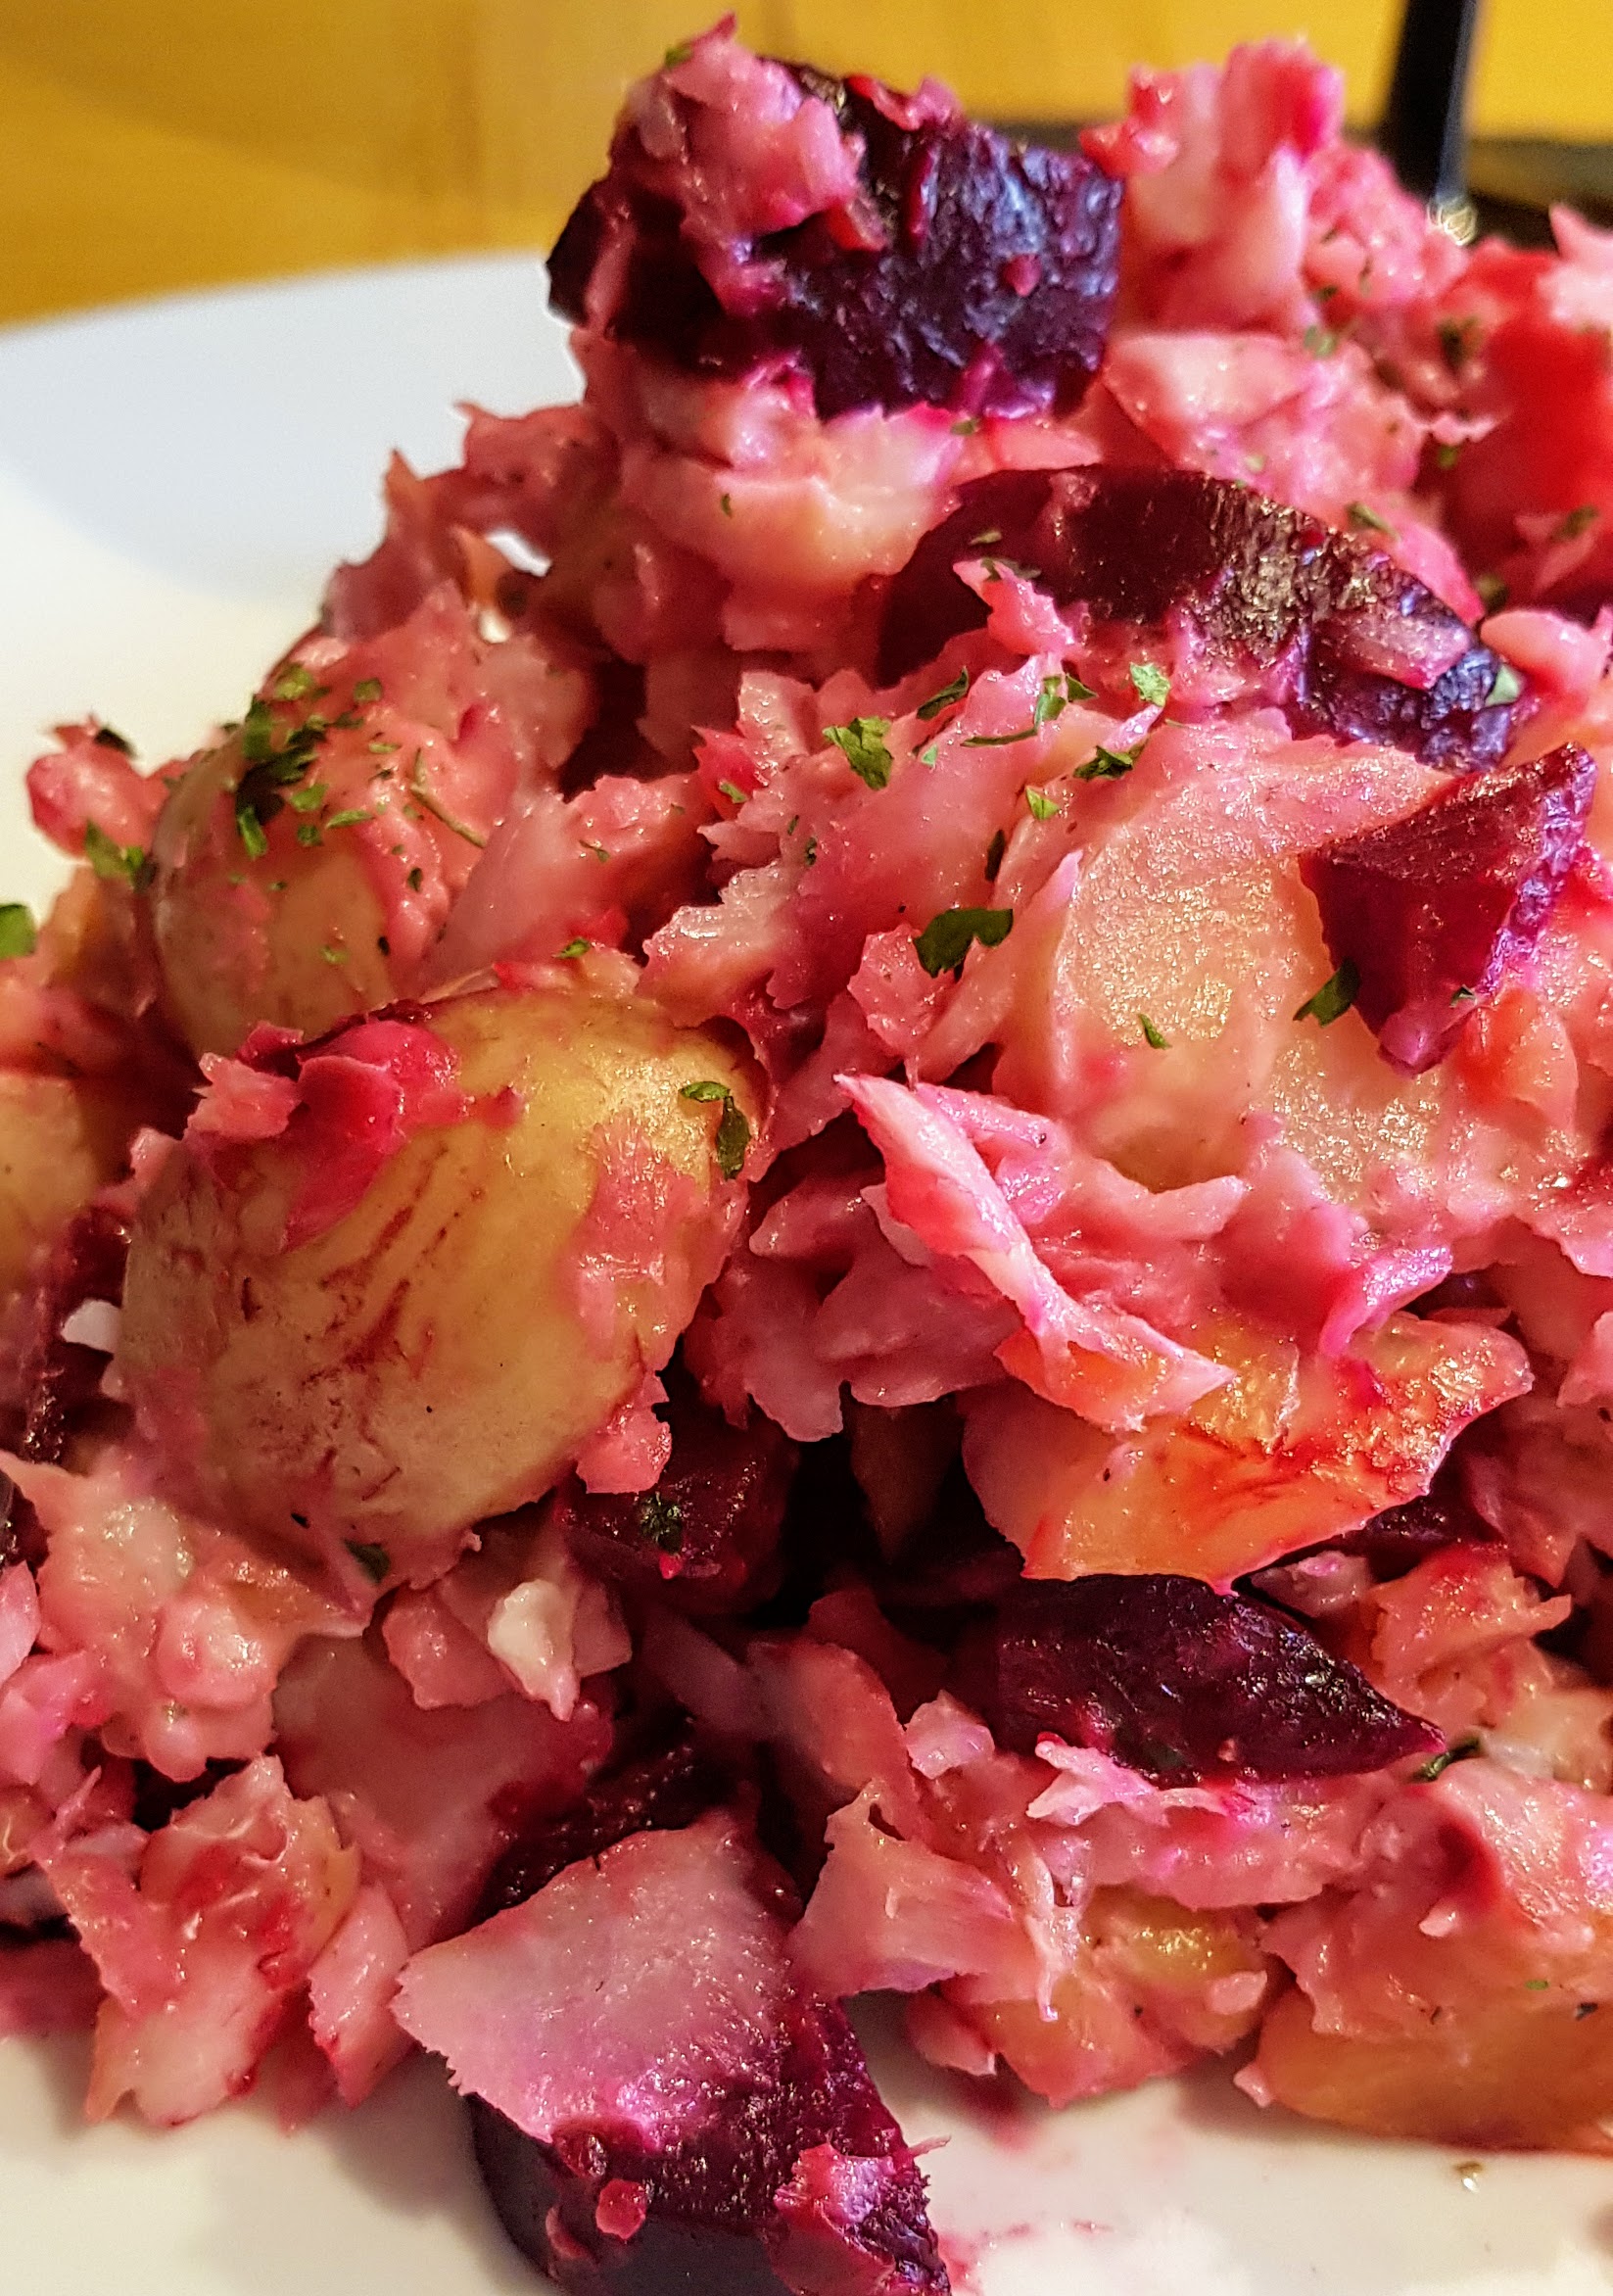
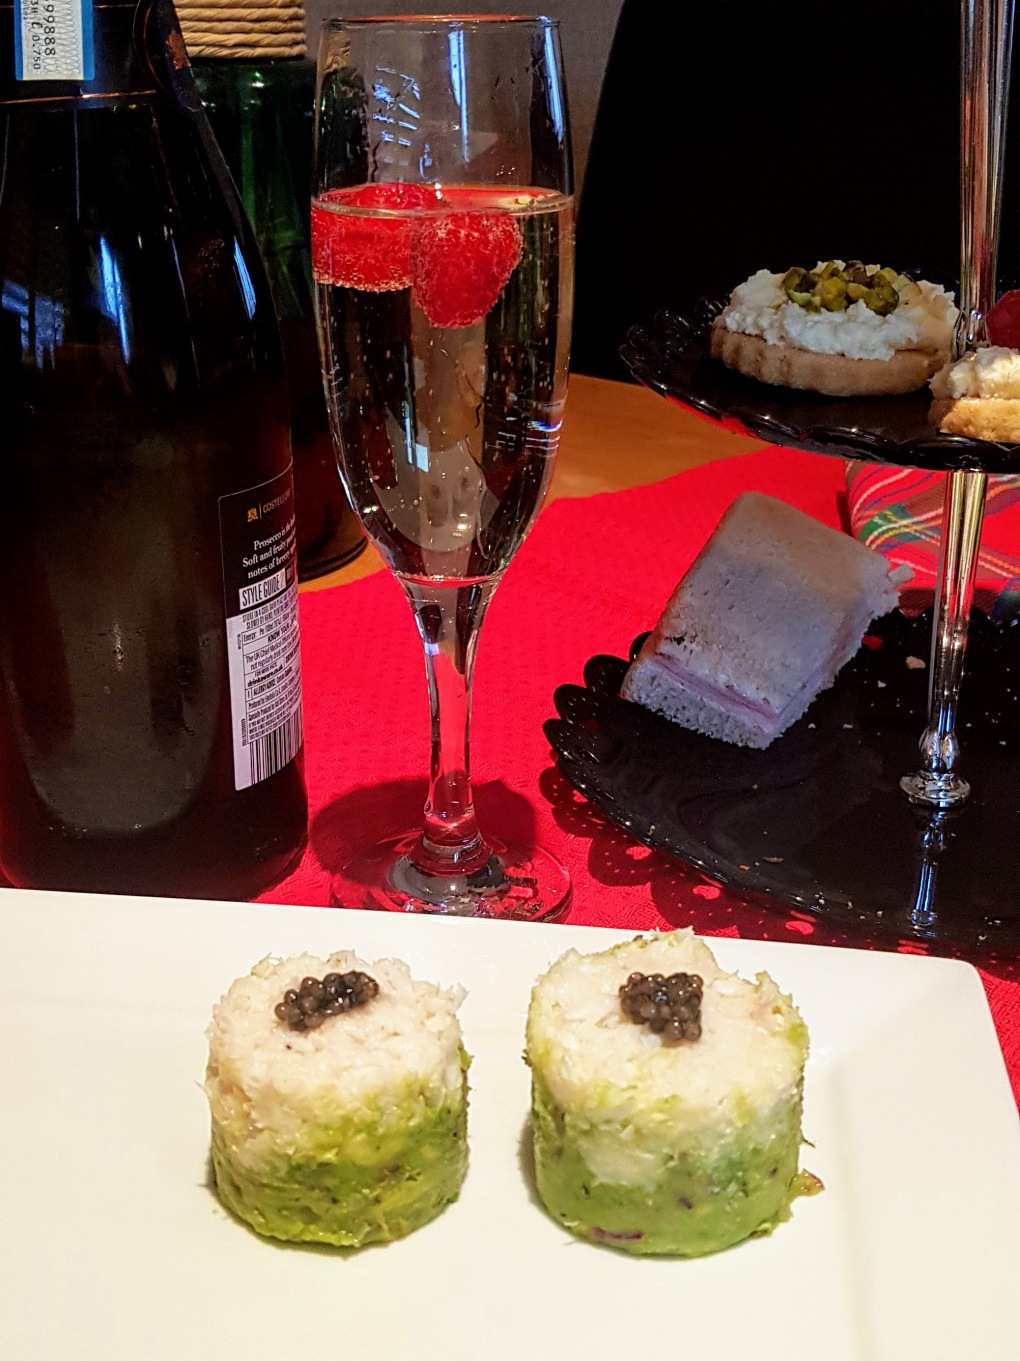
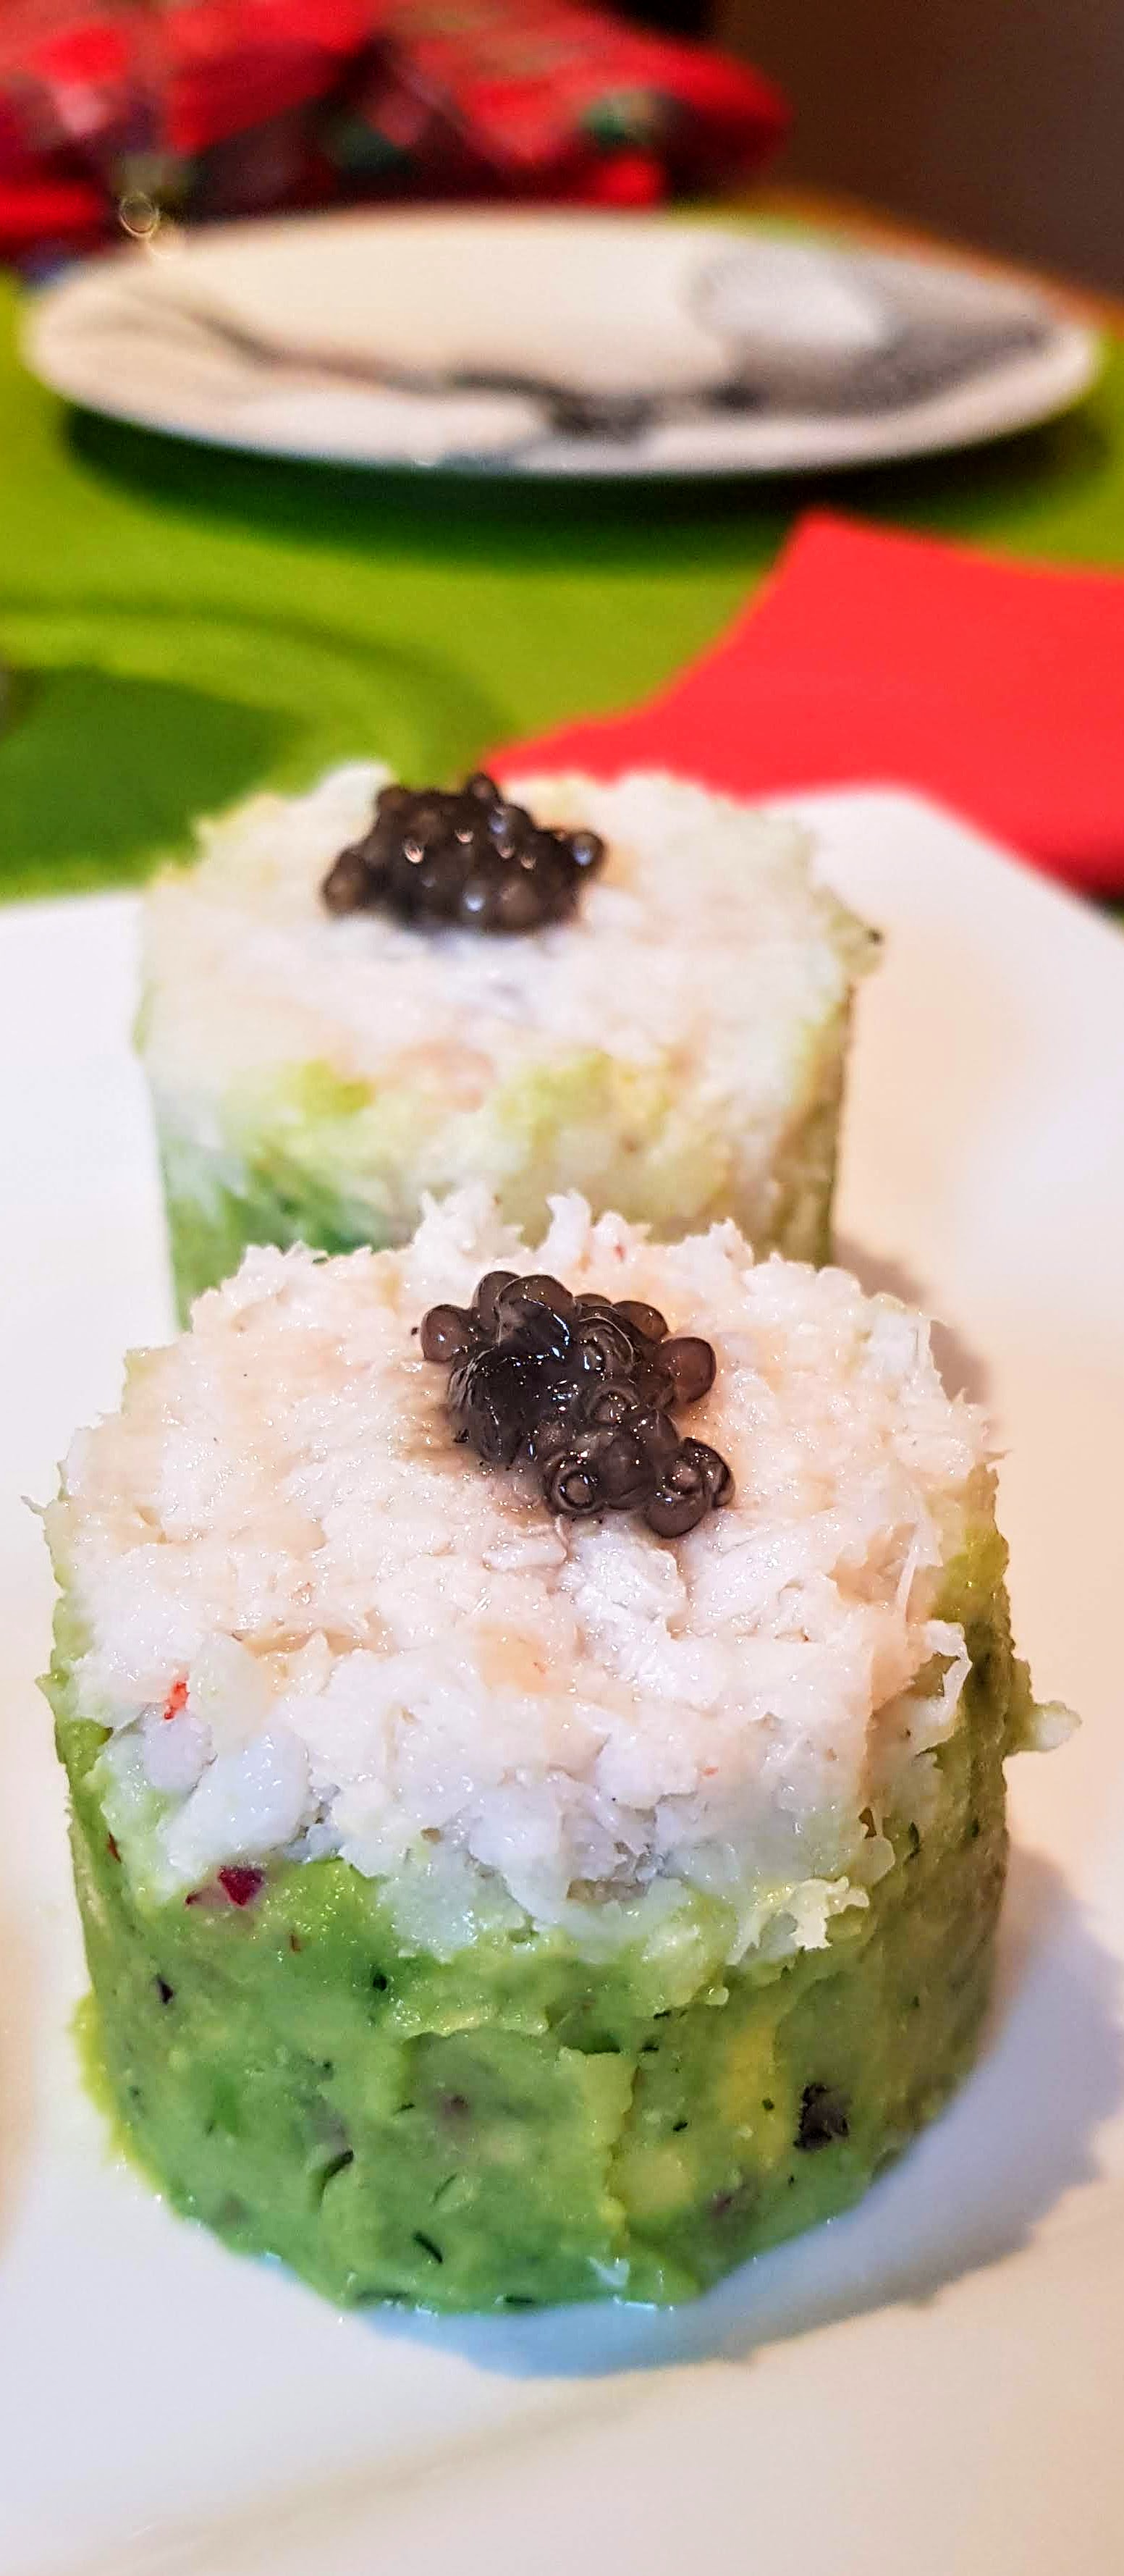
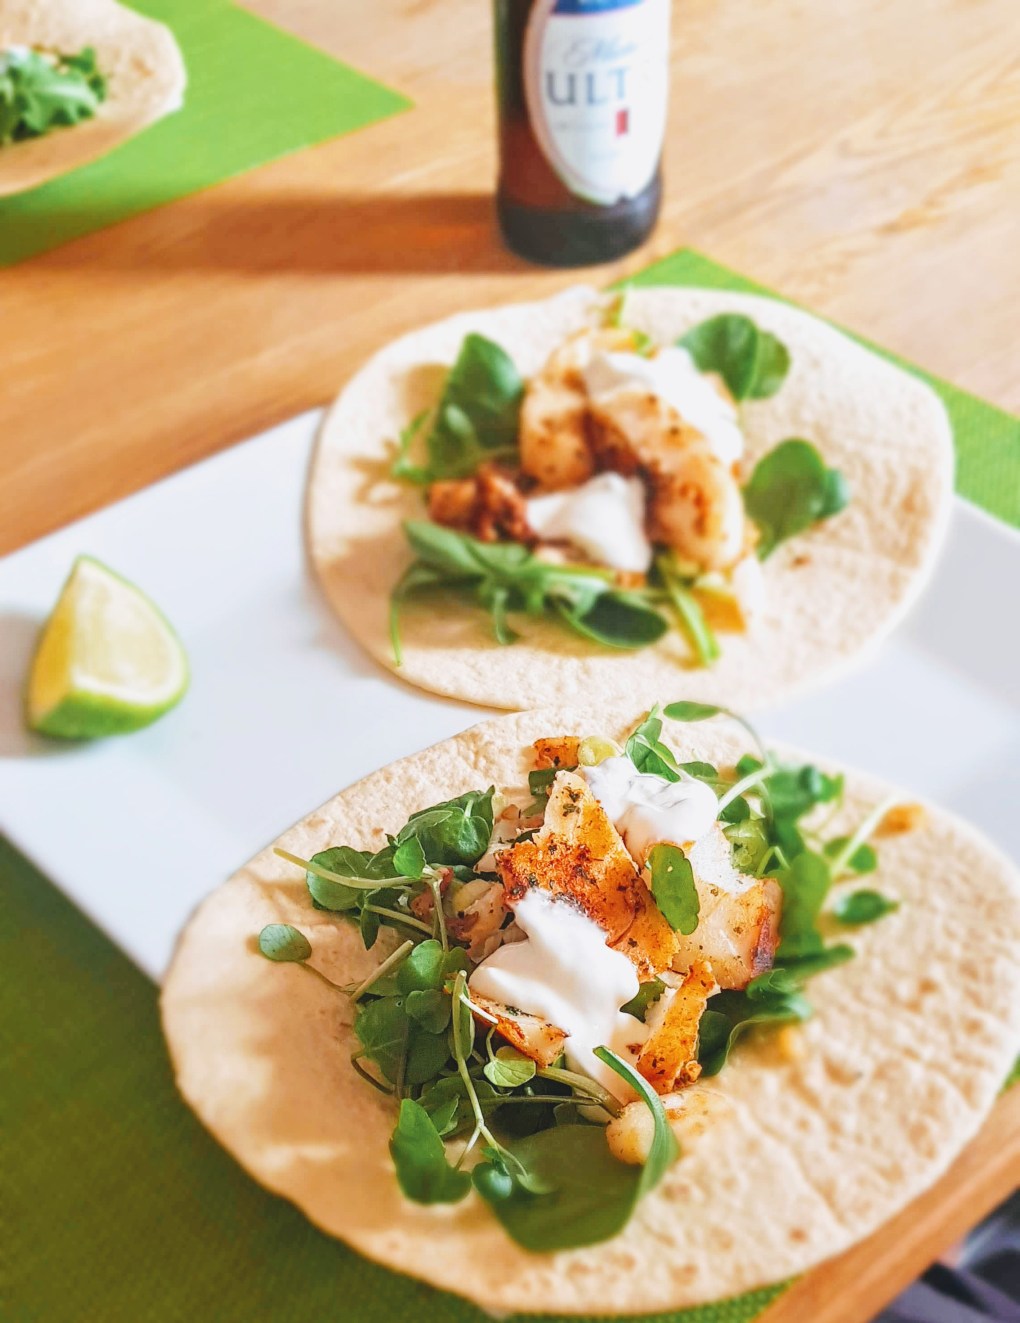
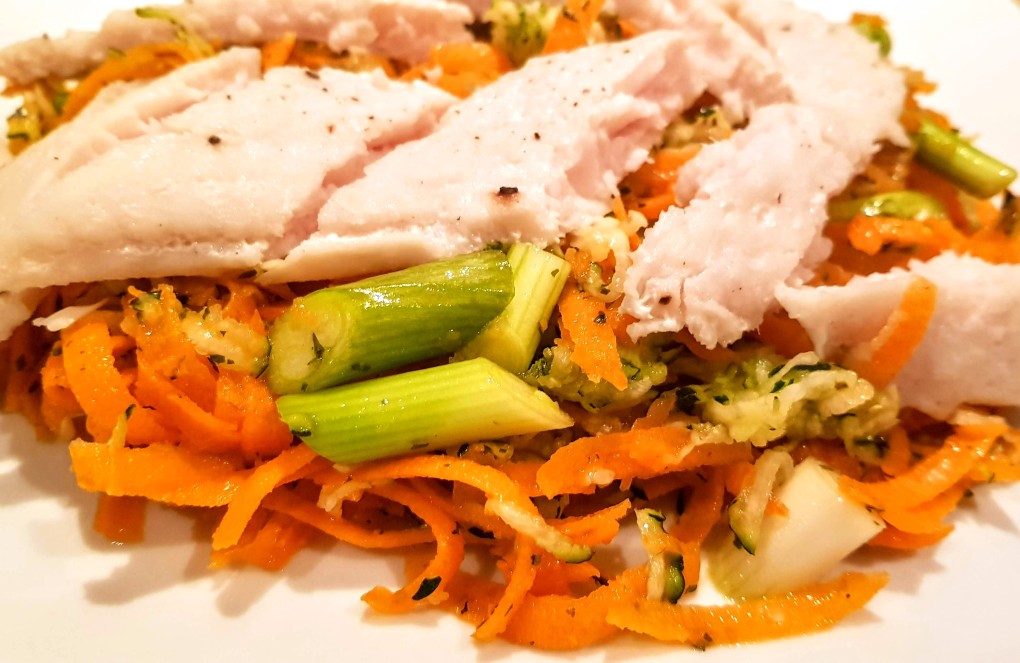
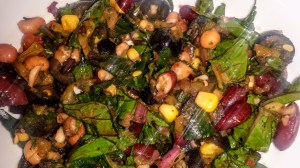
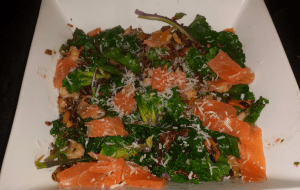
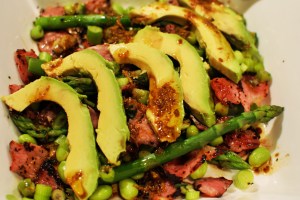
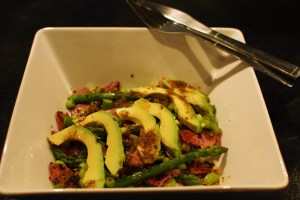
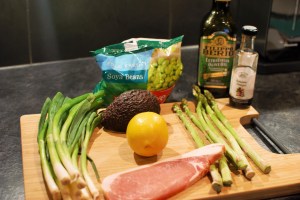
 Smoked Halibut Salad
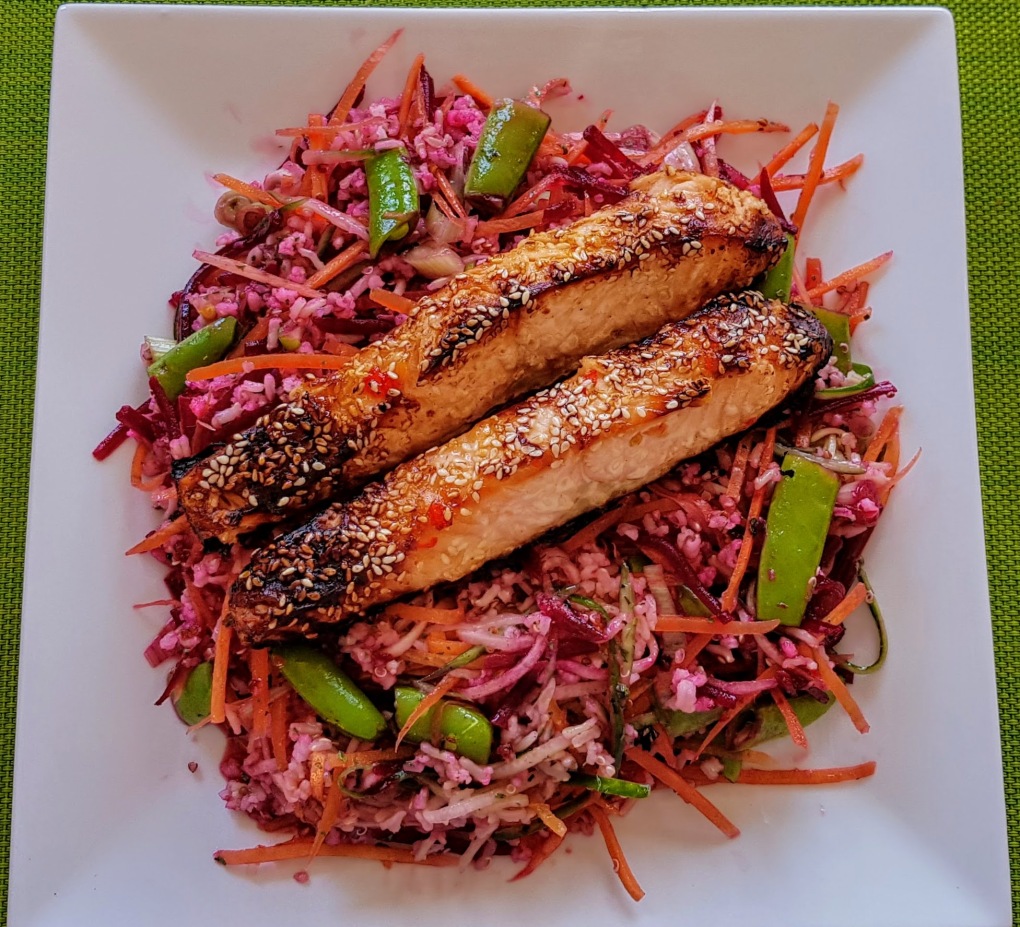
 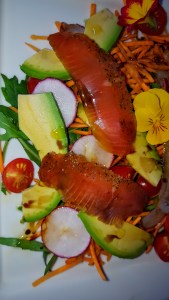 Smoked Salmon Salad


You must be logged in to post a comment.