


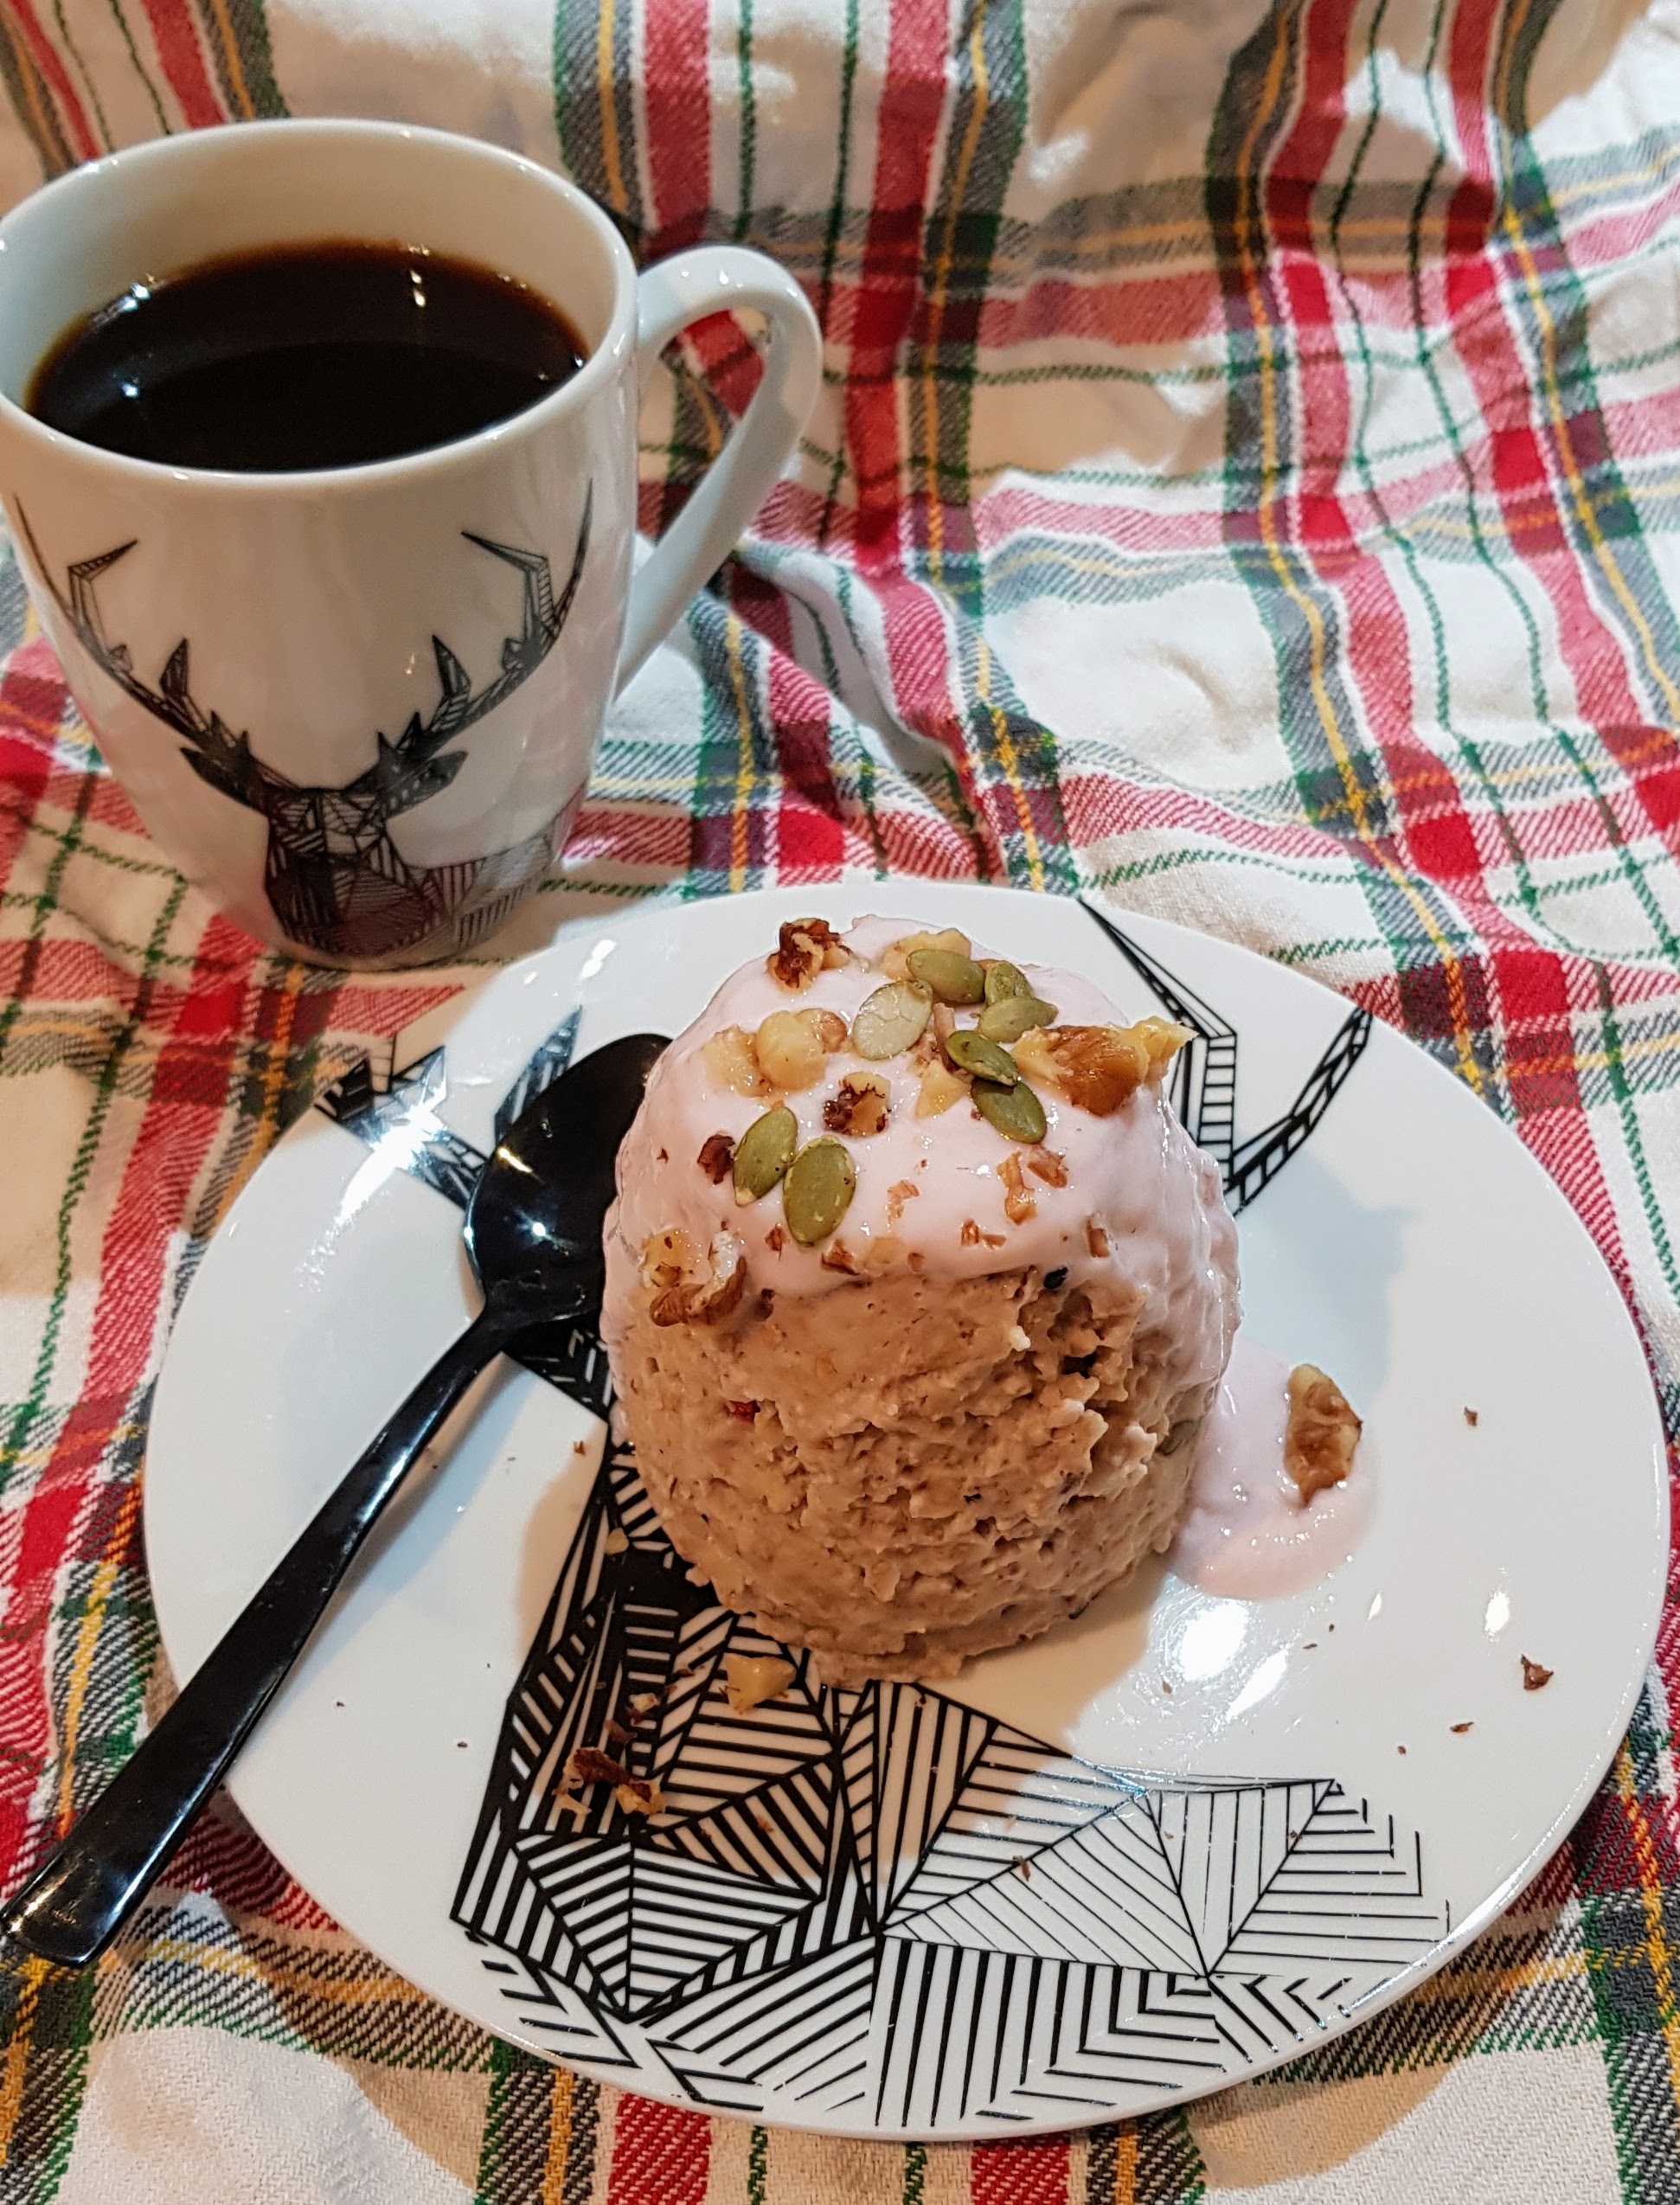
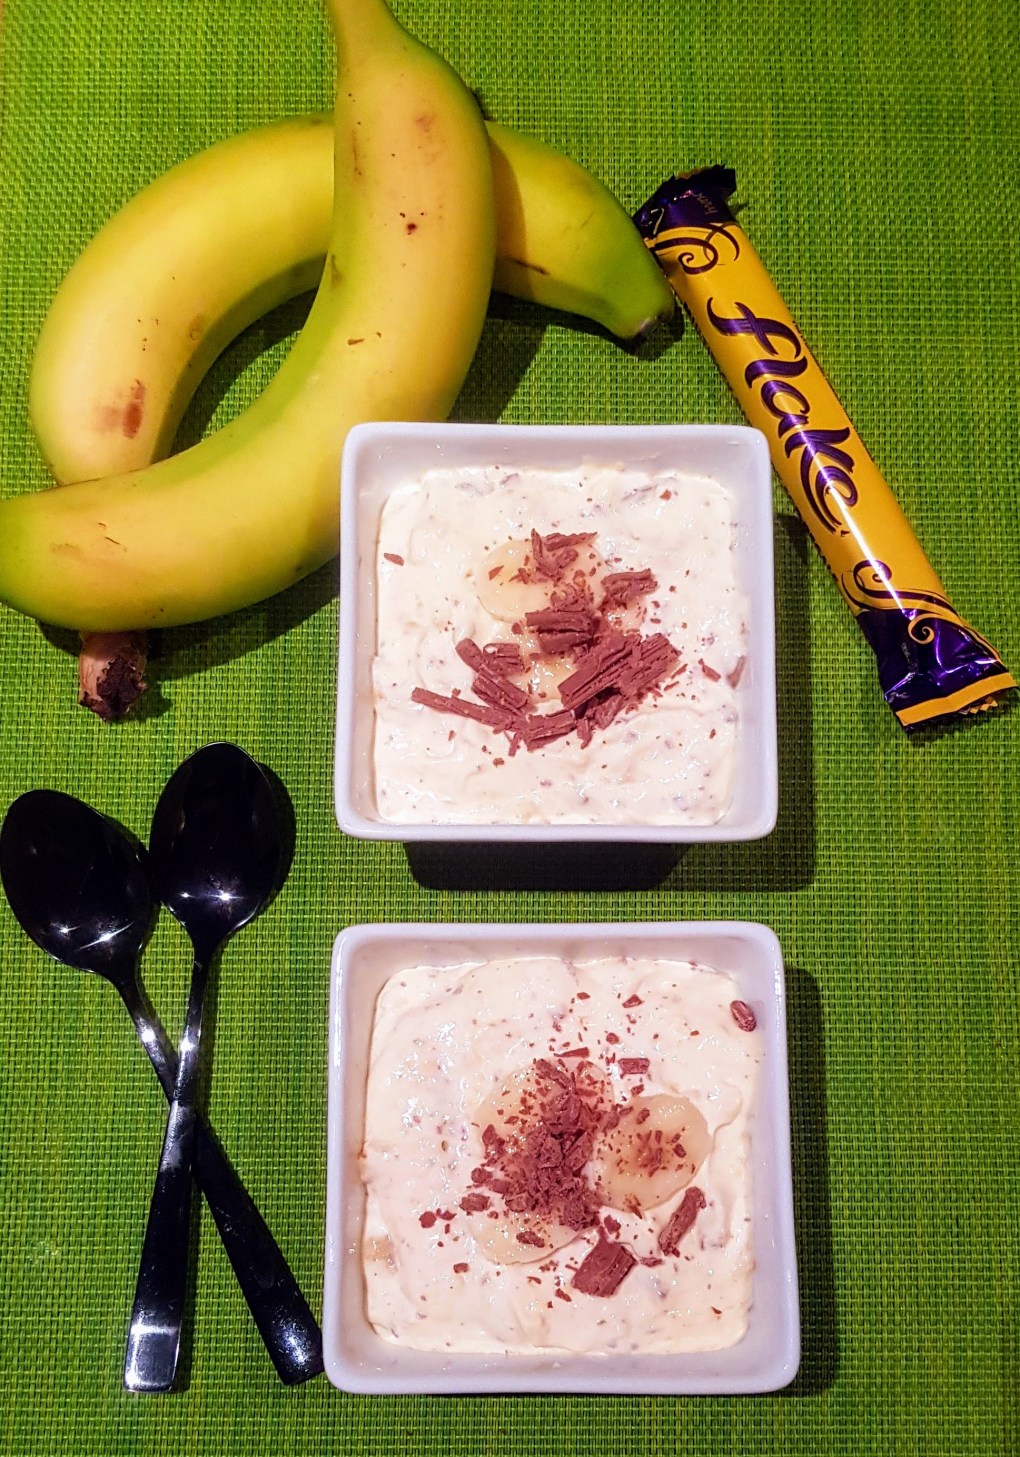
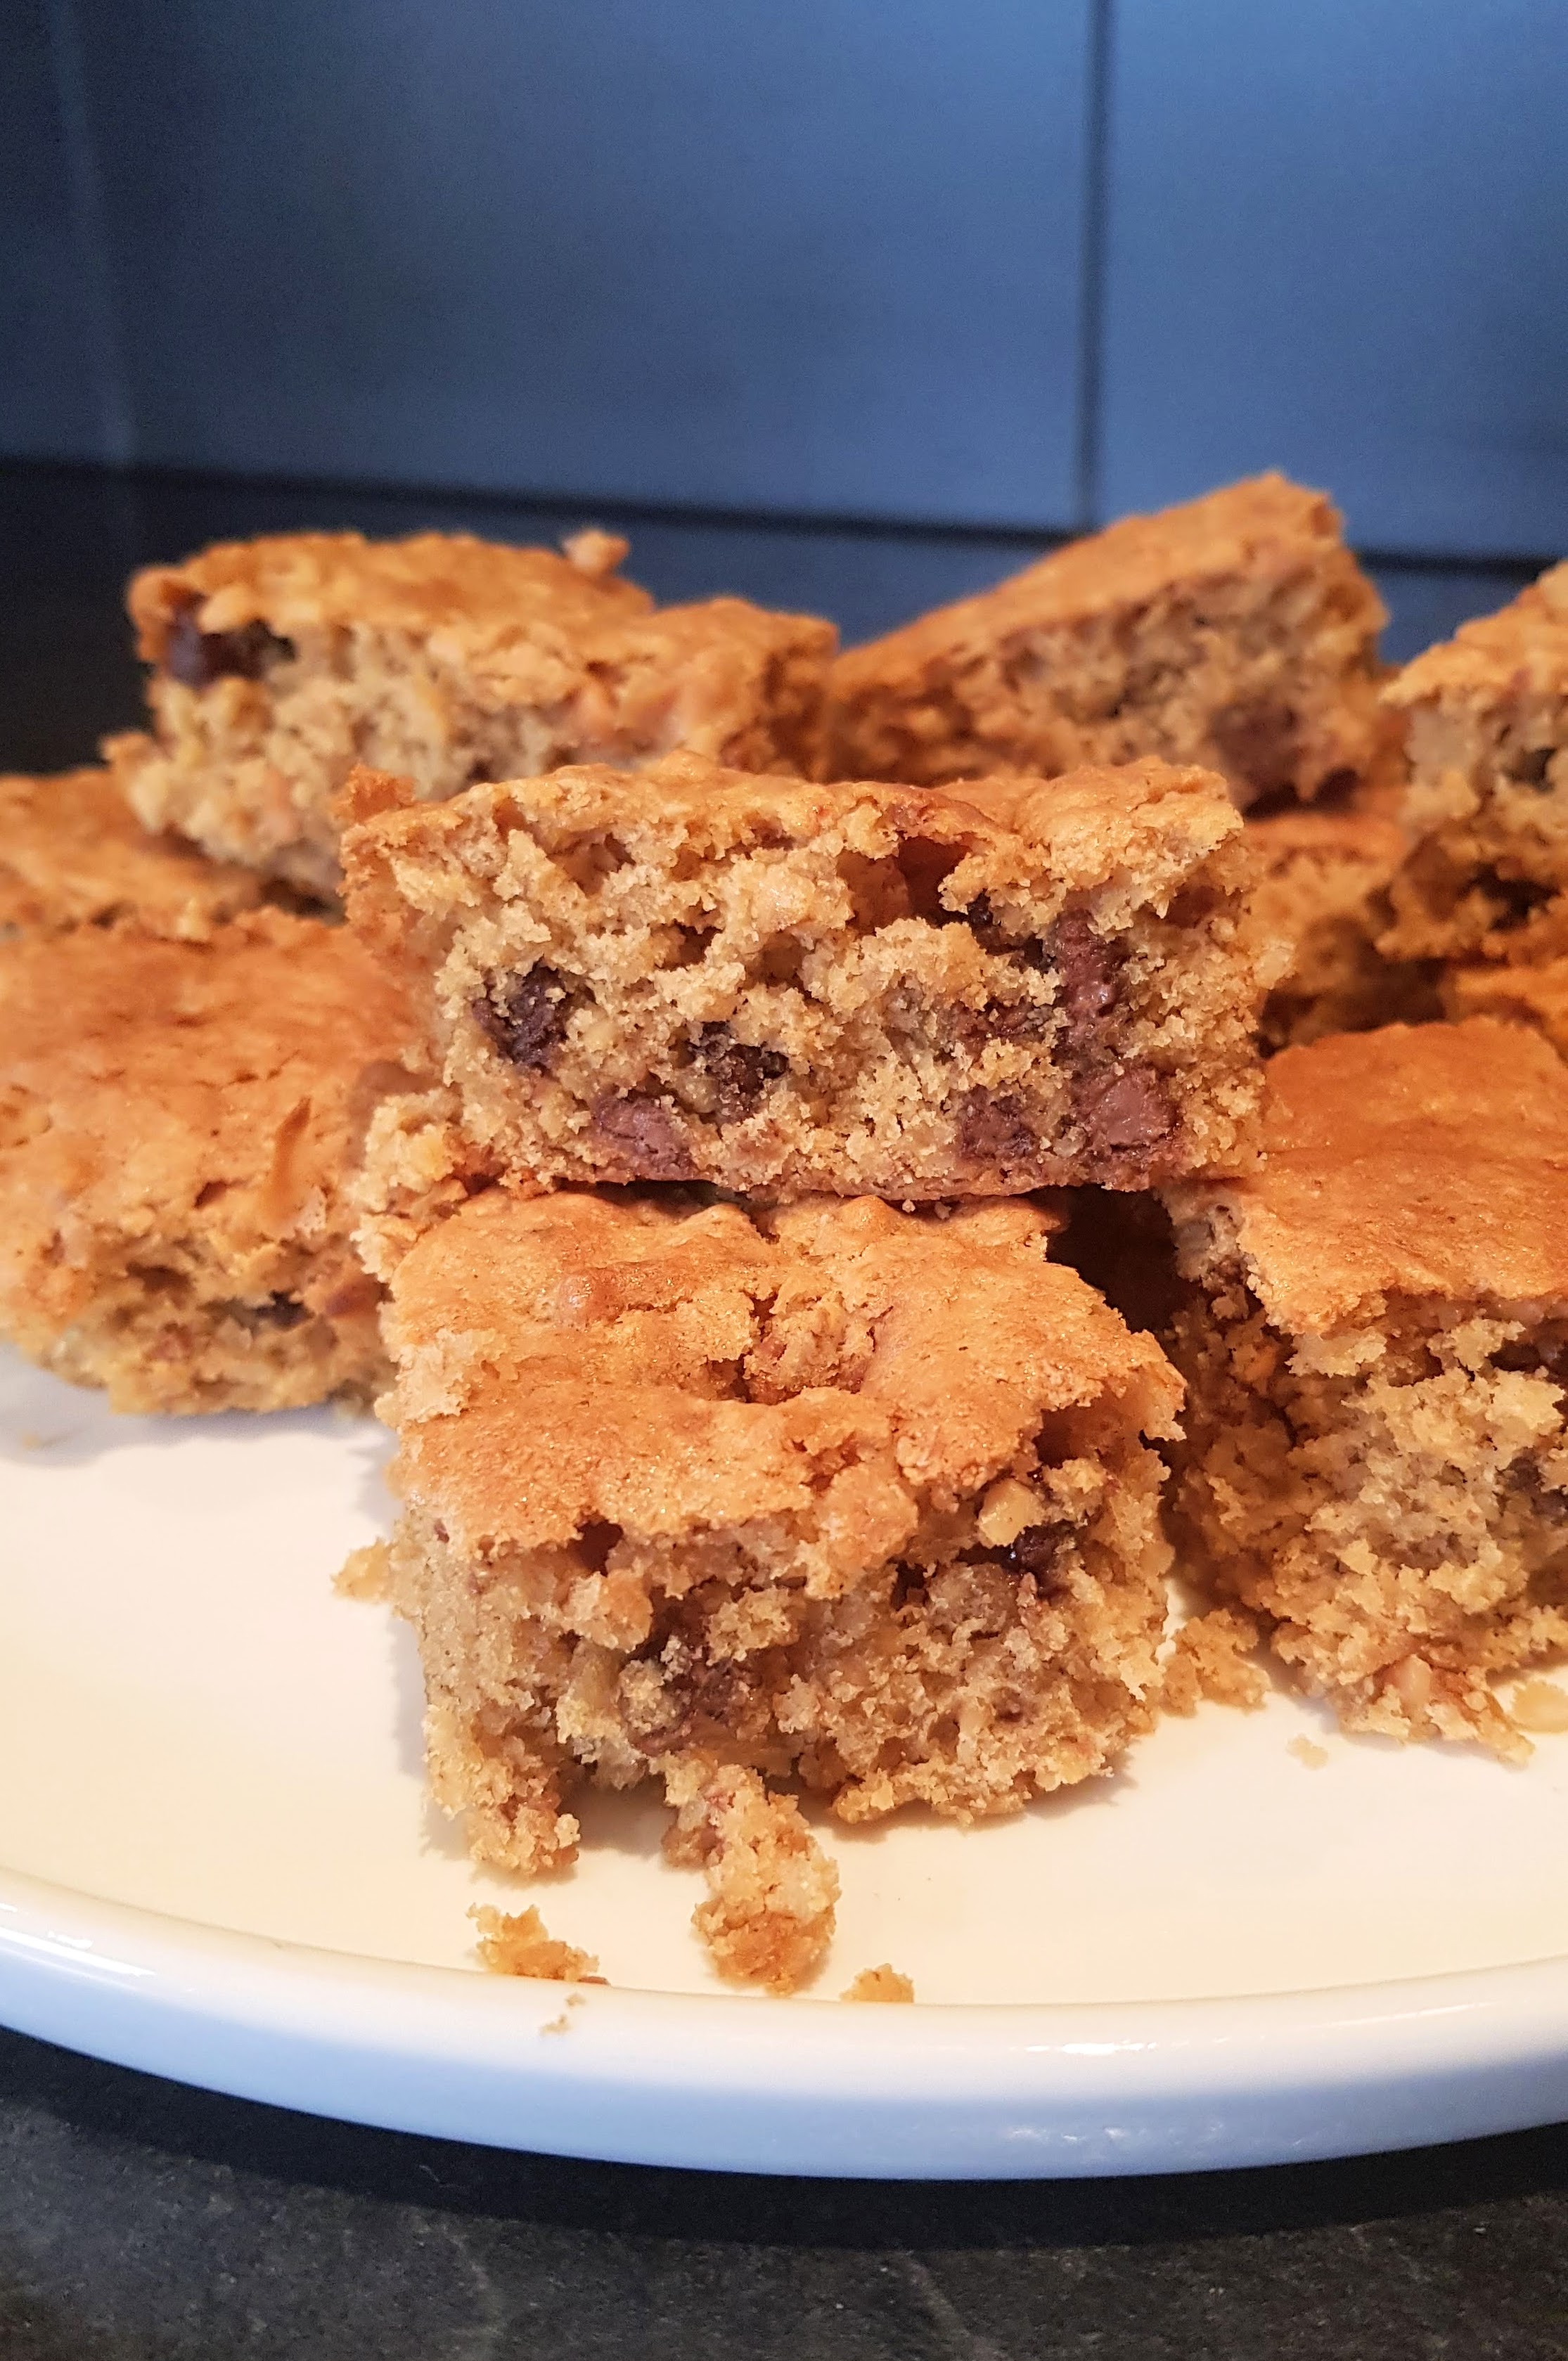
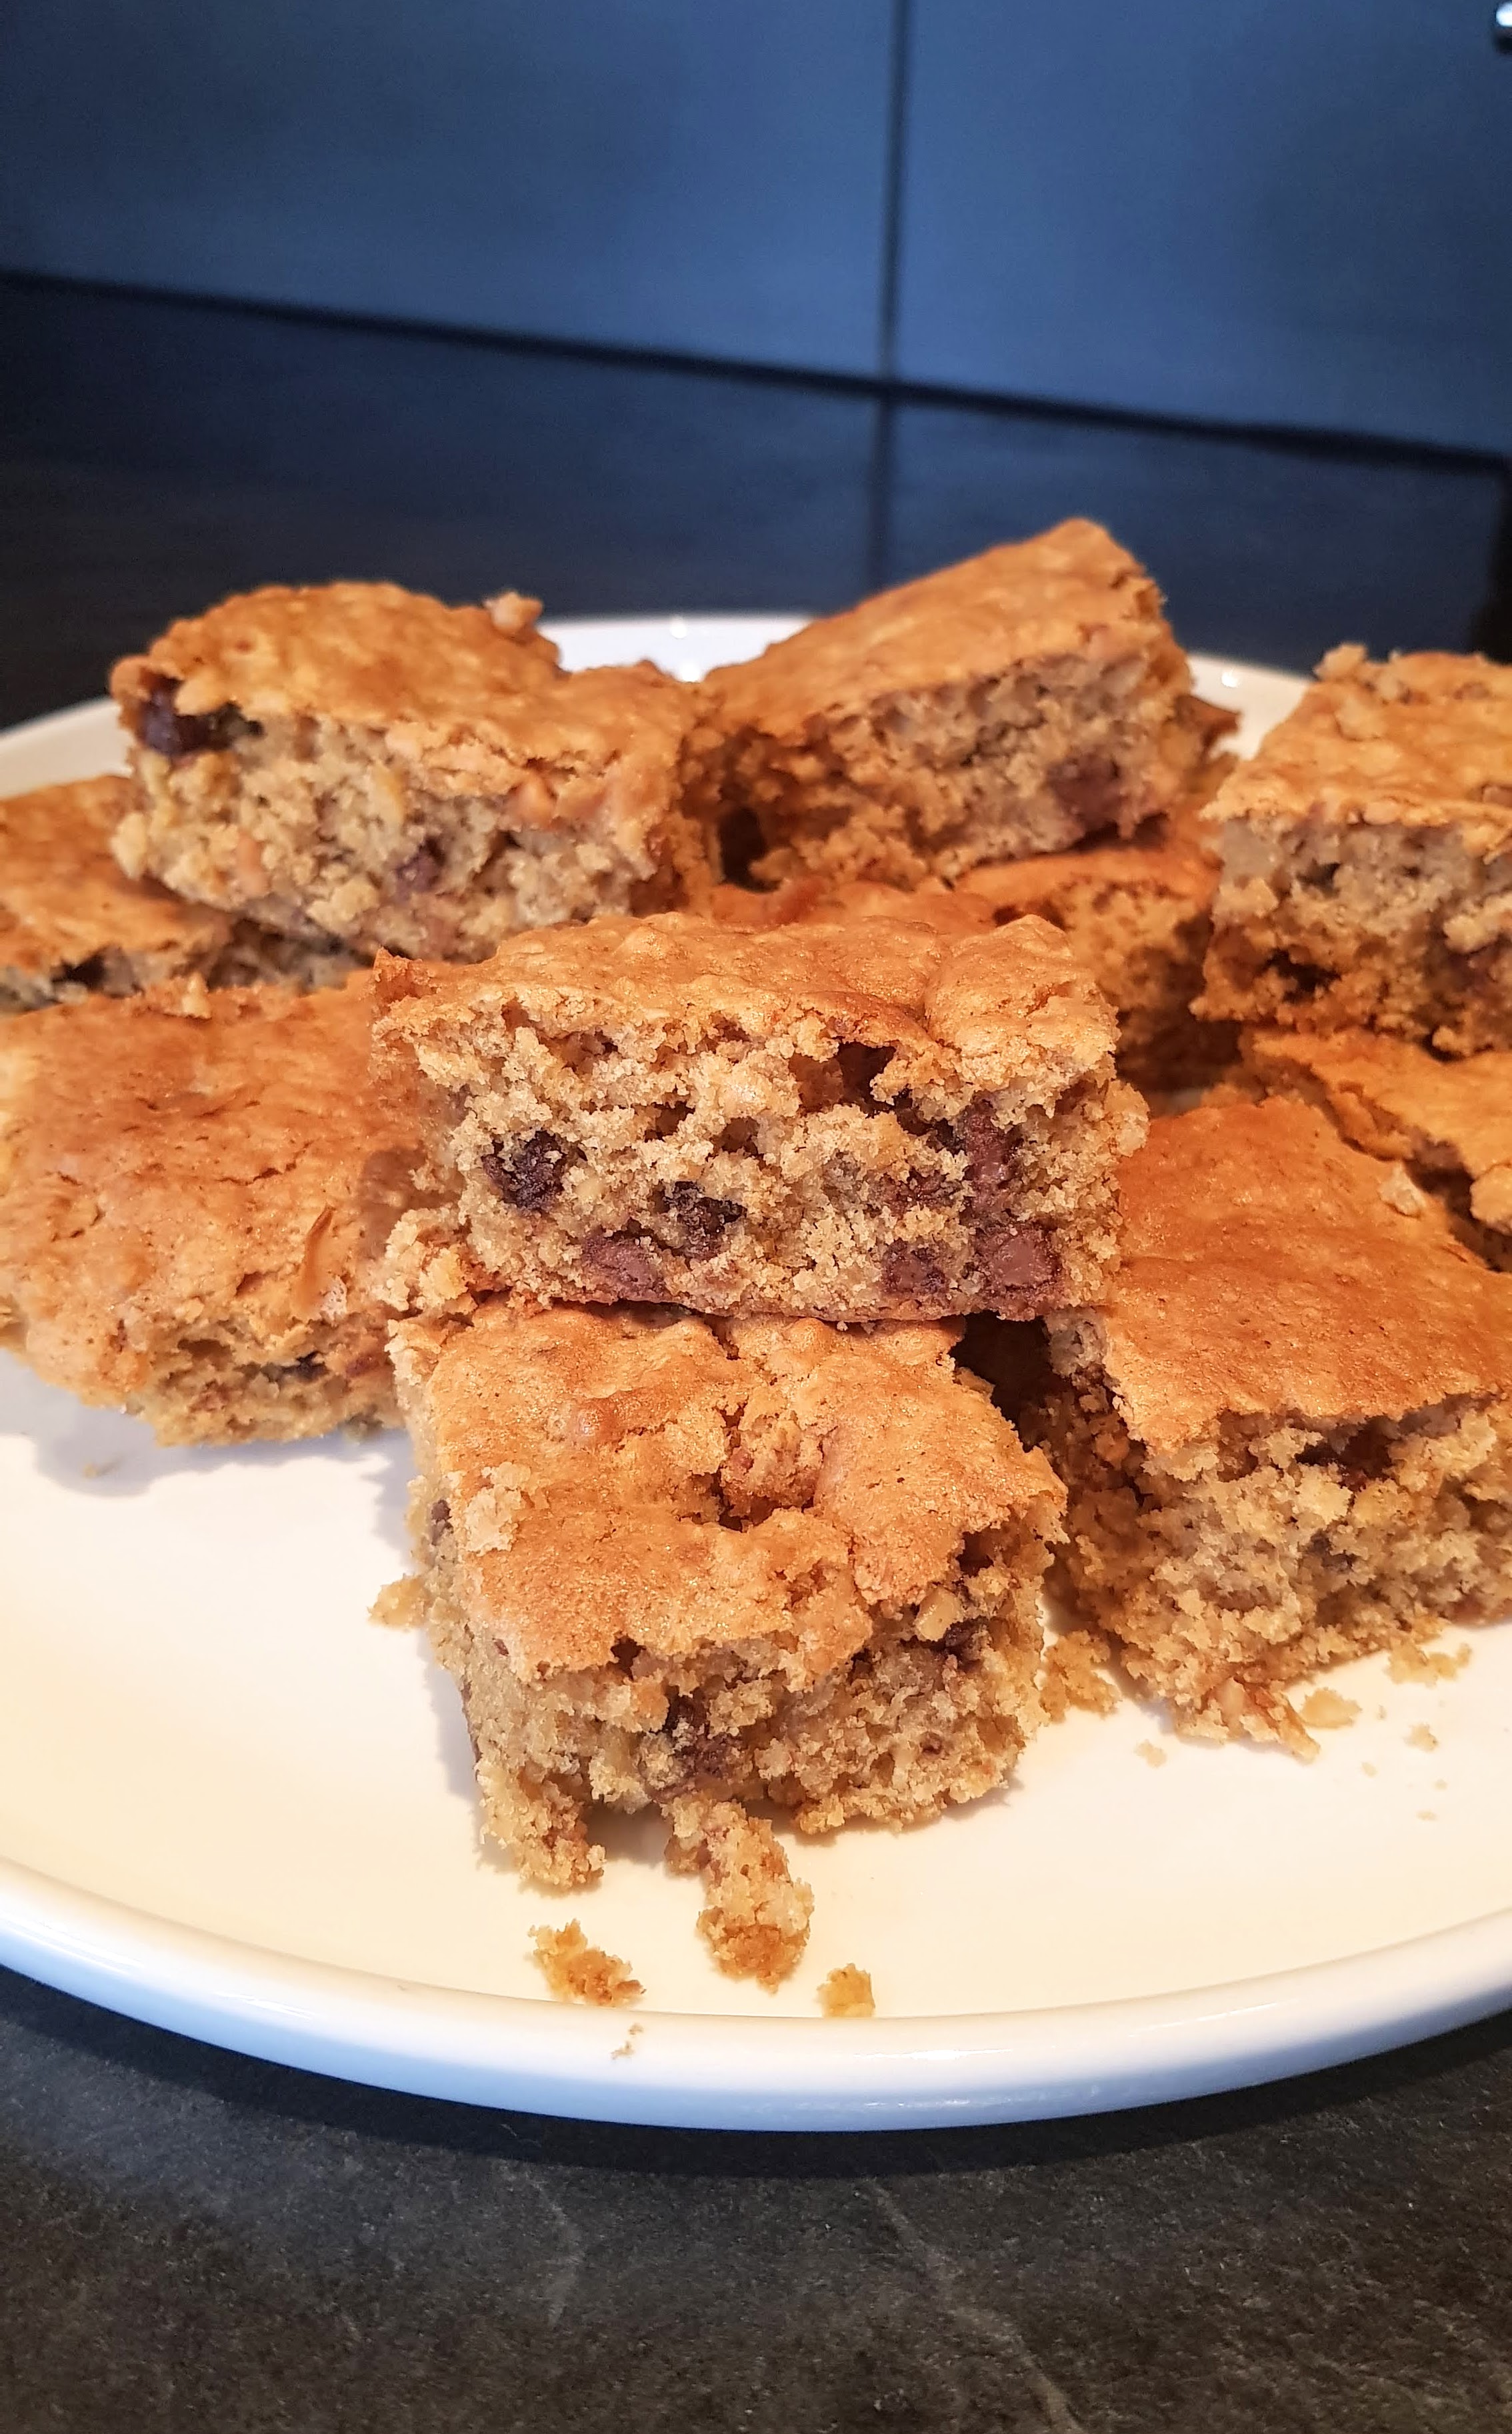
Who wants a pudding for breakfast? Oh yes….this little 2 minute pudding is perfect, nutritious, filling, tasty & quick to make, whats not to love!
I love my porridge in the morning as you may know, especially in the winter months. I love experimenting with different techniques & flavours and I just had to try this, the great thing is that you can add any flavour you like, making it your own.
Oats are gluten free and whole oats are rich in antioxidants making them great for you. A great source of fibre & good carbs too.
Makes 1 Cup
40g Porridge Oats
1 Medium Egg
120ml Yoghurt (whichever flavour you prefer, I used Raspberry)
1 Tbsp of raisins & dried Goji berries
1/2 Tsp Vanilla essence (or you could use cinnamon or any flavouring of your choice)
1 Tbsp of Chopped walnuts & seeds for topping (or you could use banana or blueberries etc)
1 Tbsp Yoghurt for topping
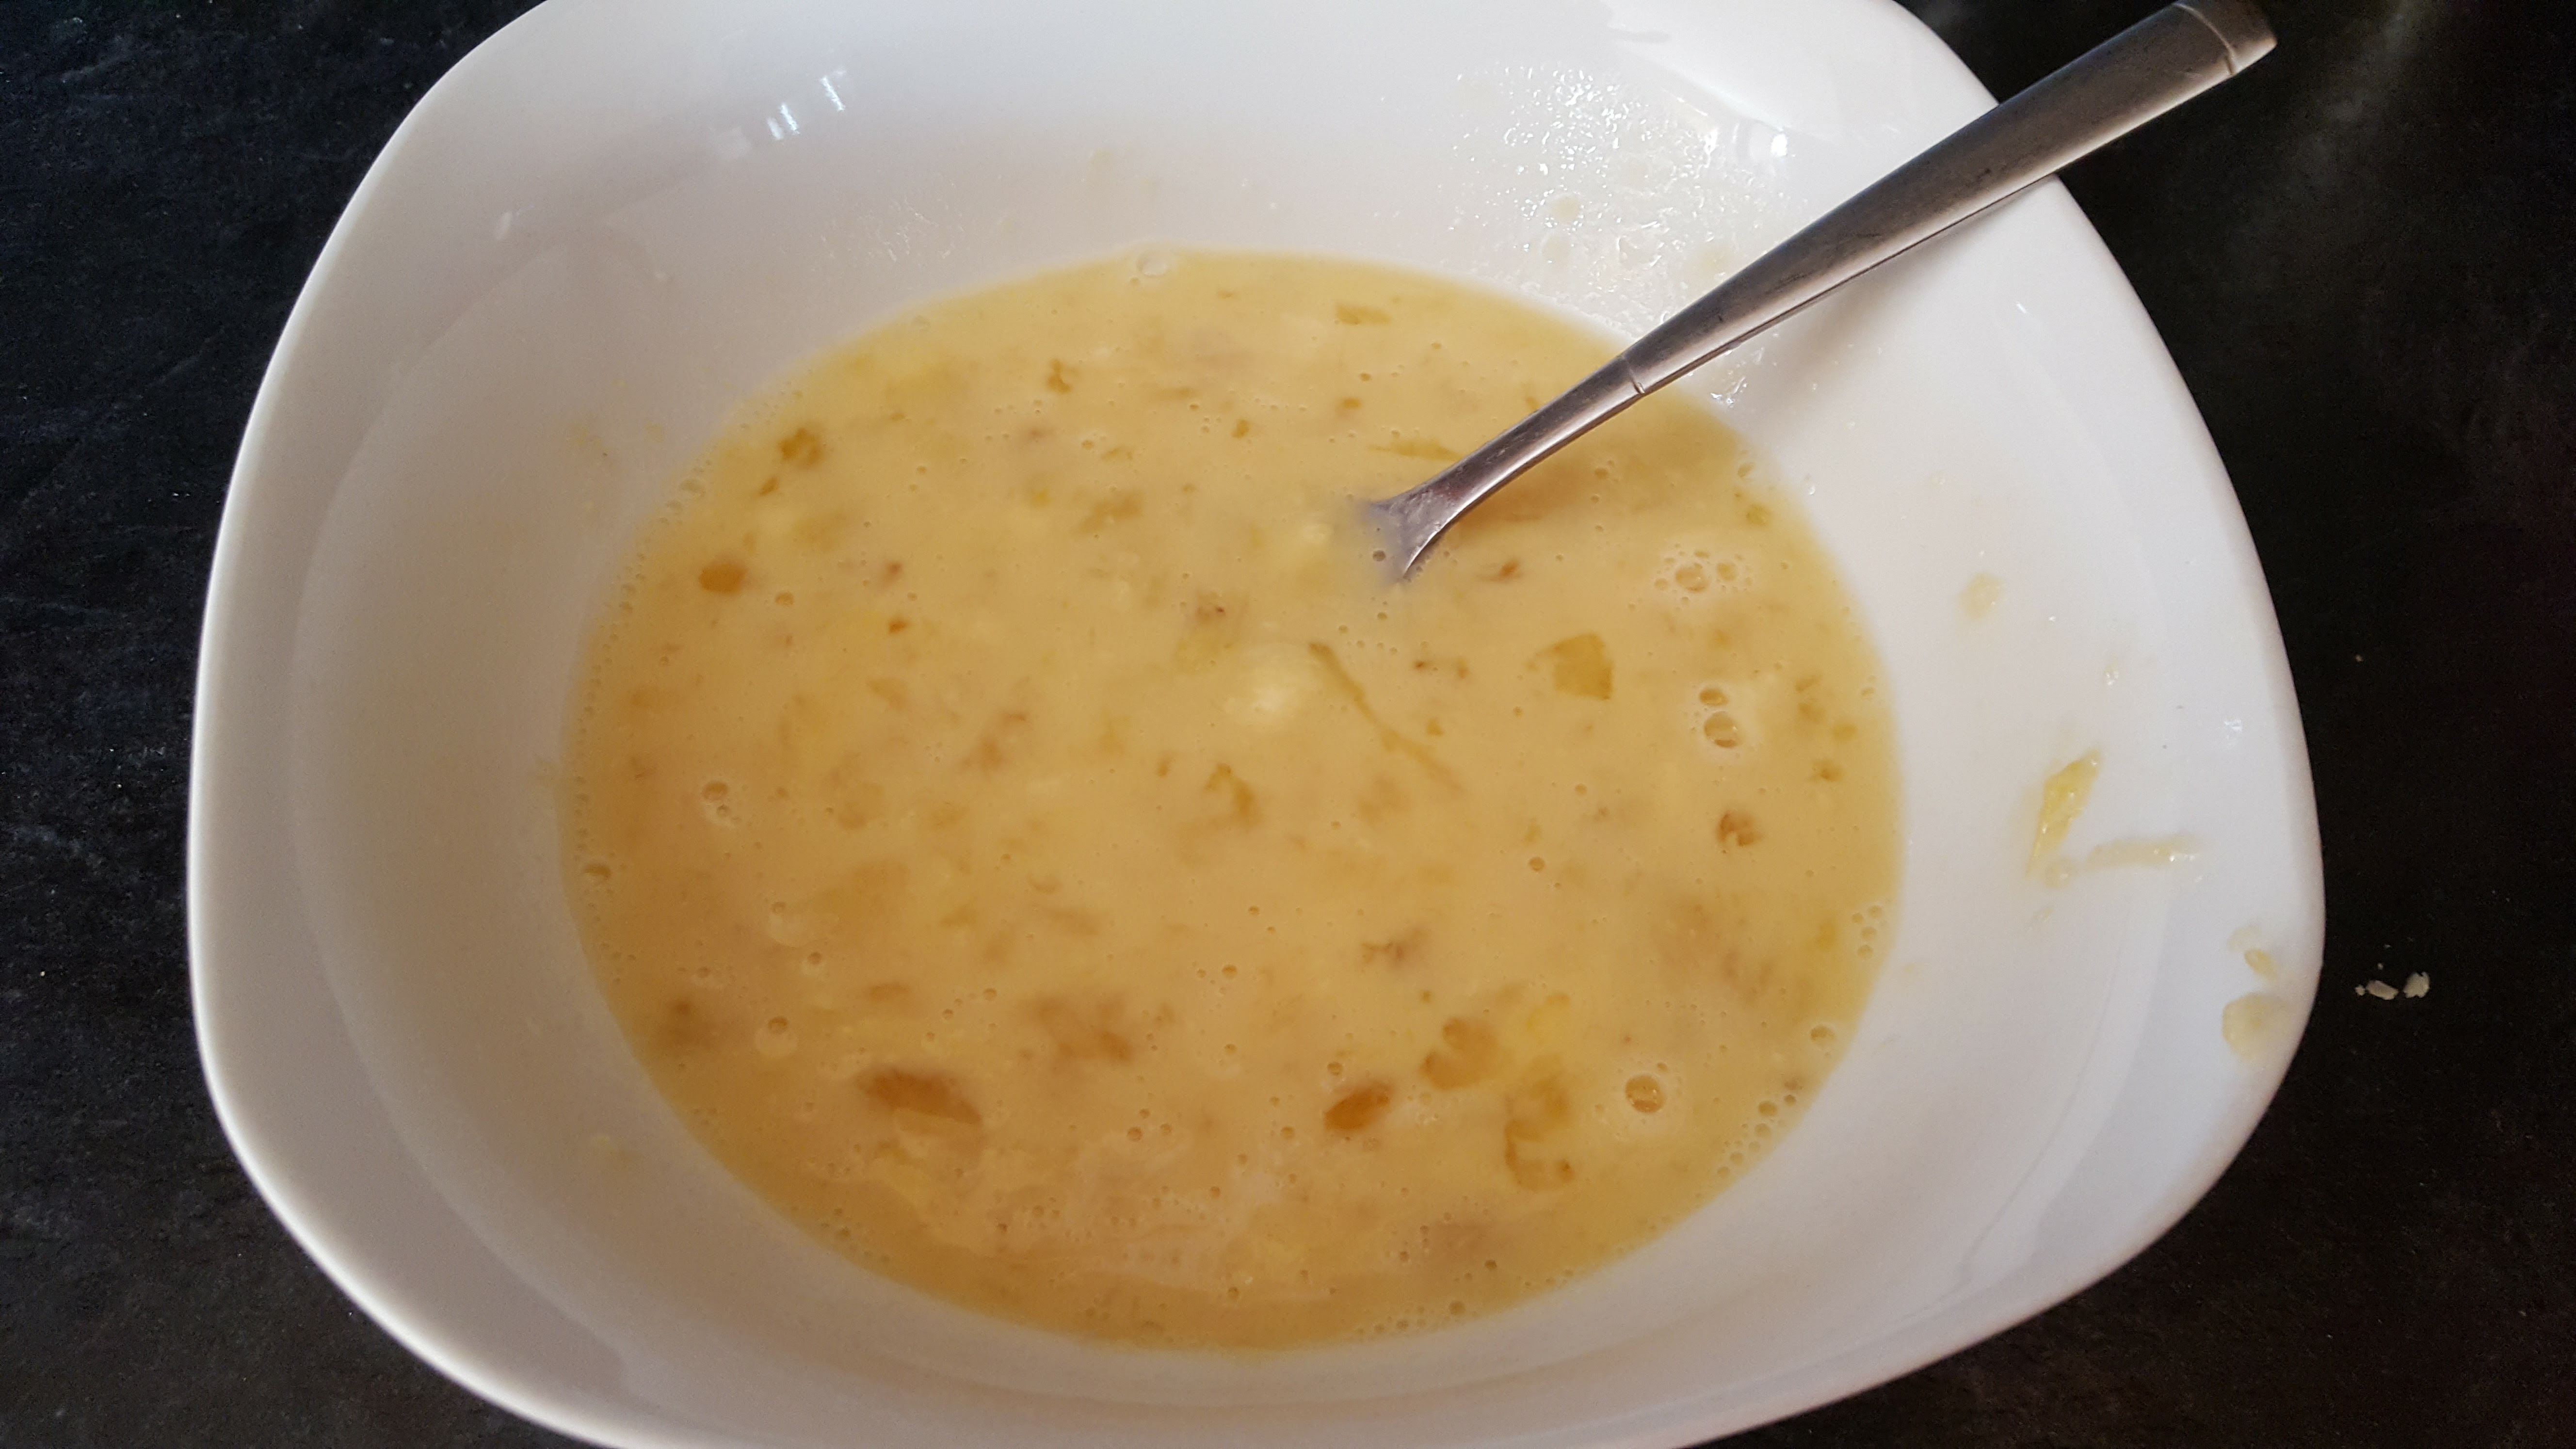
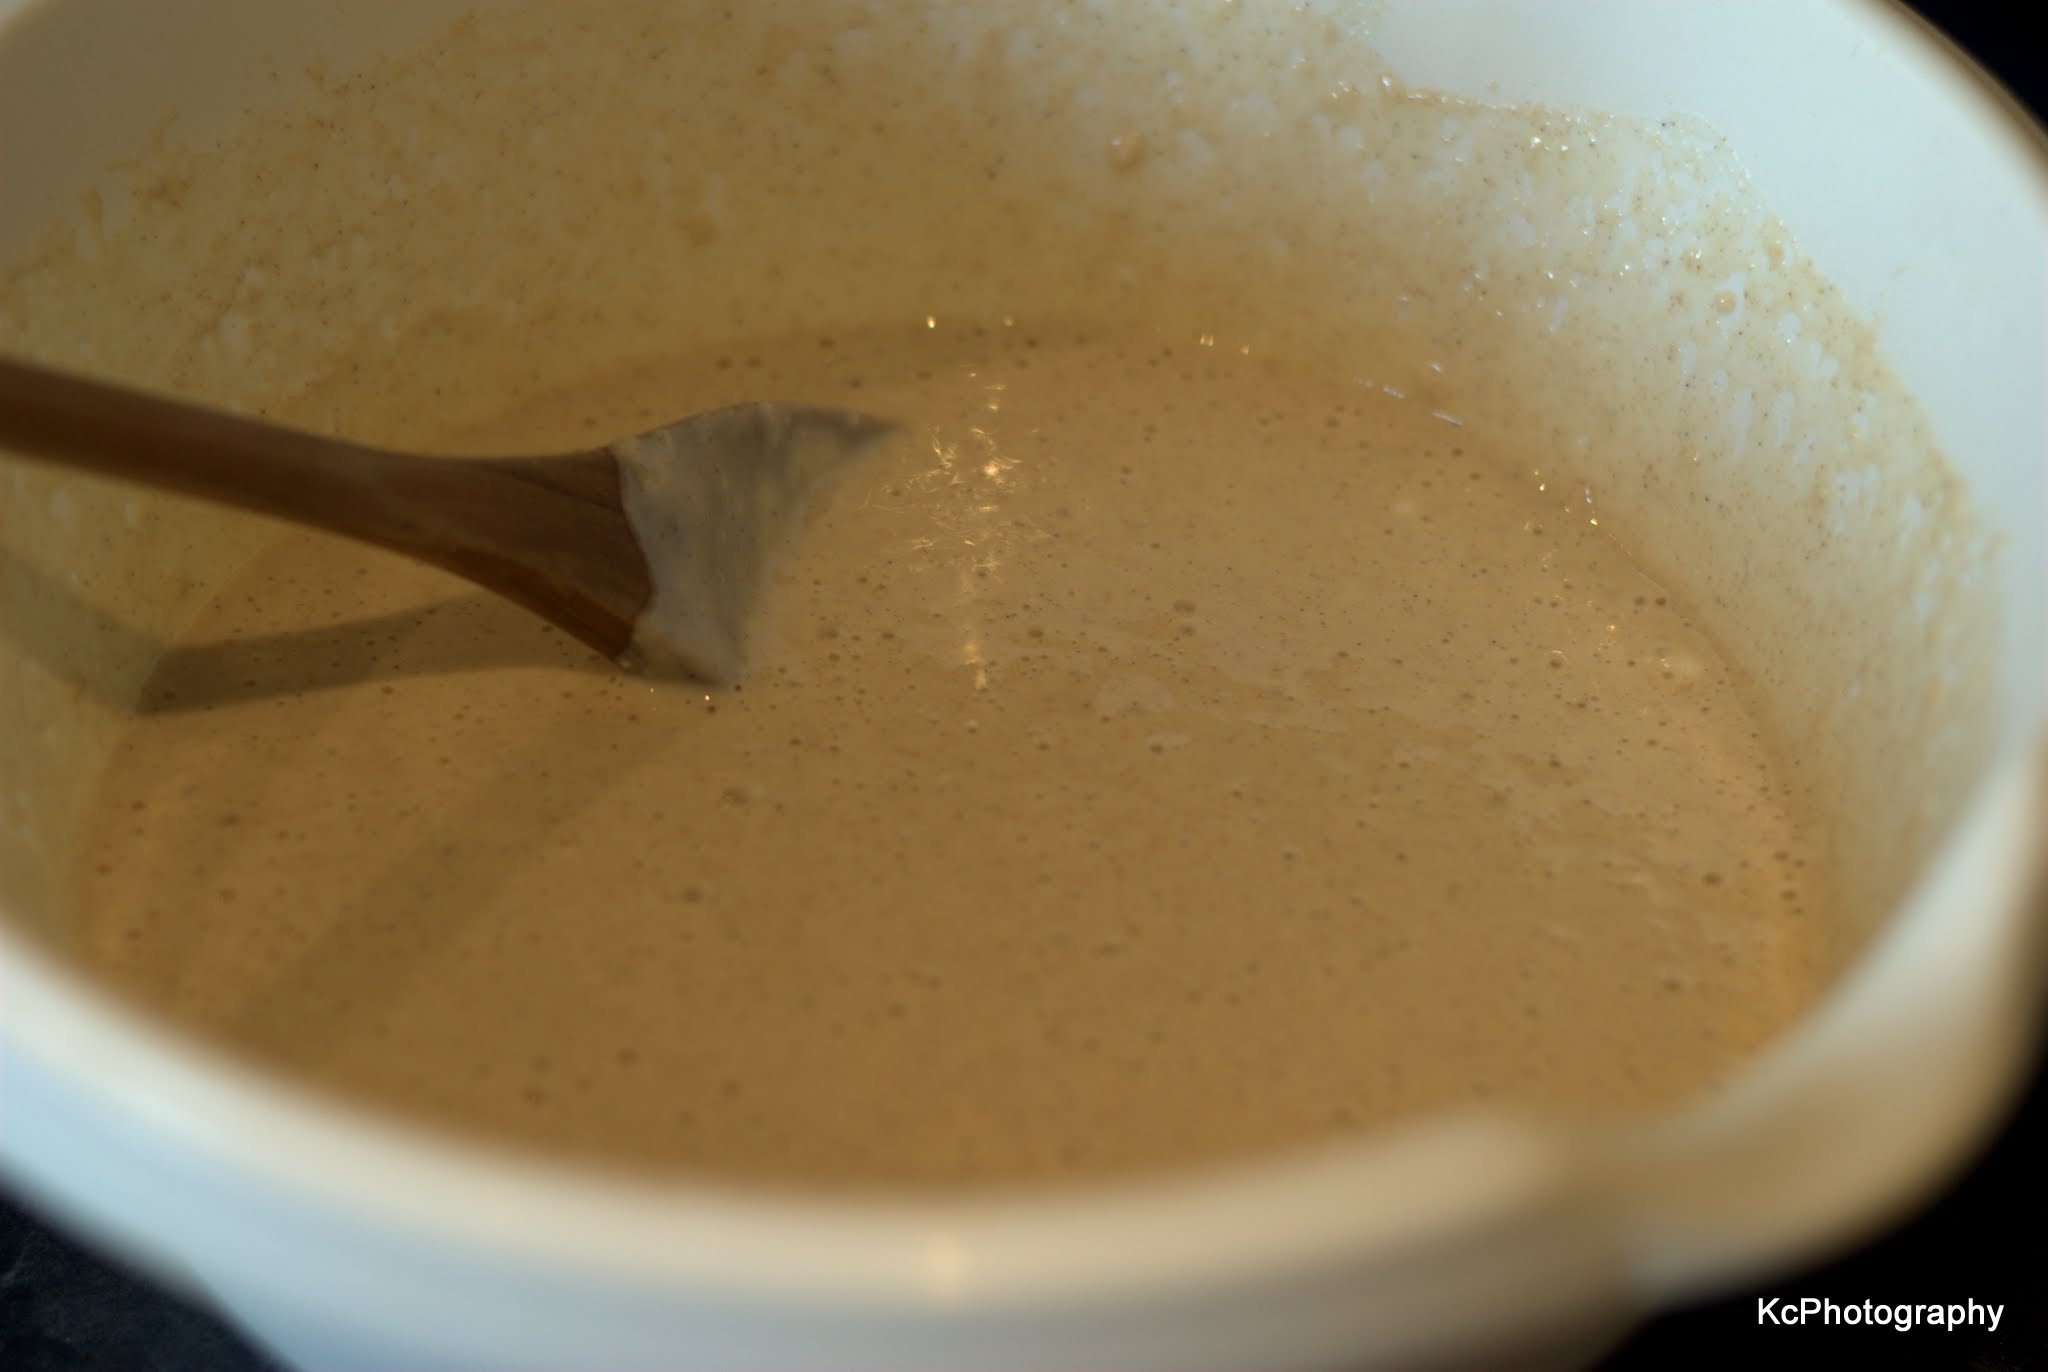
- Place oats, egg, 120ml yoghurt, raisins & berries along with essence into a mug and mix through until combined.
- Cook at 800w power in a microwave for 2 minutes, ensuring it doesn’t spill over, remove, loosen the edges with a spatula or knife and tip onto a plate
- Finish off with some yoghurt, nuts & seeds and enjoy!


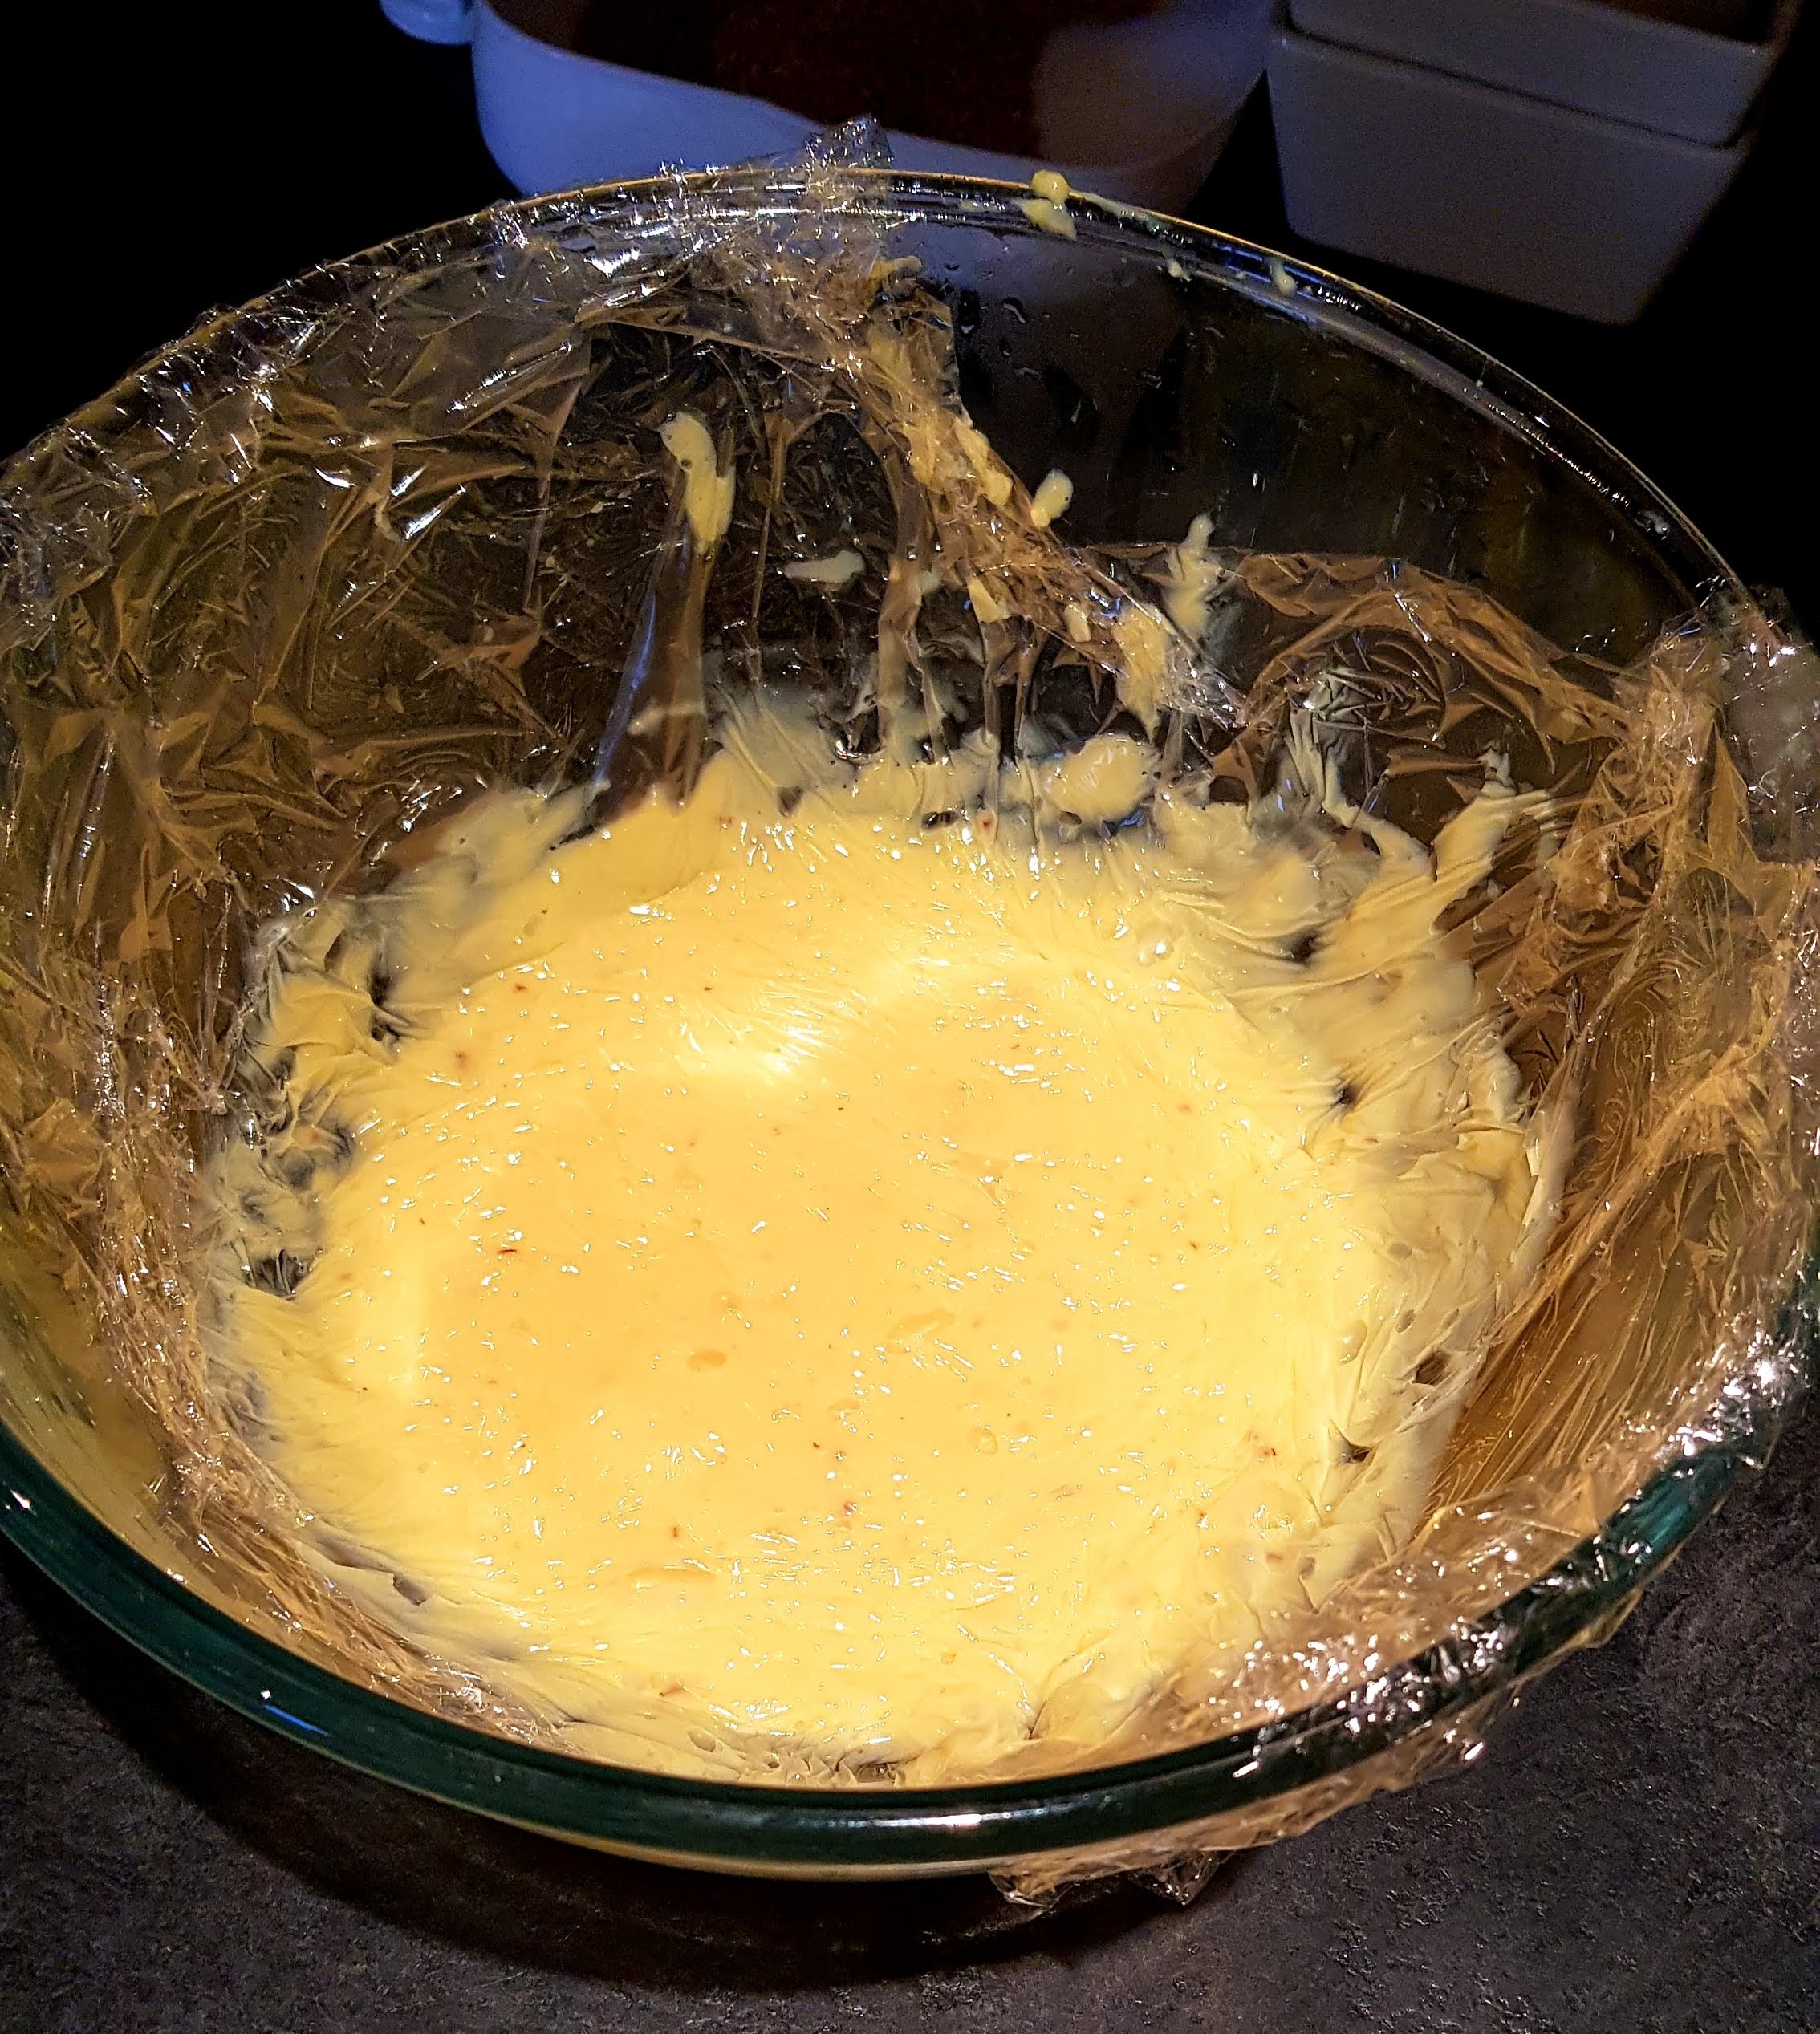
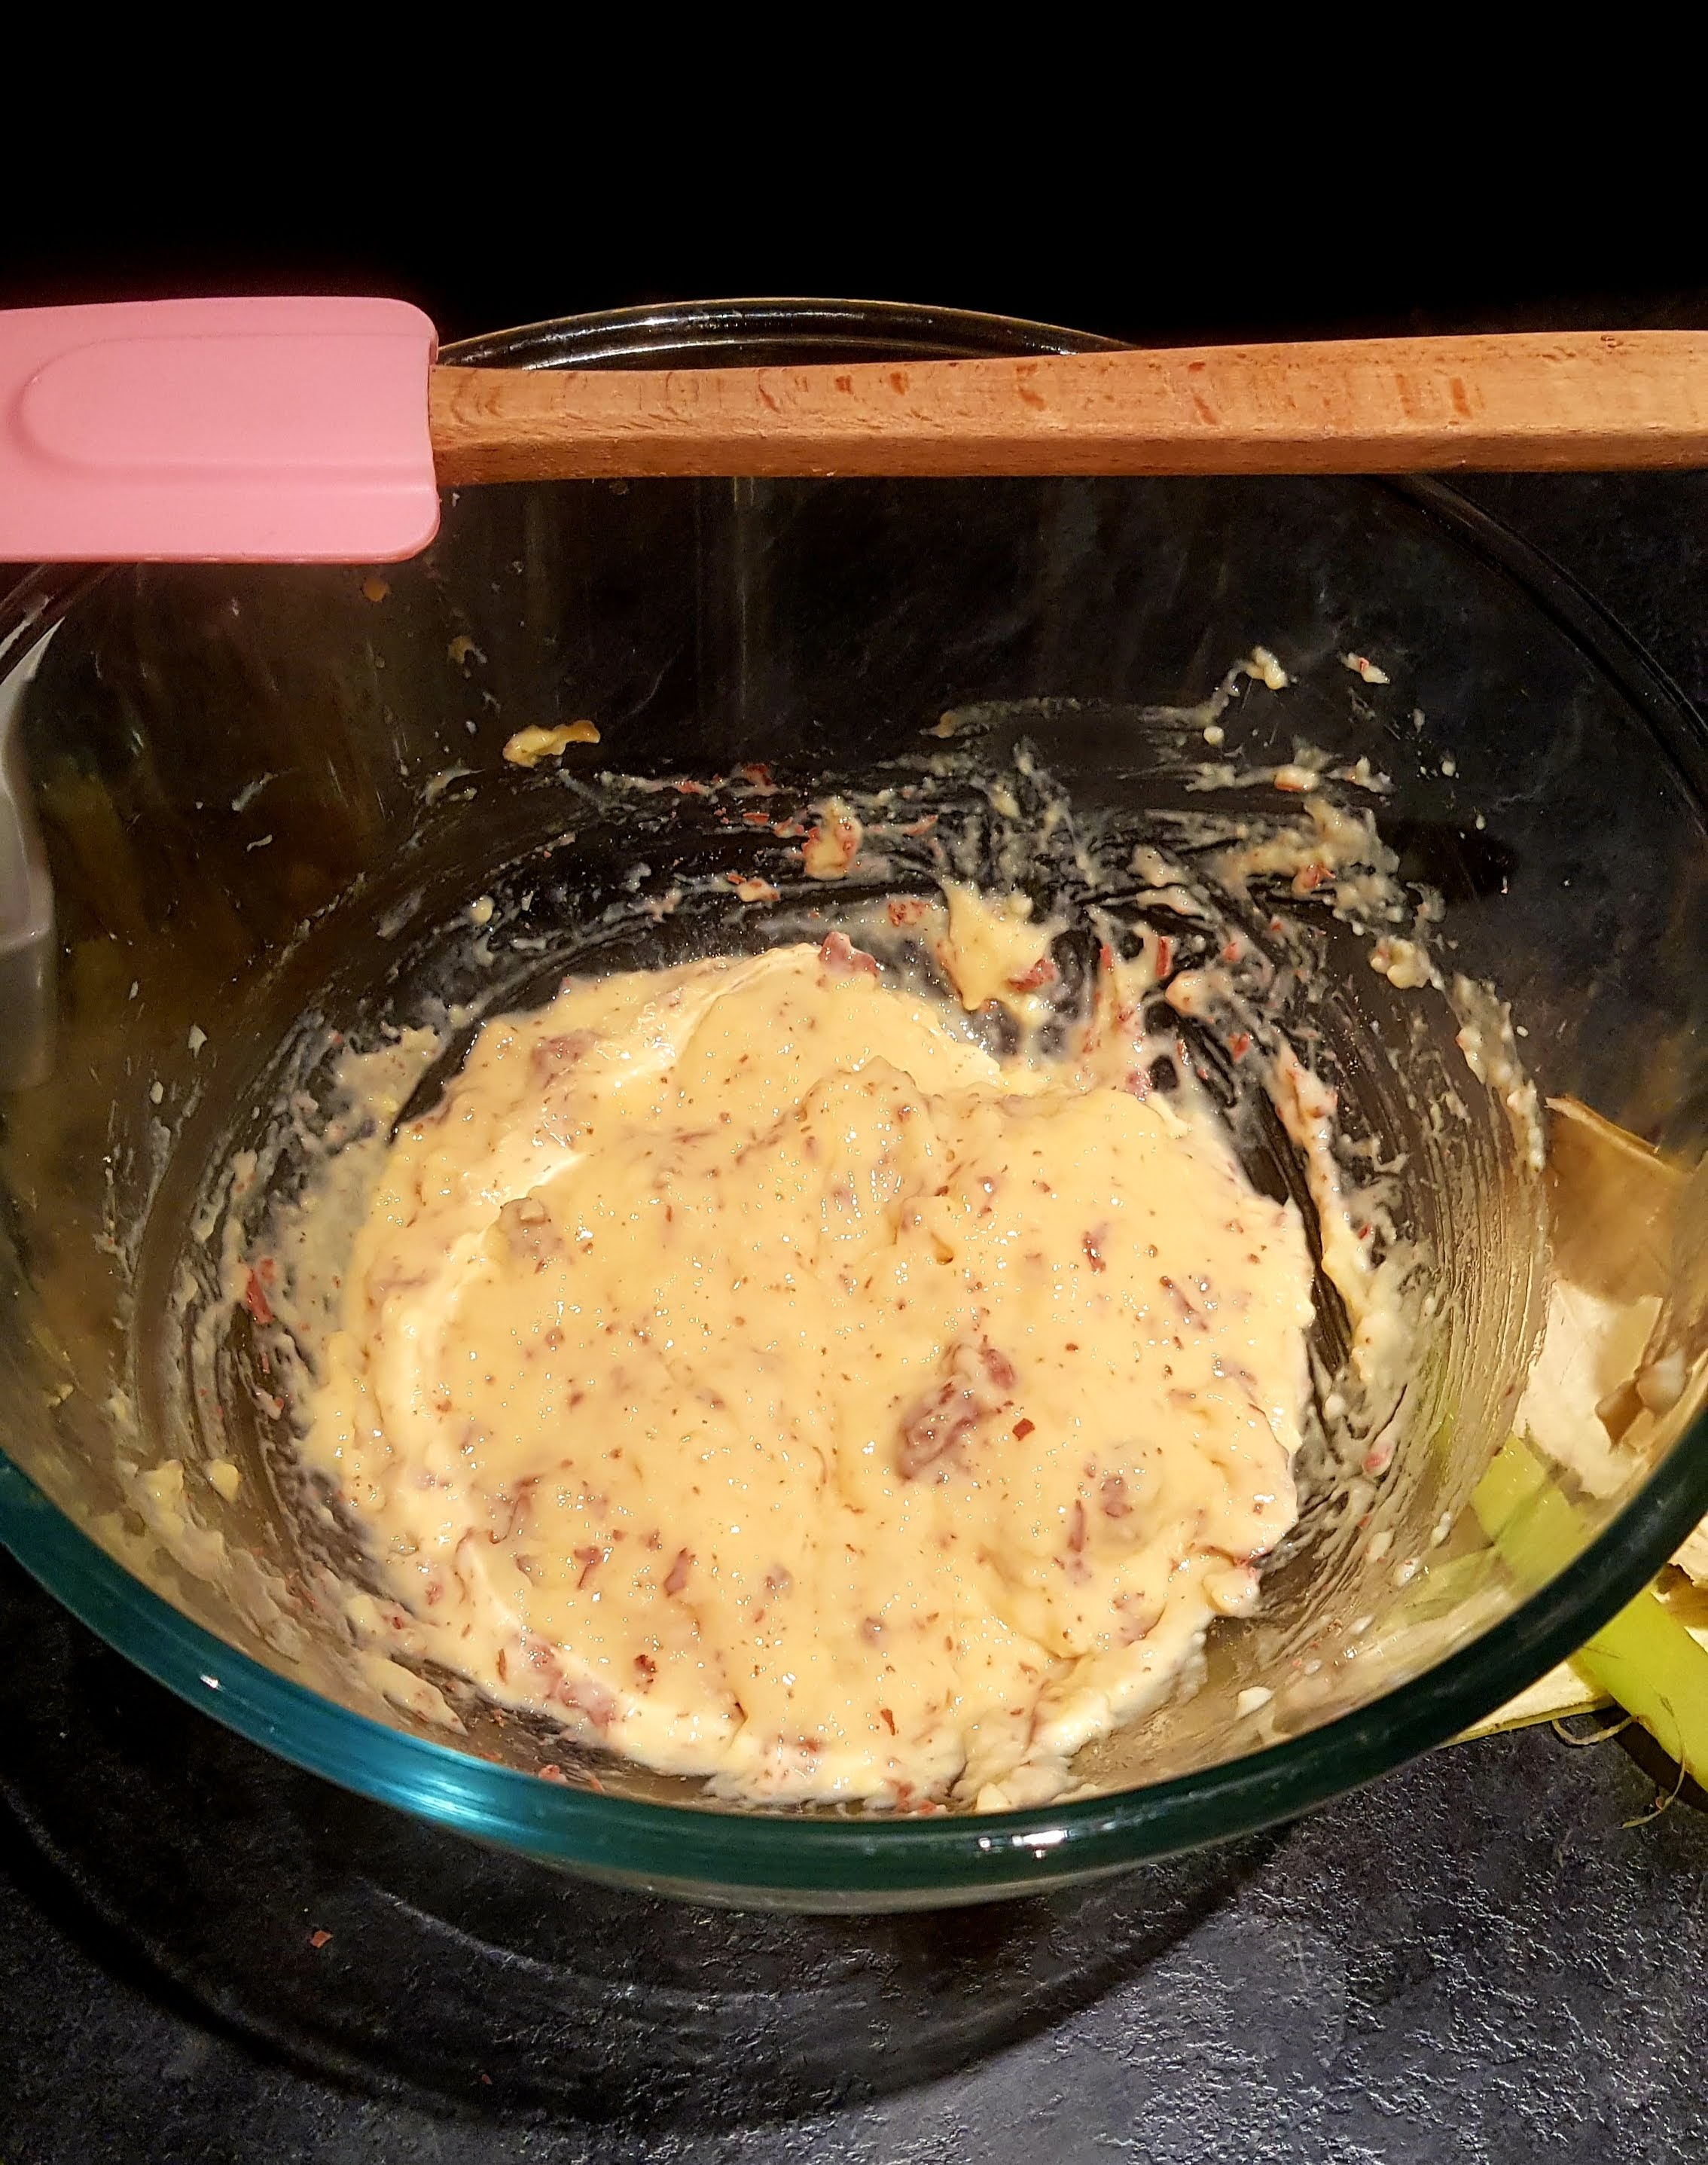


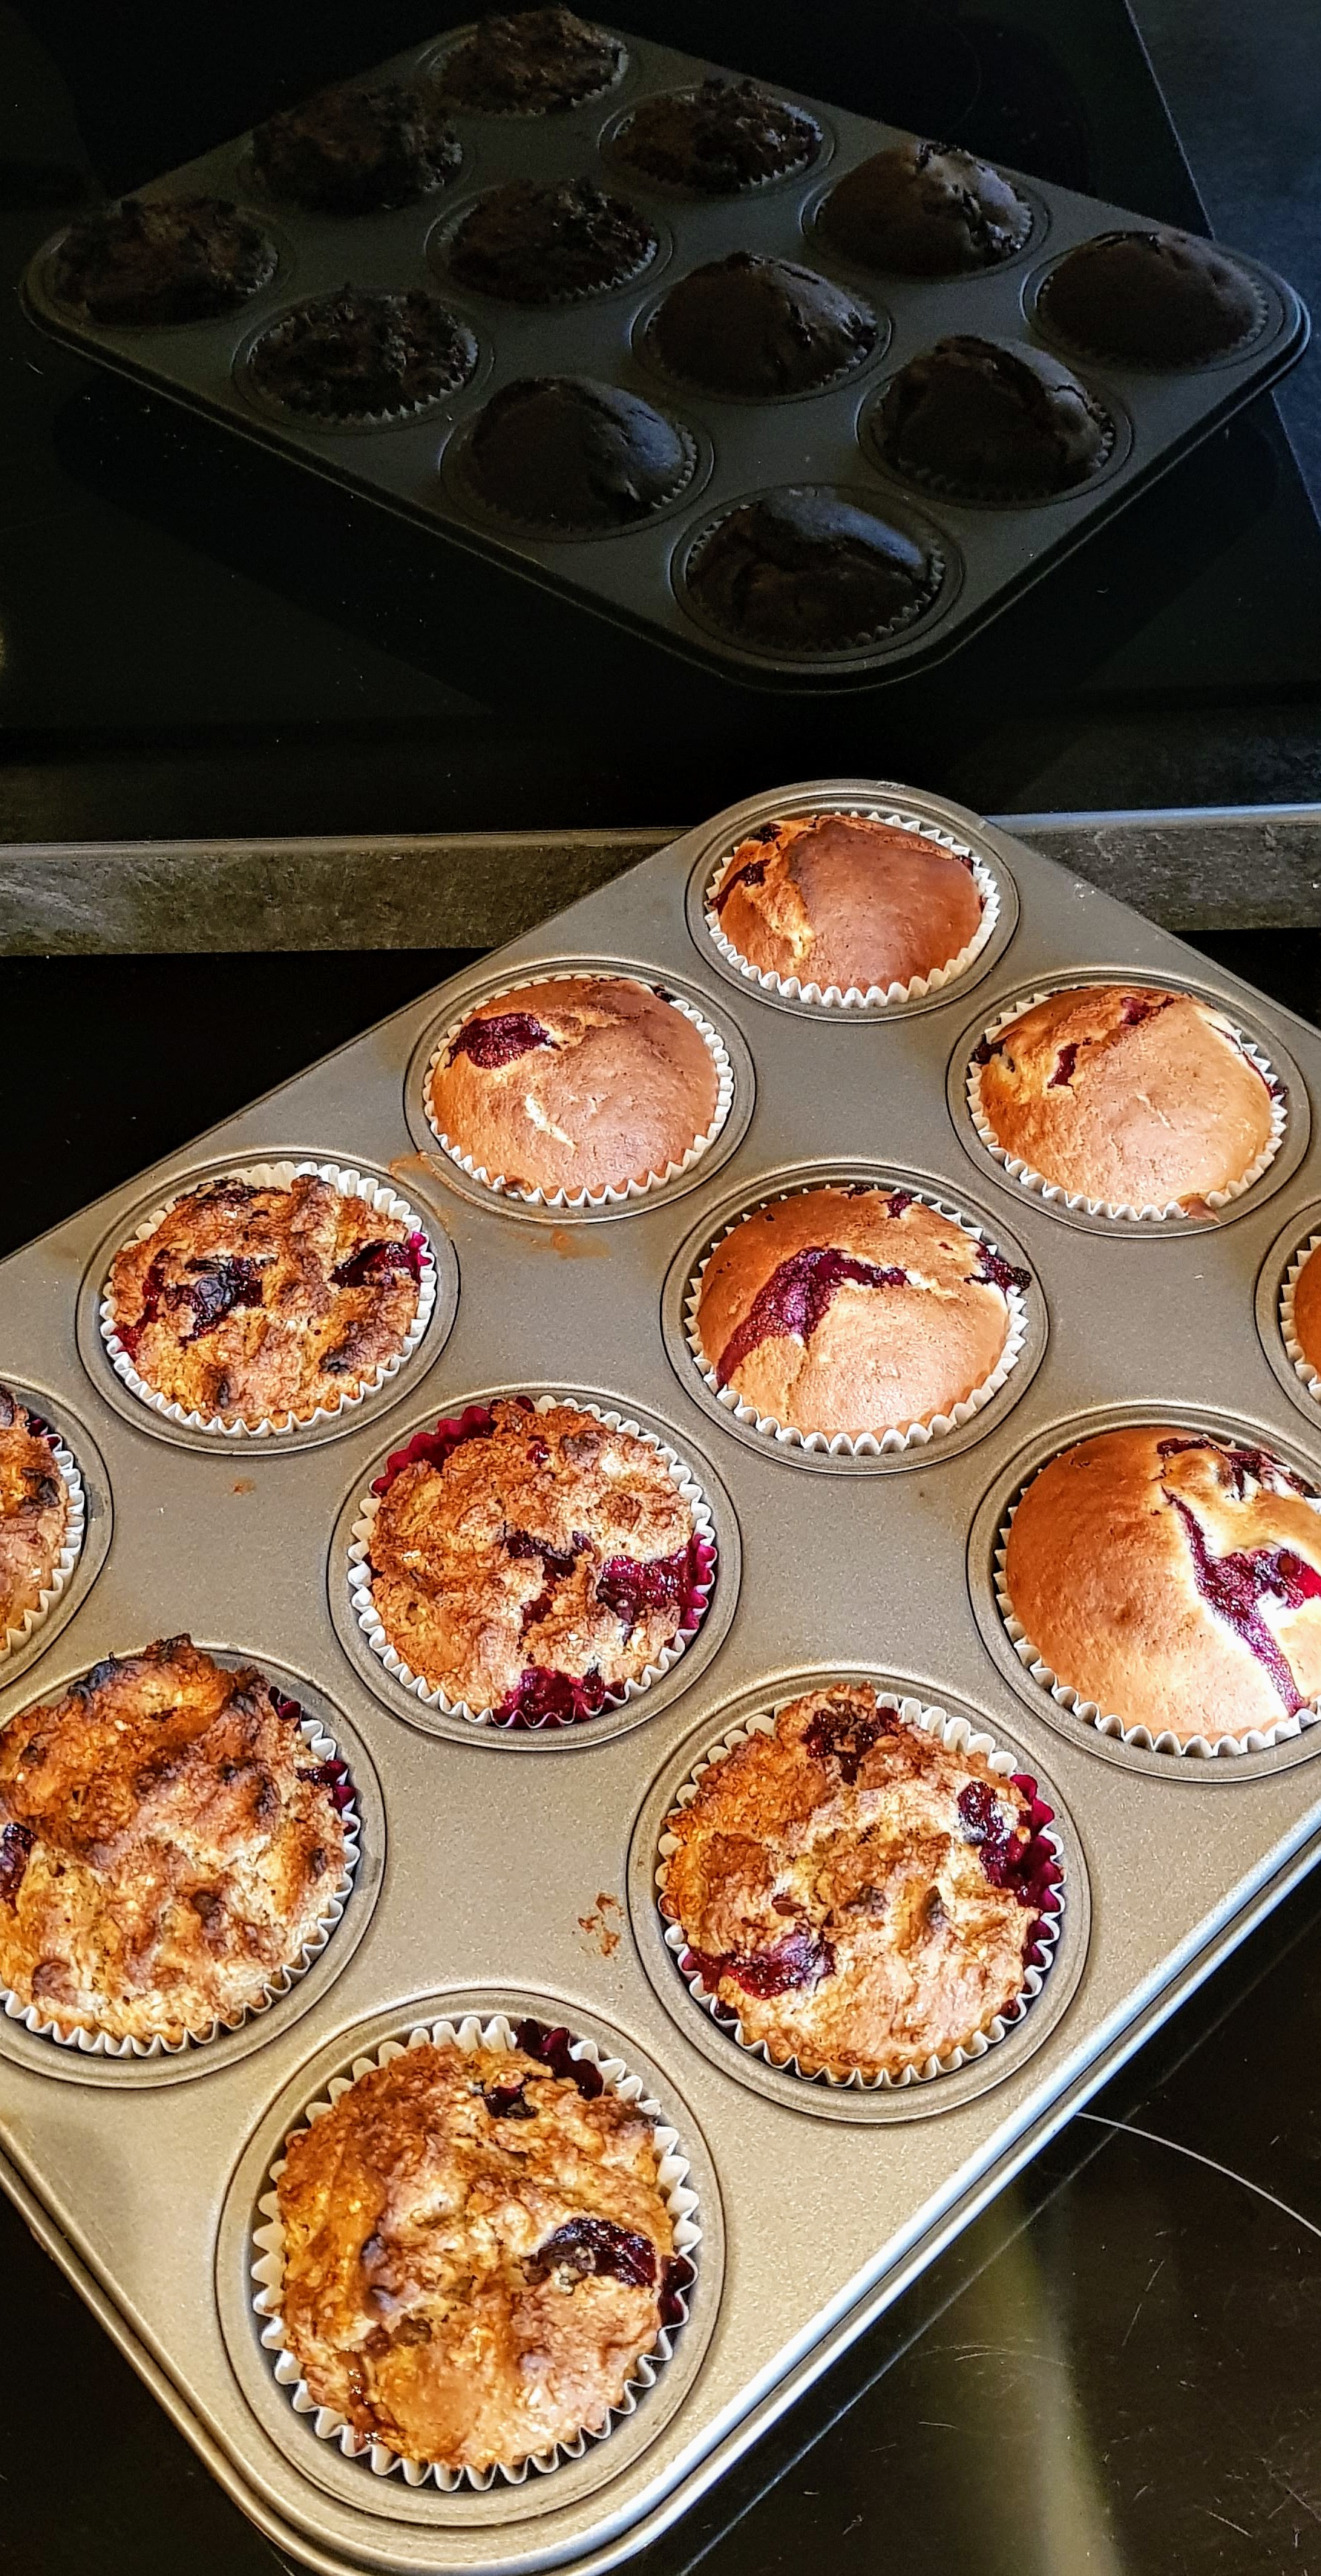


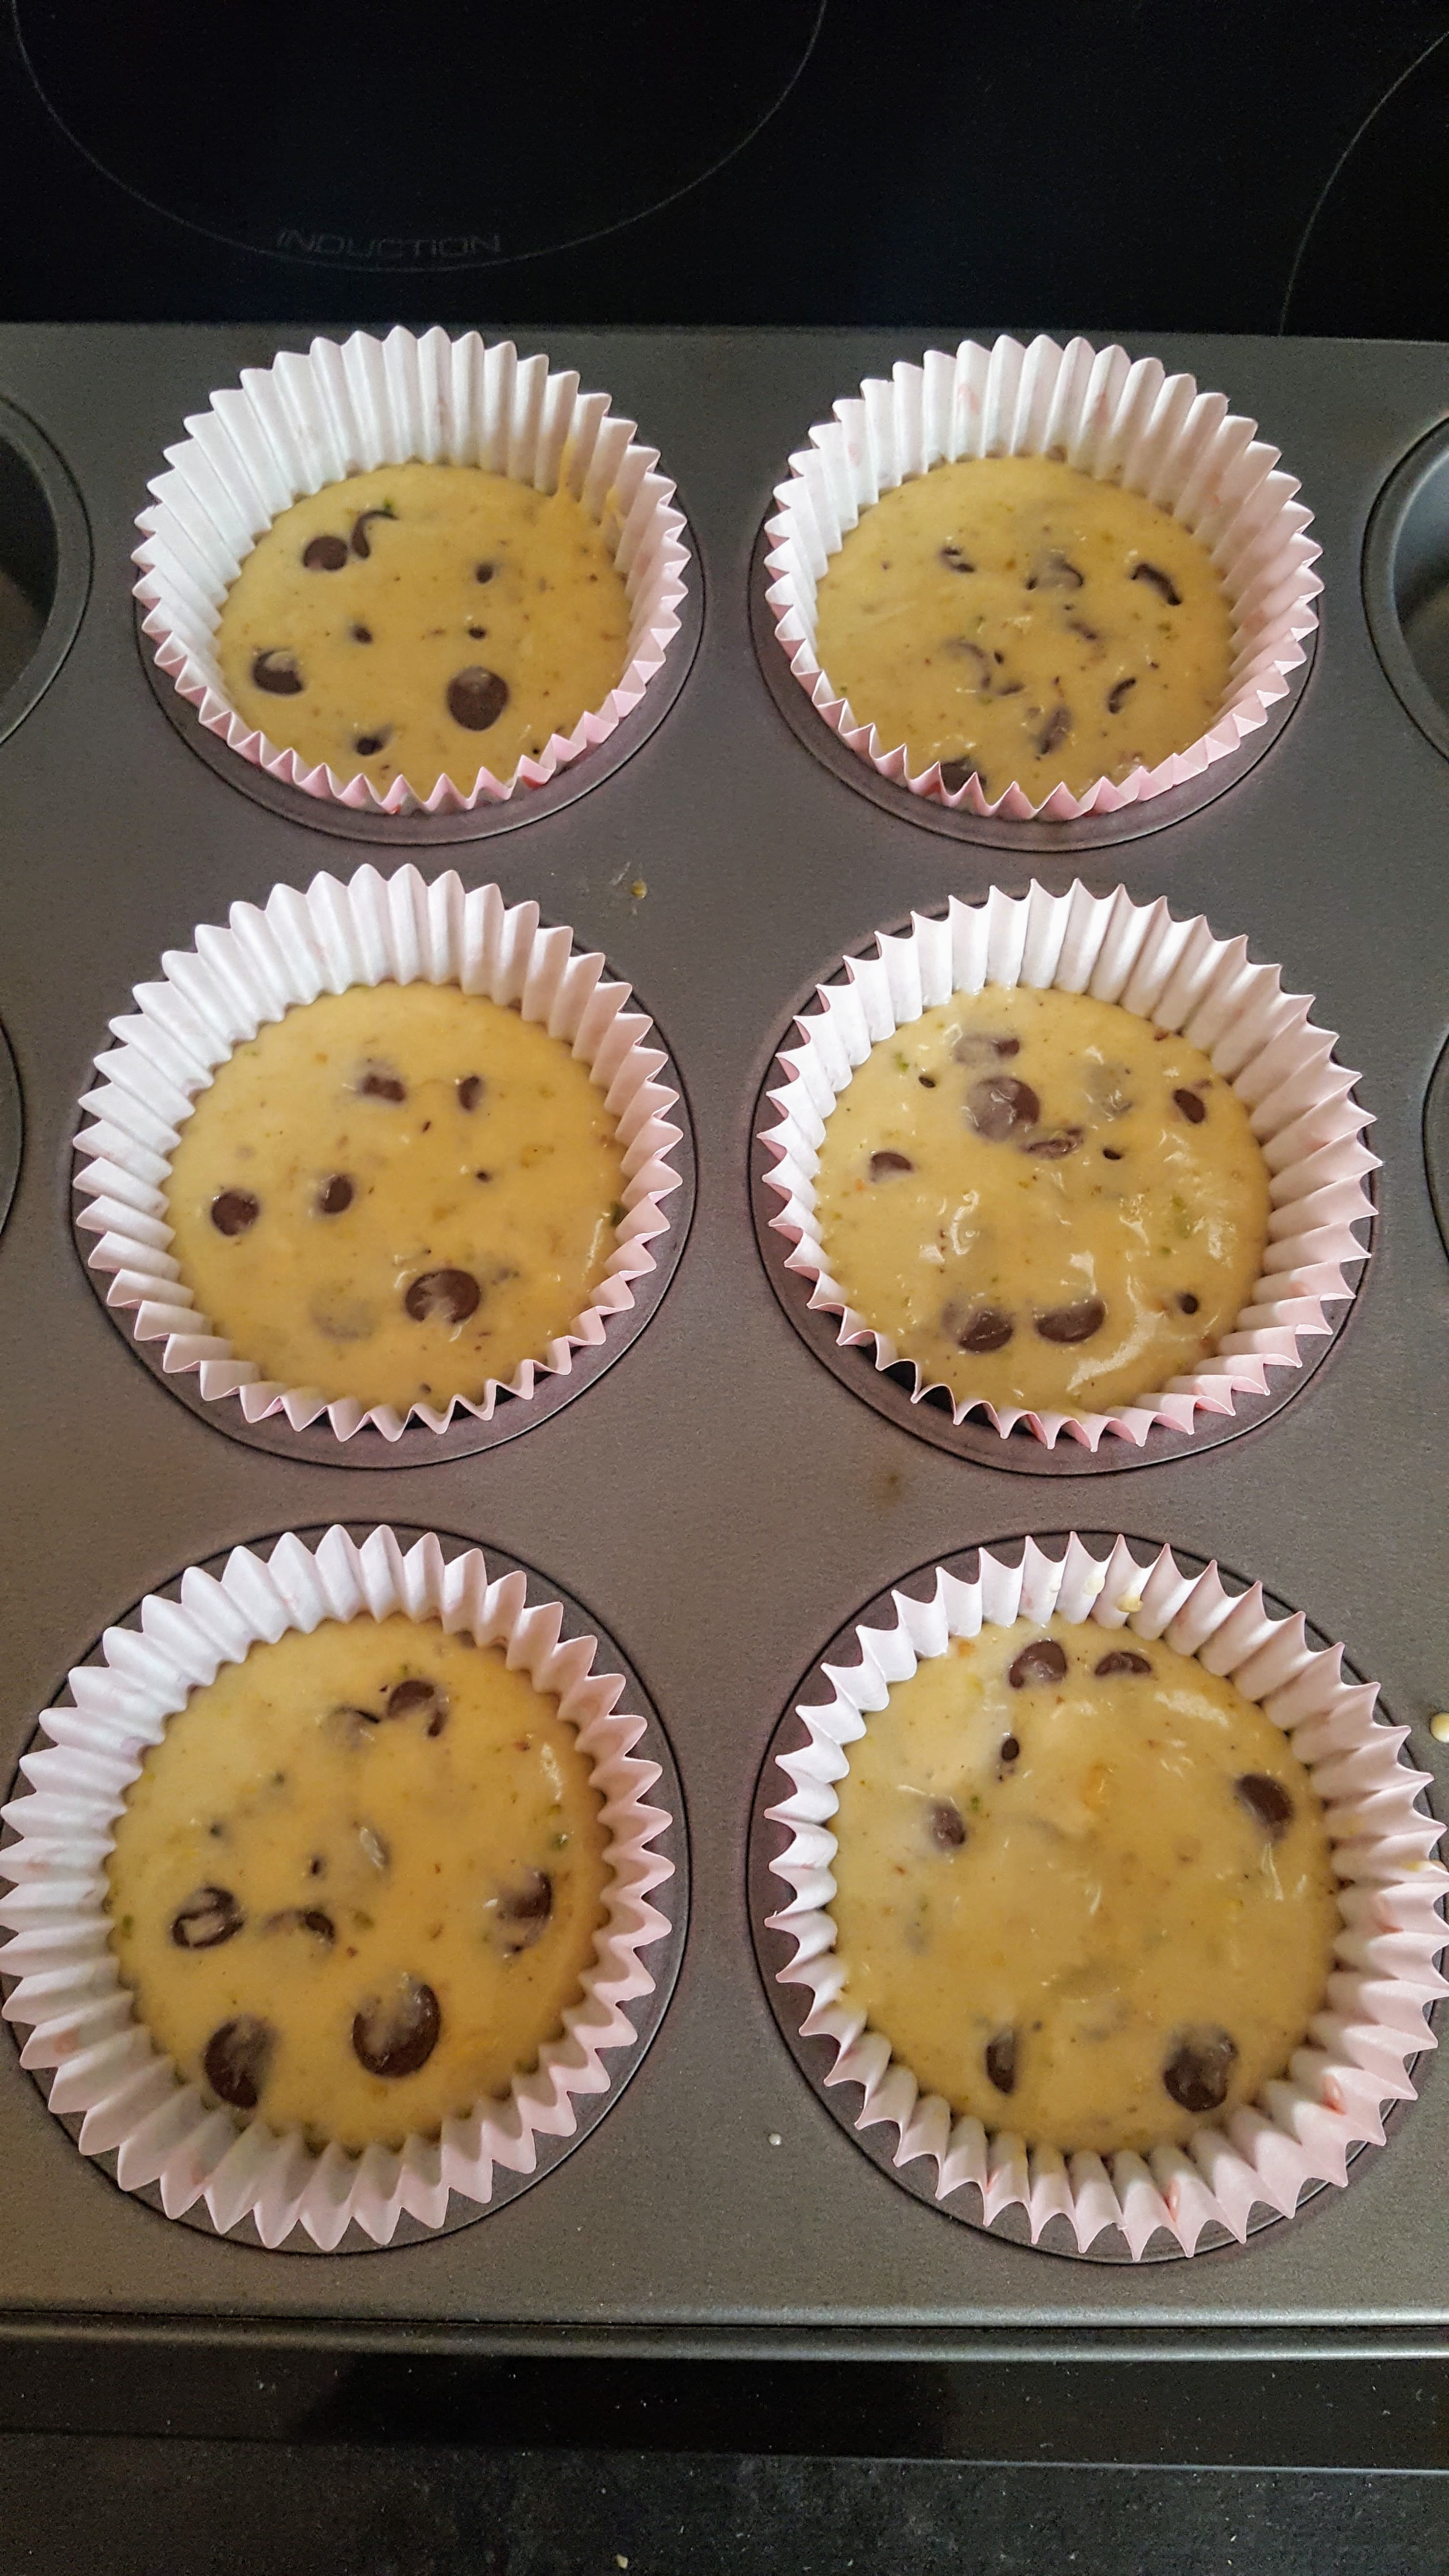


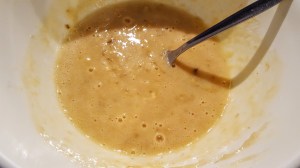
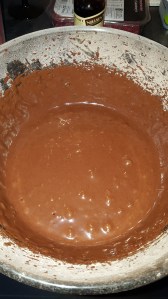
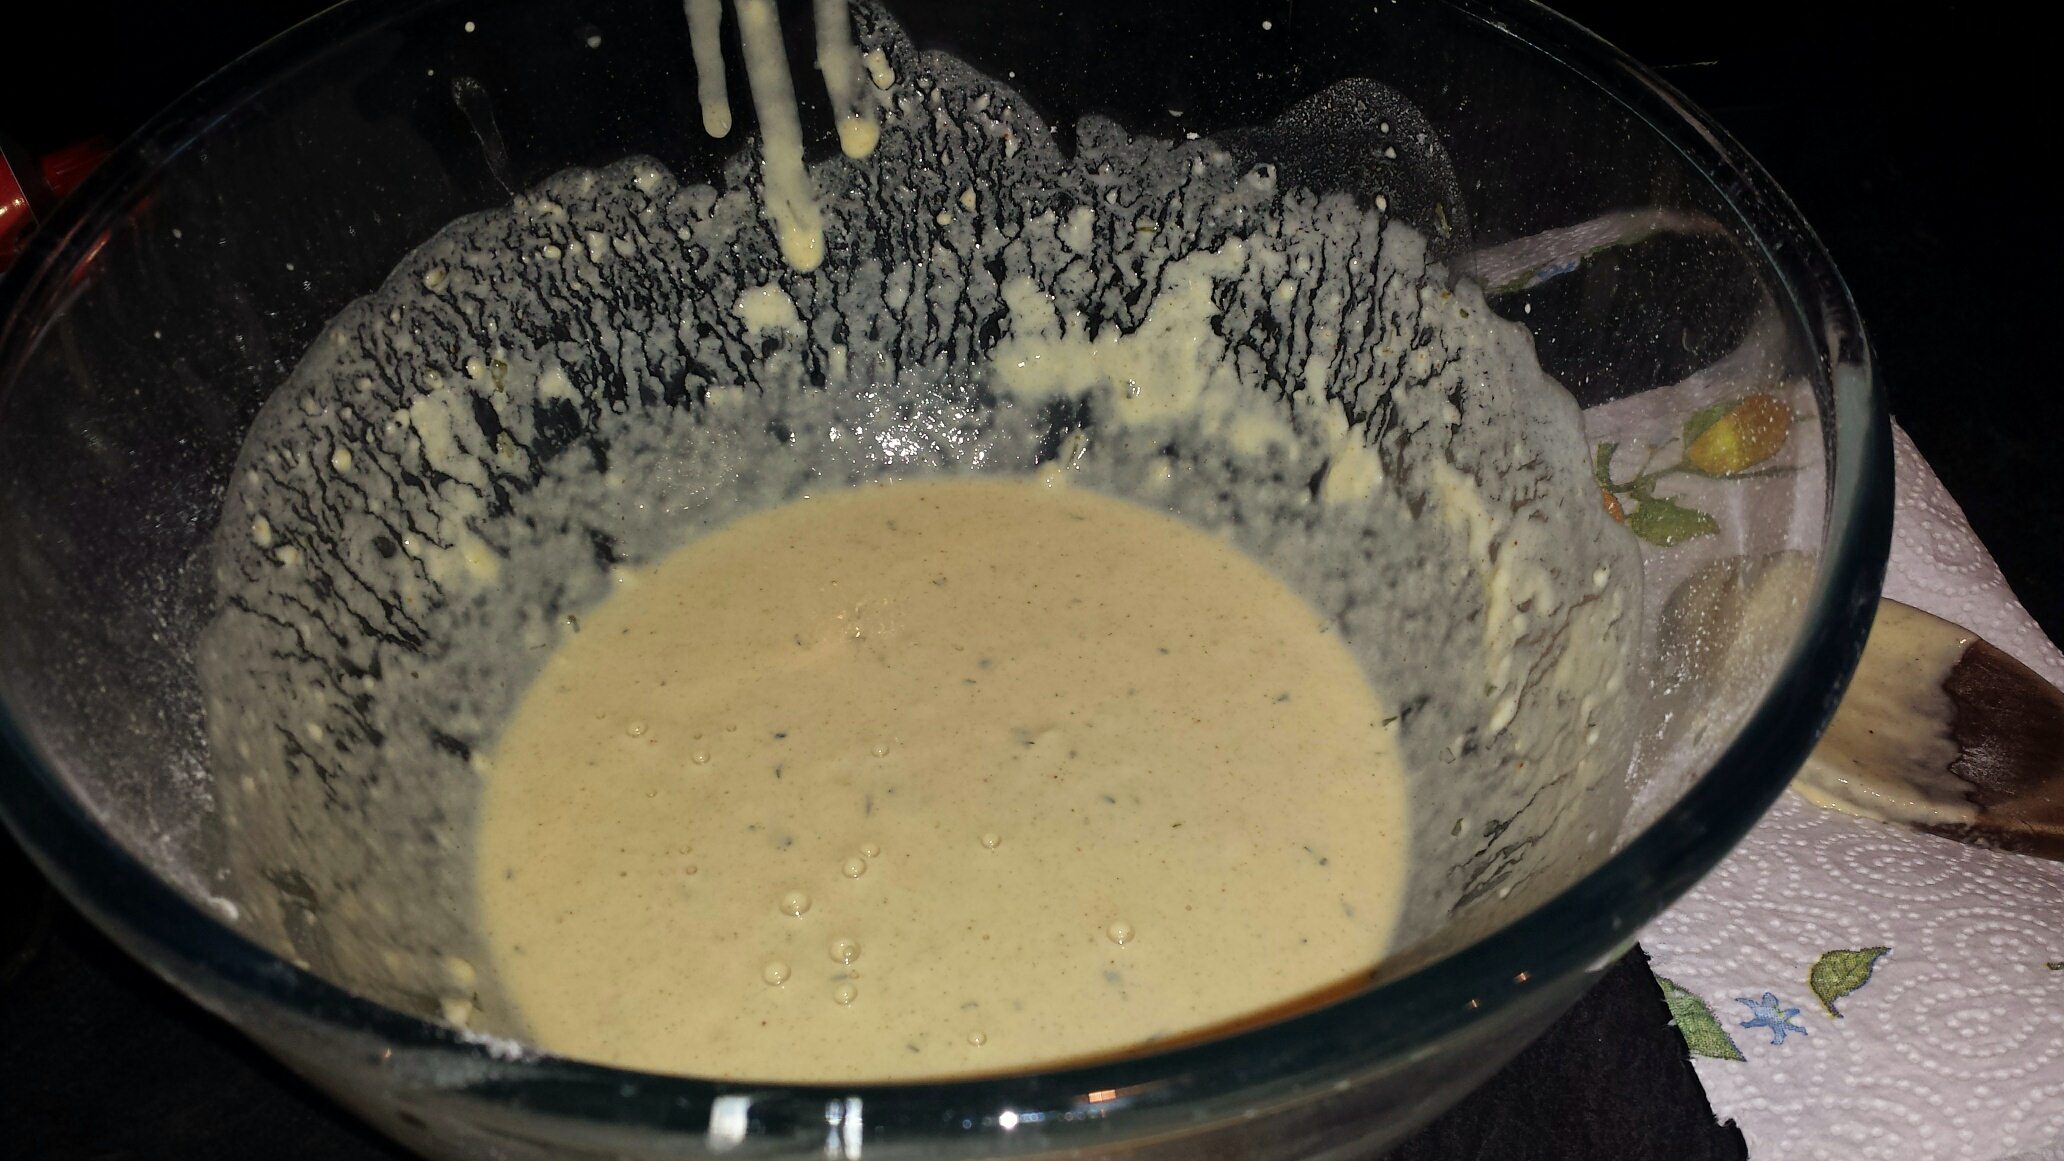
 wrong batch
  very thick batter


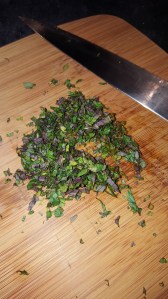
 Red Russian Kale.


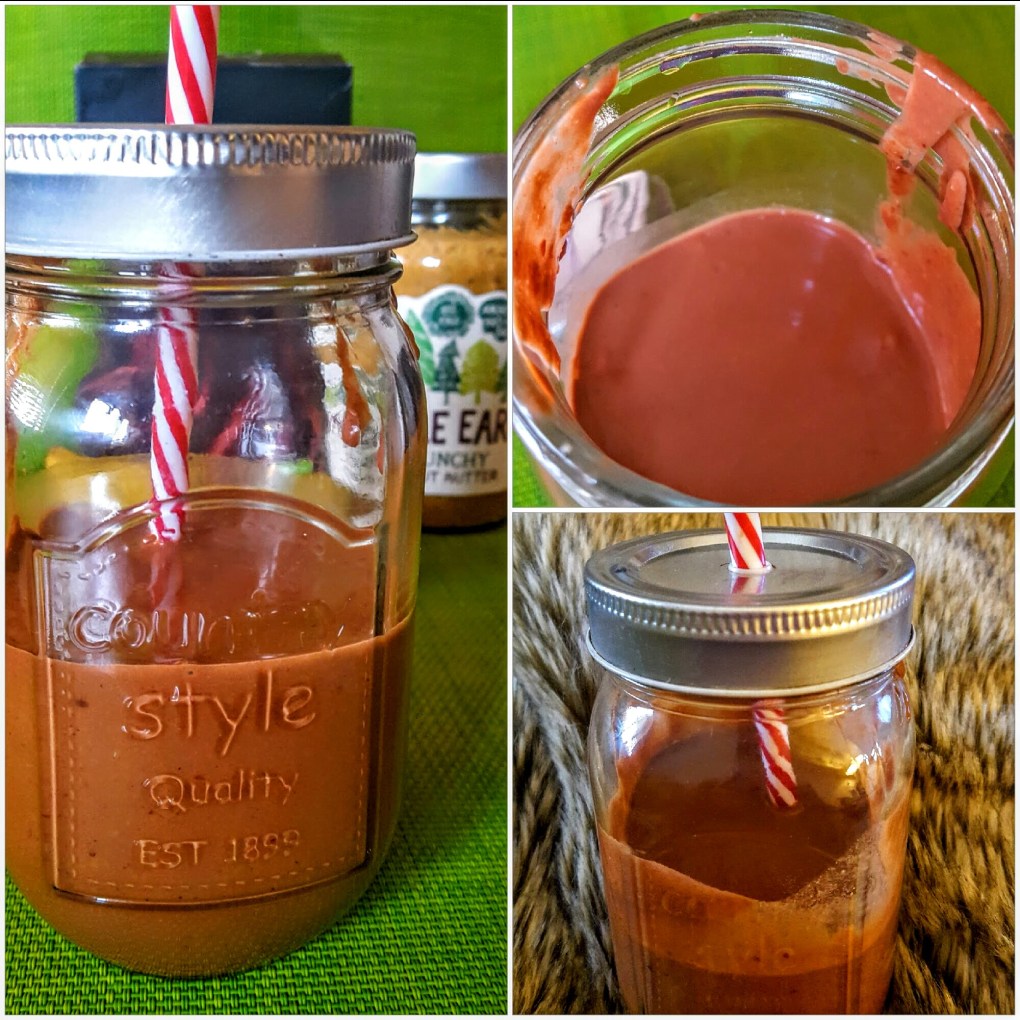


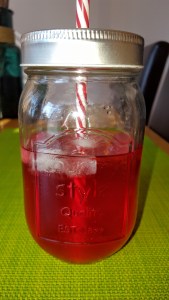


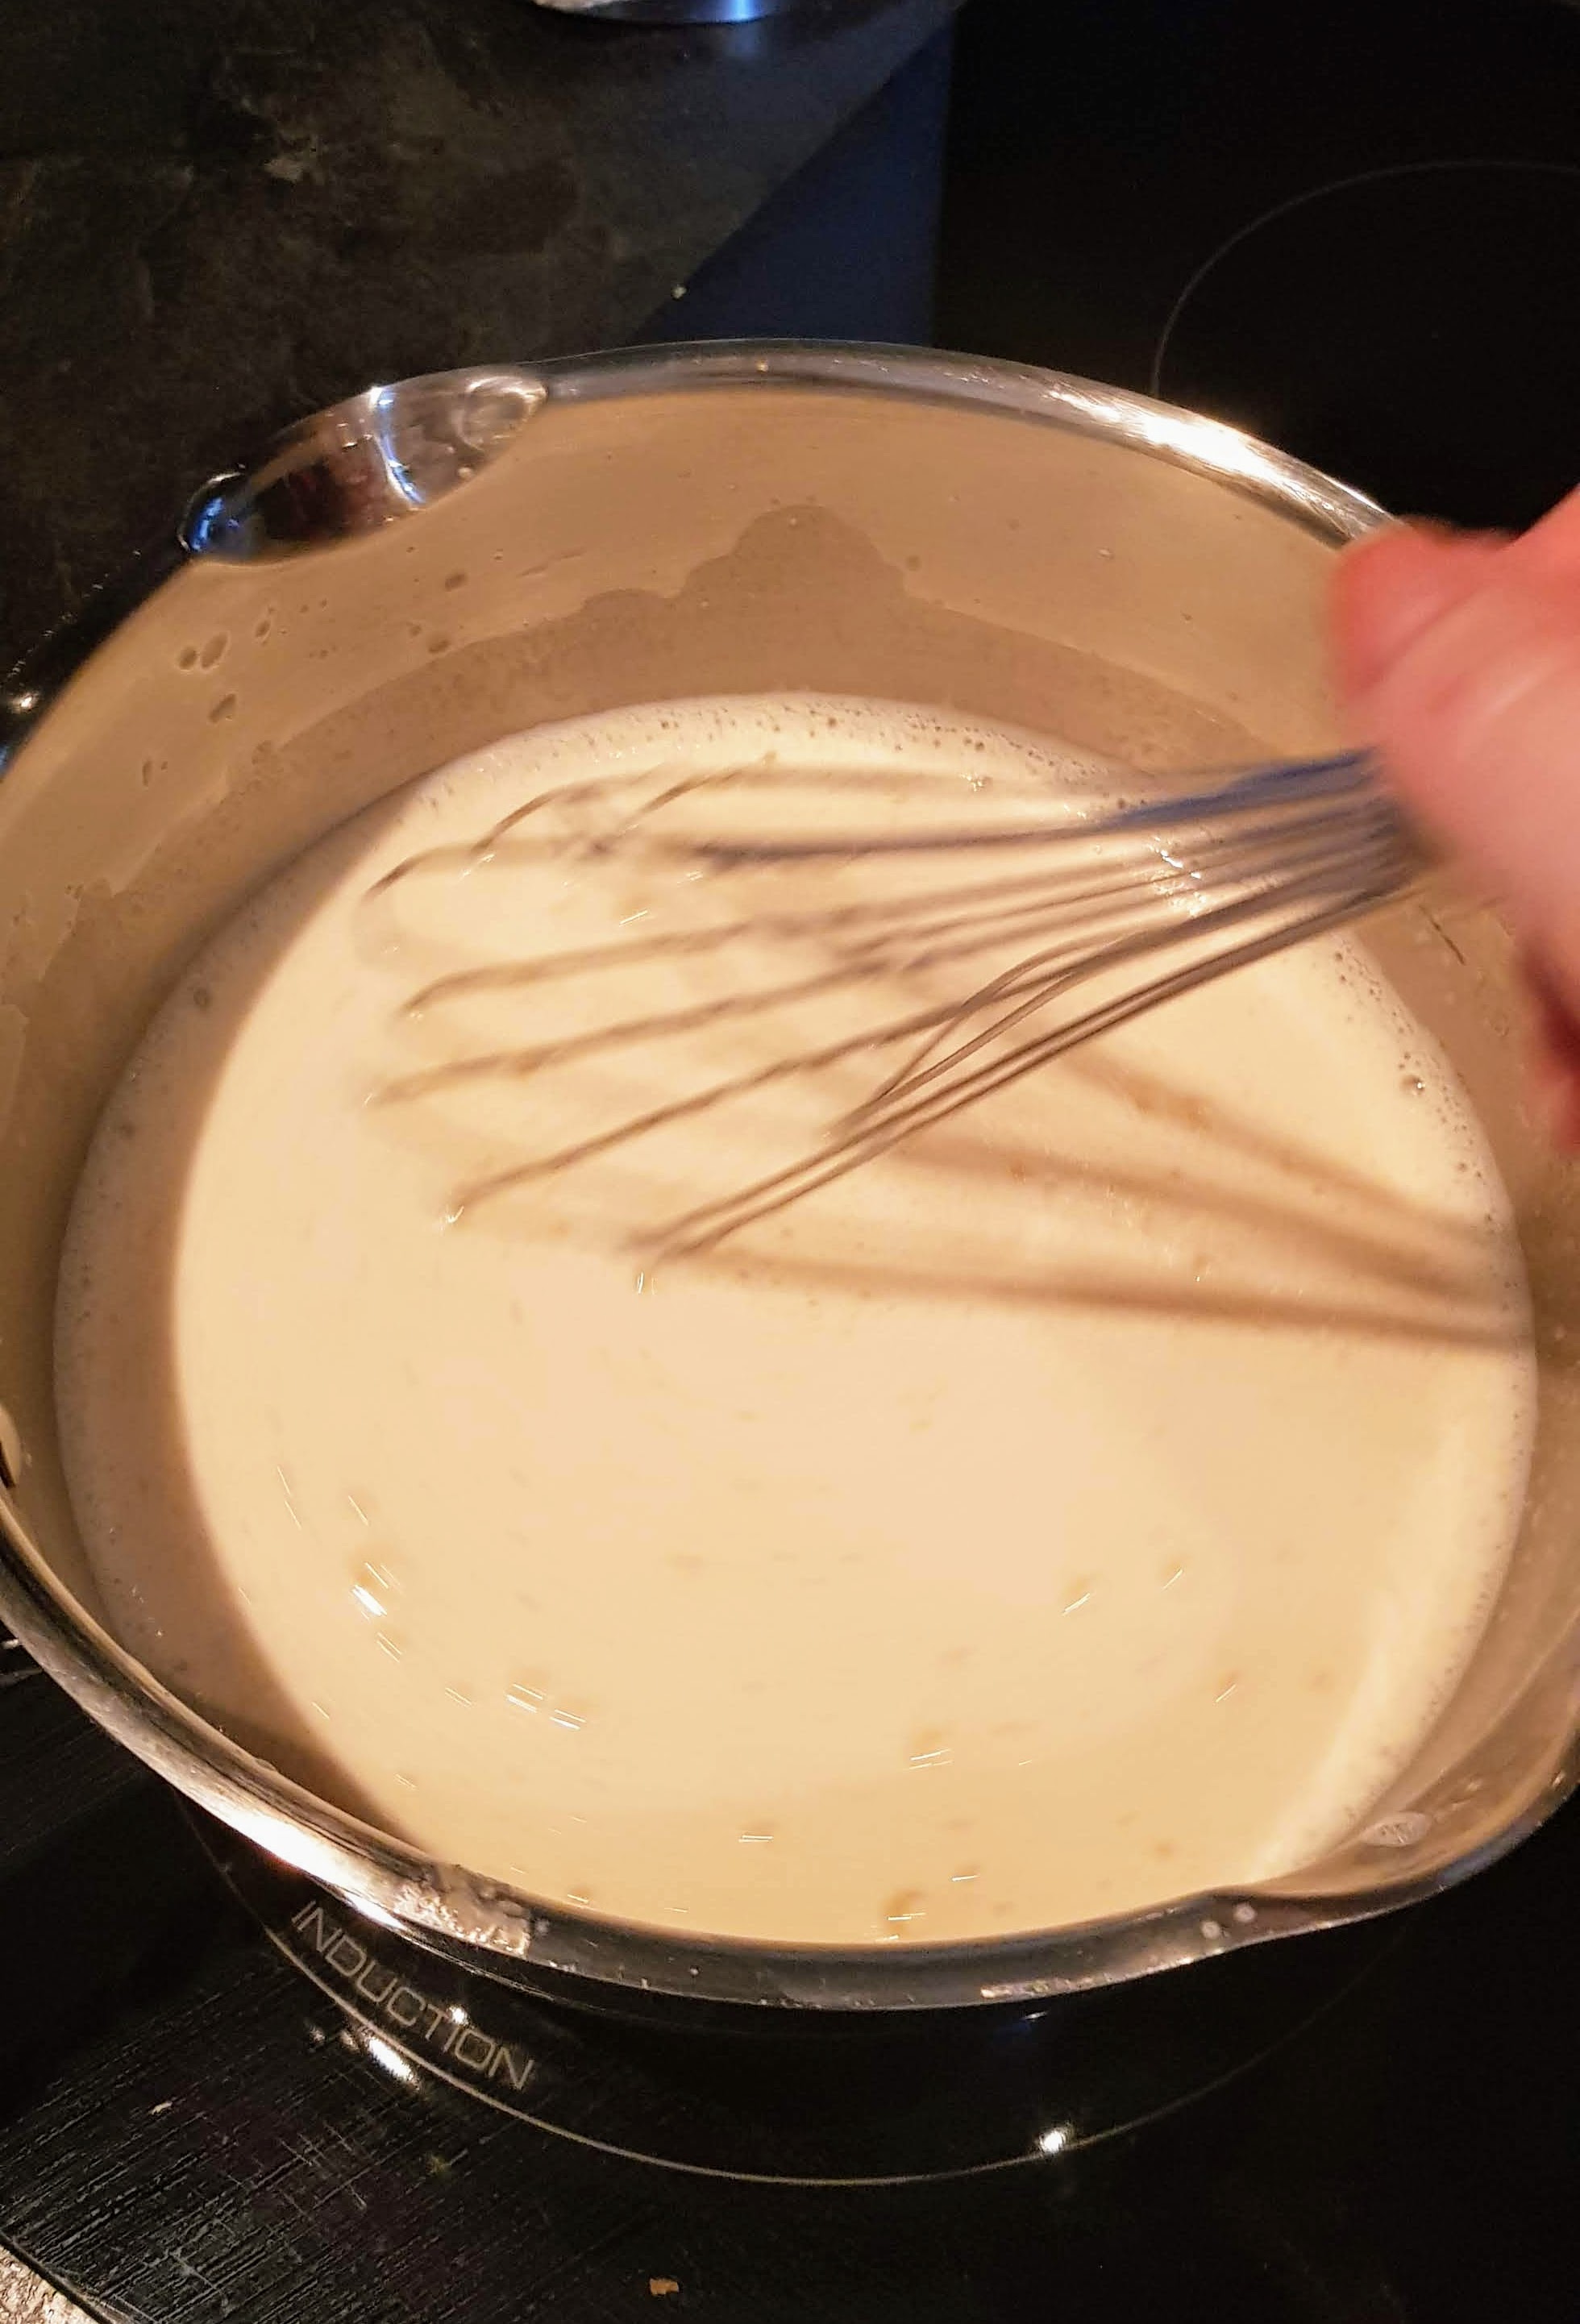
 Just starting out……..
  after 5 minutes…….still no where near stiff………sip…..sip……sip……
 Whoohoooo….we’re there….several sips of wine later!


You must be logged in to post a comment.