


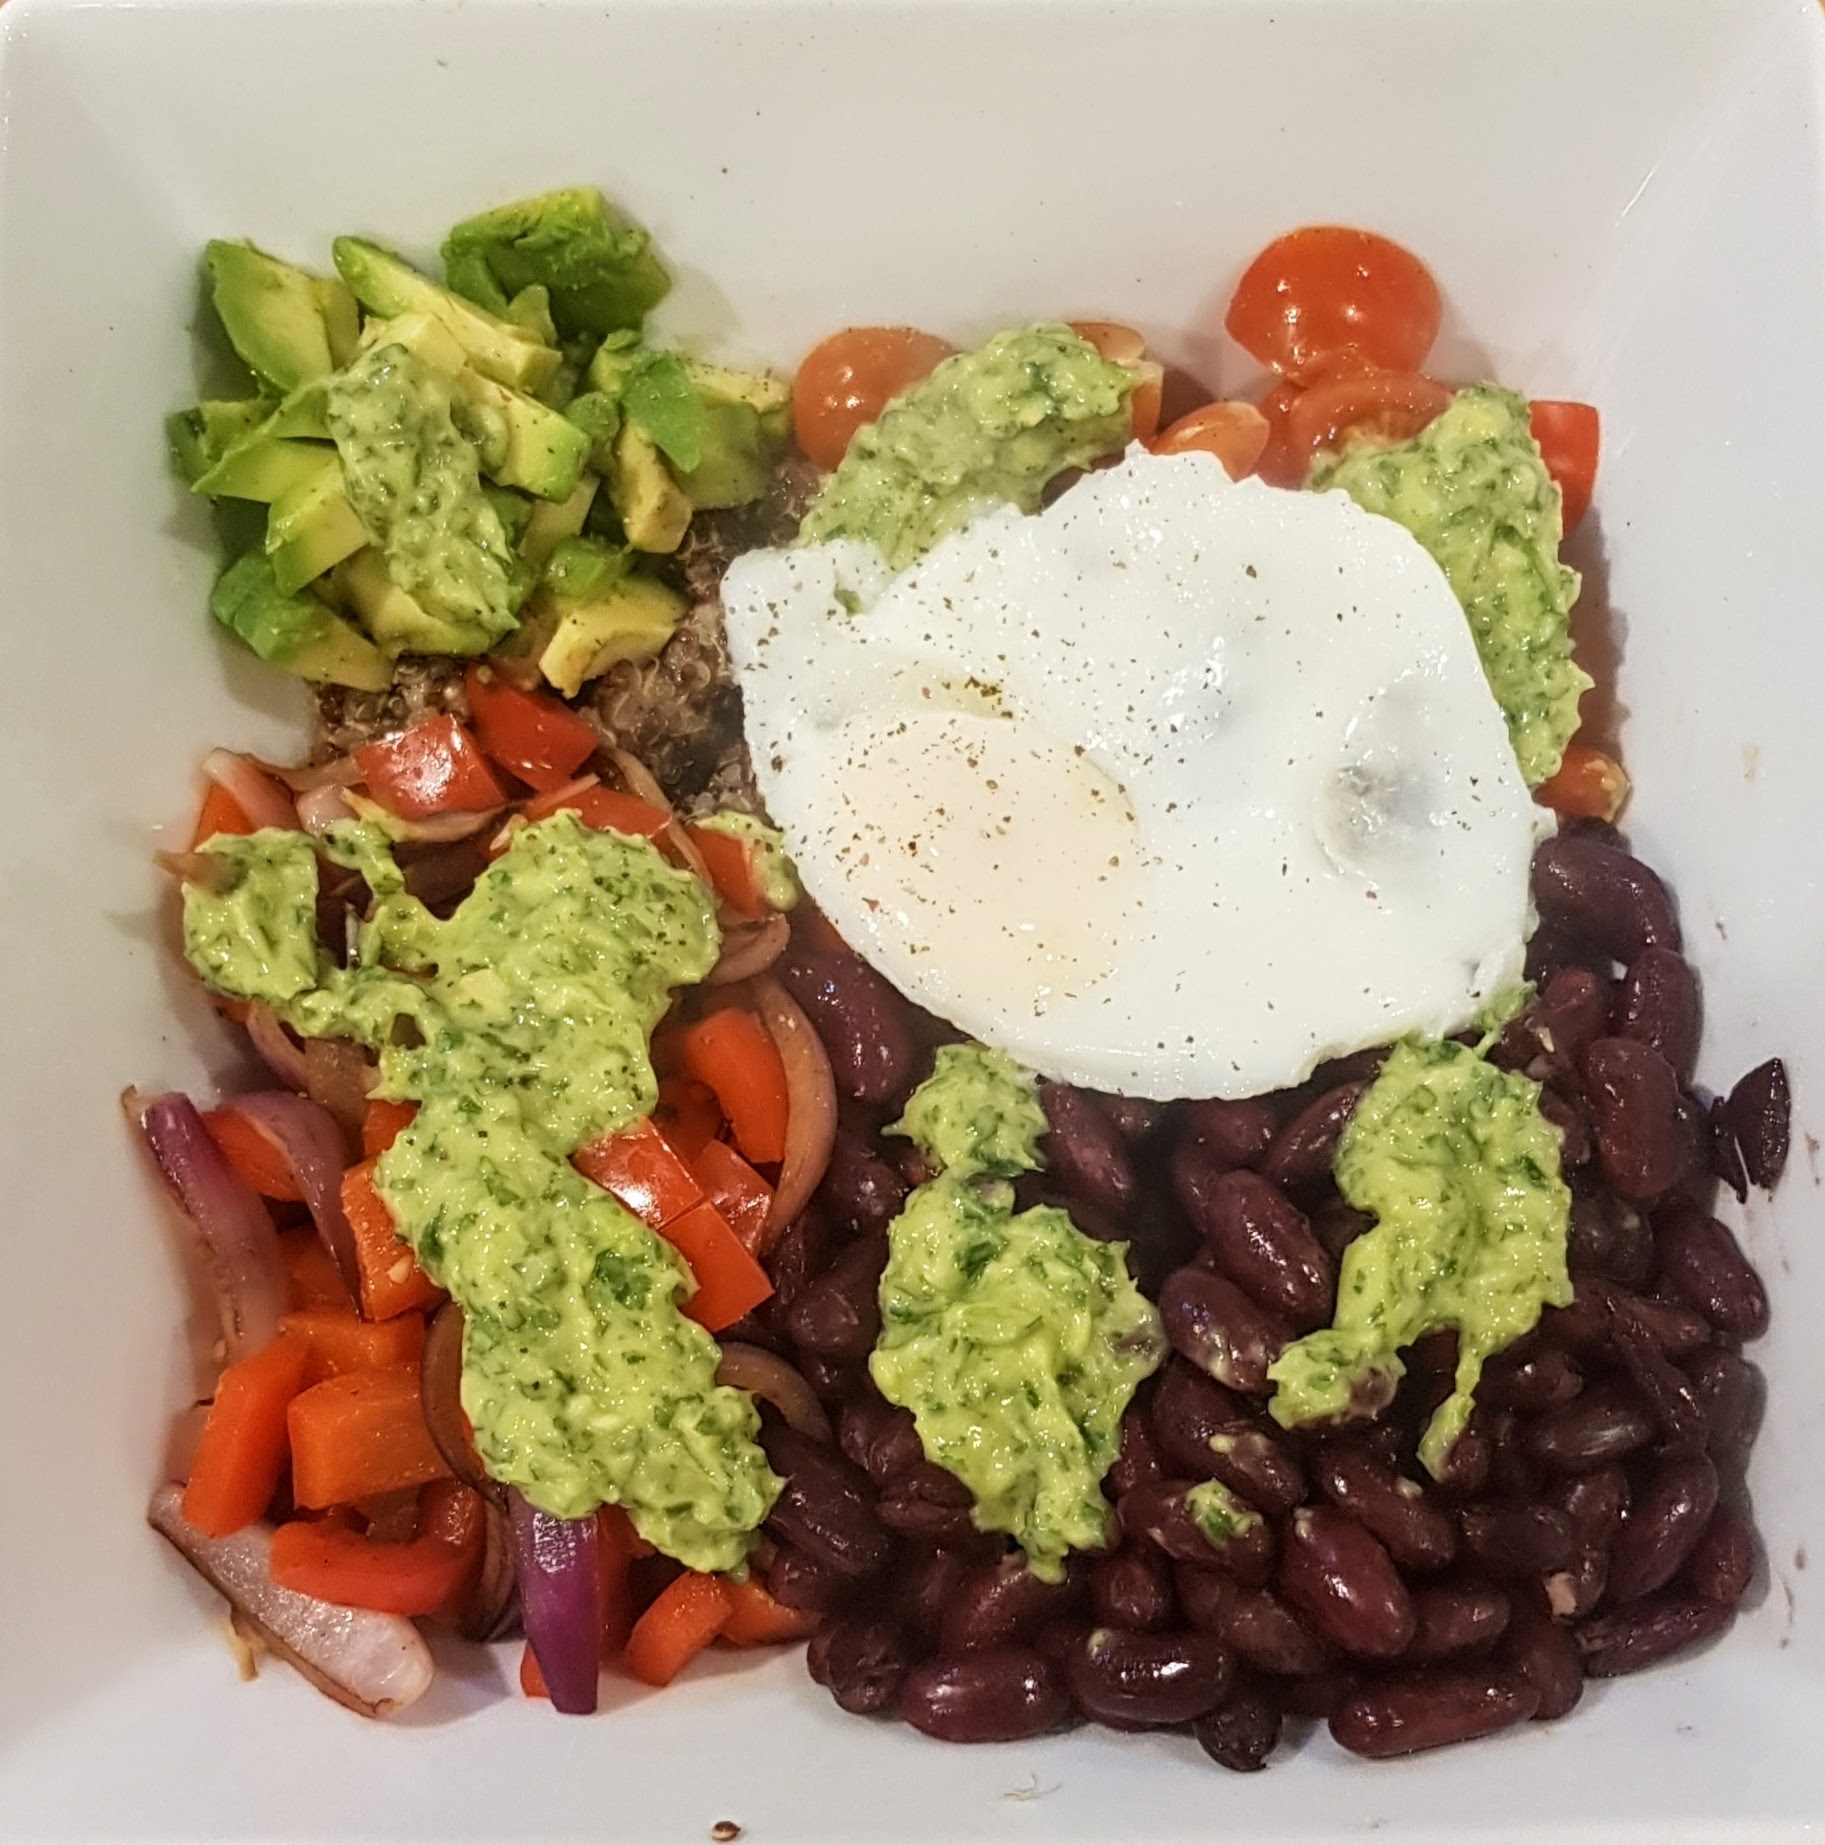
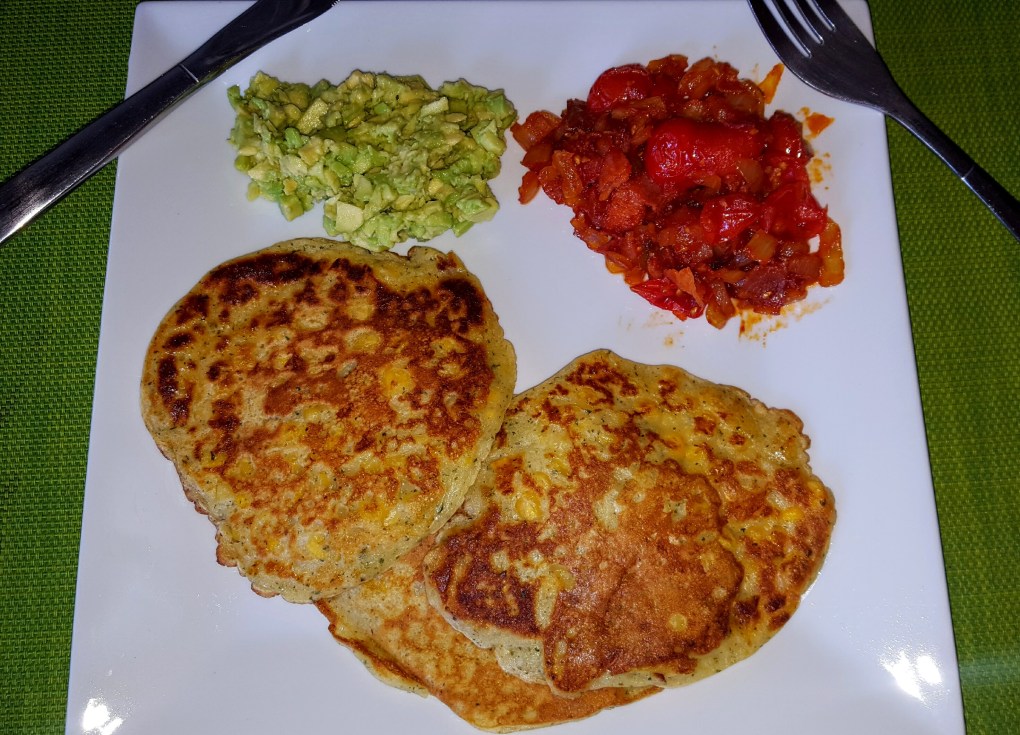
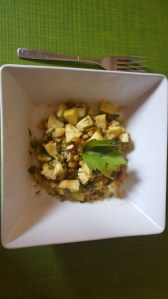
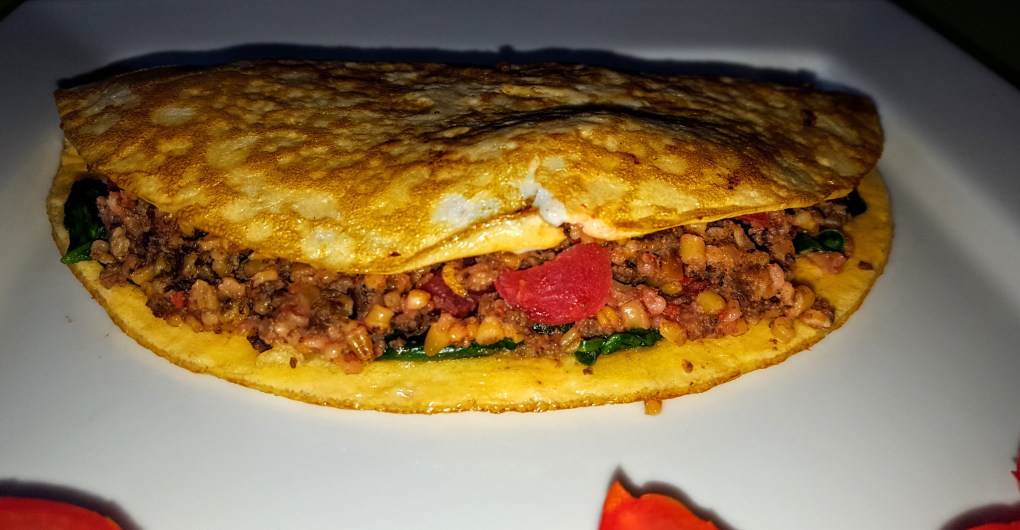
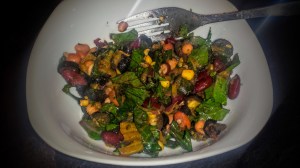
I had the pleasure of attending a live cooking session with Chef Ann Nolan (training chef with Whirlpool Cooperation) recently, the session was very informative and I learned a few tricks that I never knew! ‘Everyday is a school day as they say’, One of the recipes was this delicious Vegetable Quinoa Bowl and I just had to share with all of you as it was absolutely mouthwatering, so refreshing on the palate. The great thing about this recipe is that it is simple to make and if you don’t like an ingredient it is easily changeable to something you do. We all love the simple things in life, do we not?
Quinoa is higher in nutrients than most grains with protein & fibre being the highest and only contains 2g of fat per 100g, so very nutritious and not fatty at all. Quinoa is a good source of several minerals, including manganese, phosphorus, copper, iron, magnesium, and zinc. Quinoa may reduce blood cholesterol, blood sugar, and triglycerides. It’s weight loss friendly, gluten-free, and has been shown to increase the nutrient and antioxidant value of gluten-free diets.
Serves 4
For the Quinoa:-
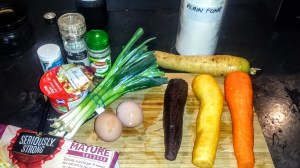
125g Raw Quinoa
350ml Vegetable Stock
1/4 Tsp Salt
1/4 Tsp Black Pepper
1 Tsp Olive Oil
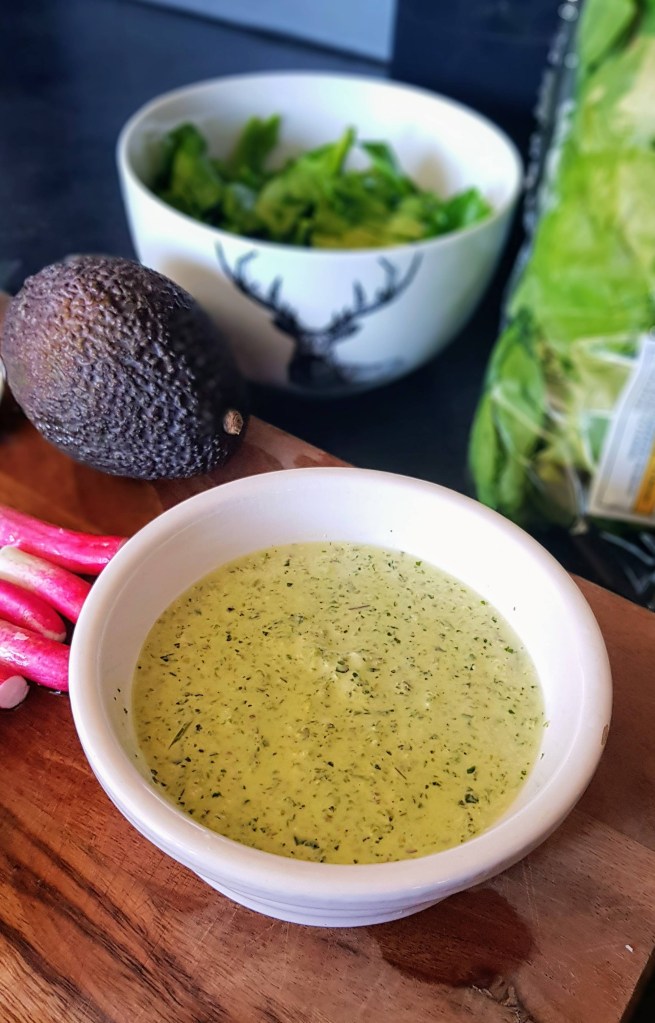
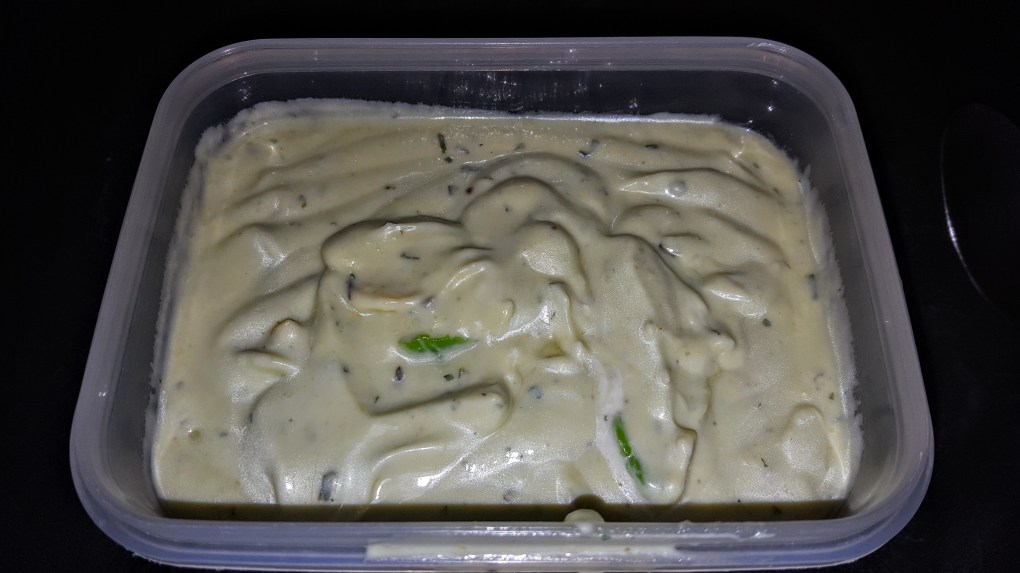
For the Coriander Lime Dressing:-
Handful of coriander, washed, keep stem
6 Spring Onions, roots removed, washed & cut into thirds (use the white part)
1/2 Large Avocado, peeled and diced
3 Limes, squeezed for juice only
1 Tsp Kosher Salt
60 ml Olive Oil
For the Vegetable Toppings:-
1 Red Onion, cut unto 1/4″ slices
2 Red Peppers, cut into 1/4″ slices
400g Tin of Black beans or Red Kidney Beans (you could also use chickpeas)
8-10 Cherry Tomatoes, quartered
1/2 Avocado, diced
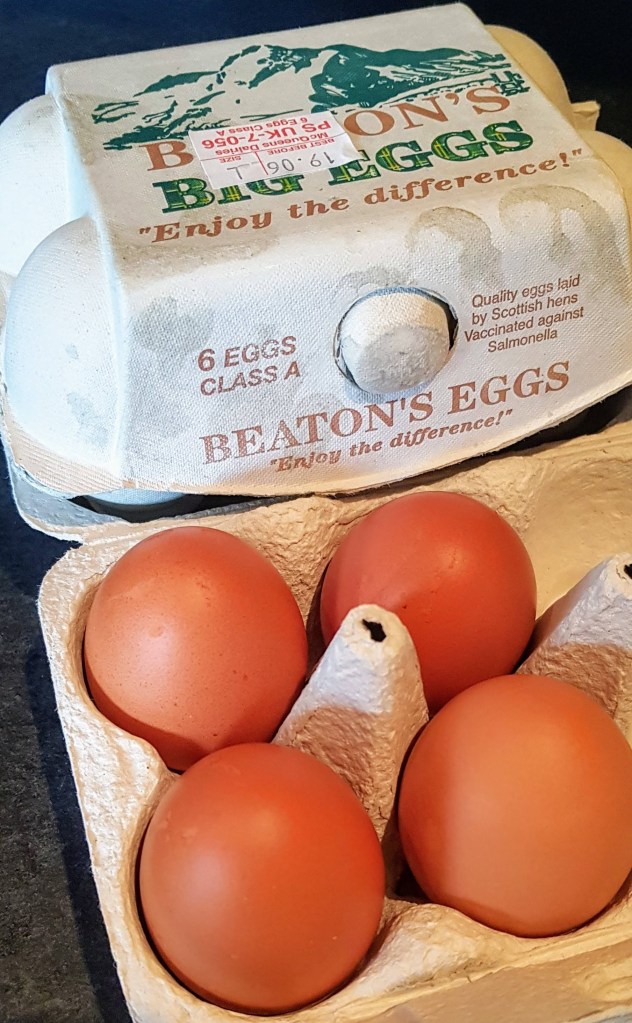
4 Eggs (1 egg per portion)
Spray Oil
Salt & Pepper to taste
- Place the quinoa into a saucepan with the vegetable stock, seasoning & oil, bring to the boil then reduce to a simmer, cover with a lid and simmer for about 15-20 mins until quinoa has absorbed the stock, take off the heat and let sit for 5 minutes. Do not stir while simmering, just leave it, fluff up with a fork after the 5 minutes resting time.
- Meanwhile, lets make the dressing…..place all of the ingredients (except the oil) into a food processor and blend together, then slowly drizzle in the oil scraping down the sides as you go along. Keep adding oil until you get the consistency you like, whether that be thick or thin, it’s up to you. Move to the side for later.
- Heat a little spray oil in a saute/ fry pan on medium to high heat, add the red onions & red peppers with seasoning and cook until slightly softened and browned, leave in pan.
- Heat the beans in a small pan on medium heat, 4-5 mins until warmed through.
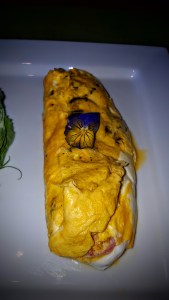
- In a non stick fry pan (with lid) spray a little oil and bring to a medium heat, crack the eggs into the pan & season, let the egg become opaque then add about 4 tablespoons water, put the lid on and steam cook the eggs, no need to turn. Check after about 1-2 minutes, when the egg is white it’s ready, take pan of heat until ready to serve.
- To plate, distribute evenly the quinoa, then peppers and onion, sliced avocado and then the beans and tomatoes, drizzle over your dressing then add the egg to the top….ENJOY!
Alternative options to try:-
*Roasted mushrooms, cauliflower, broccoli, spinach, spring onions, garlic dressing
*Cucumber, chickpeas, tomatoes, Olives, yogurt dressing
*Tofu, carrots, peas, sweetcorn, coriander & sesame dressing
*Roasted Chicken, tomatoes, red pepper, red onion, roasted red pepper & chilli dressing


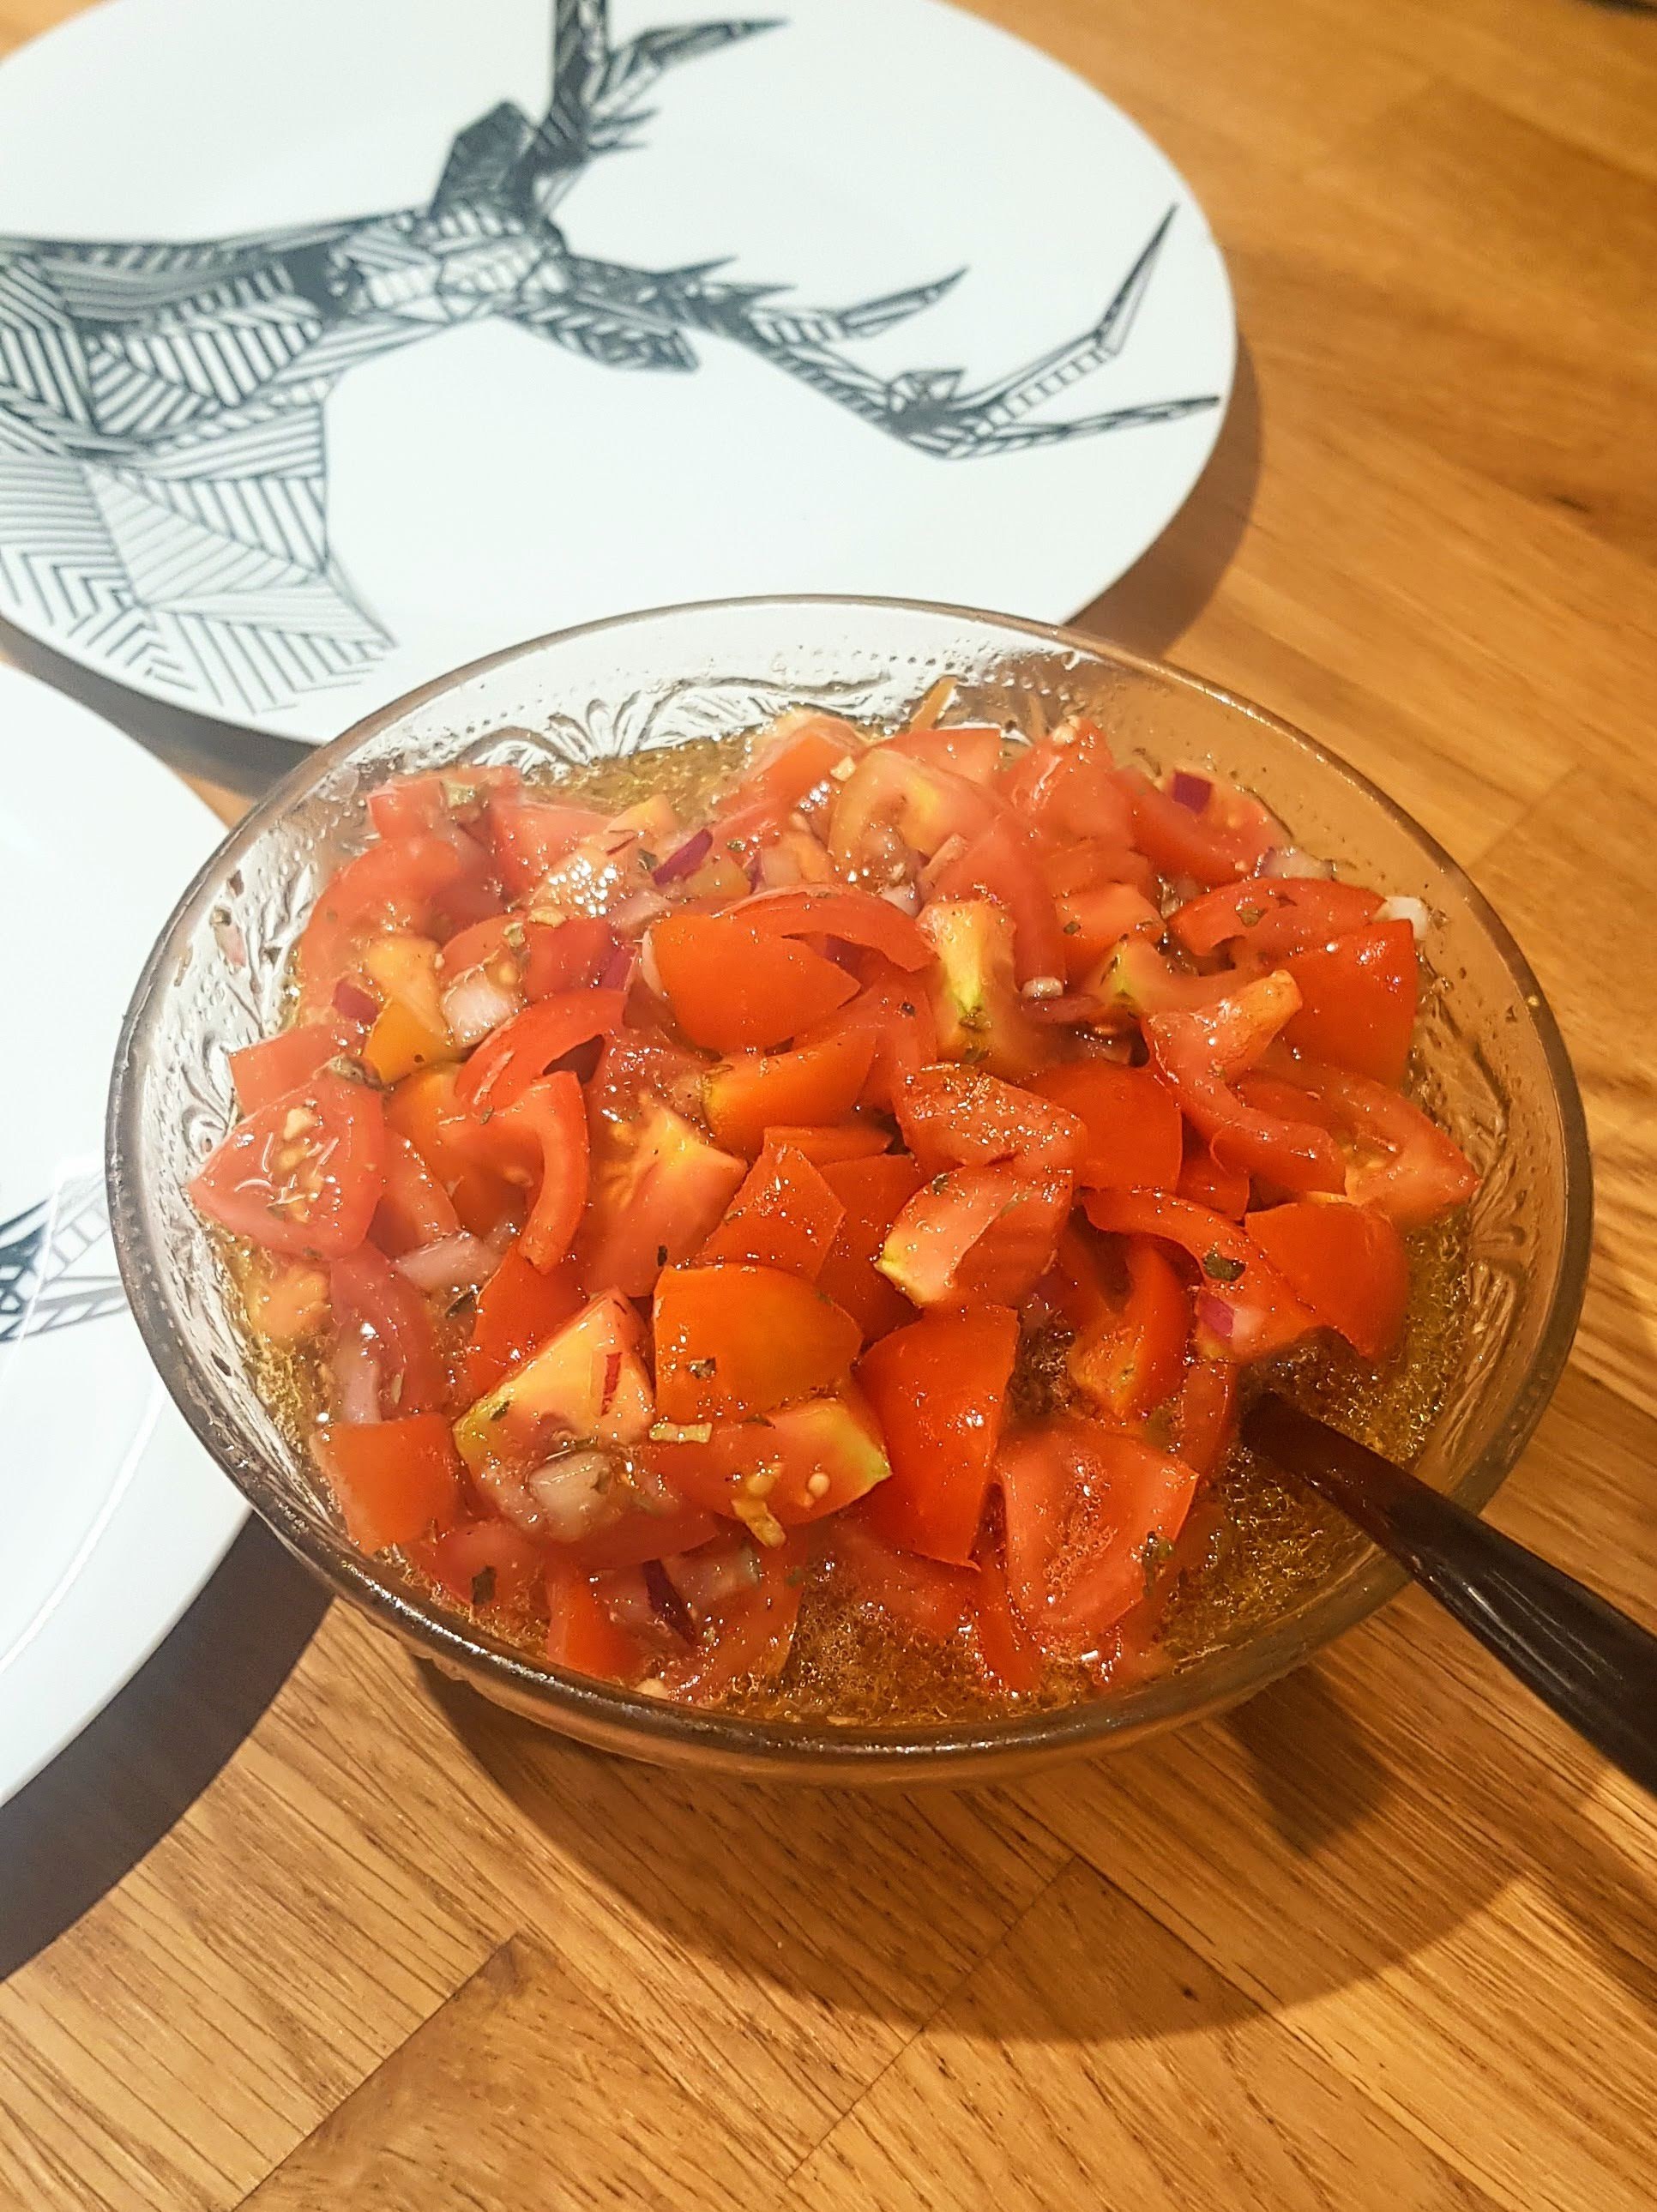


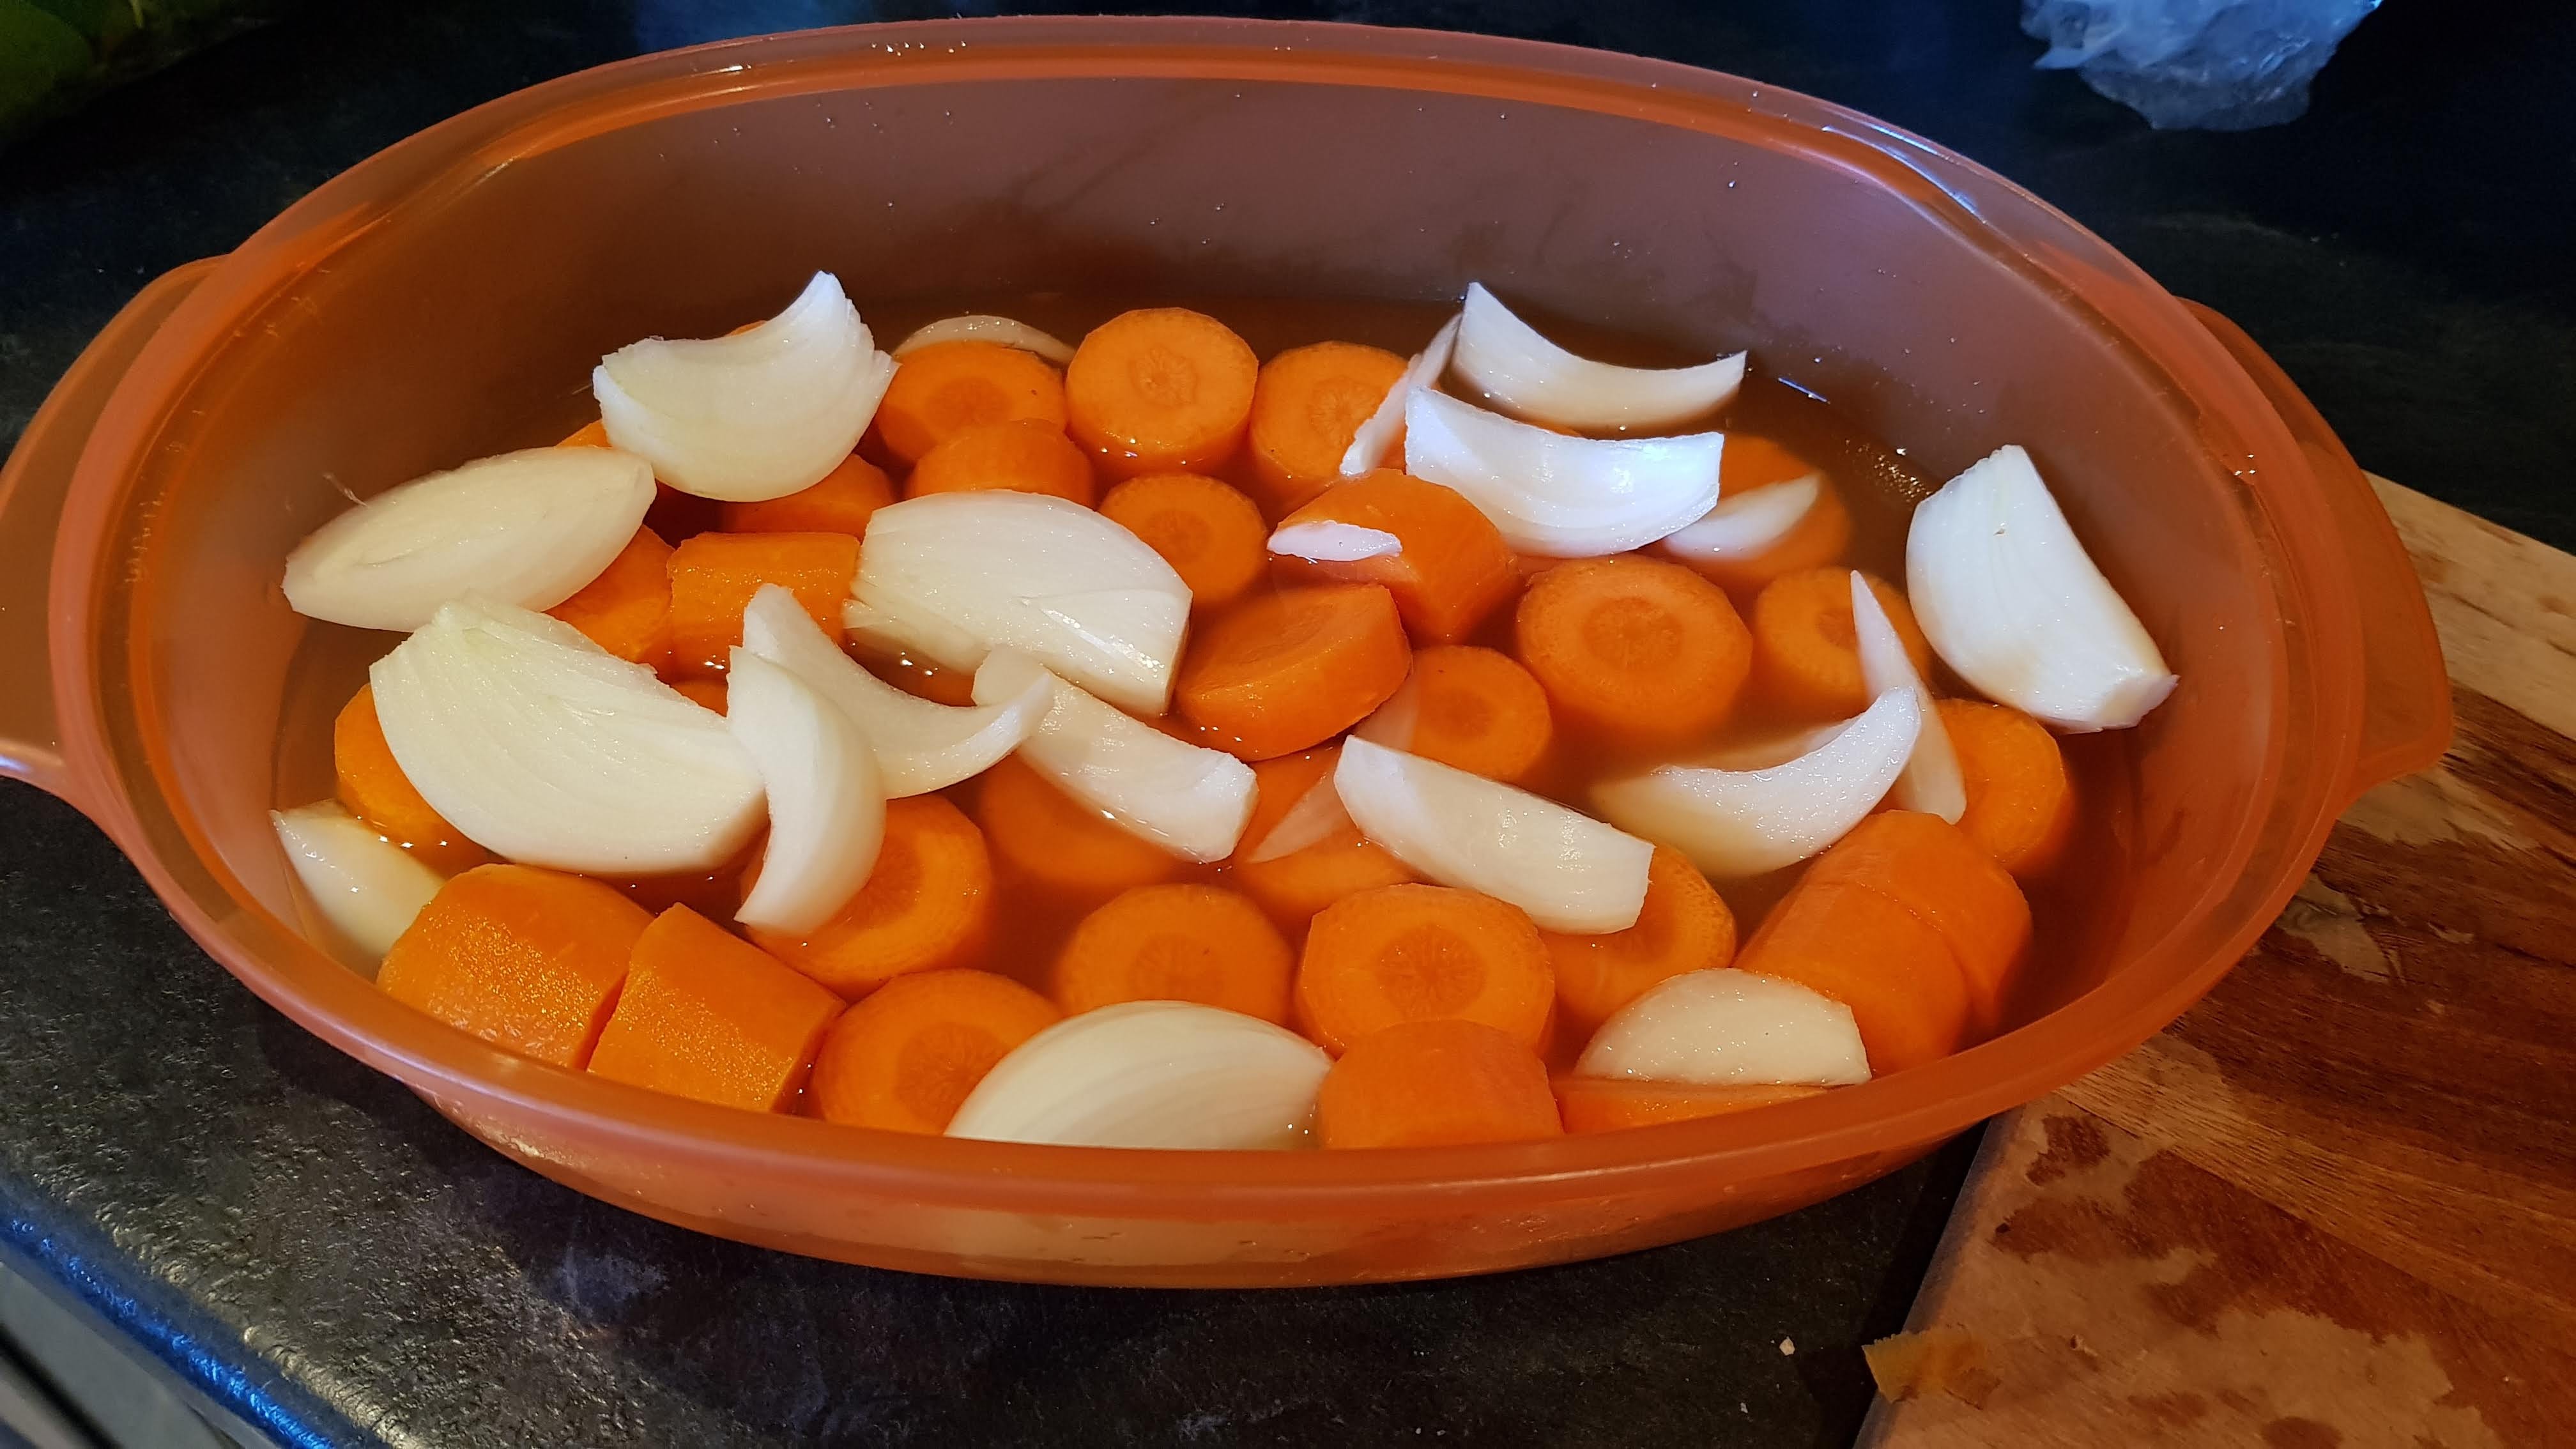

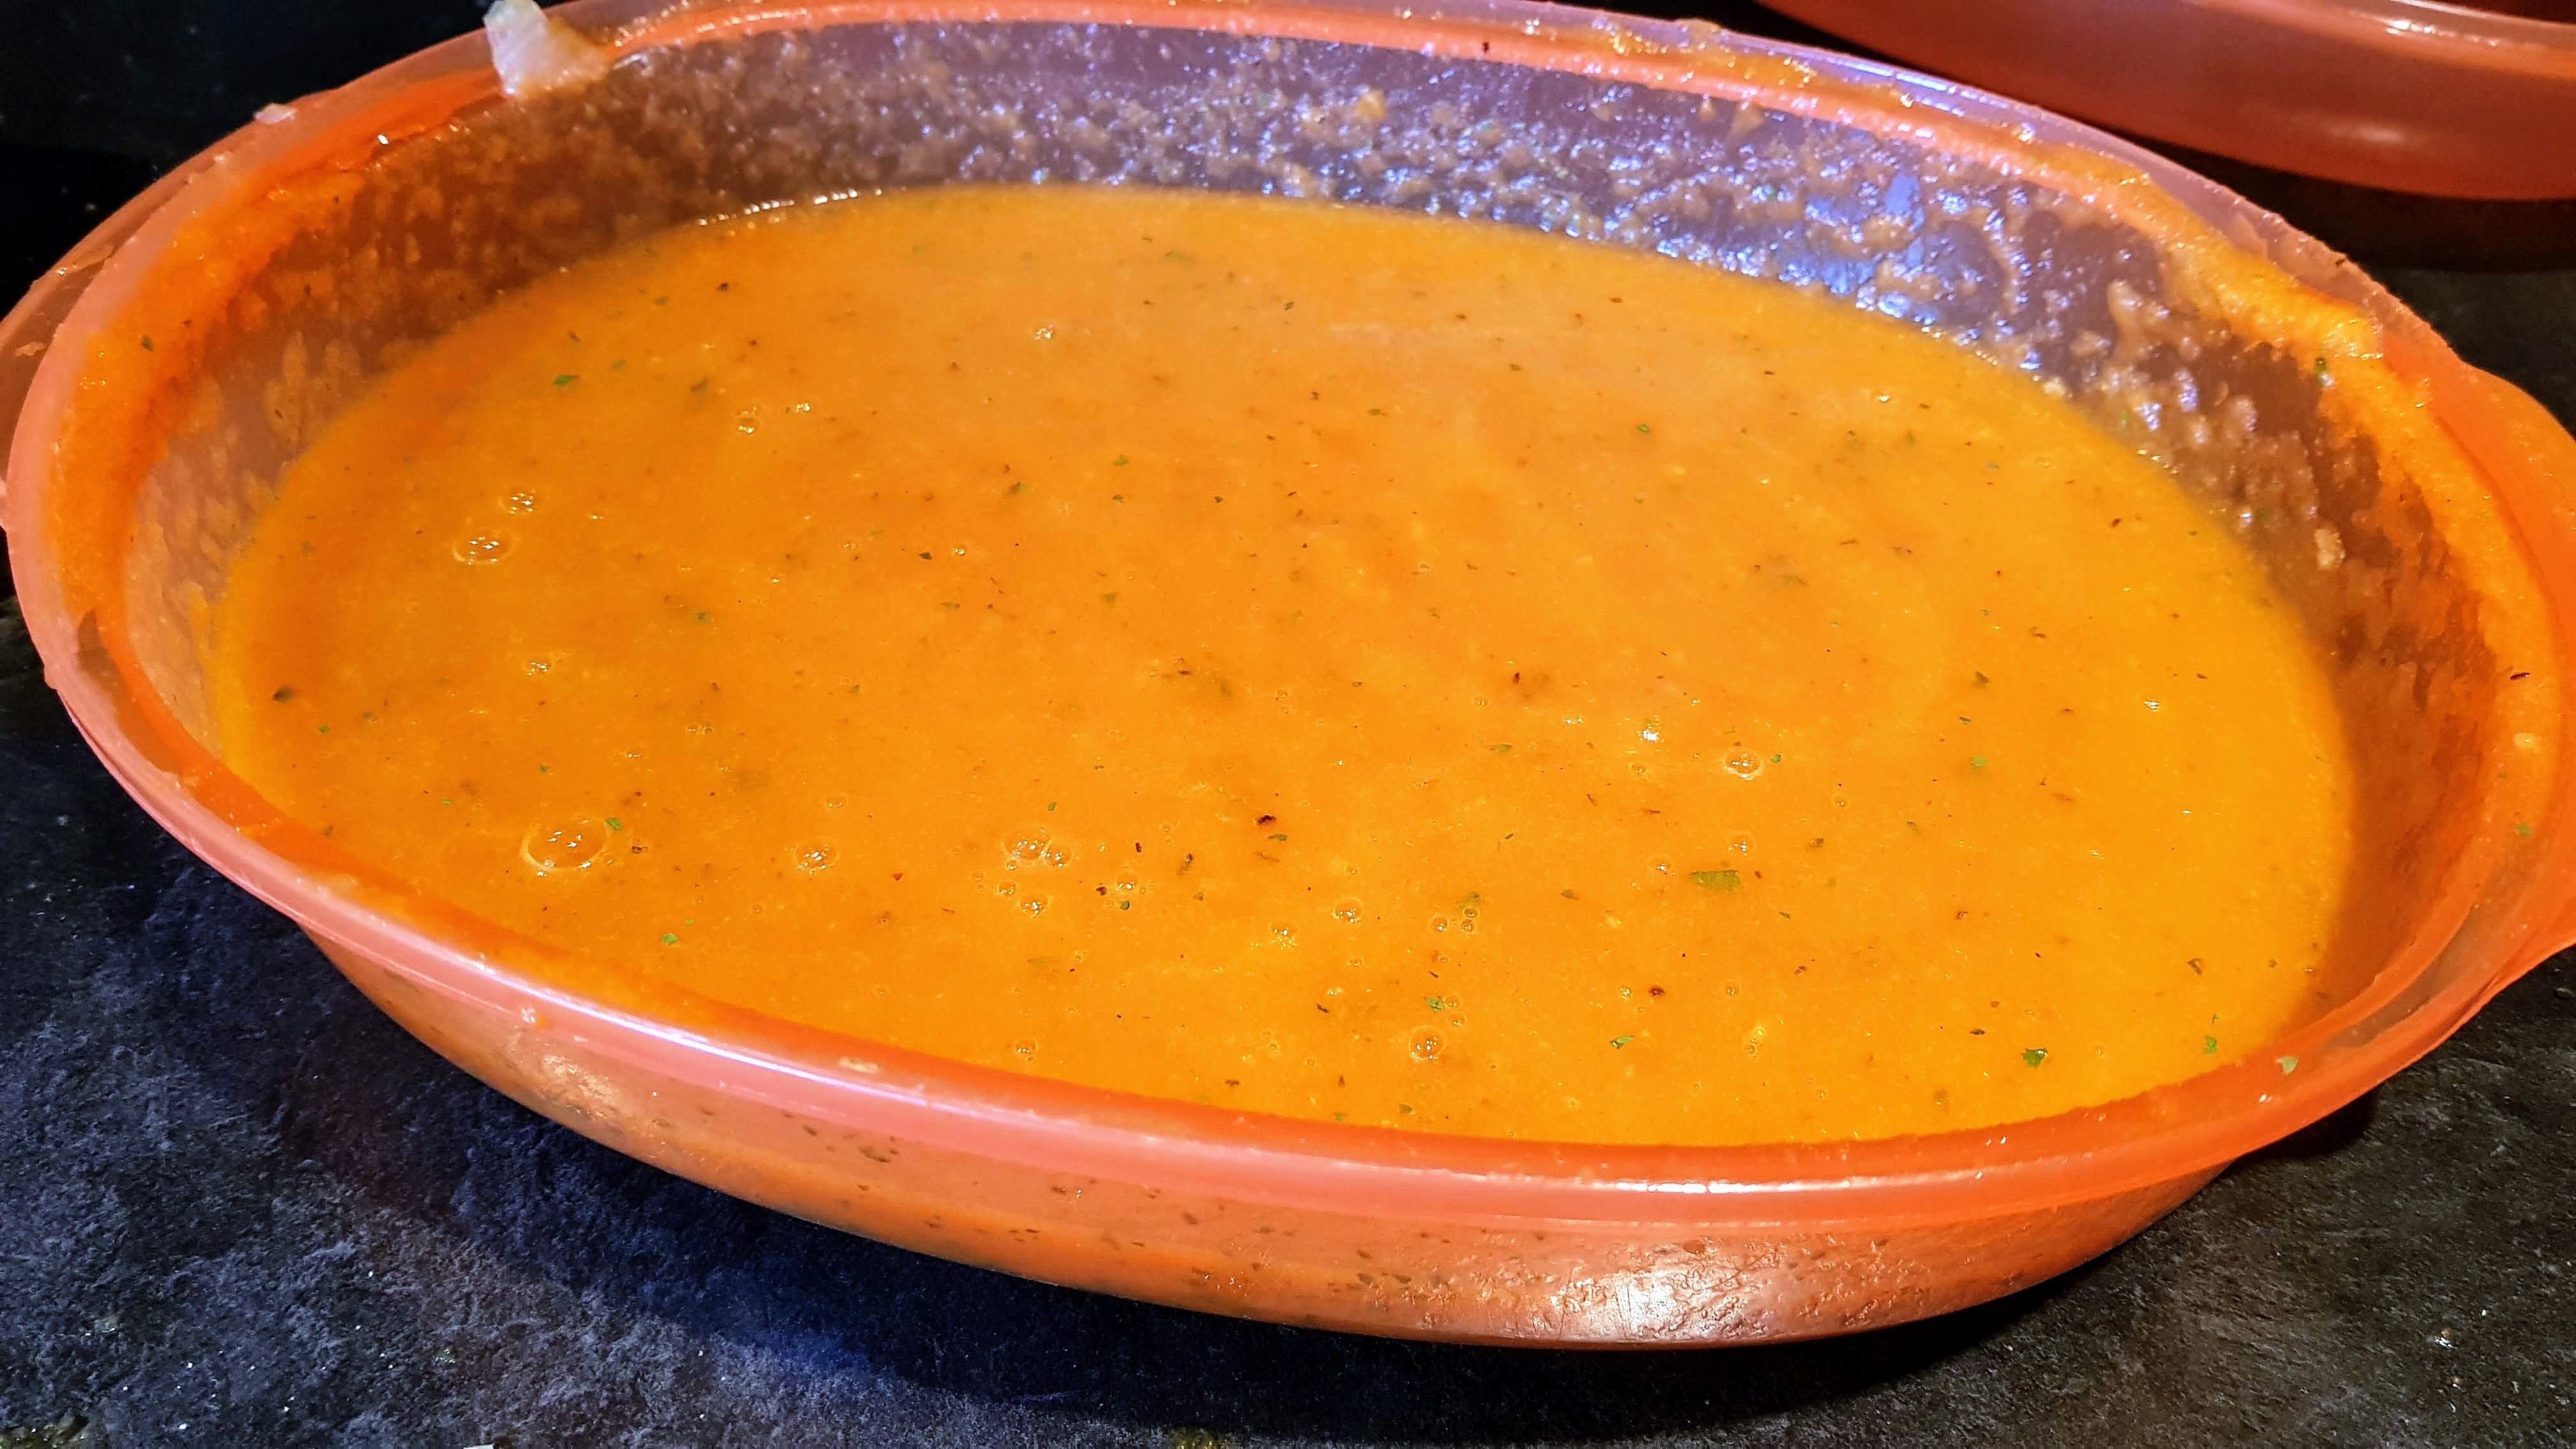


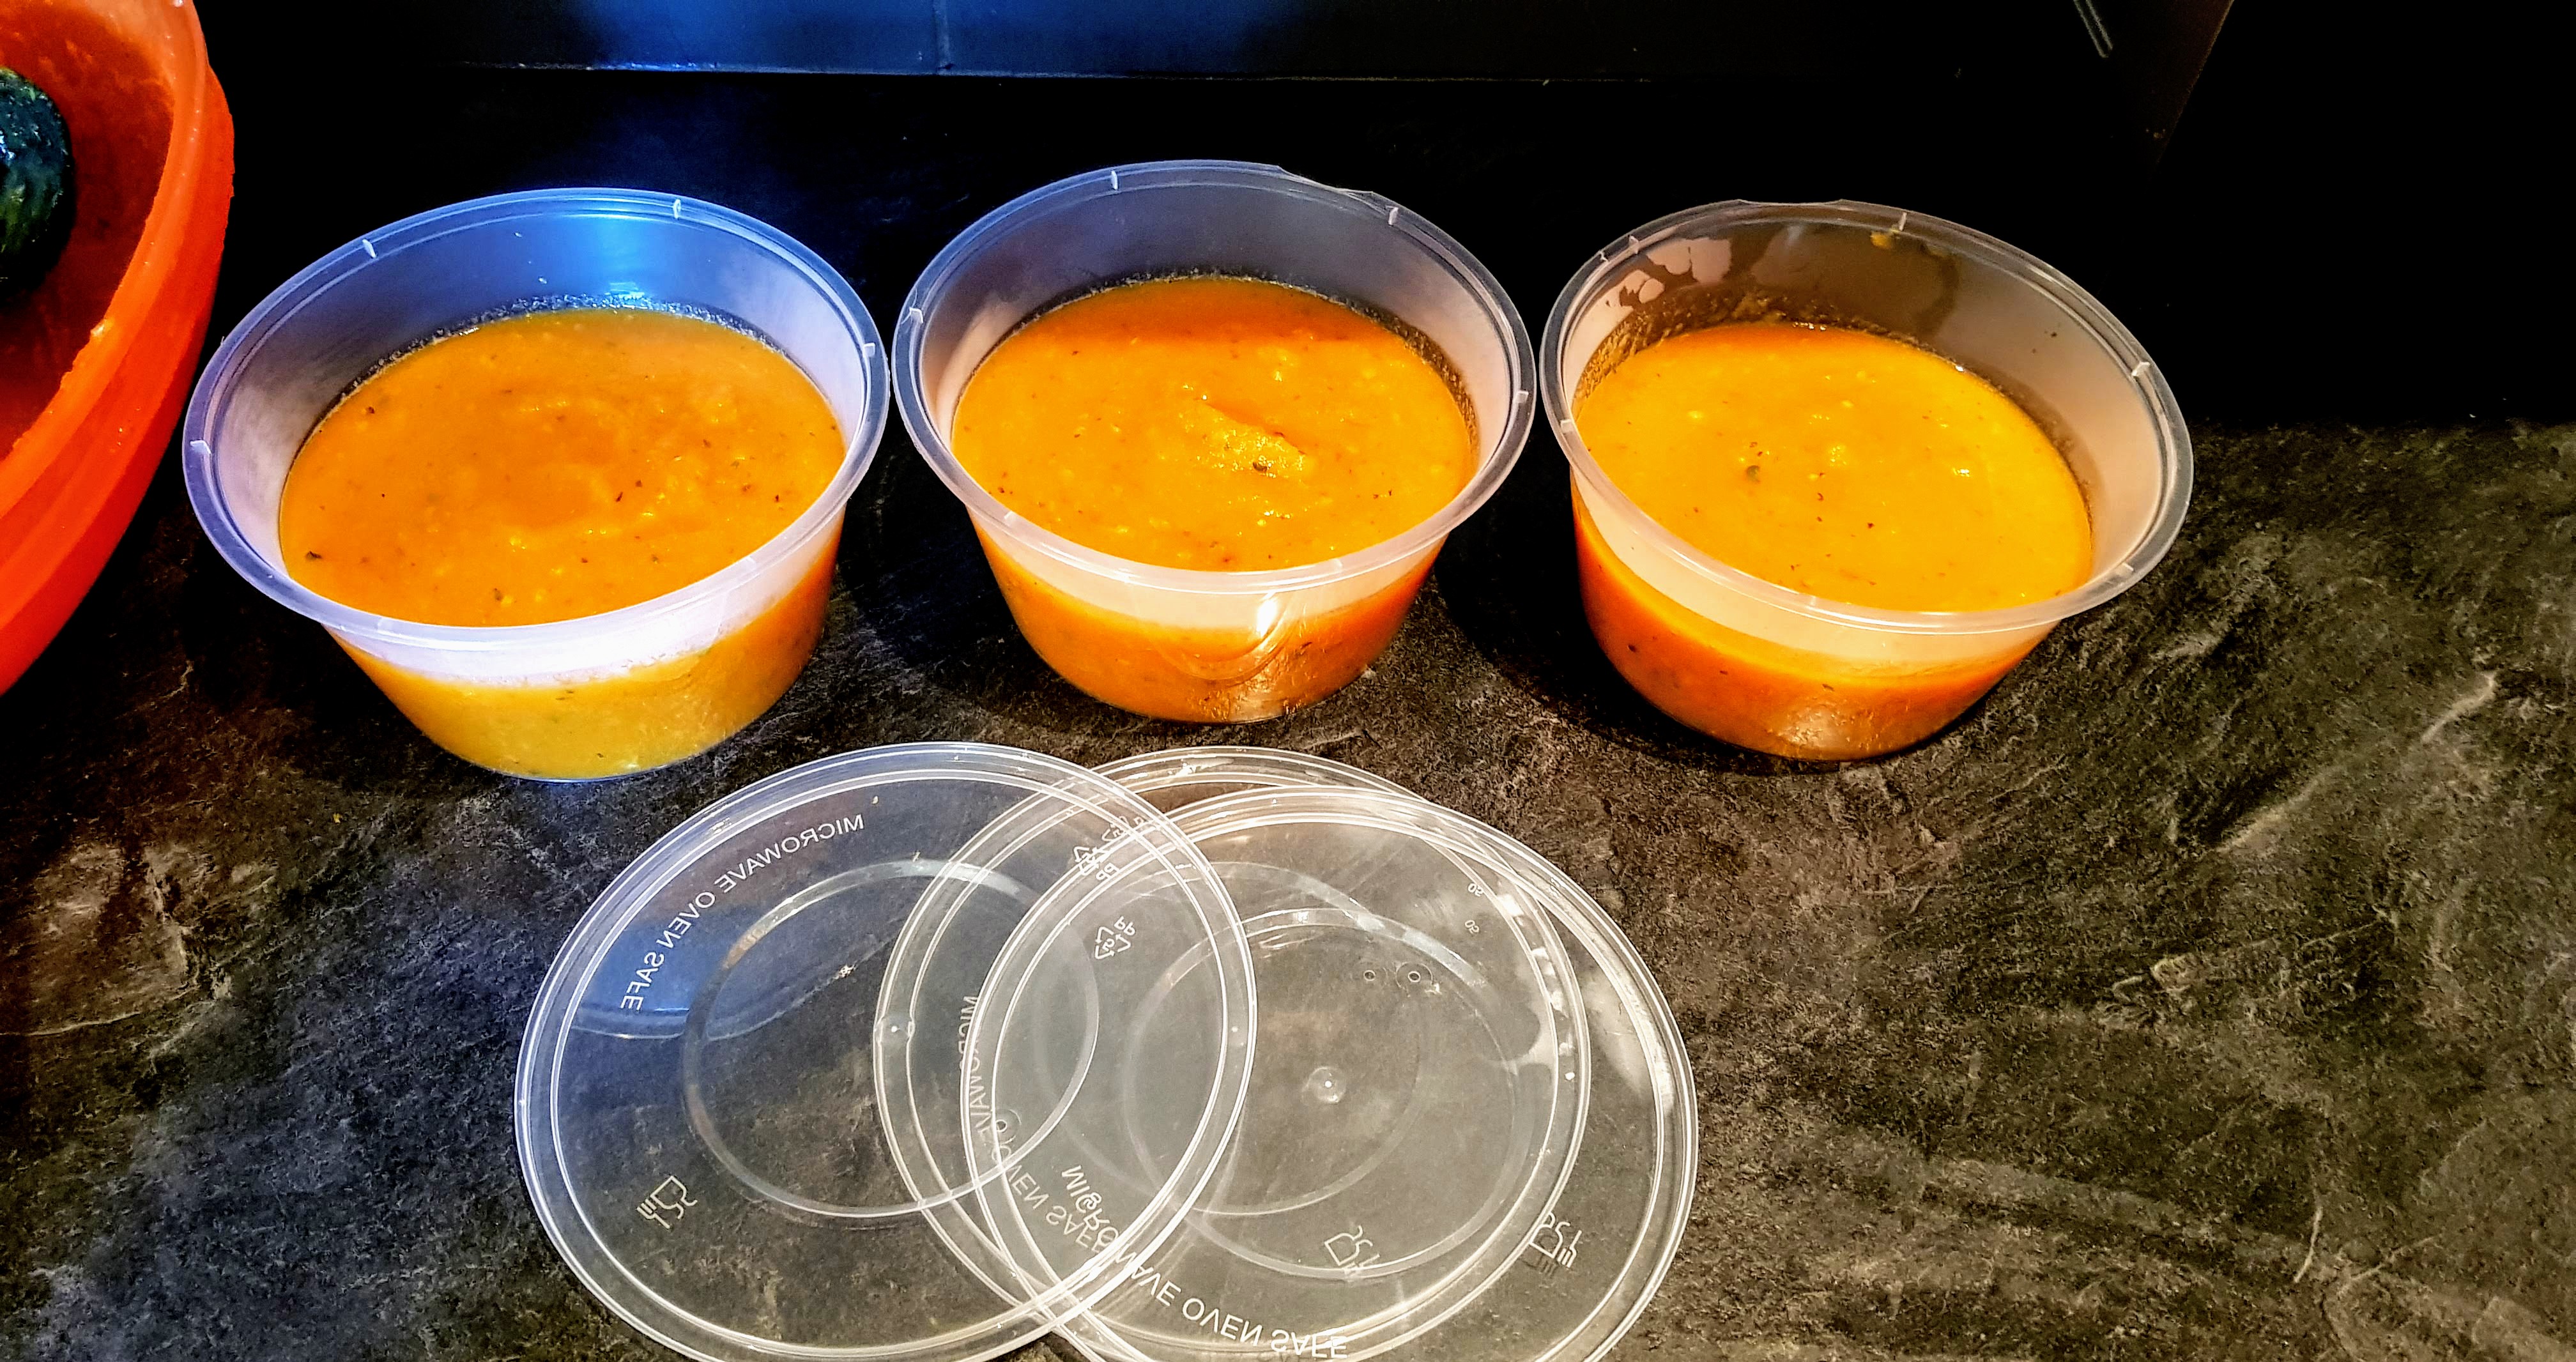 you can of course make a big batch and freezer for later.


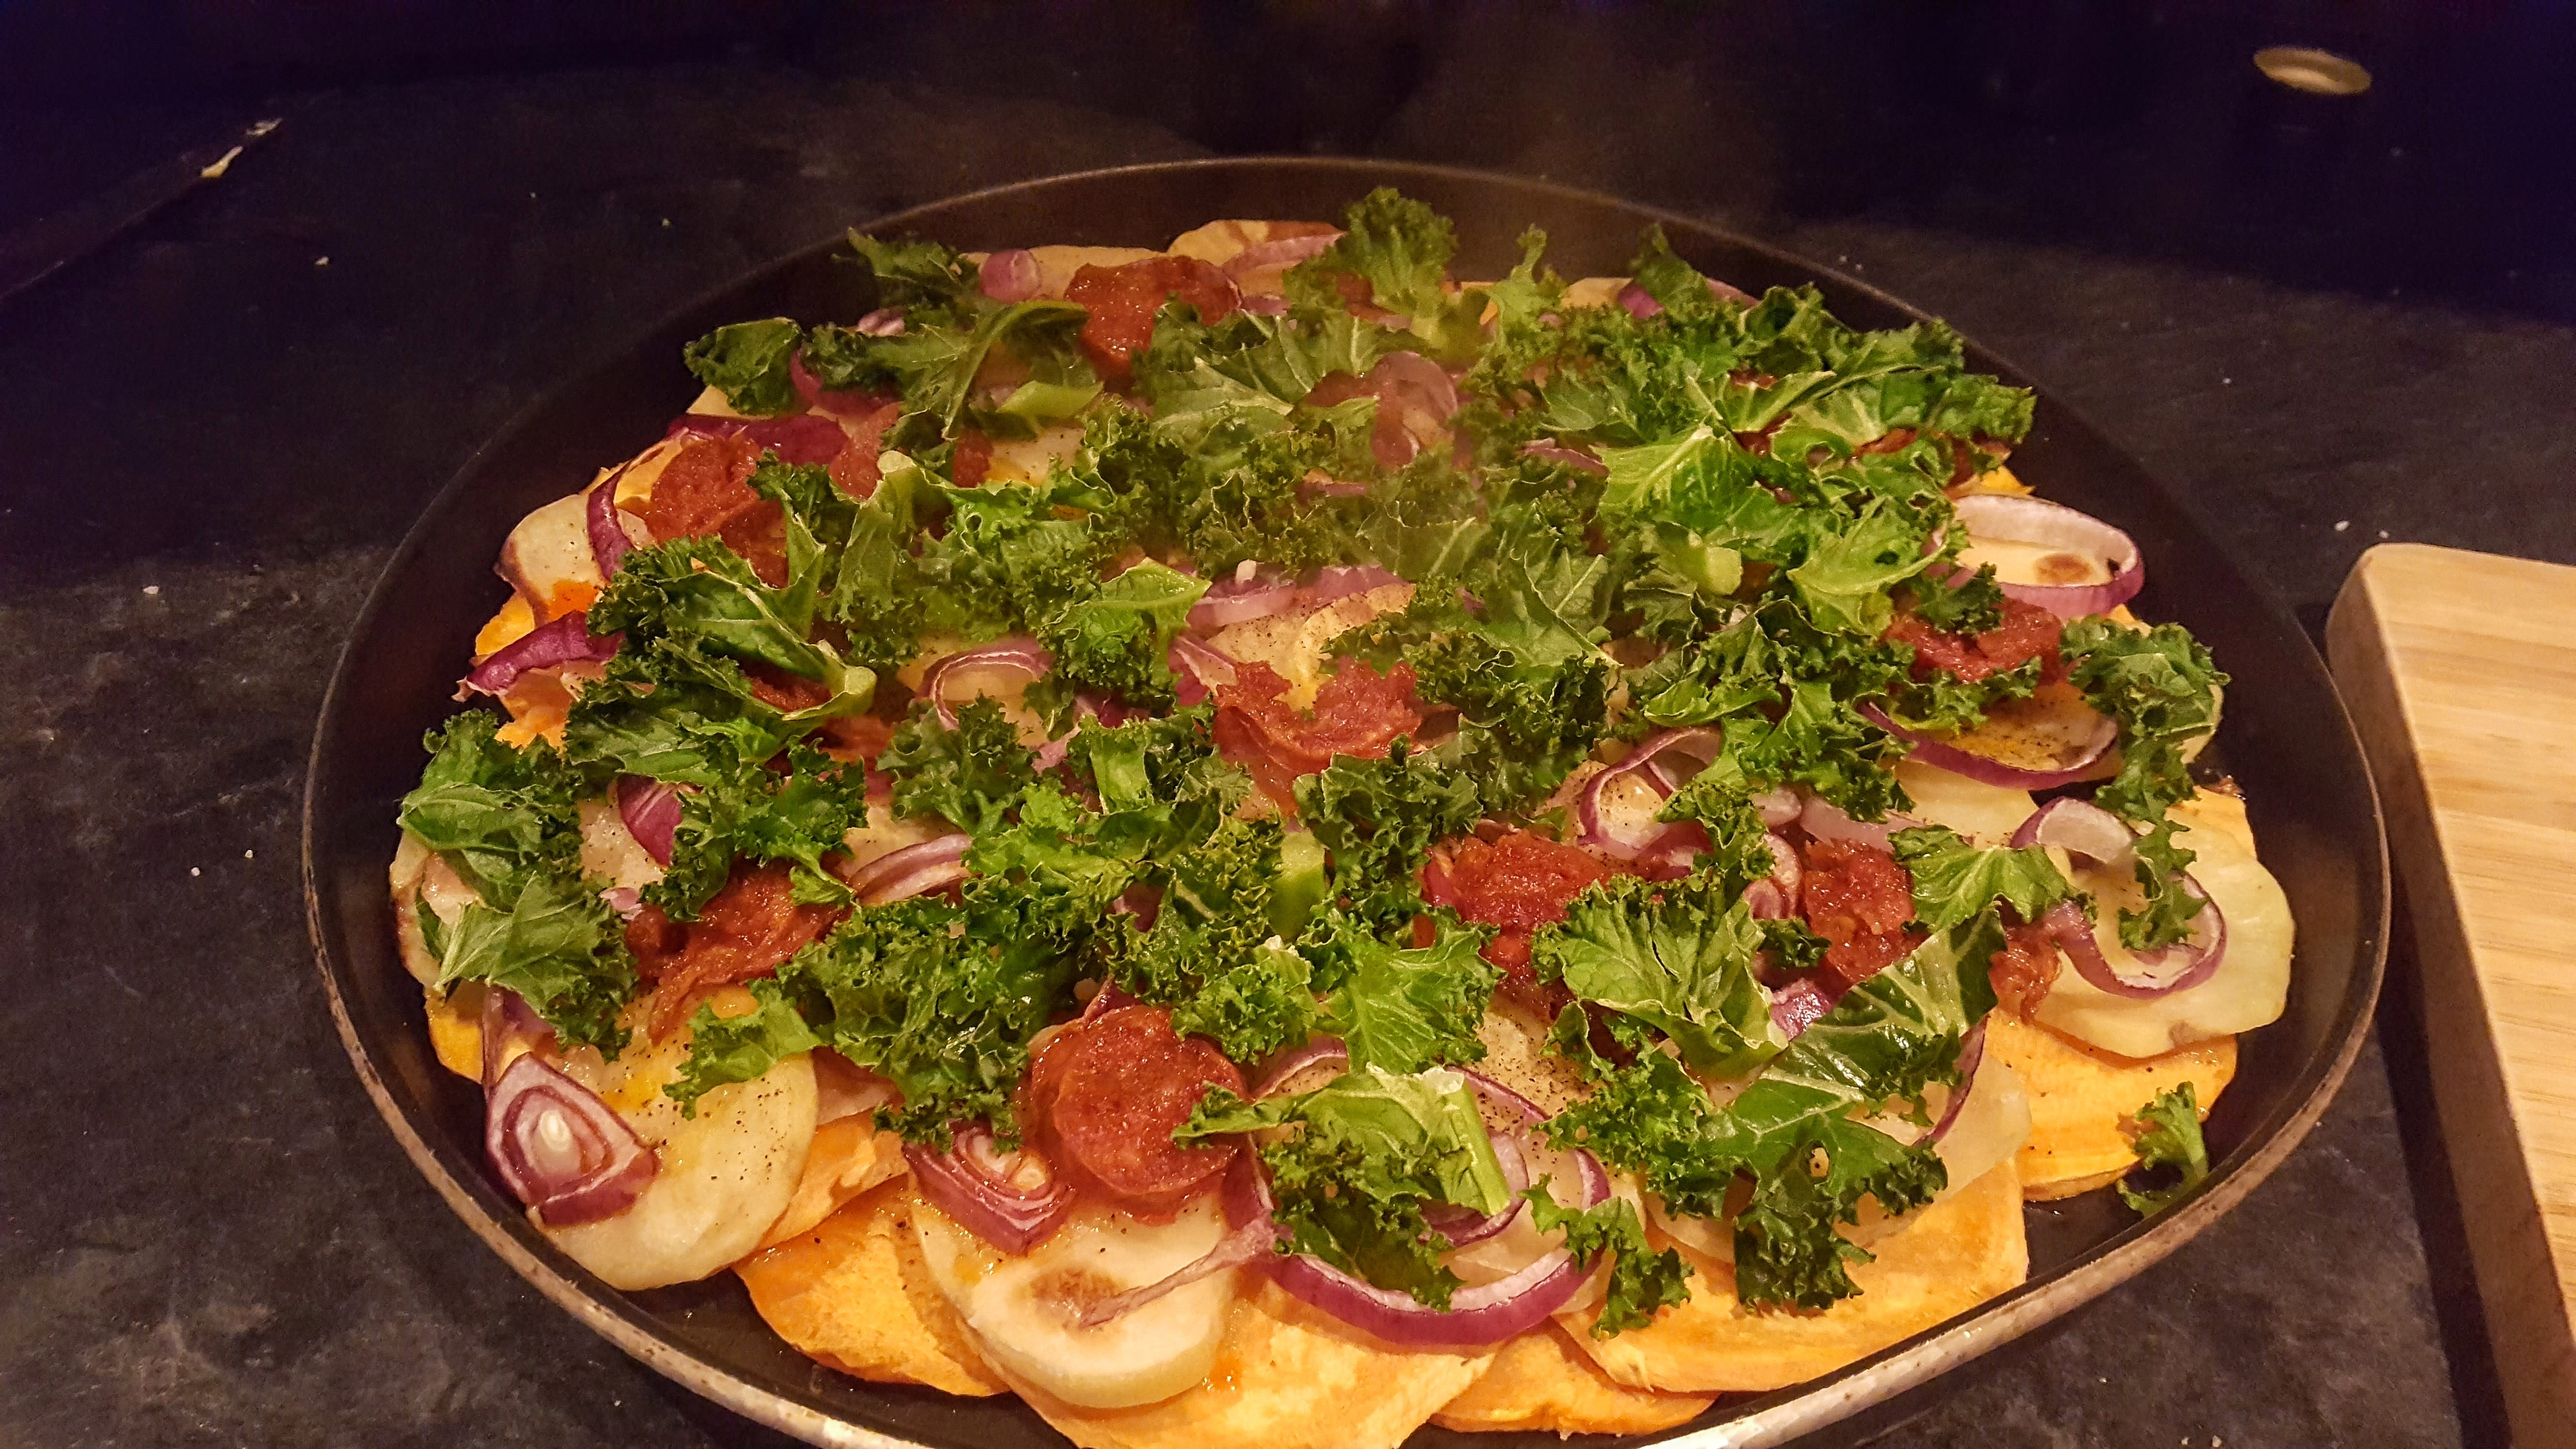
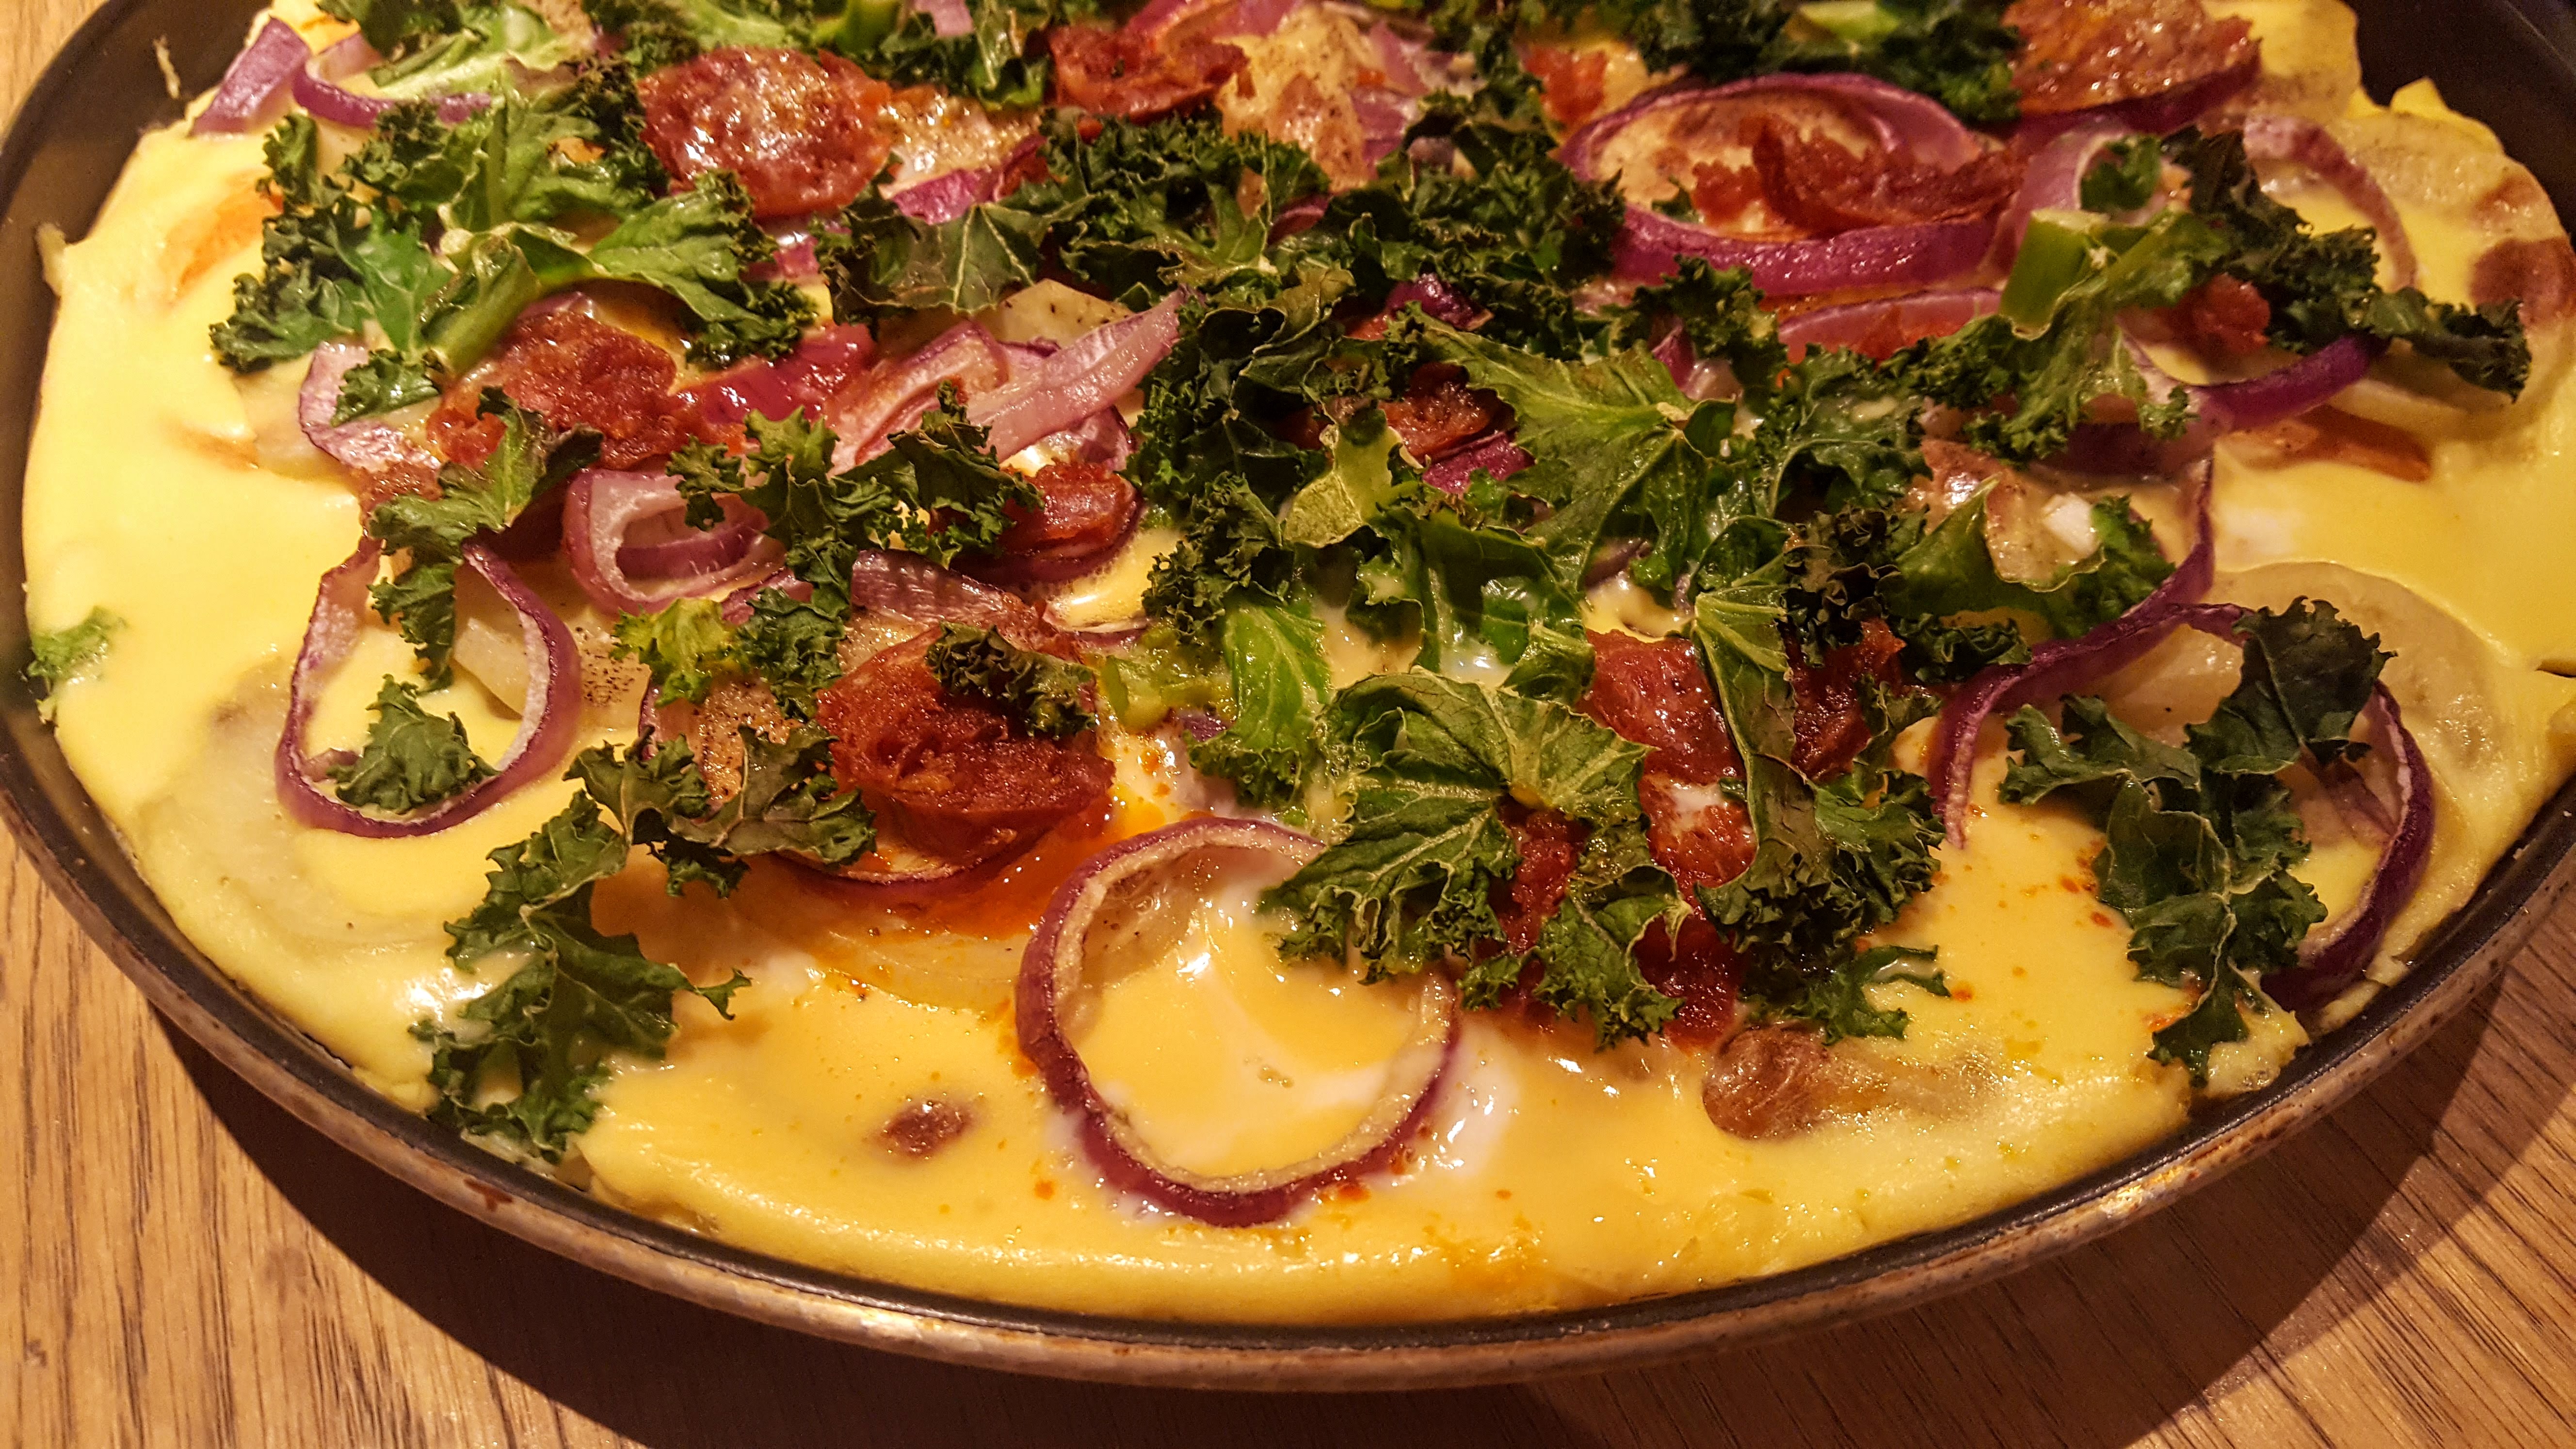


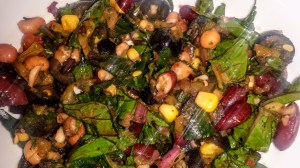
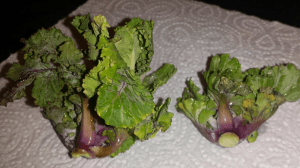
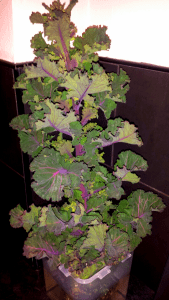
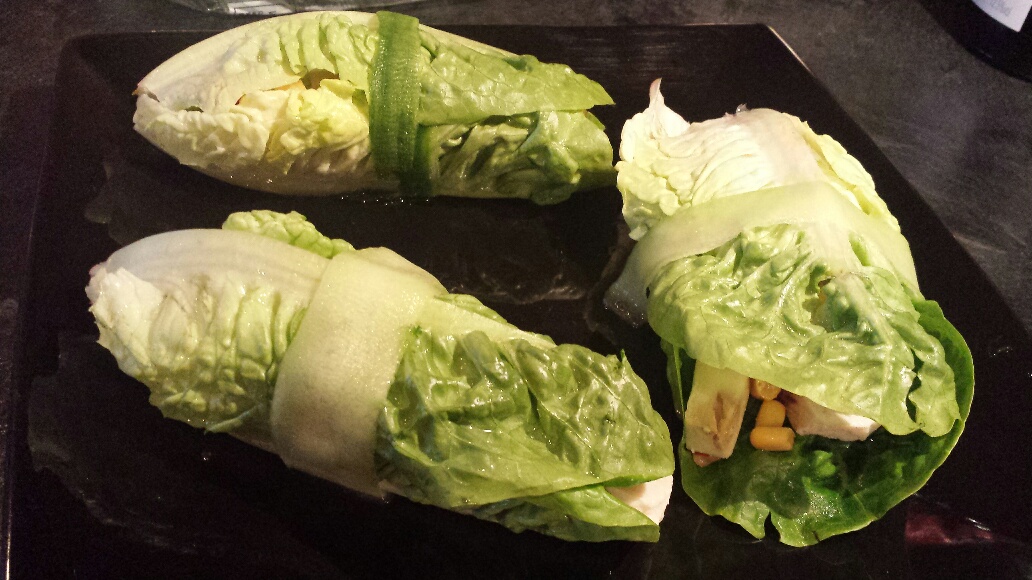
 Red Russian Kale.


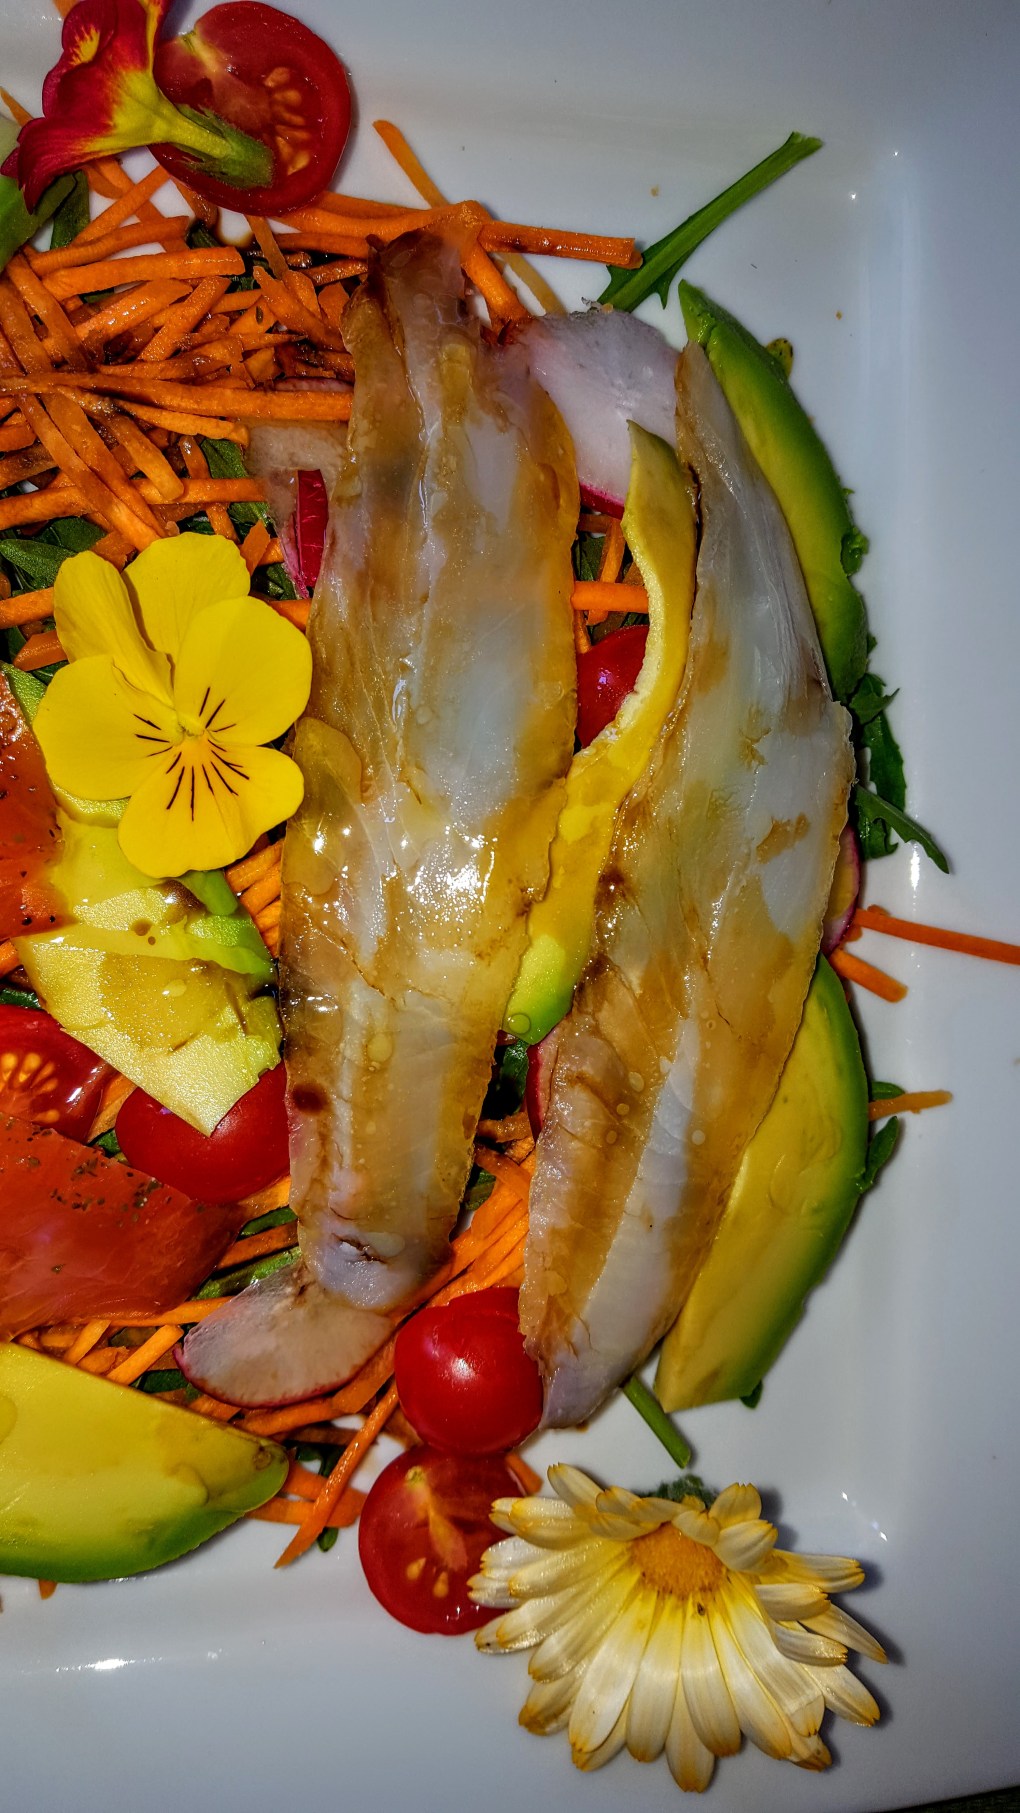


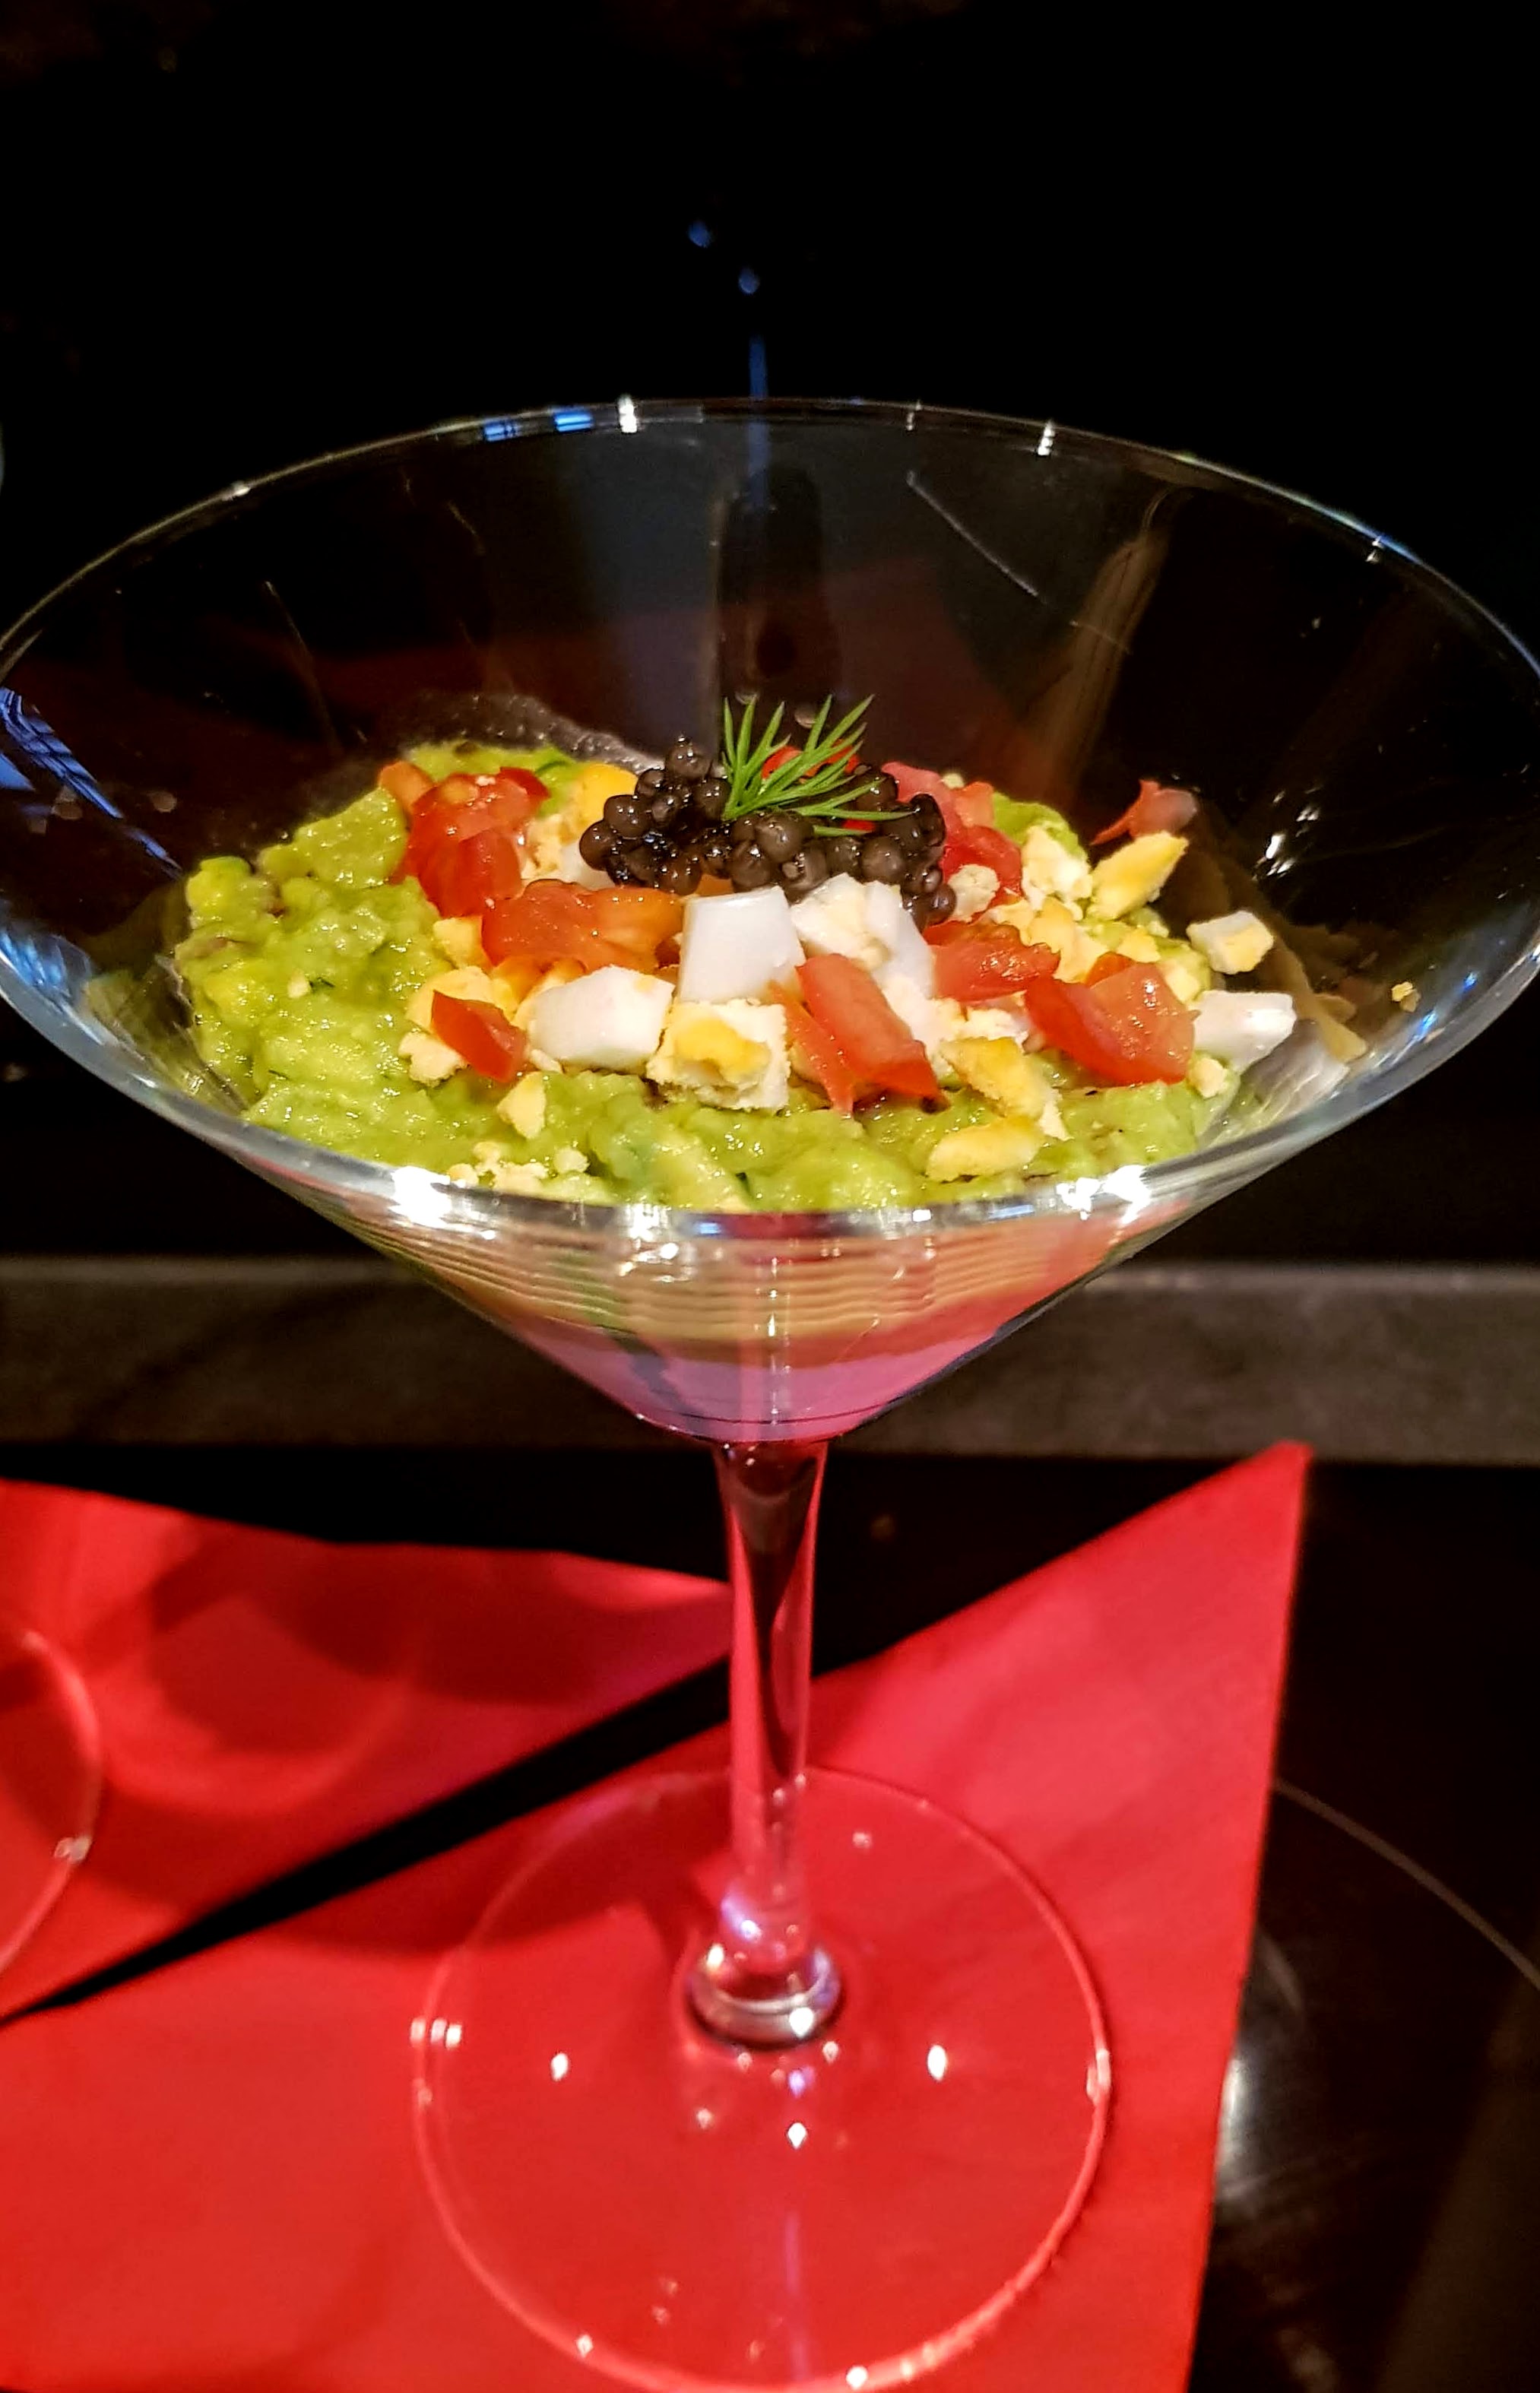
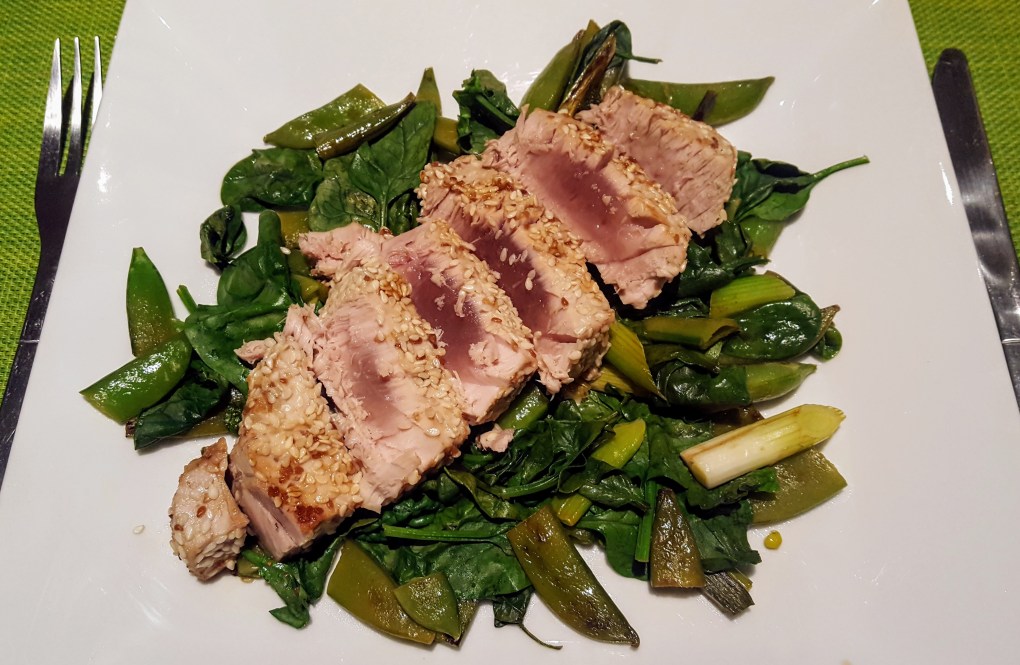
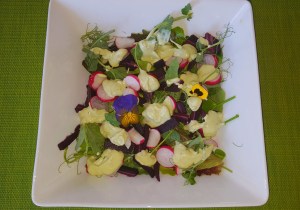
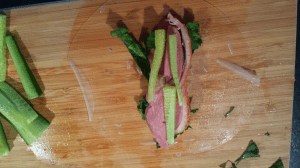
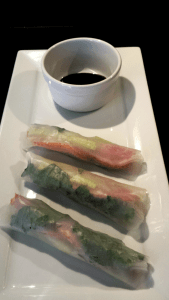
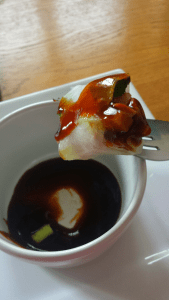
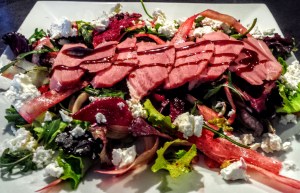
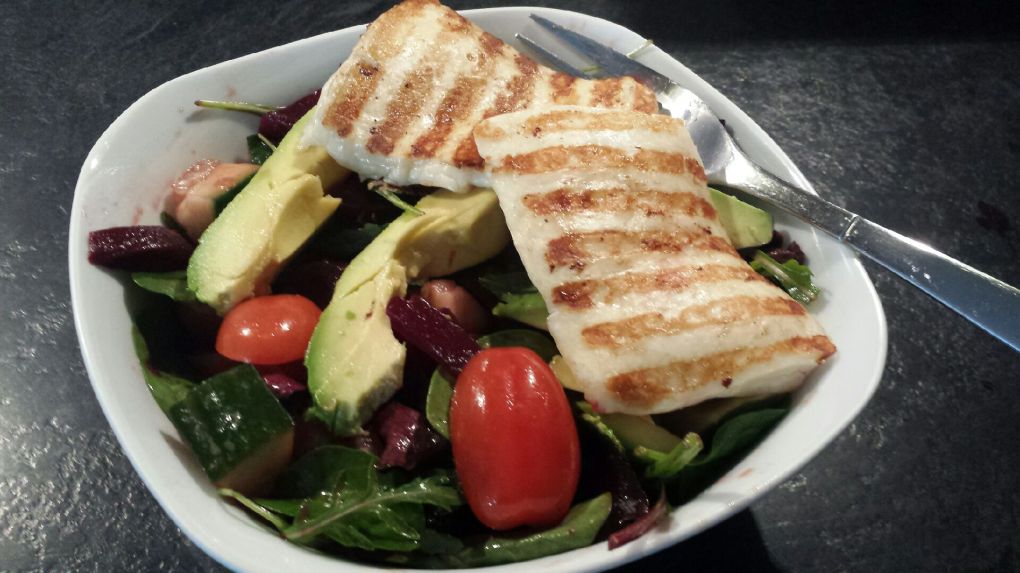
 Smoked Halibut Salad
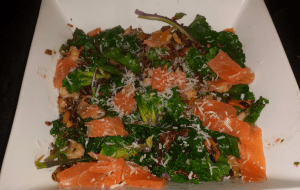
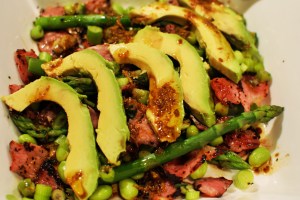
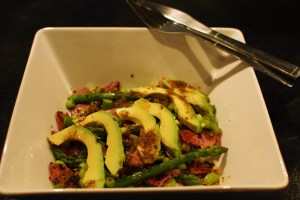
 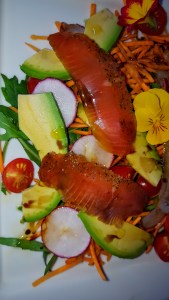 Smoked Salmon Salad


You must be logged in to post a comment.