
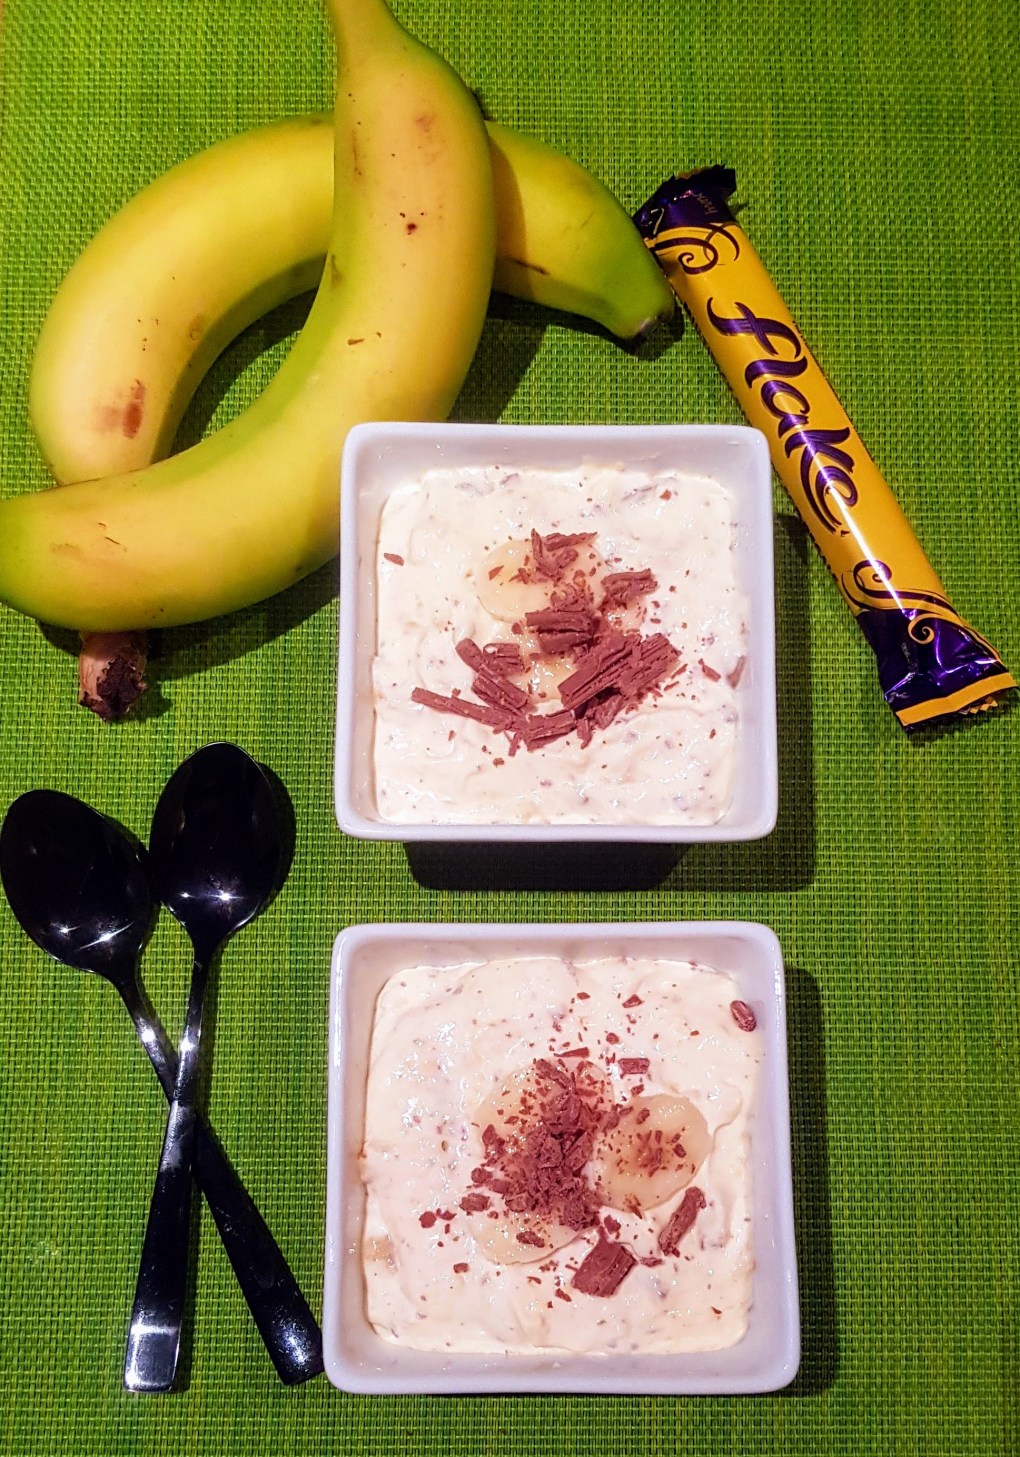

In our house a Sunday is the only day we have a pudding after dinner and as we were having a filling stew today, I opted for something a little lighter. This was not only super tasty but really light and lower in calories as I used low fat versions. If you love banana’s and custard you will like this. It is also so quick to make, just 10 minutes to prepare with 30 minutes chilling time.
Serves 4
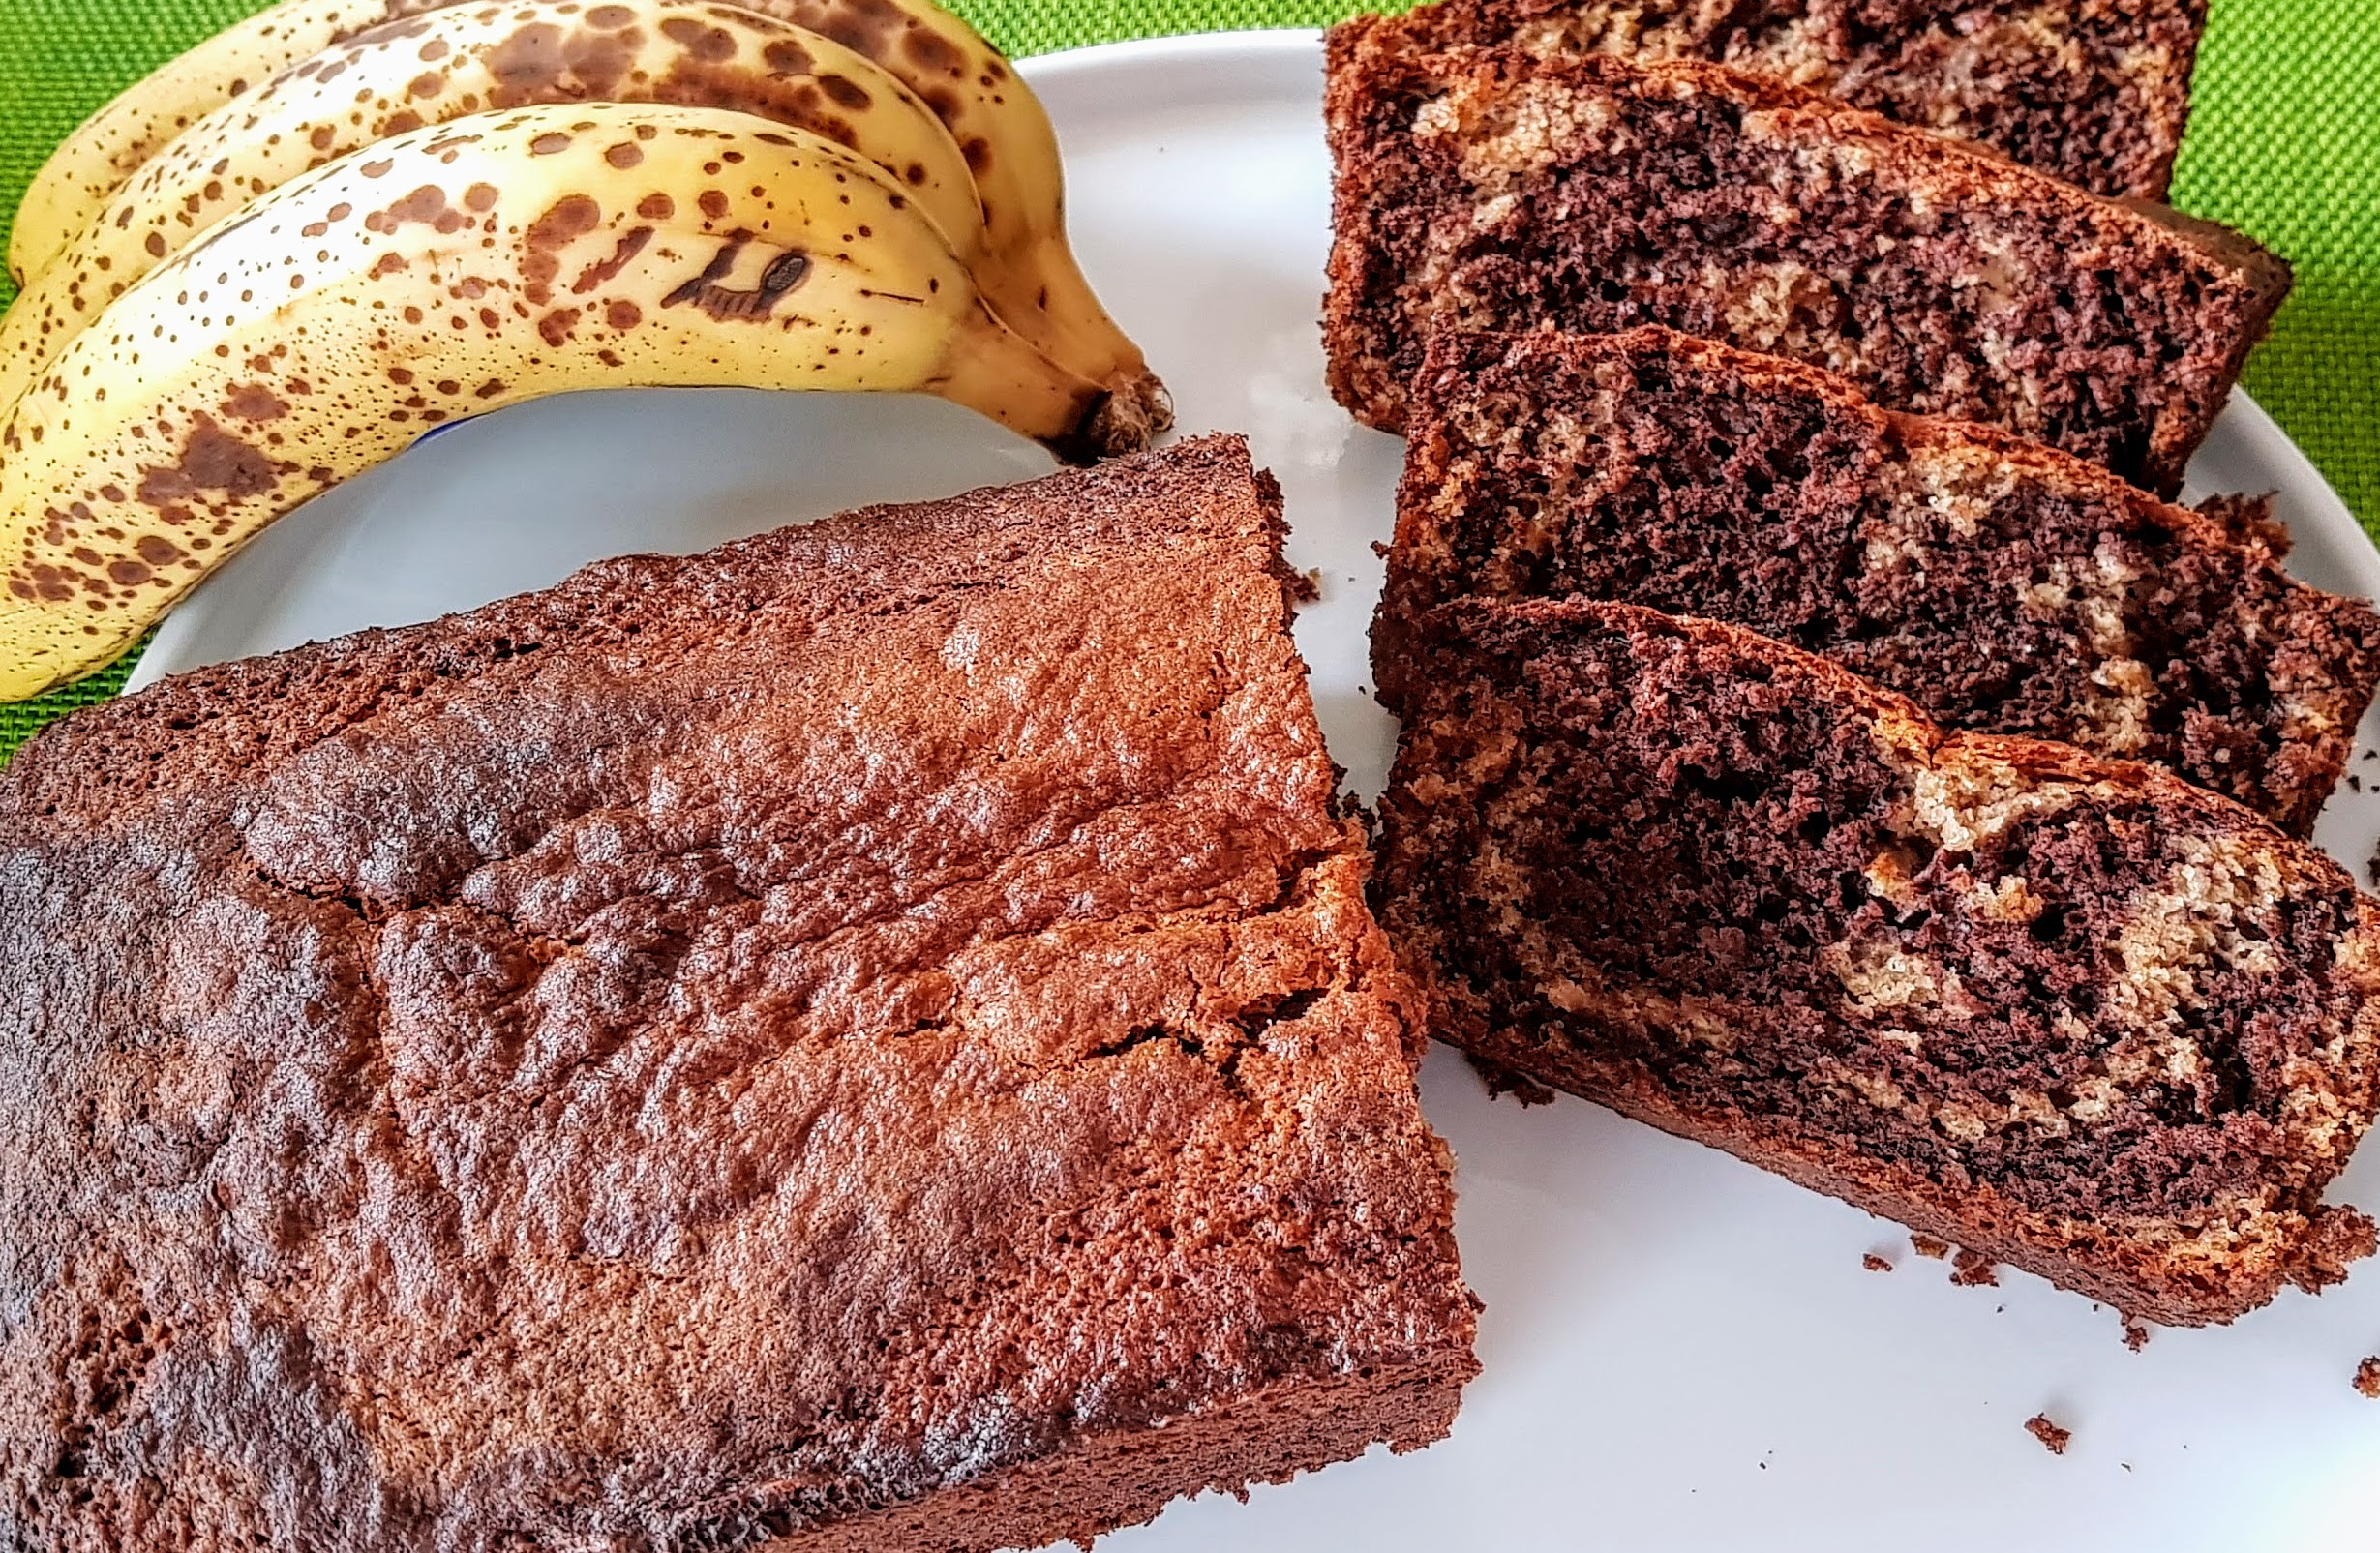
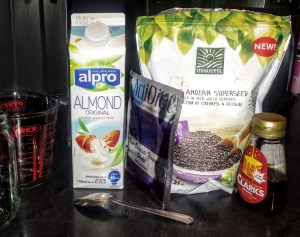
2 Bananas (keep a few slices to serve)
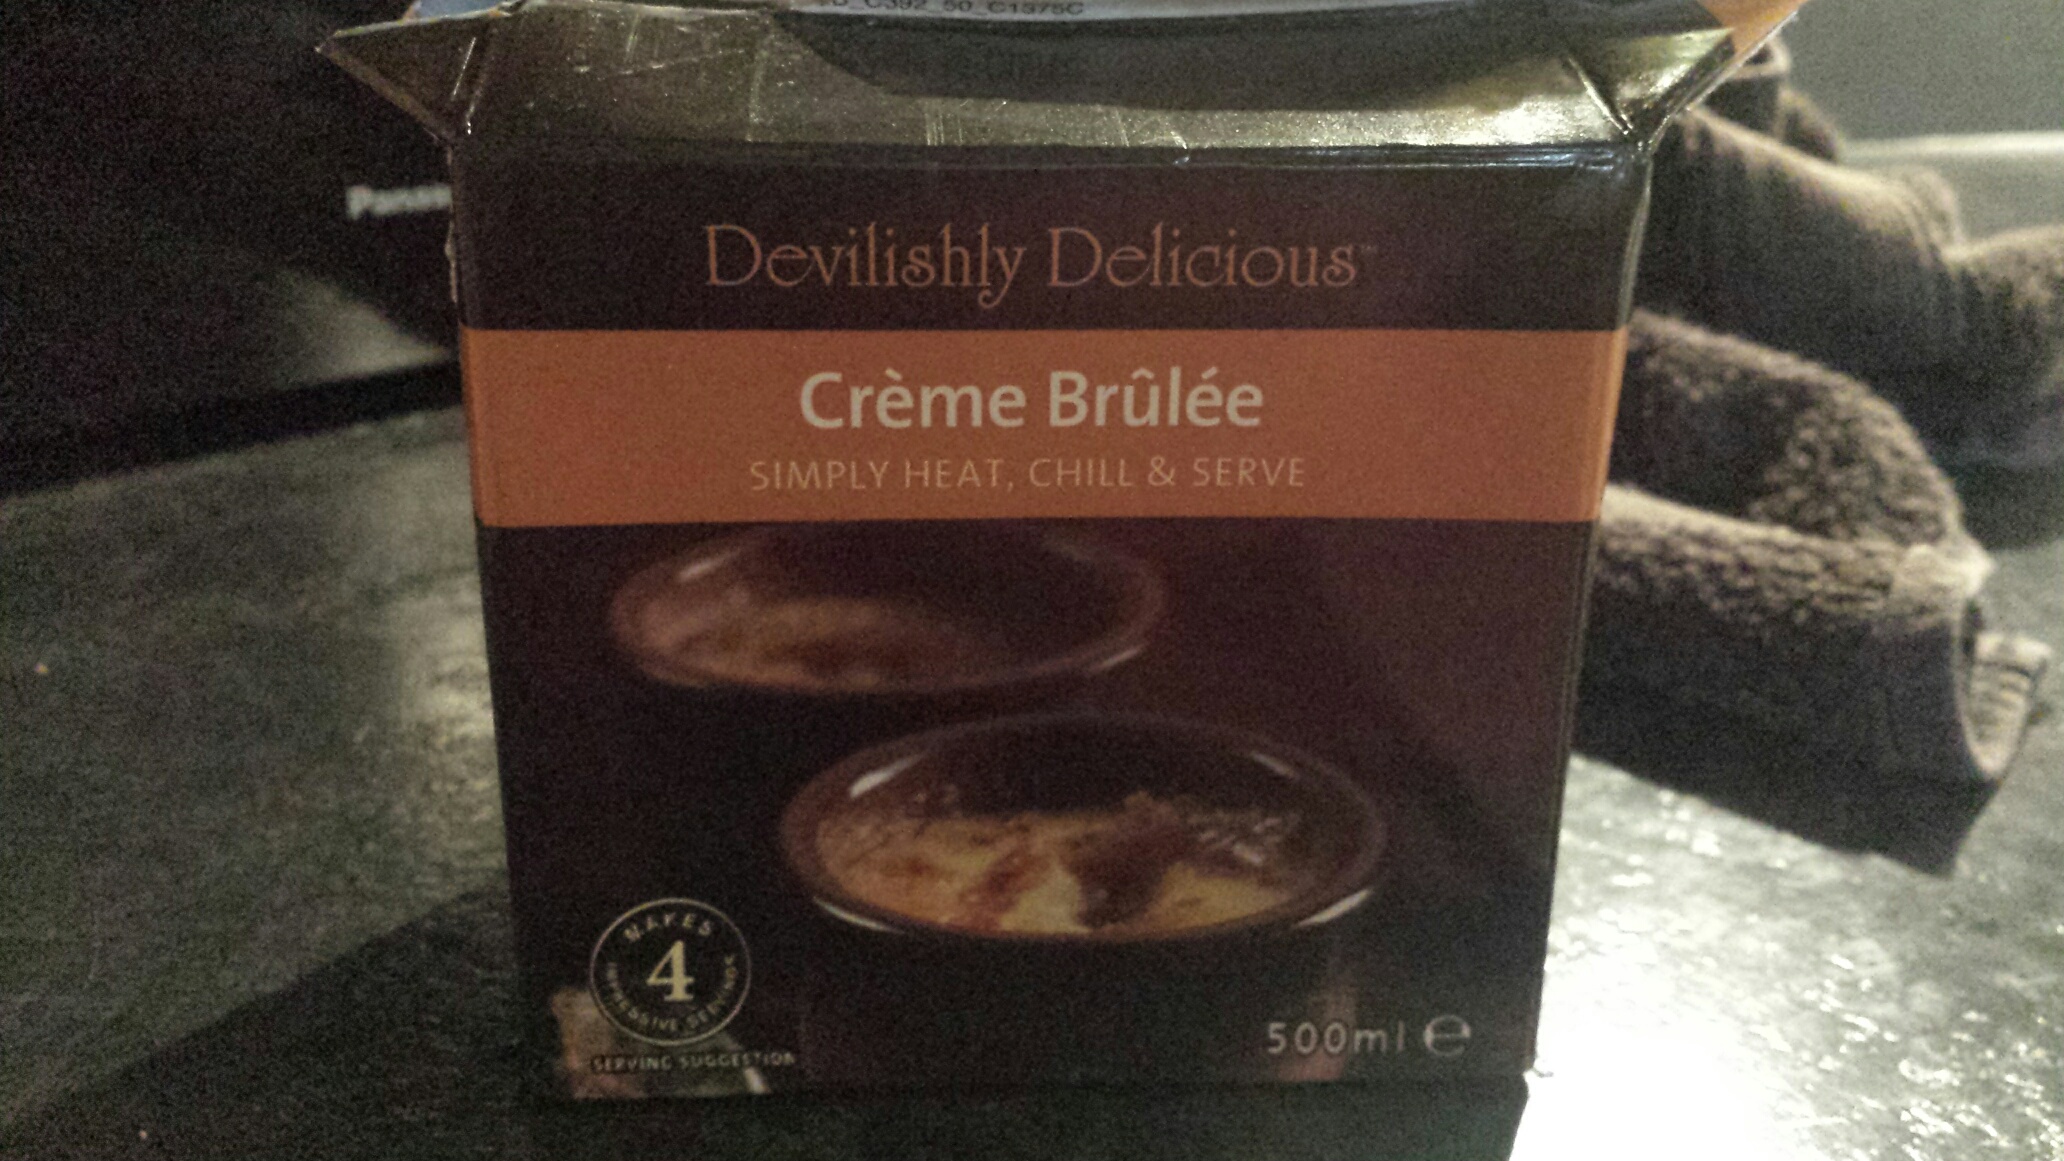
1 x 400g Tin of Low Fat Custard
1 x 150ml Double Light Cream
1 Tsp Vanilla Essence
2 Flake’s
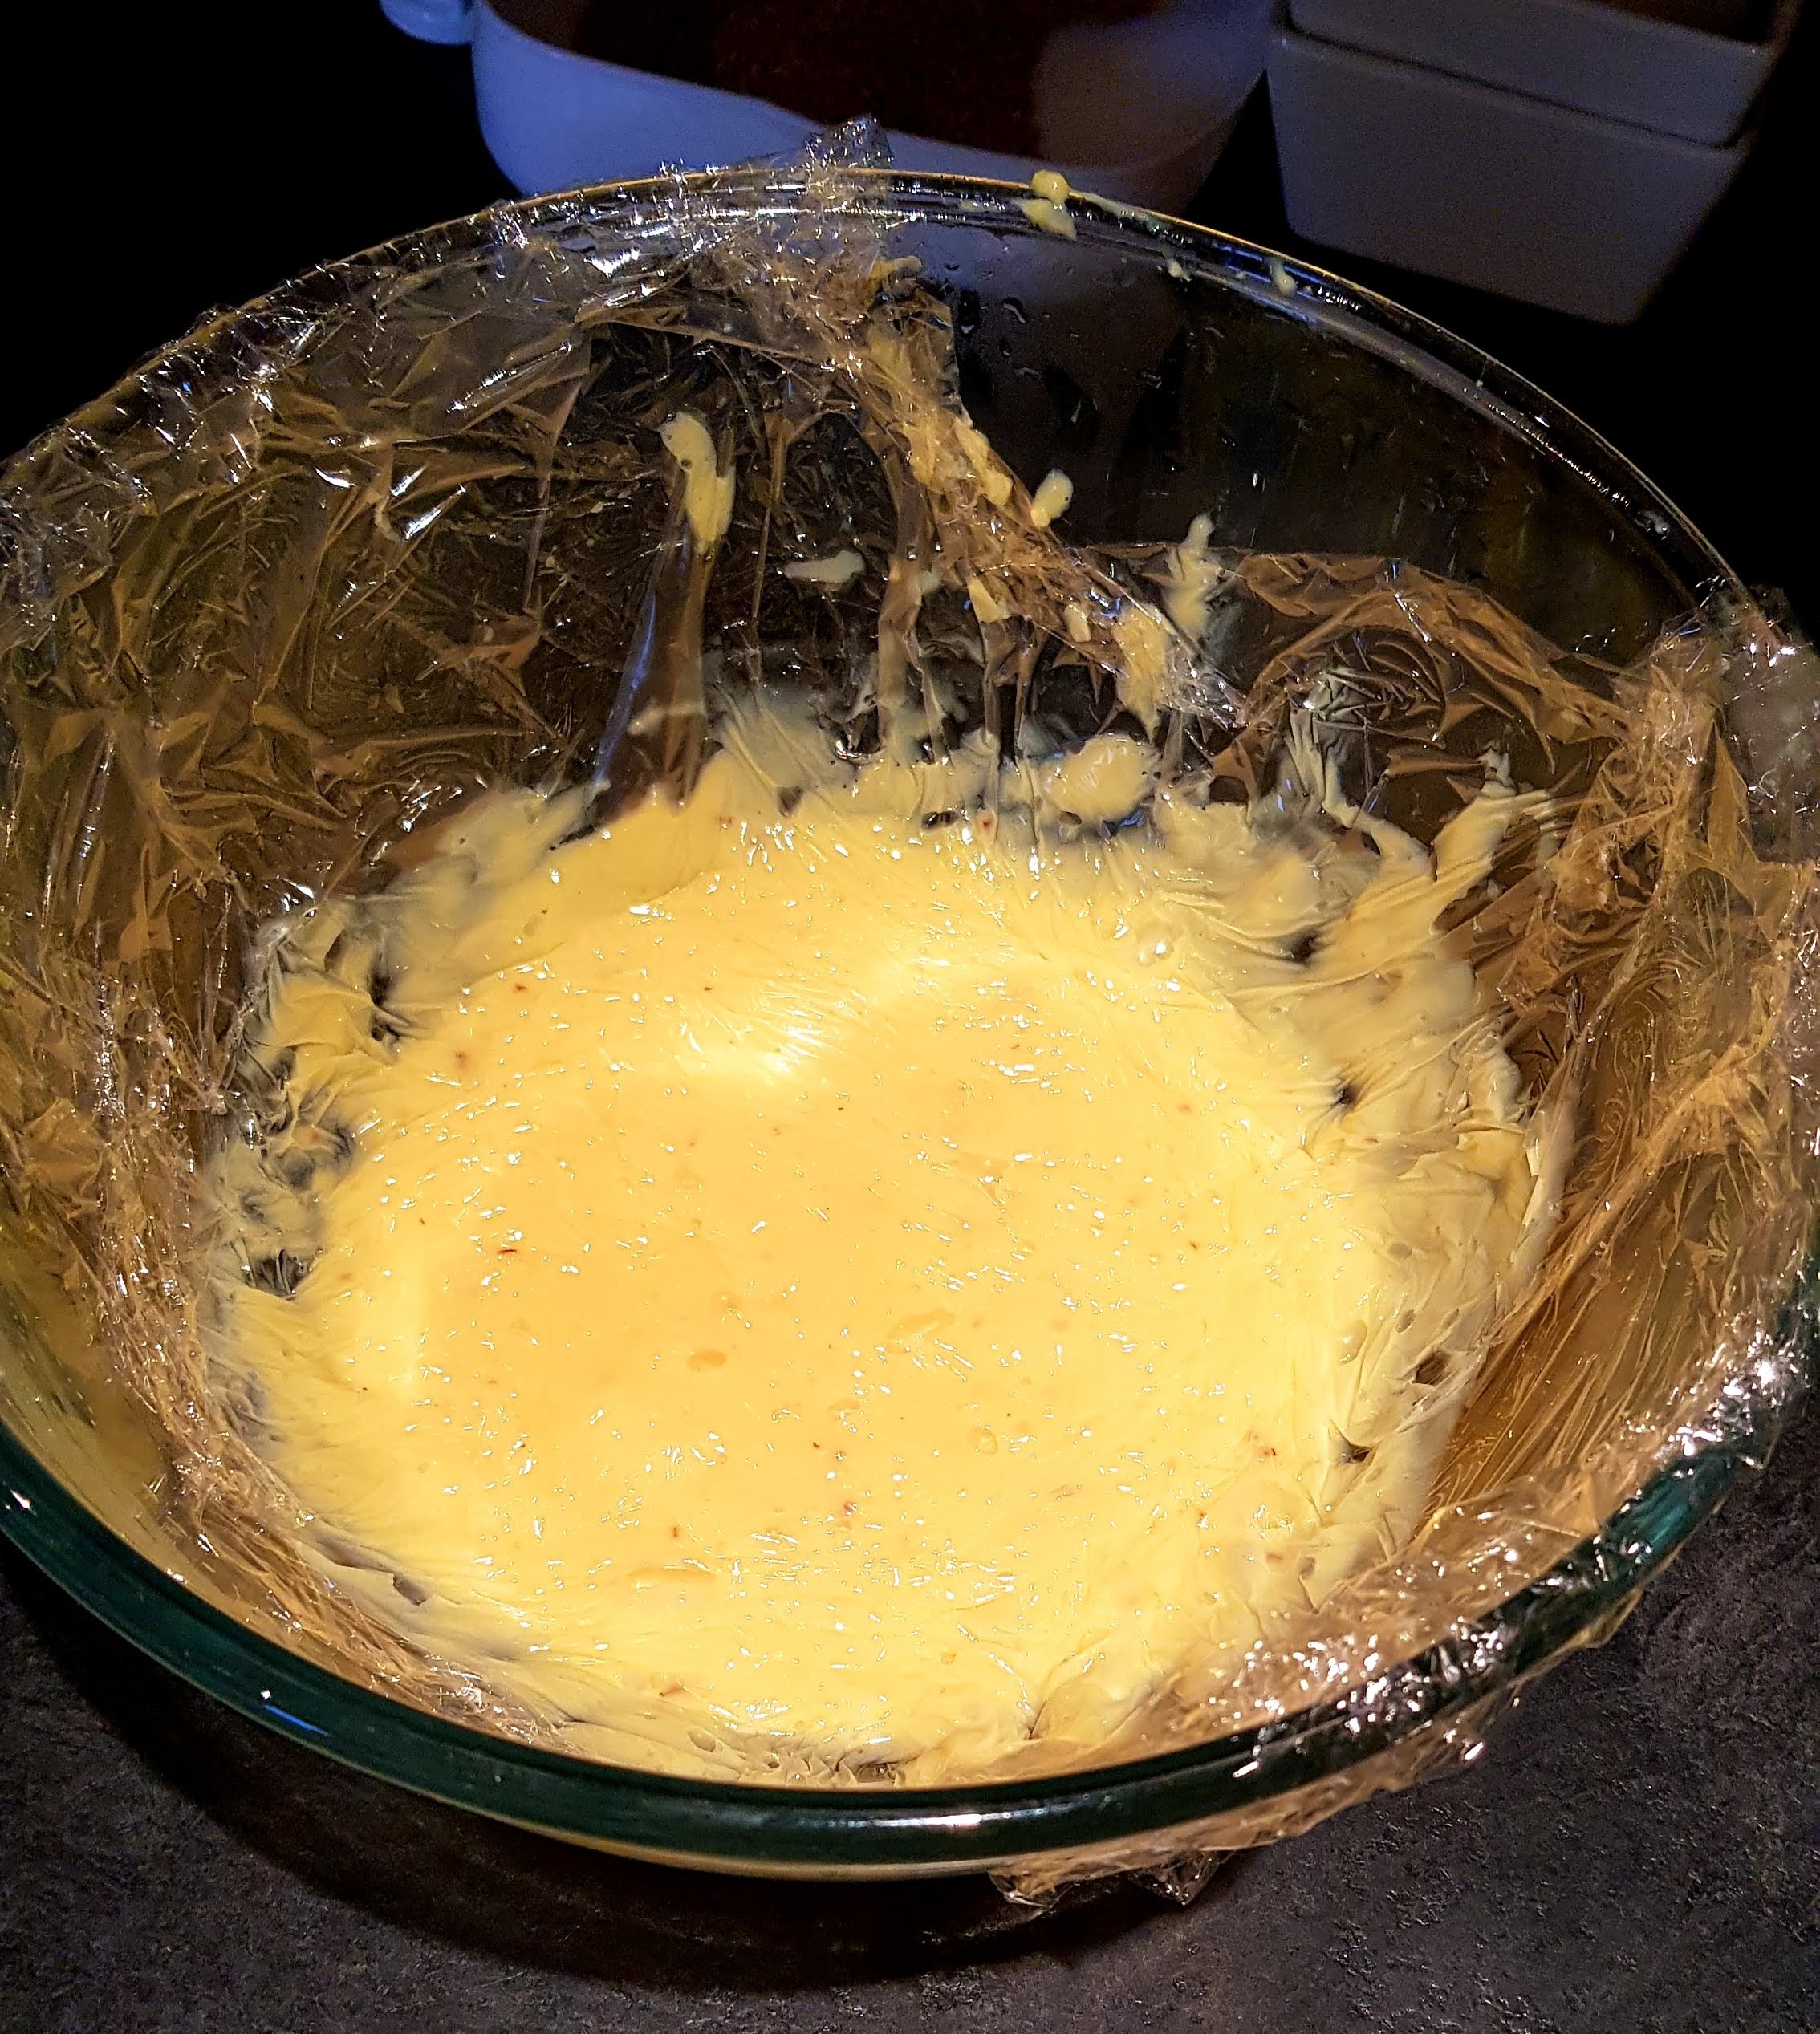
- Empty custard into a large mixing bowl and chill in the fridge for 30 minutes.
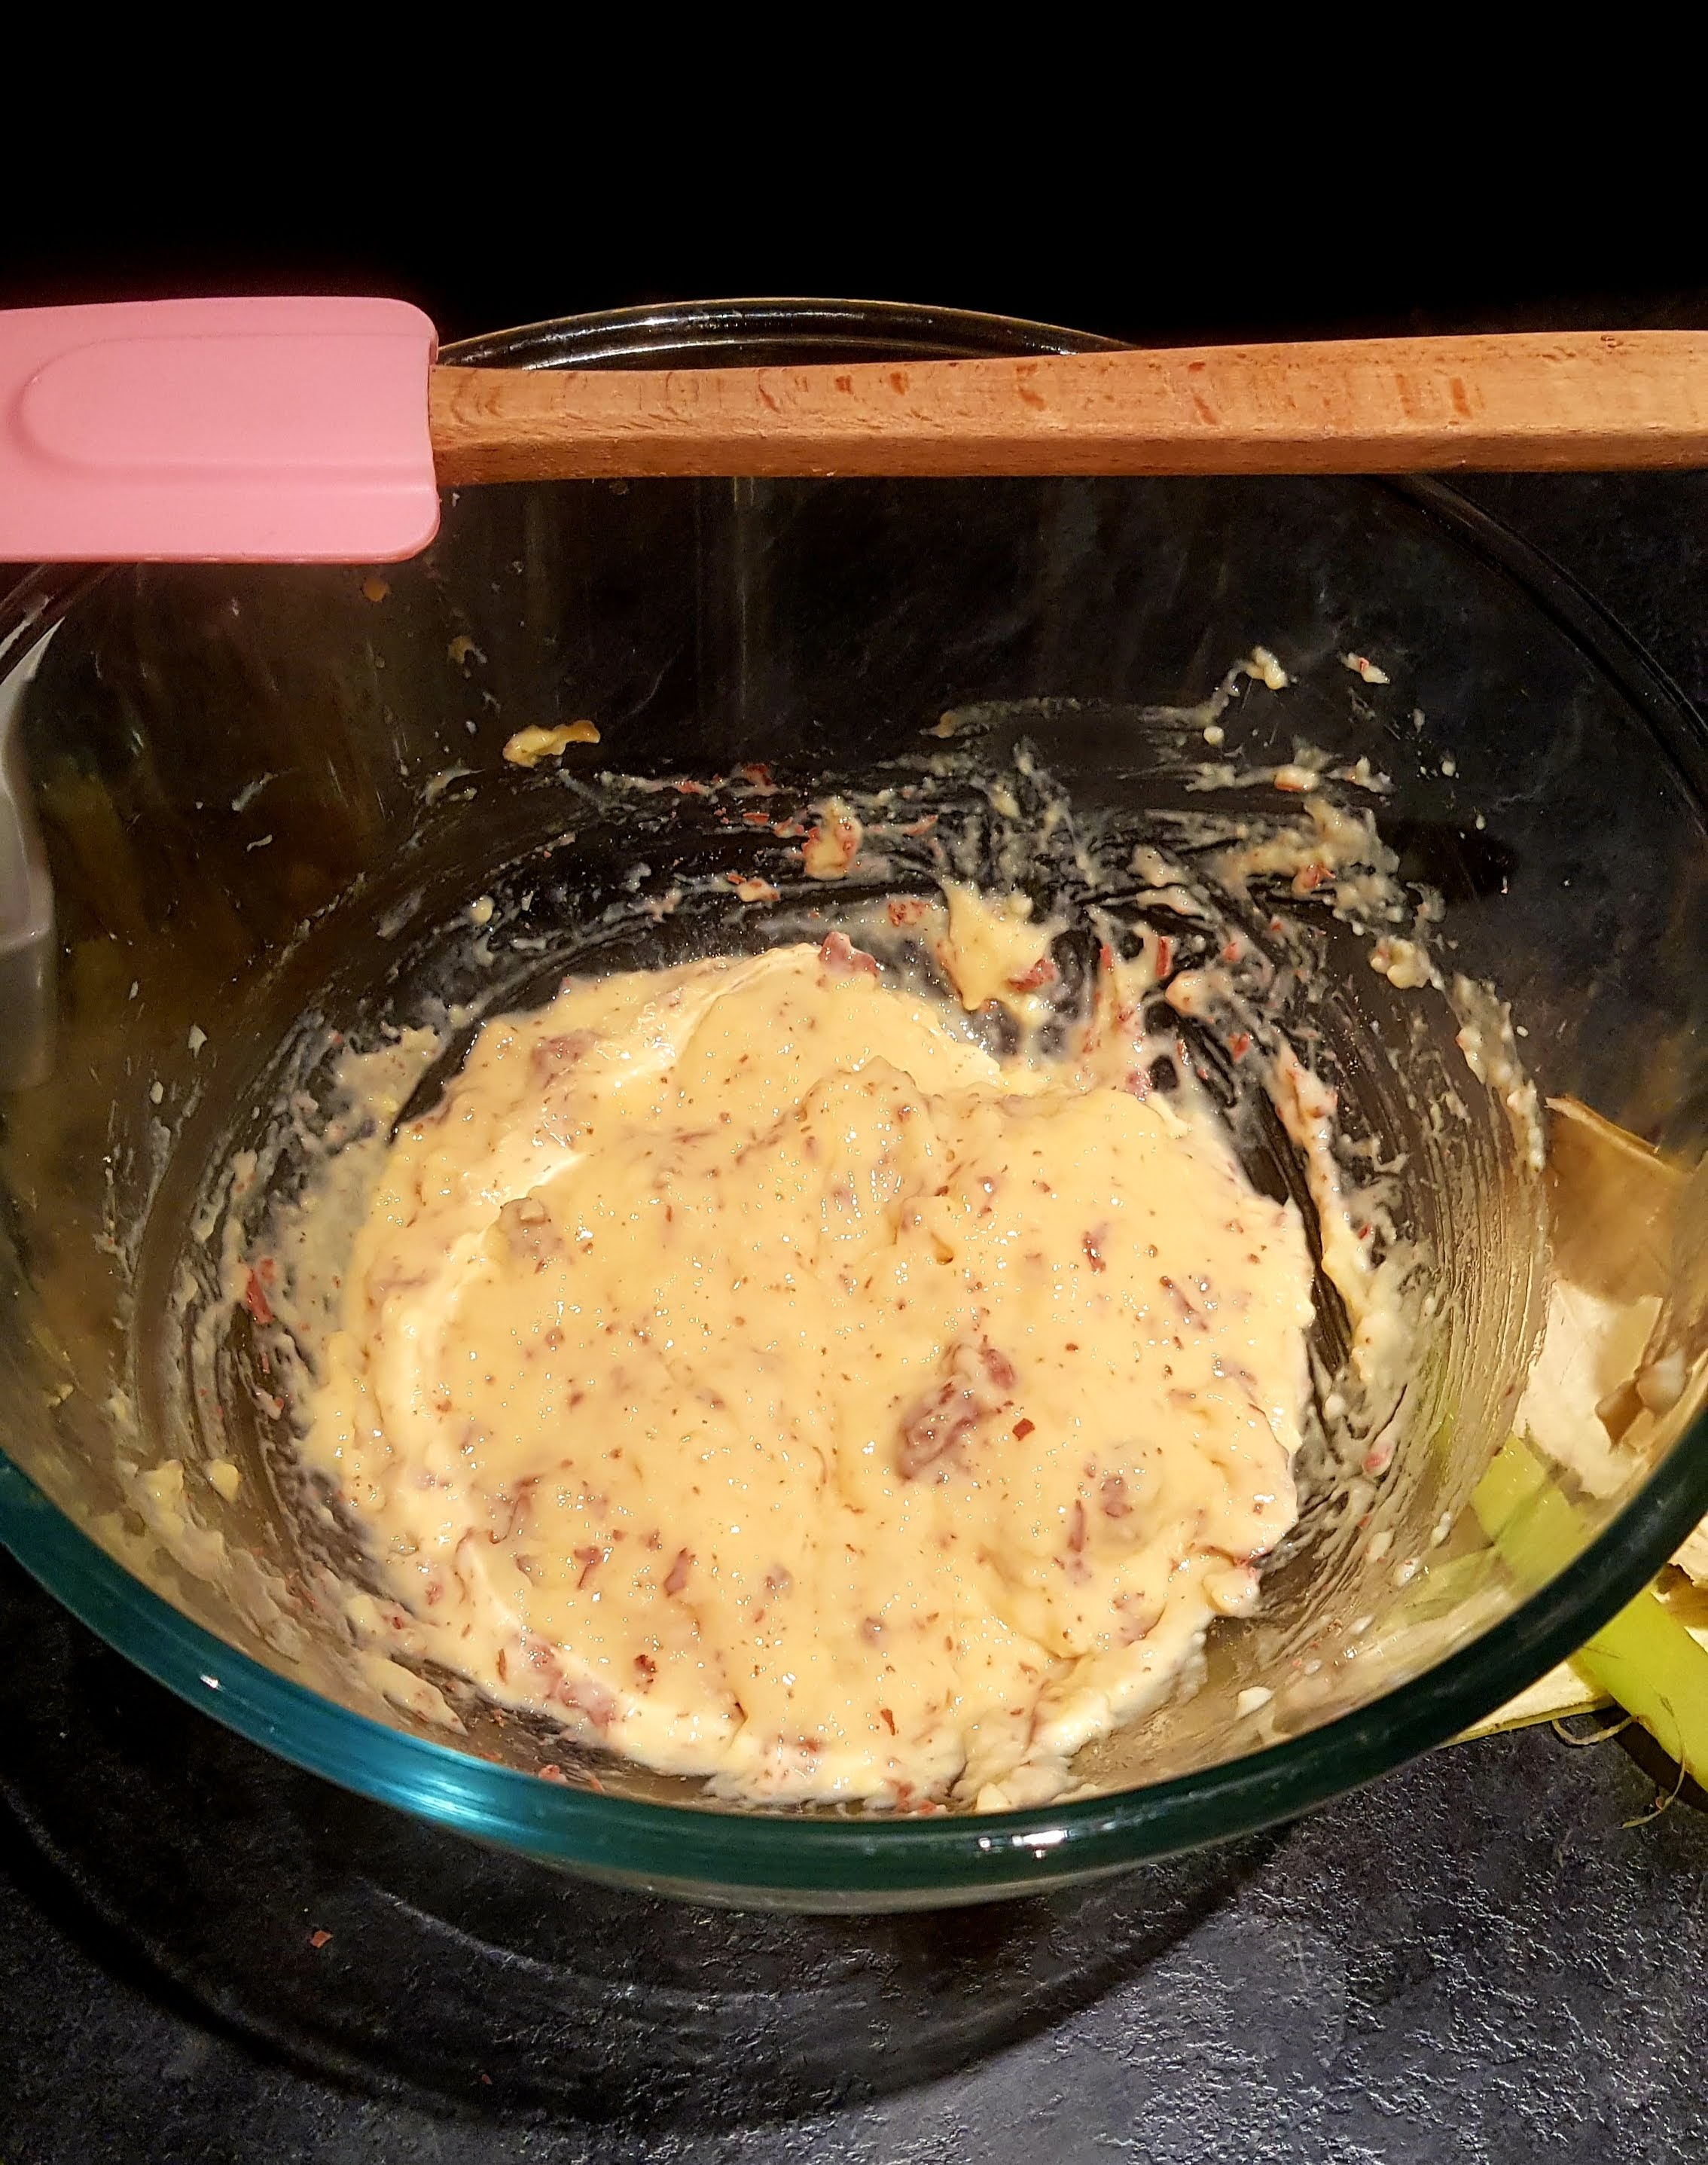
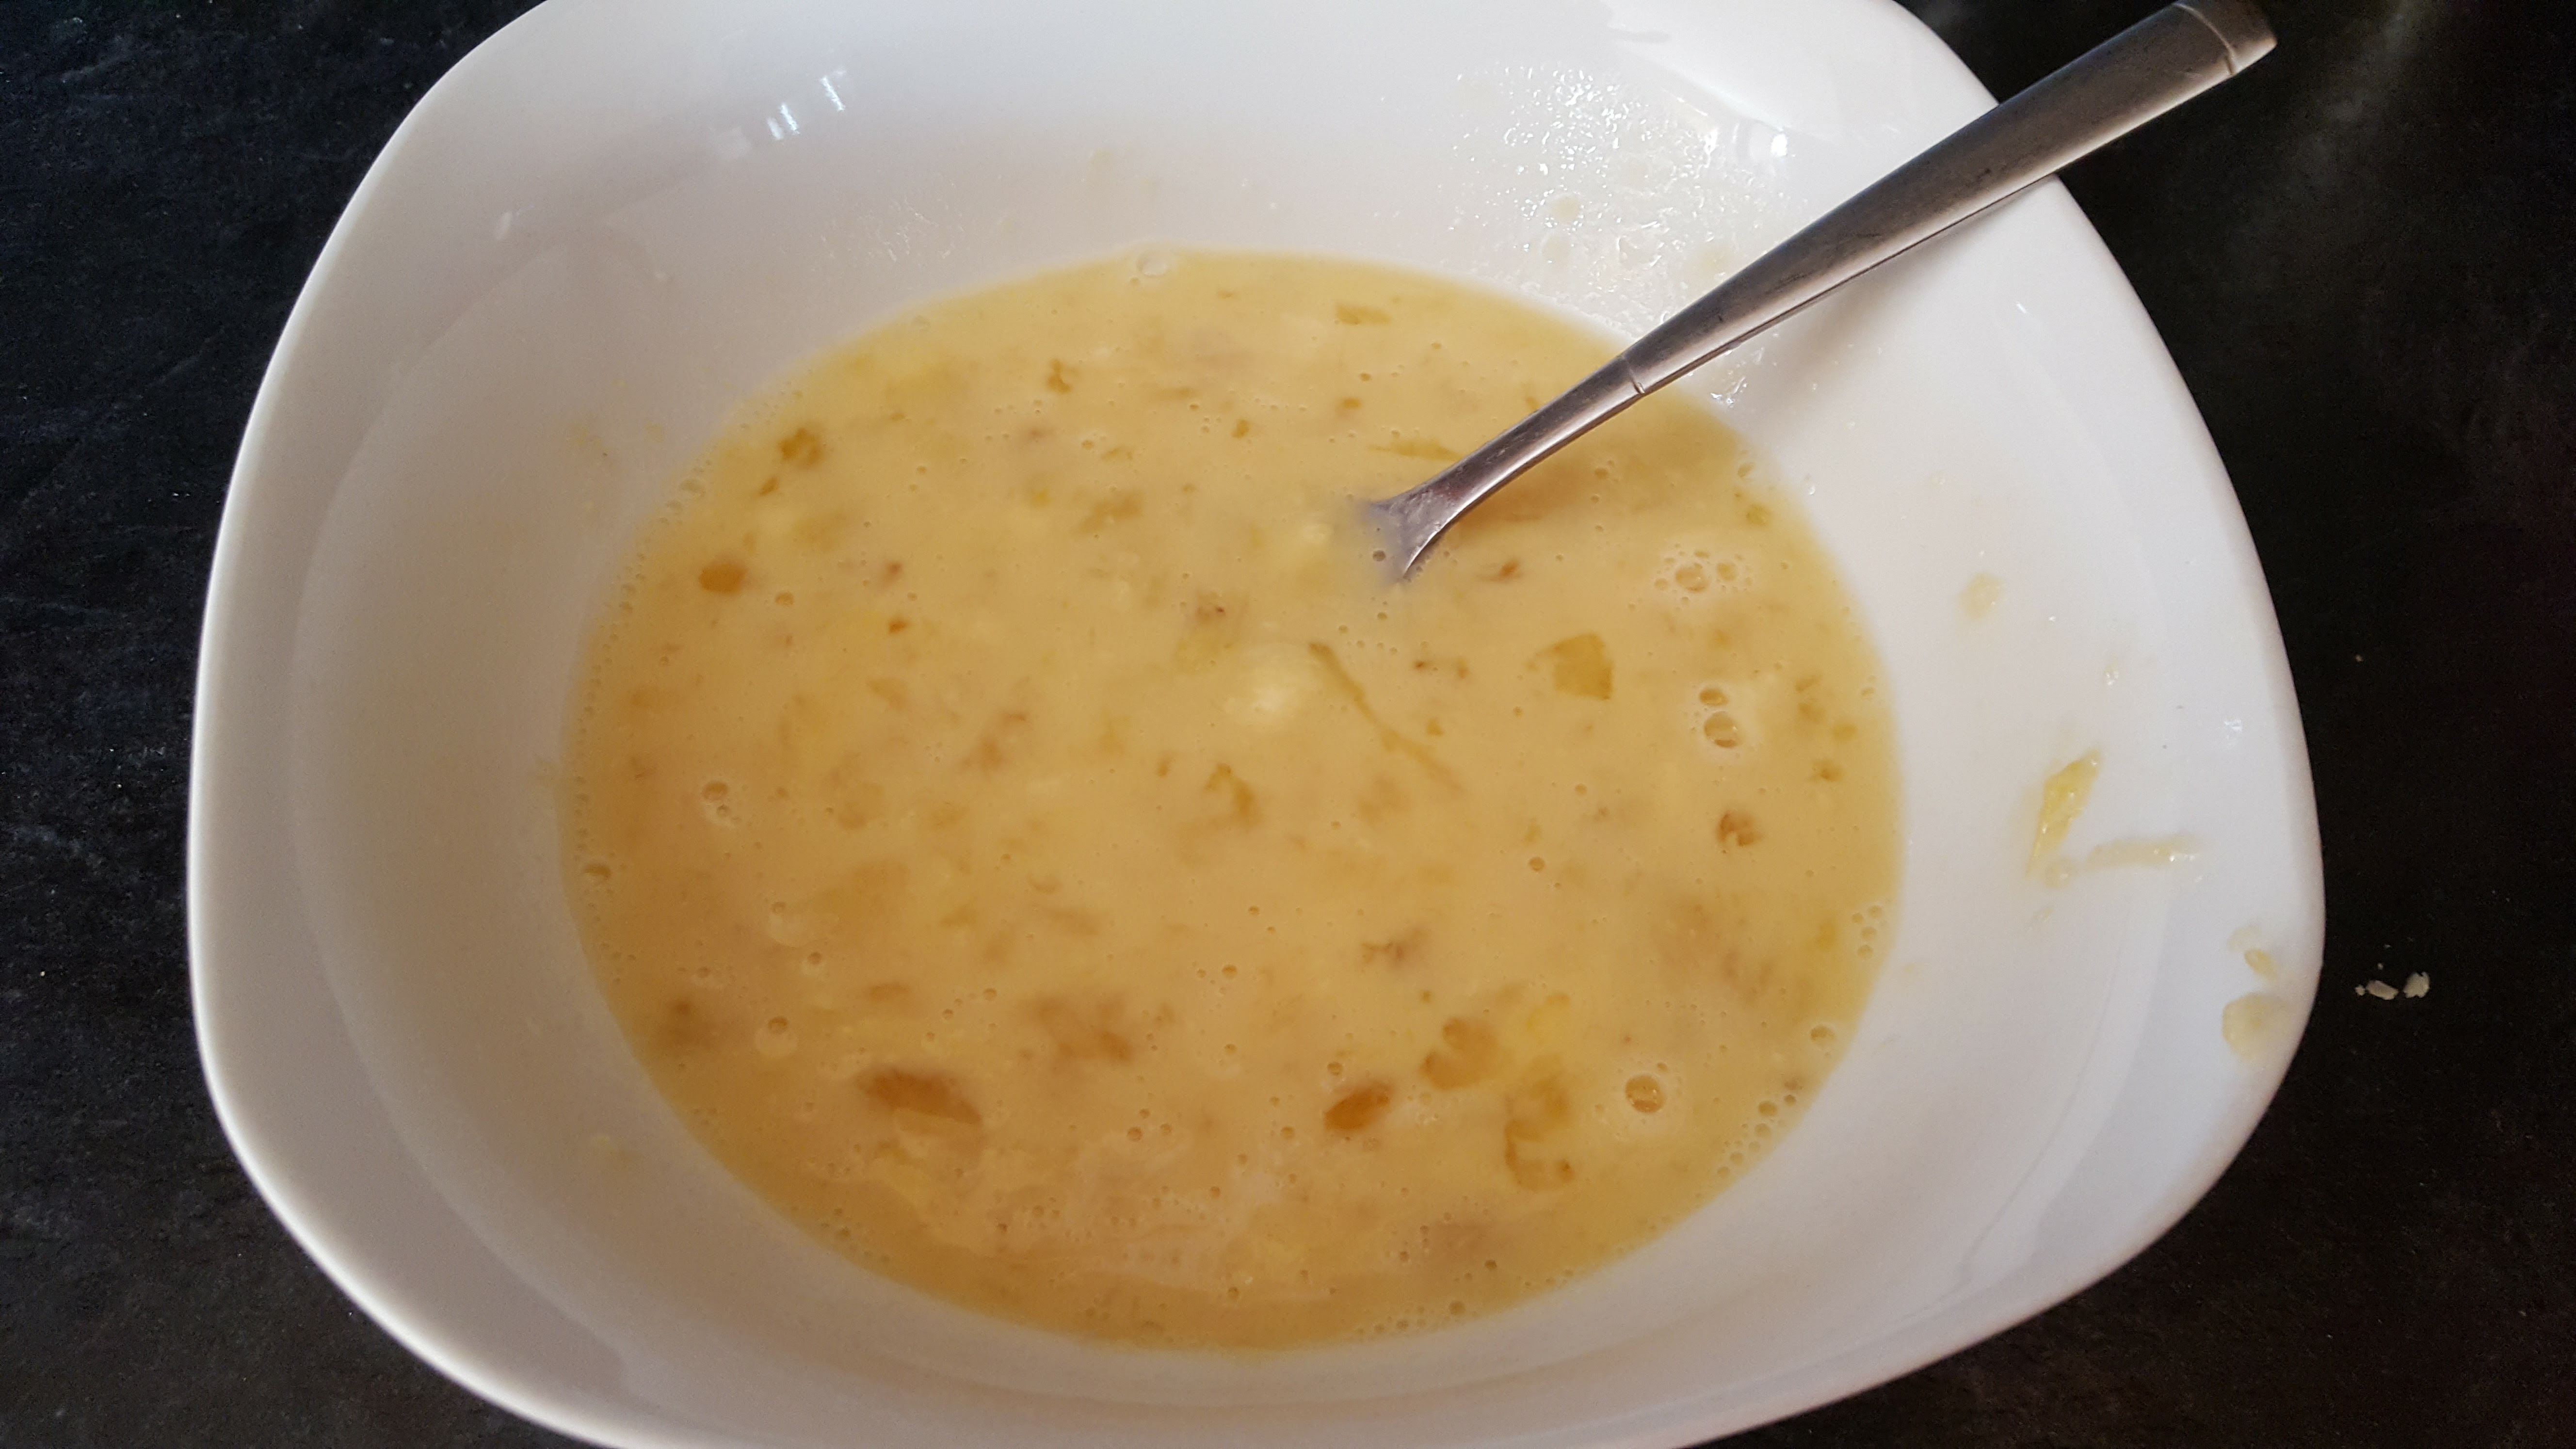
- Mash the bananas with a fork and add to the custard, crumble in 1 1/2 of flake and mix through to combine
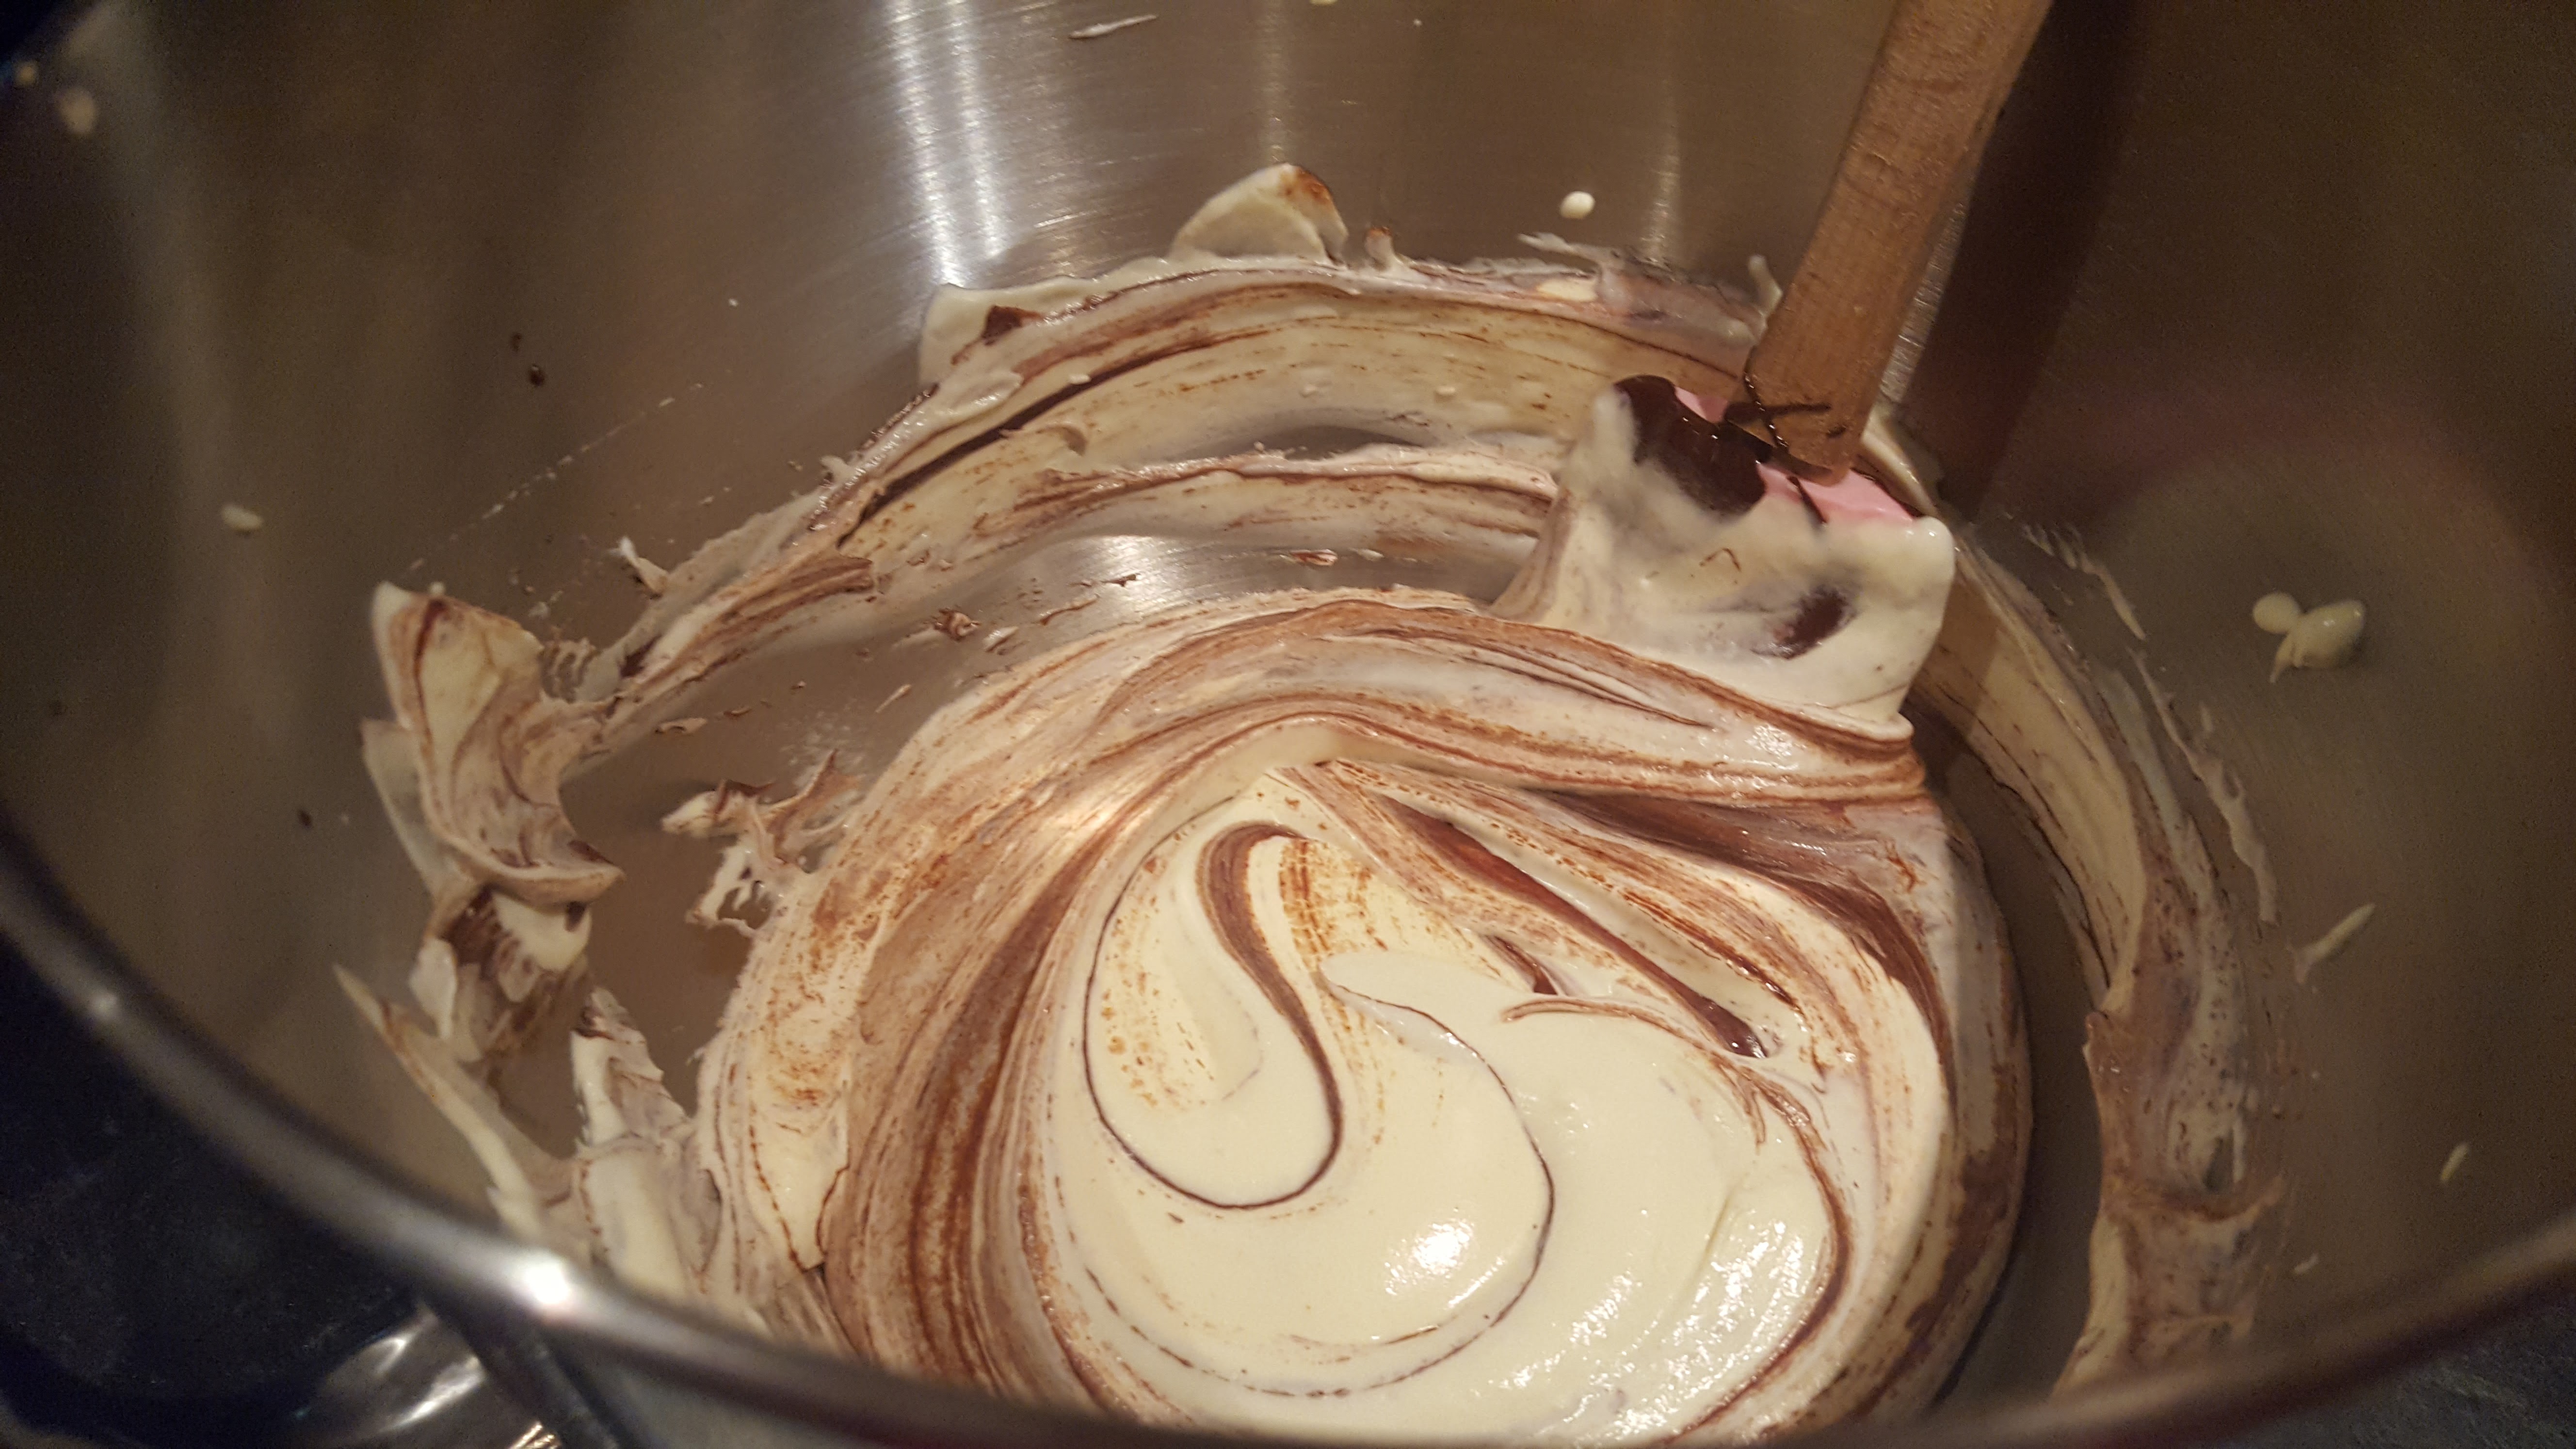
- Add 1 tsp vanilla essence to the cream and whisk up until thick, gently fold cream into the custard mix.
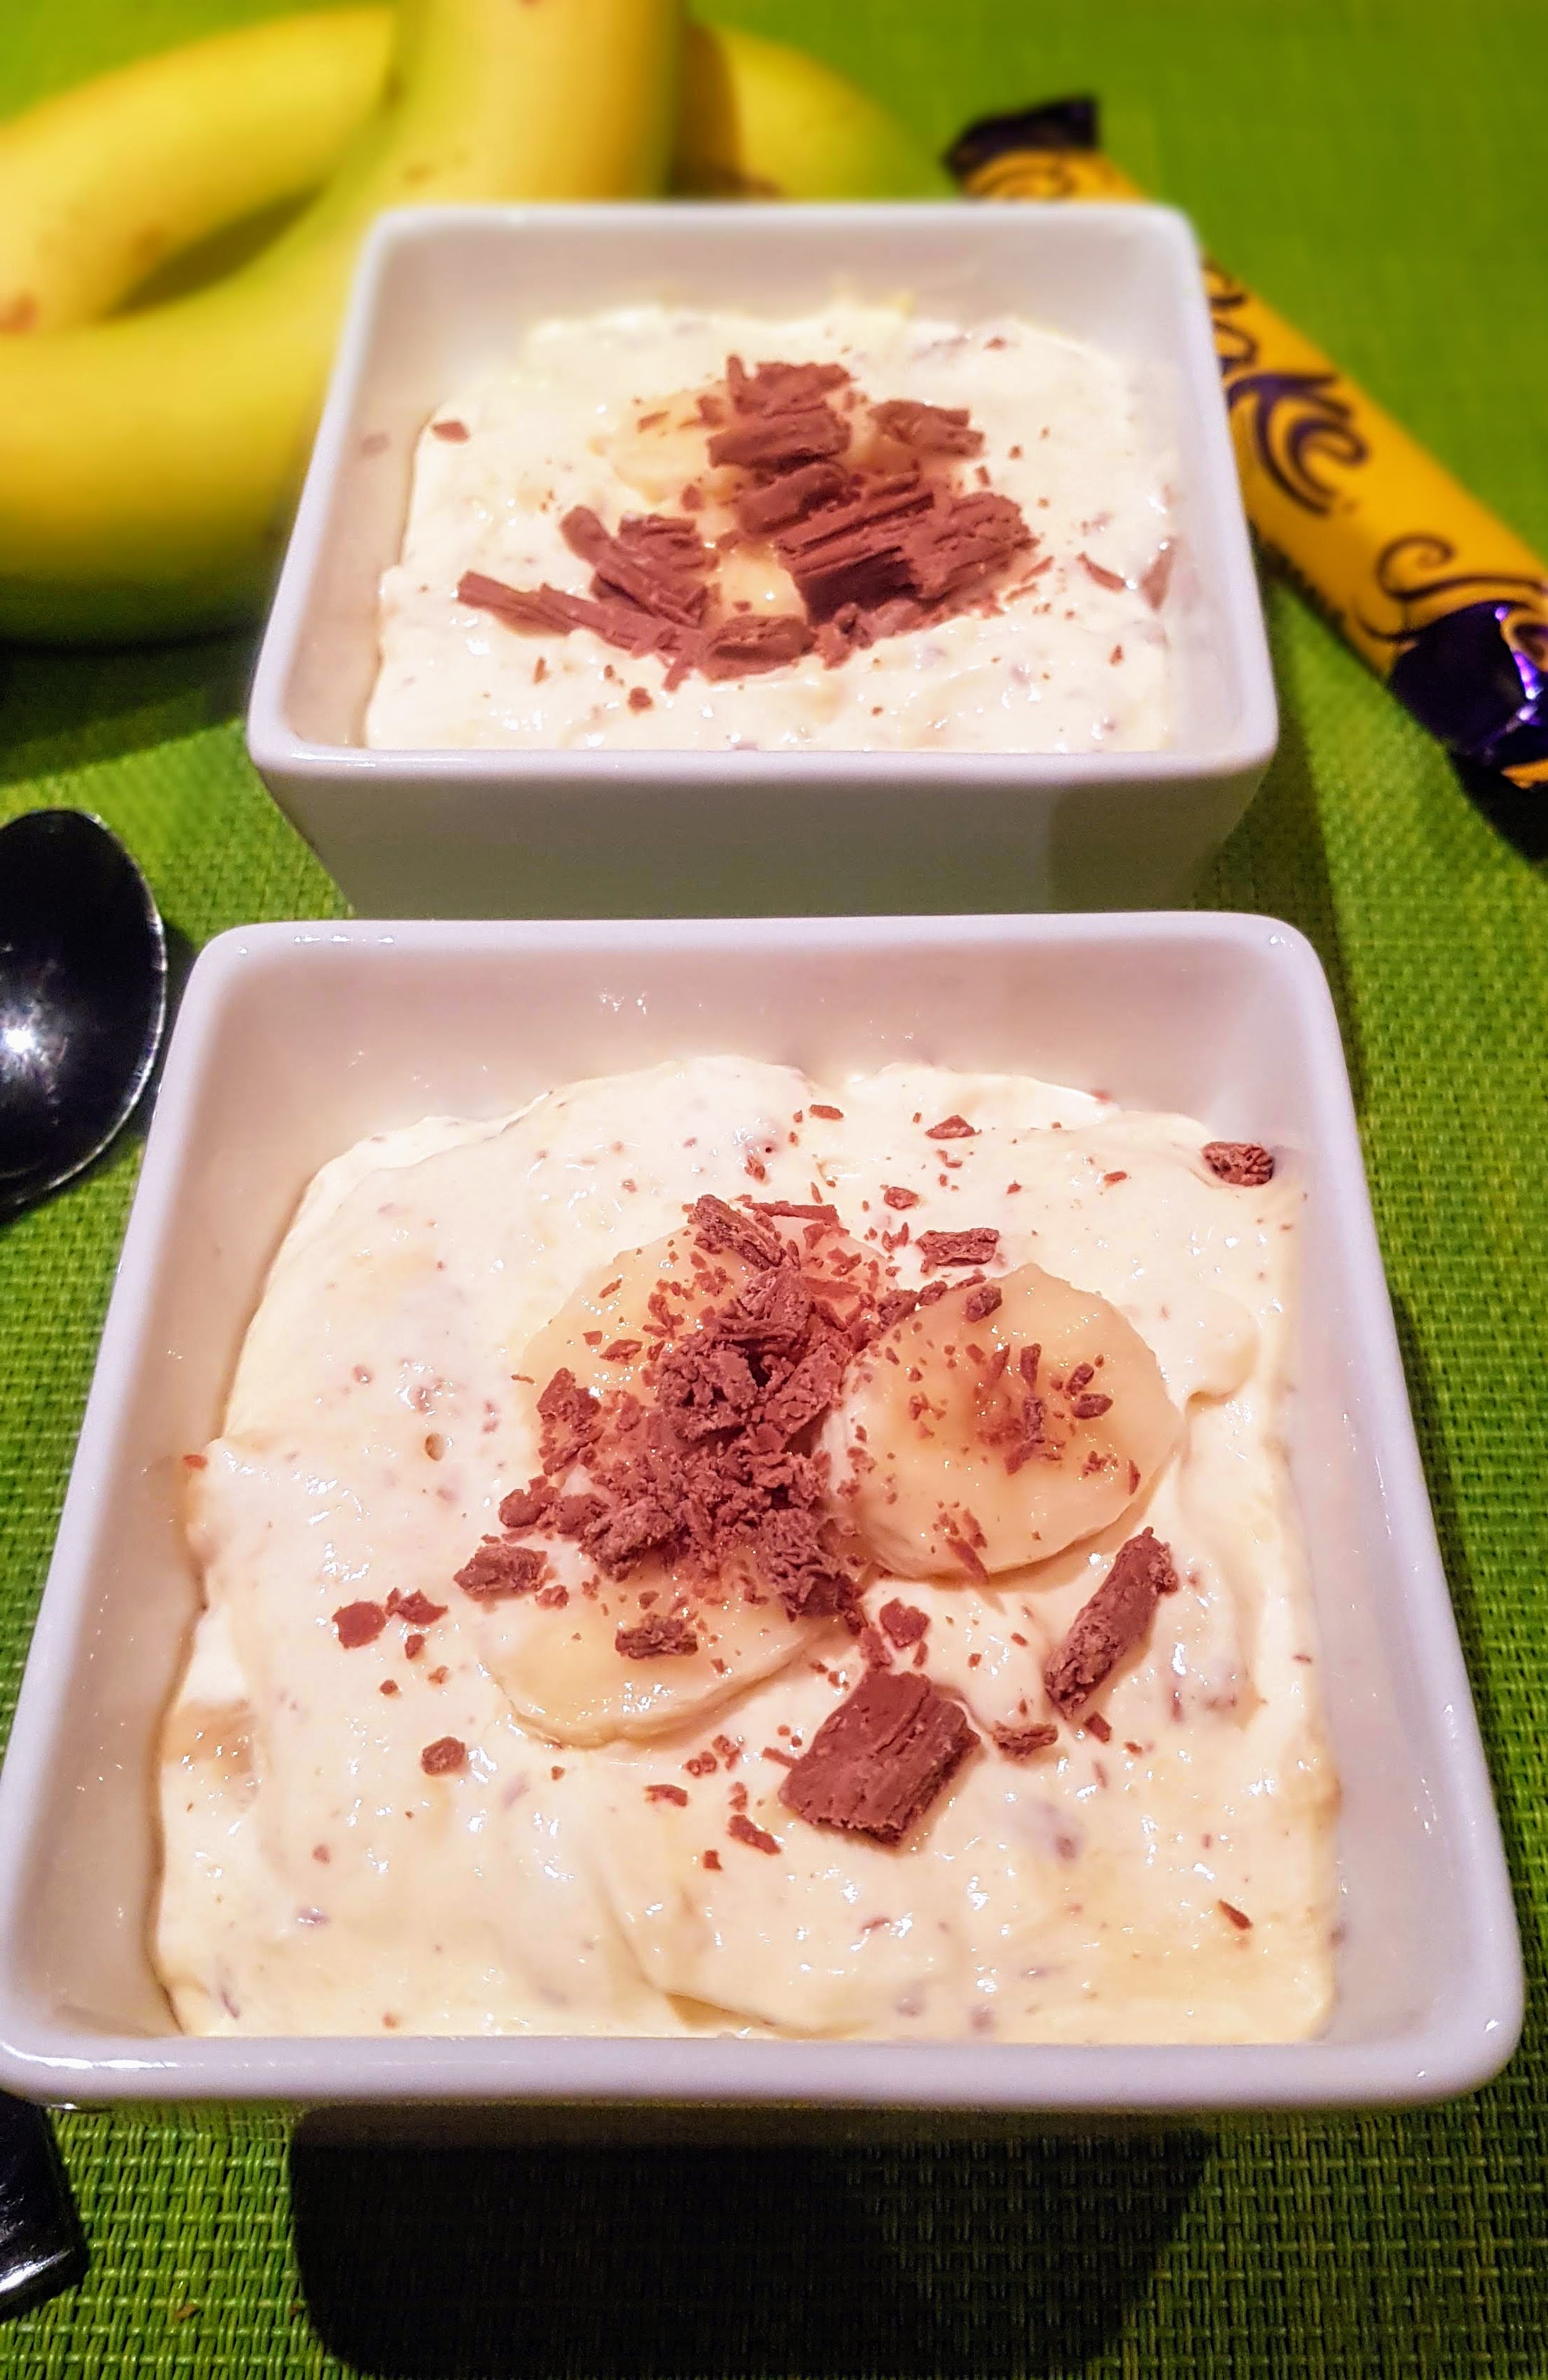
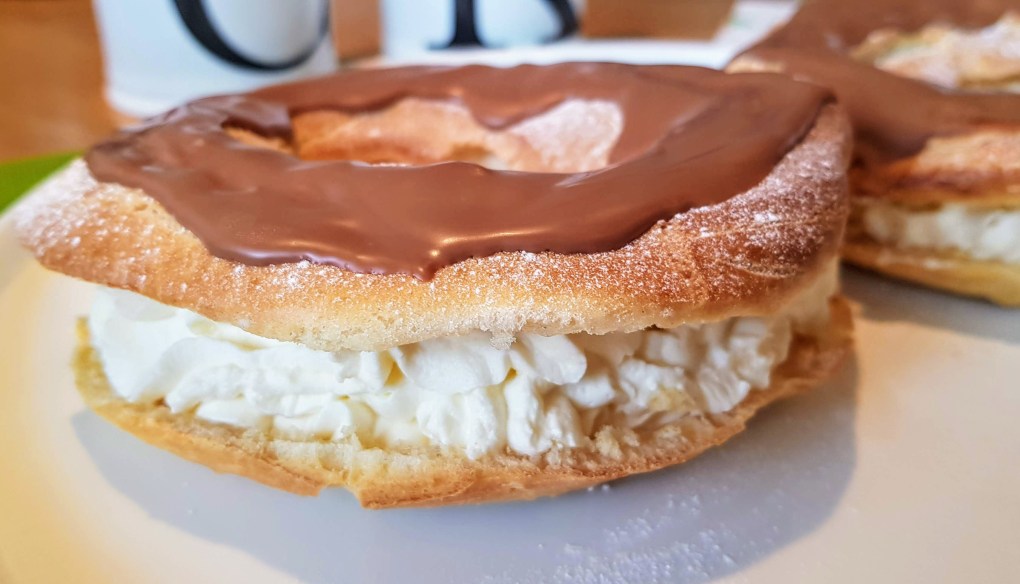
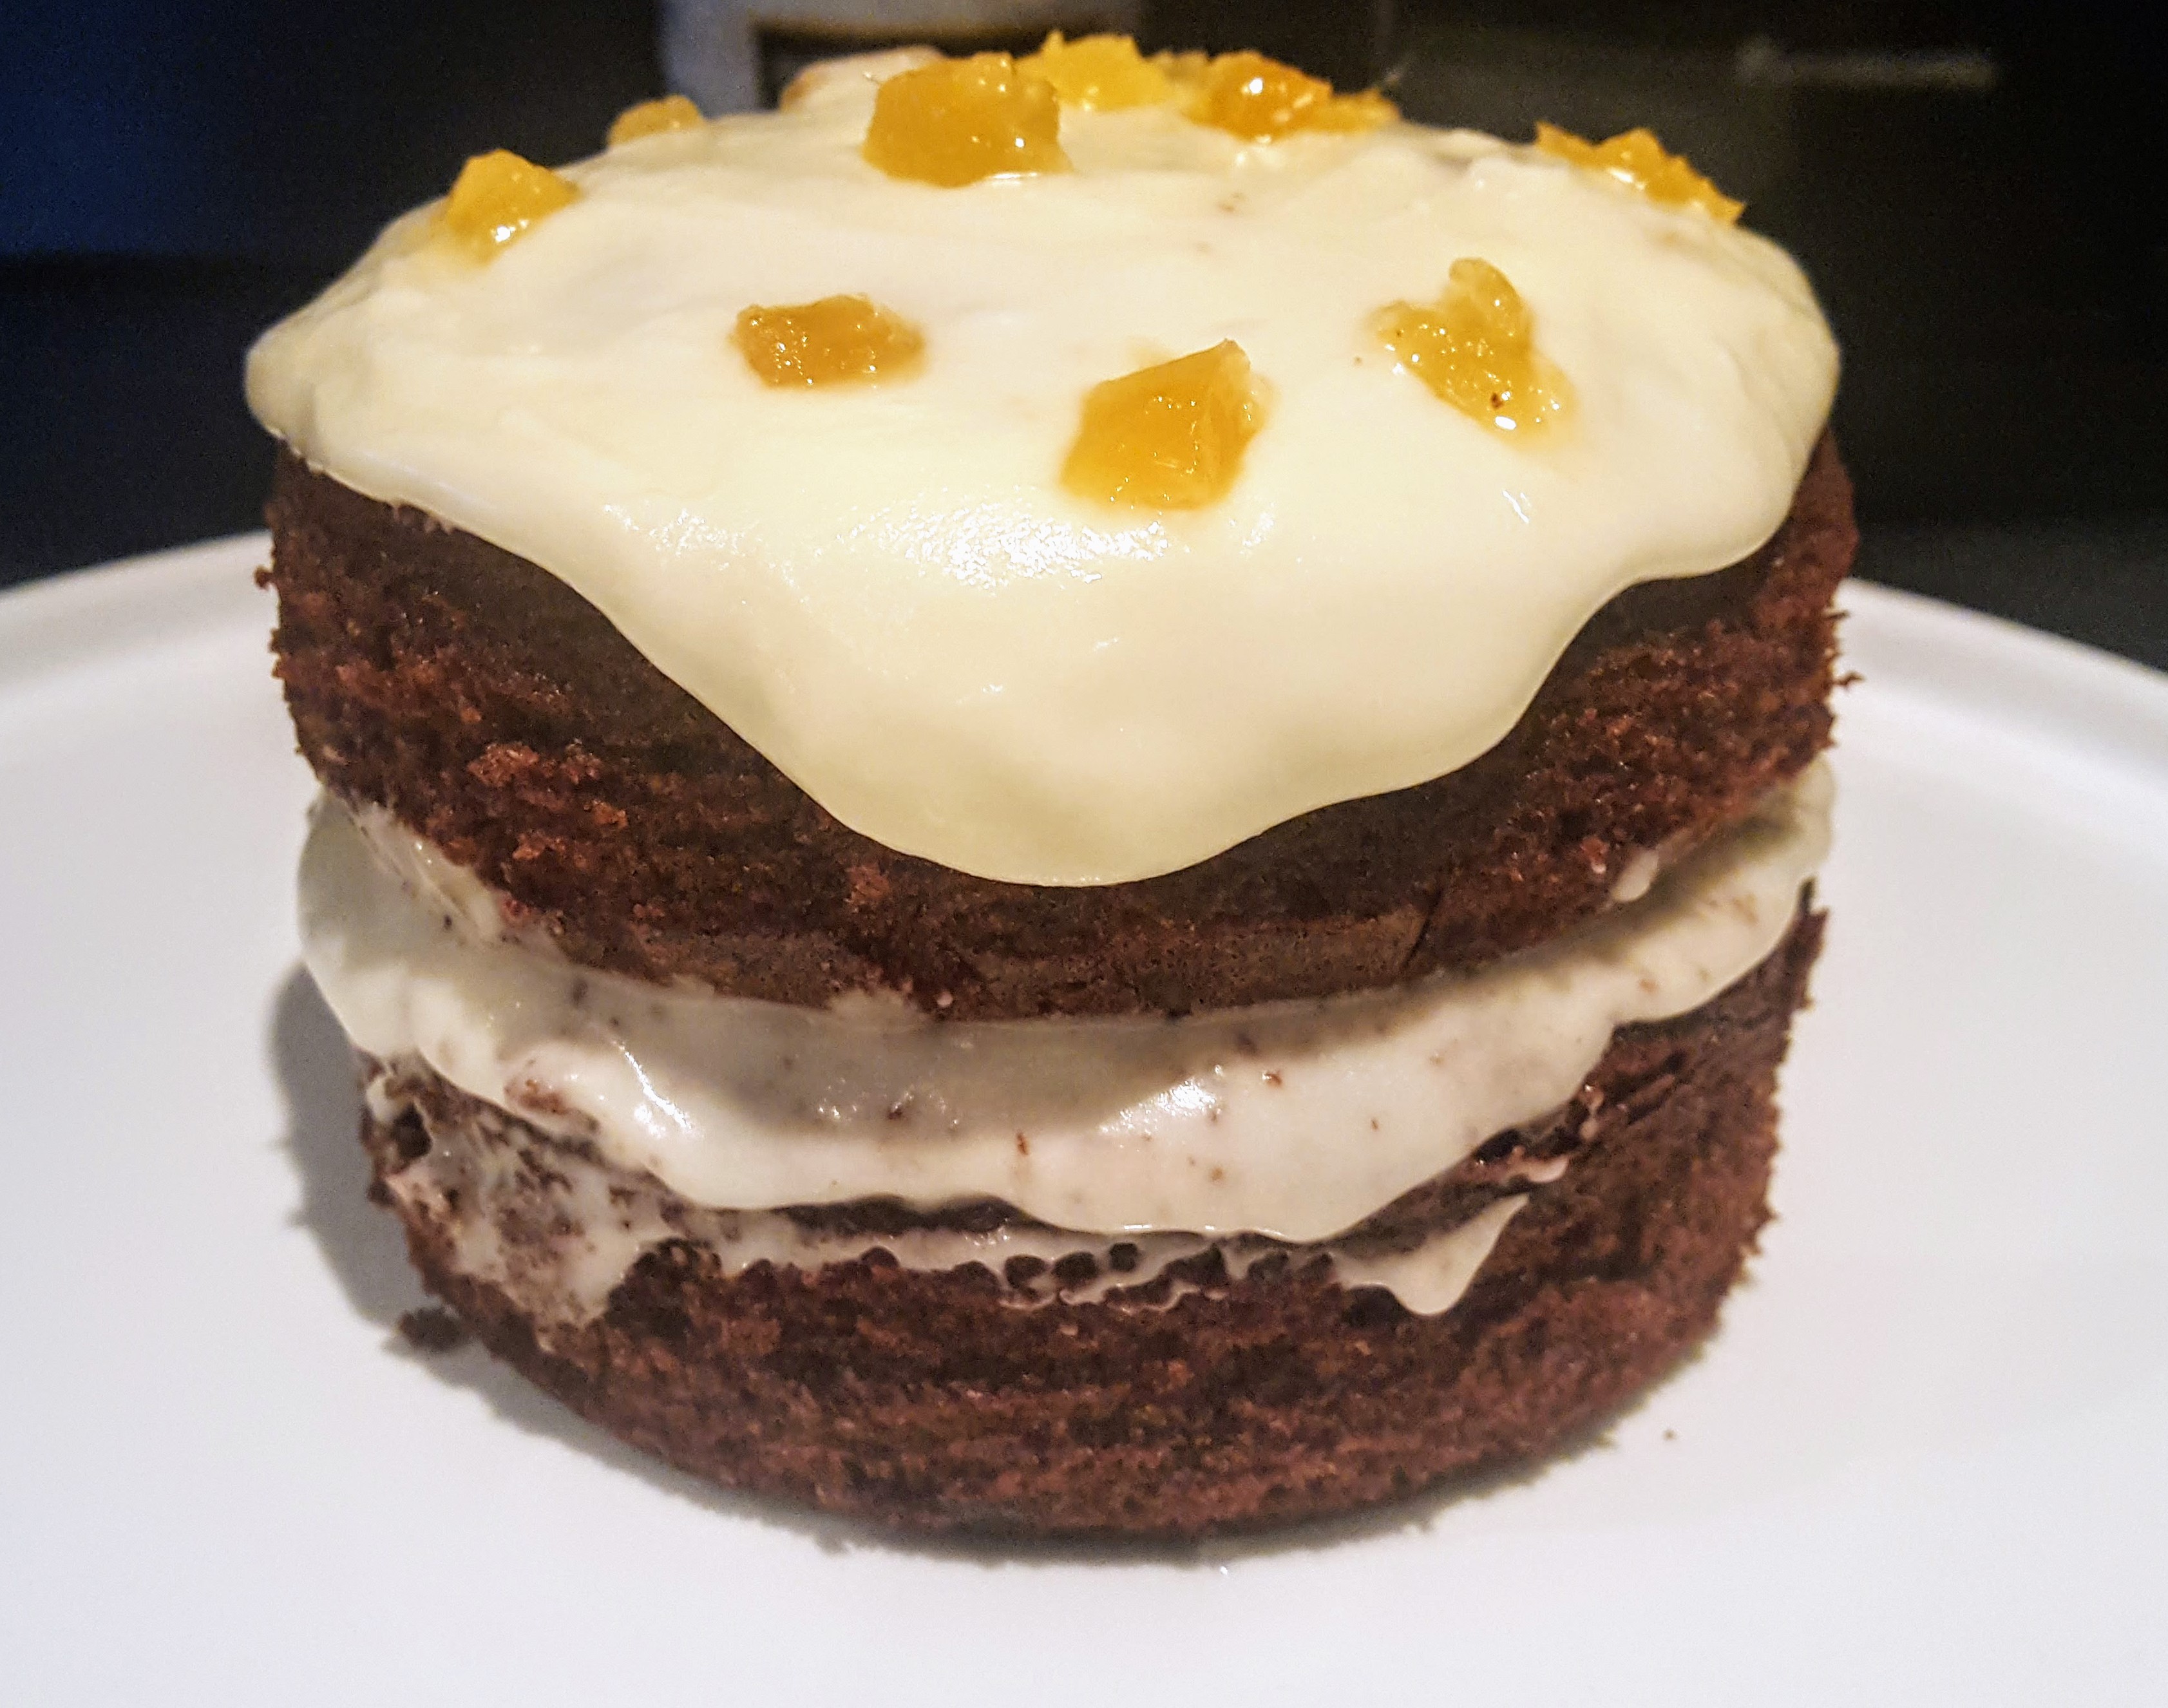
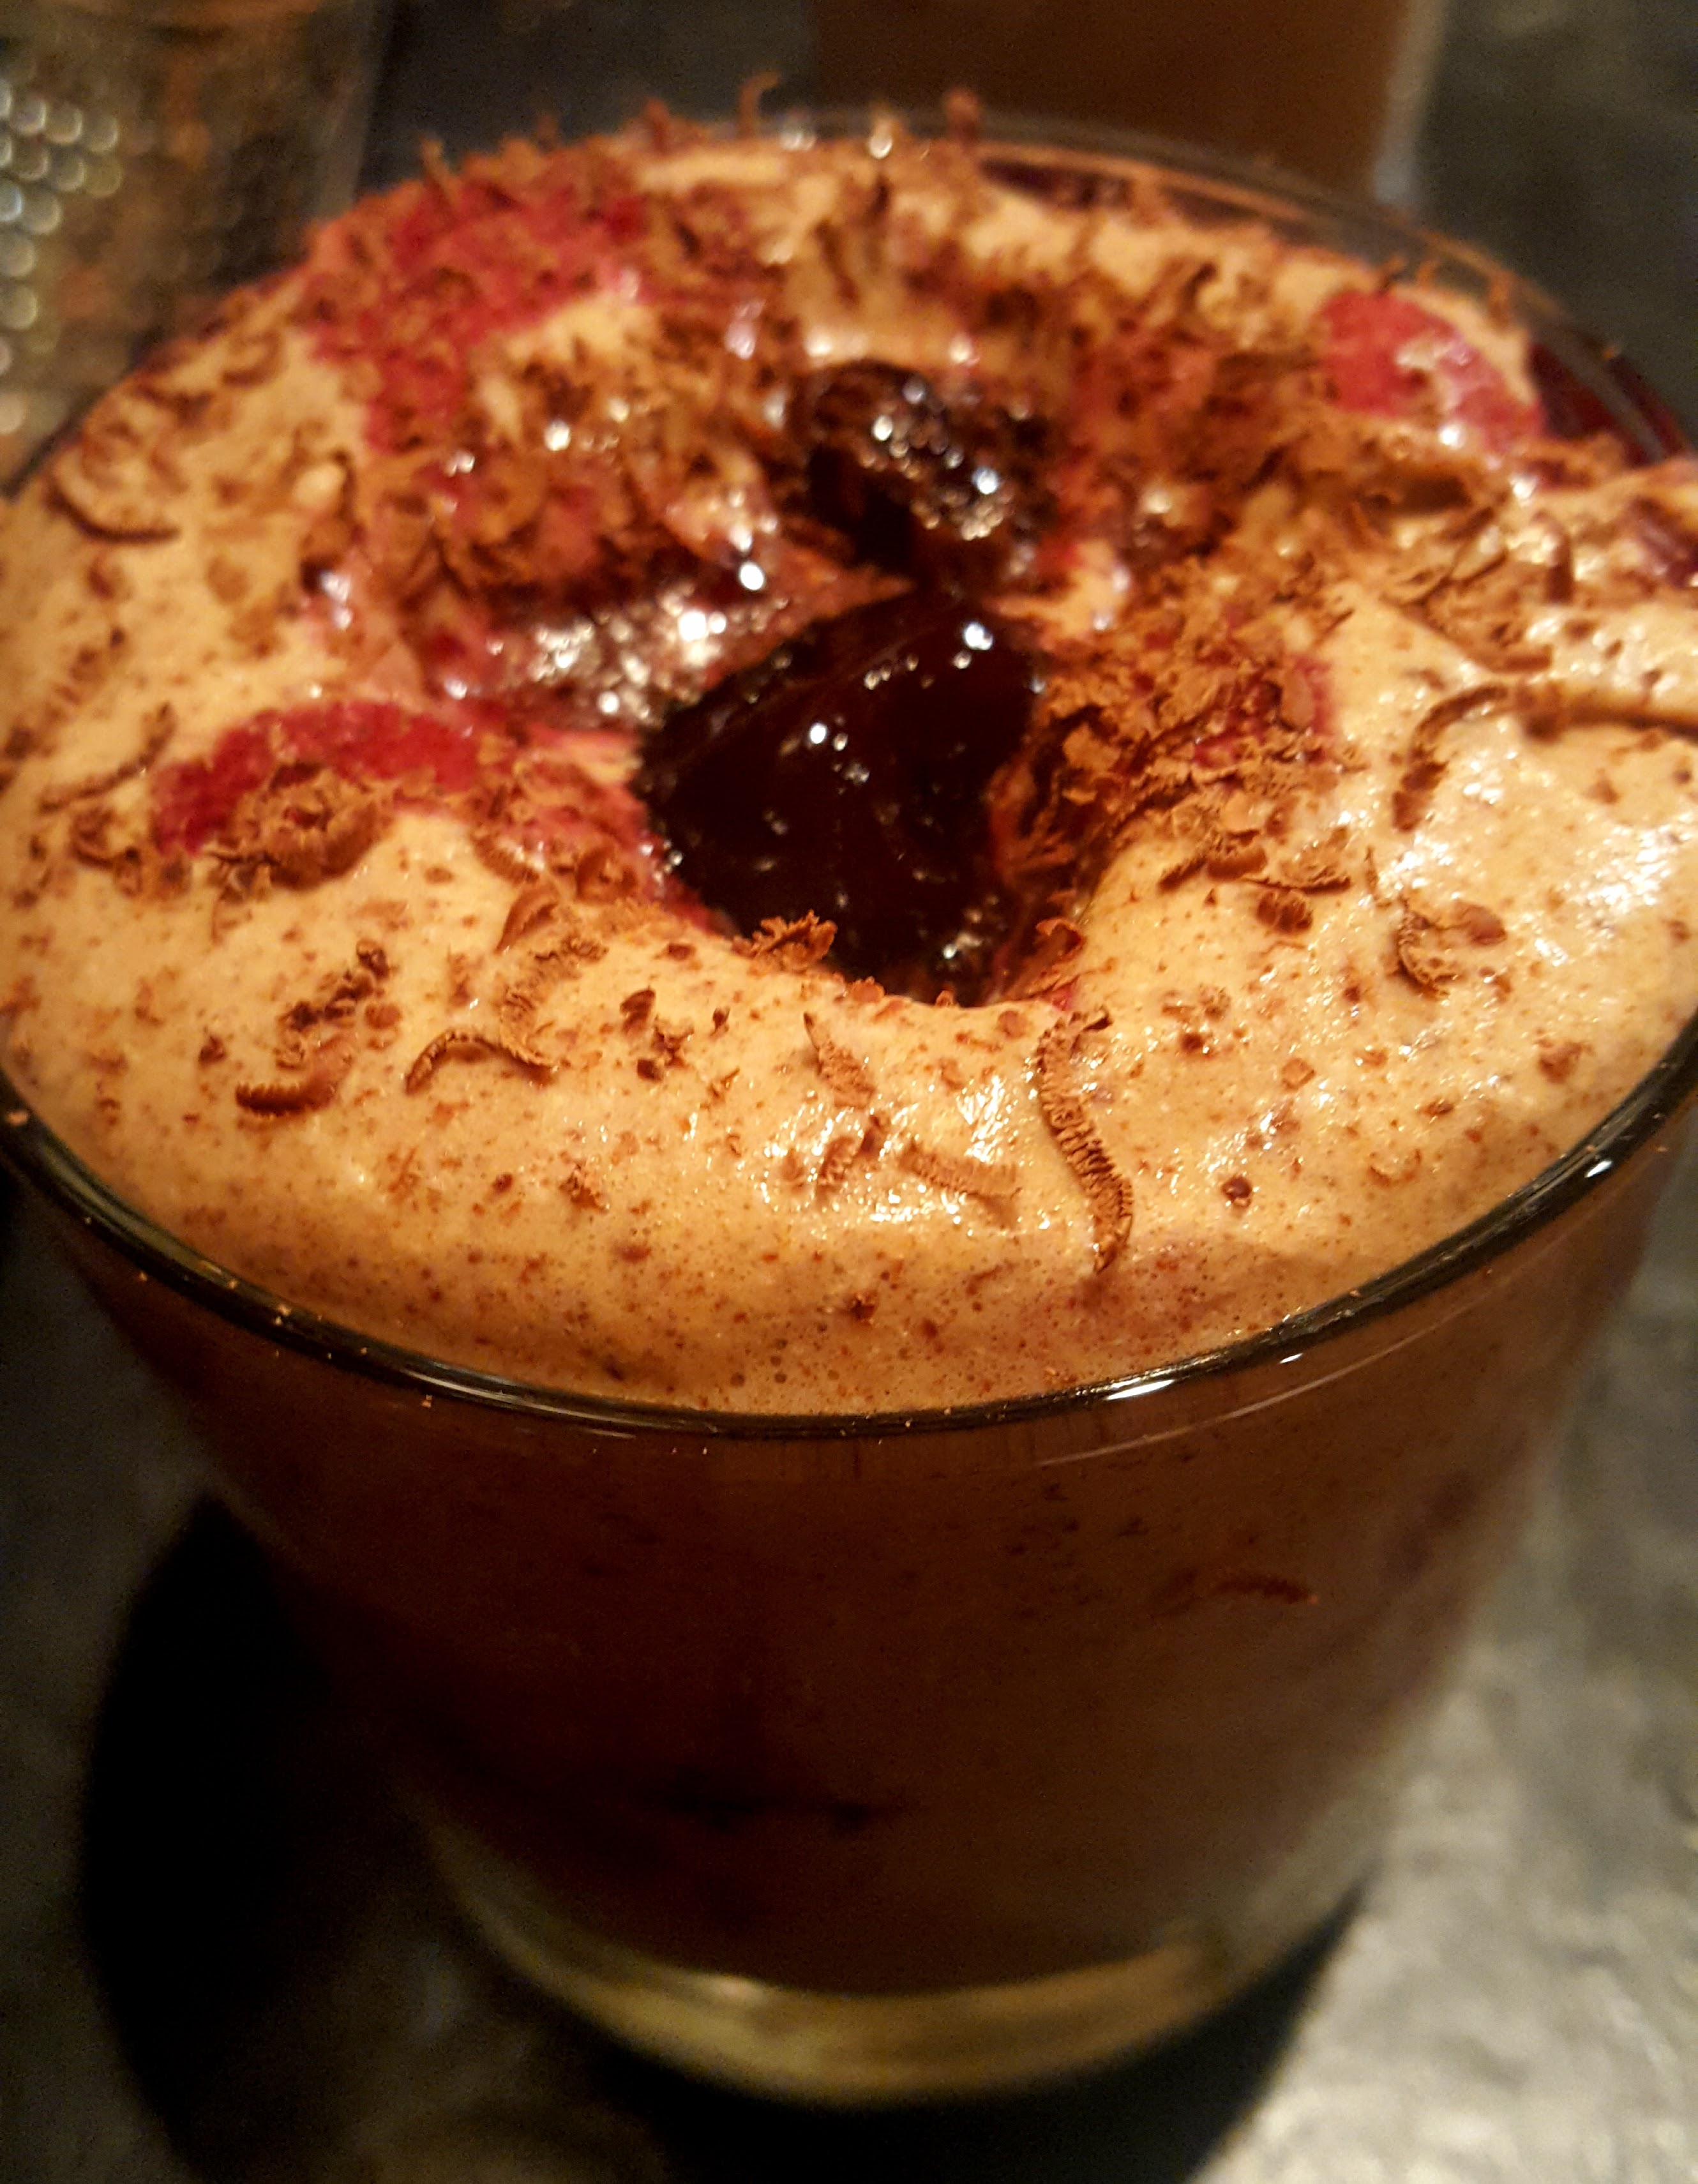
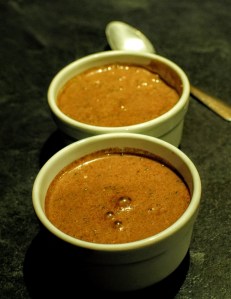
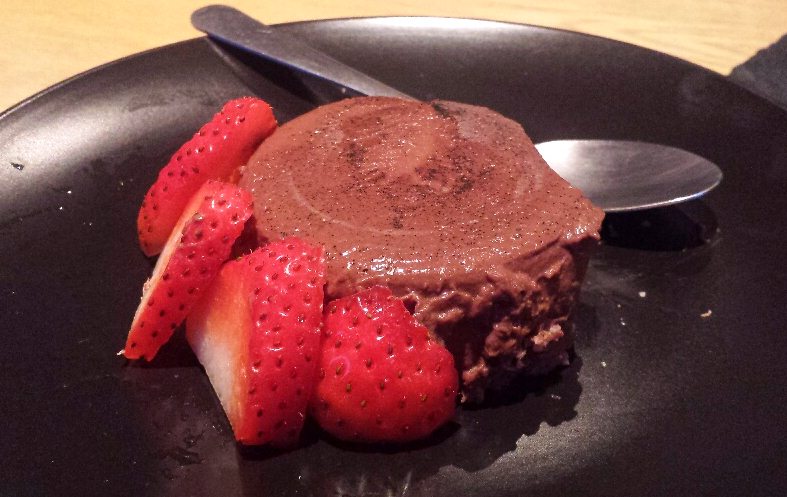
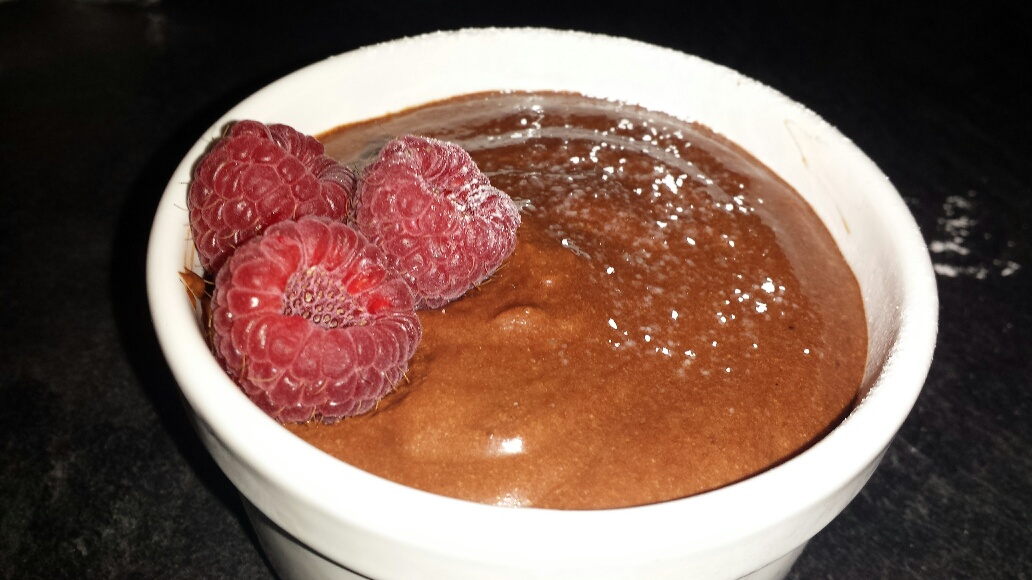
- Spoon custard into serving dishes and top with a couple slices of banana and crumbled flake.
- Serve immediately.
Note: If you have custard powder, put 2 tbsp of powder and 2 tbsp of caster sugar into a pan, add a little milk and stir to a paste, add the remaining milk (about 400ml) and bring to a gentle boil, stir continually until custard thickens. Remove from heat, place a piece of cling film over custard to prevent a skin forming and allow to cool then proceed as above.


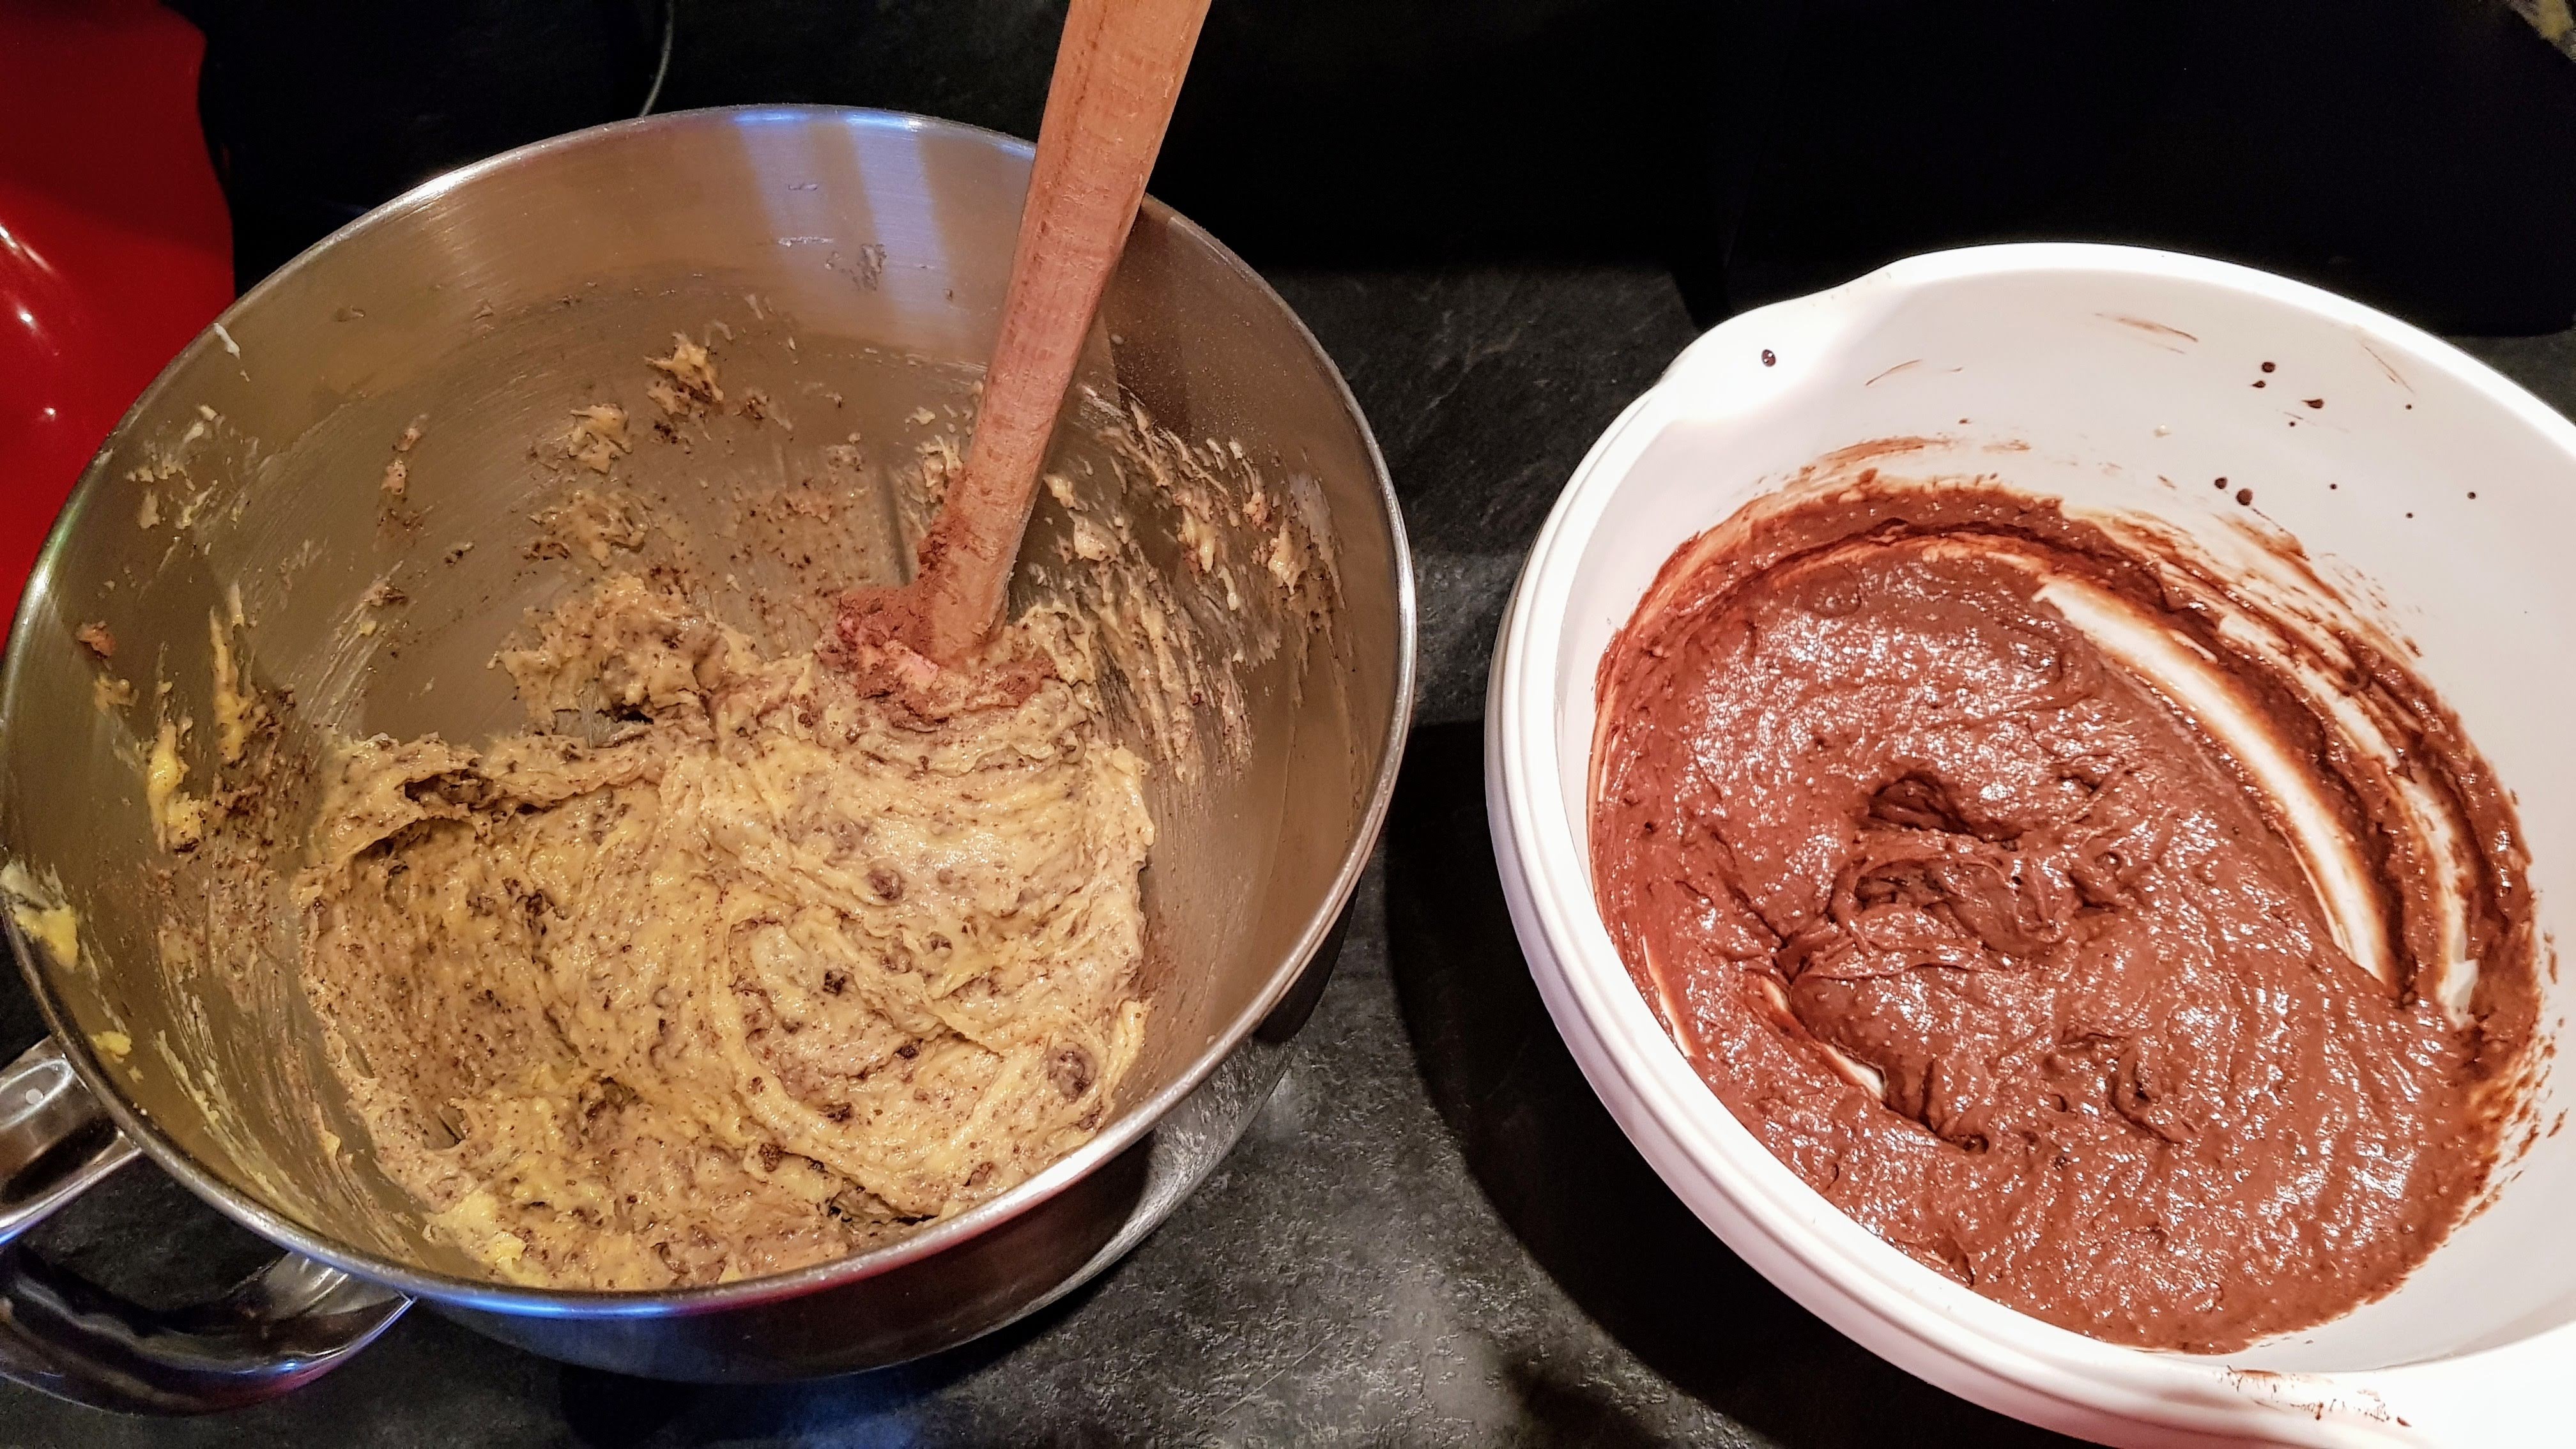


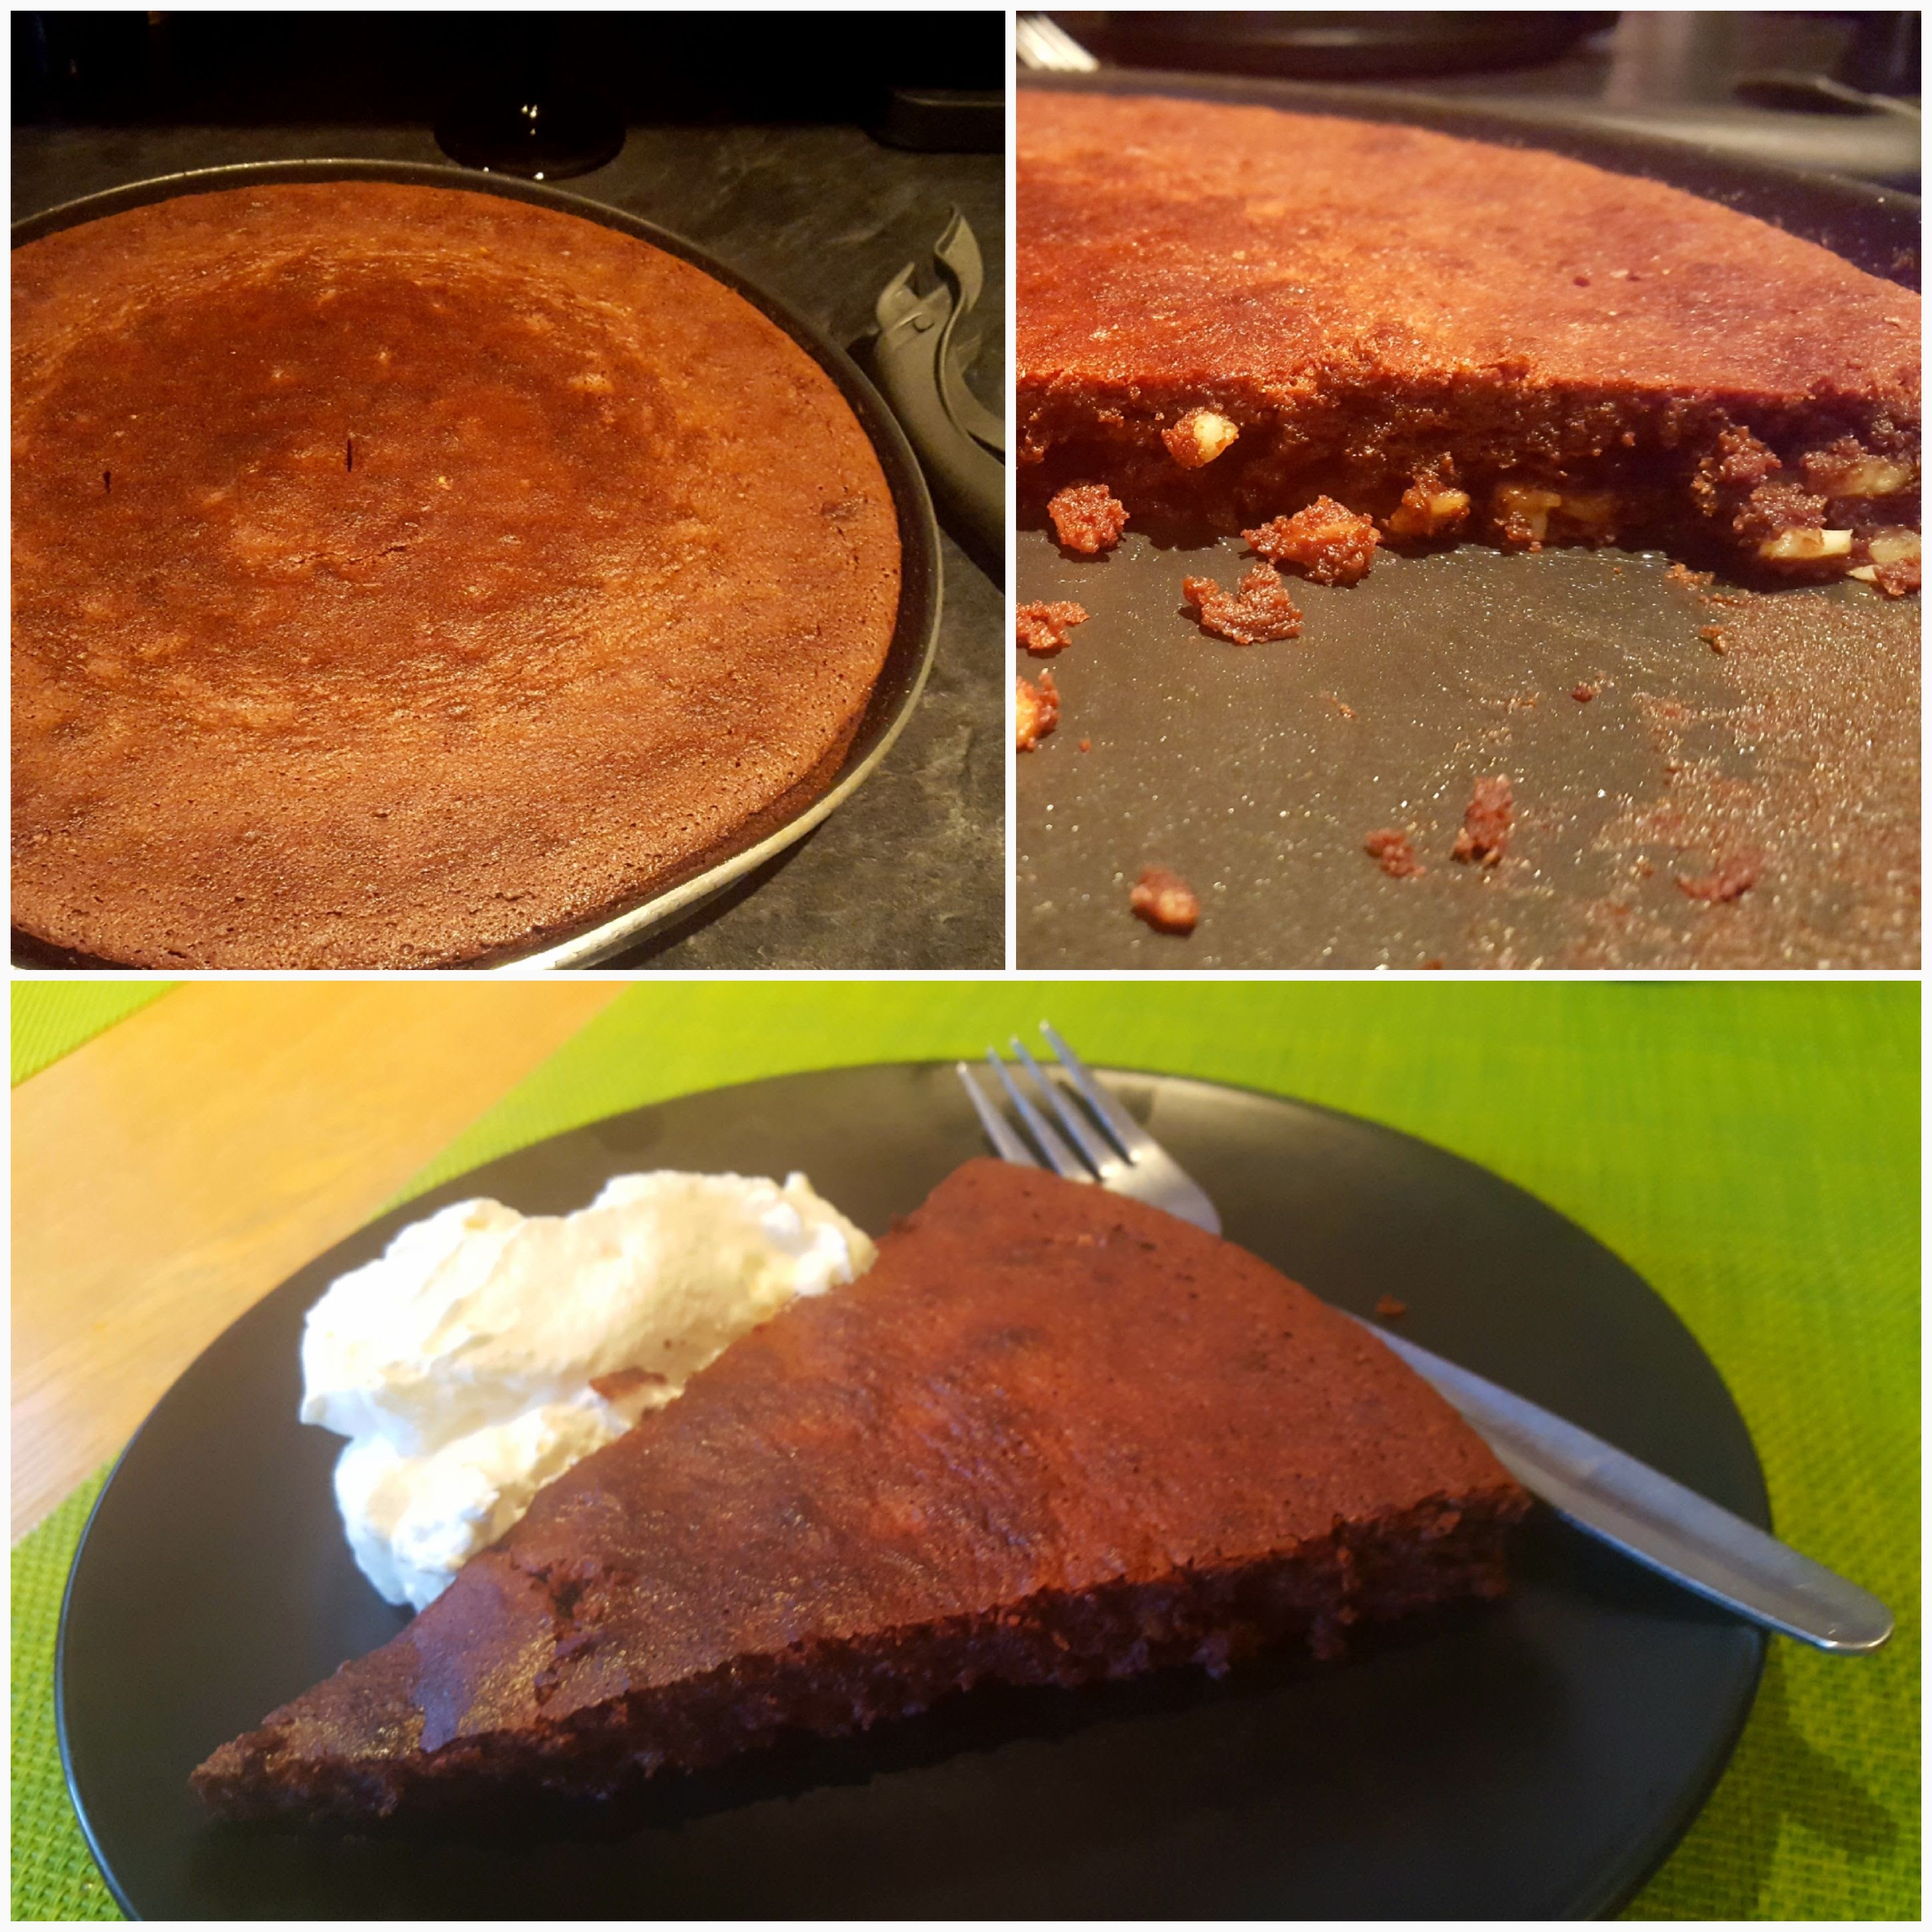


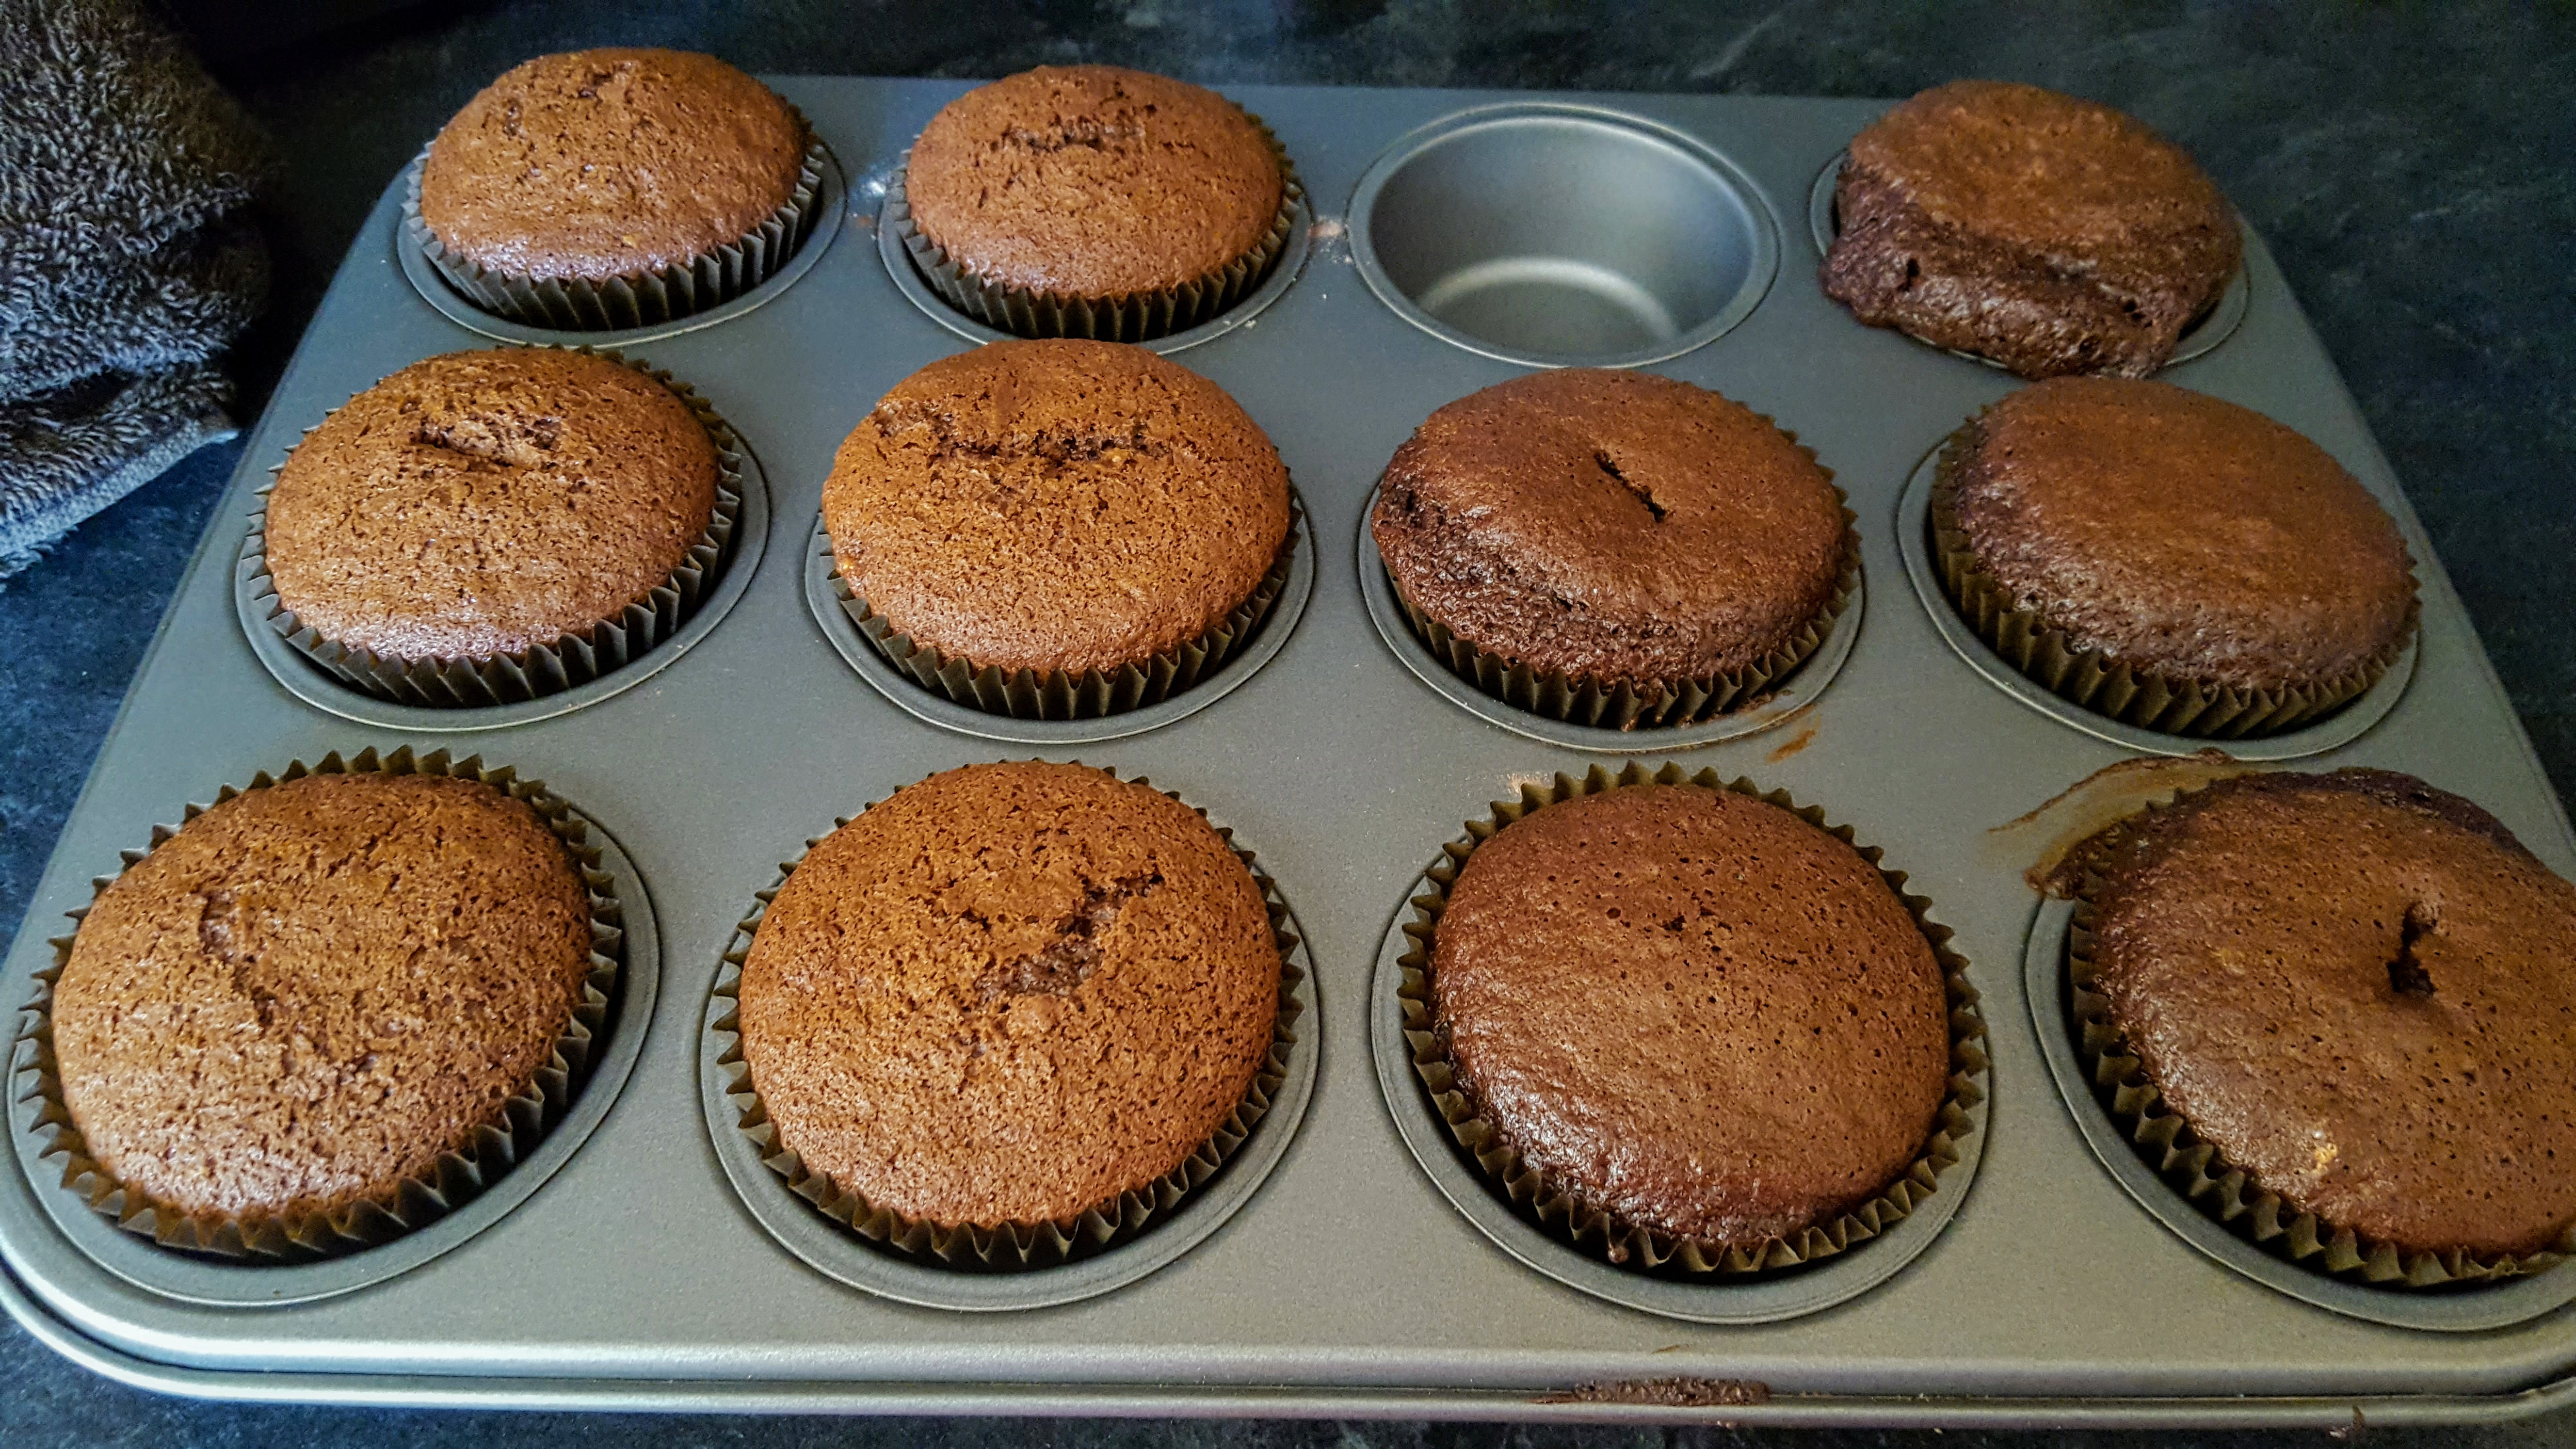


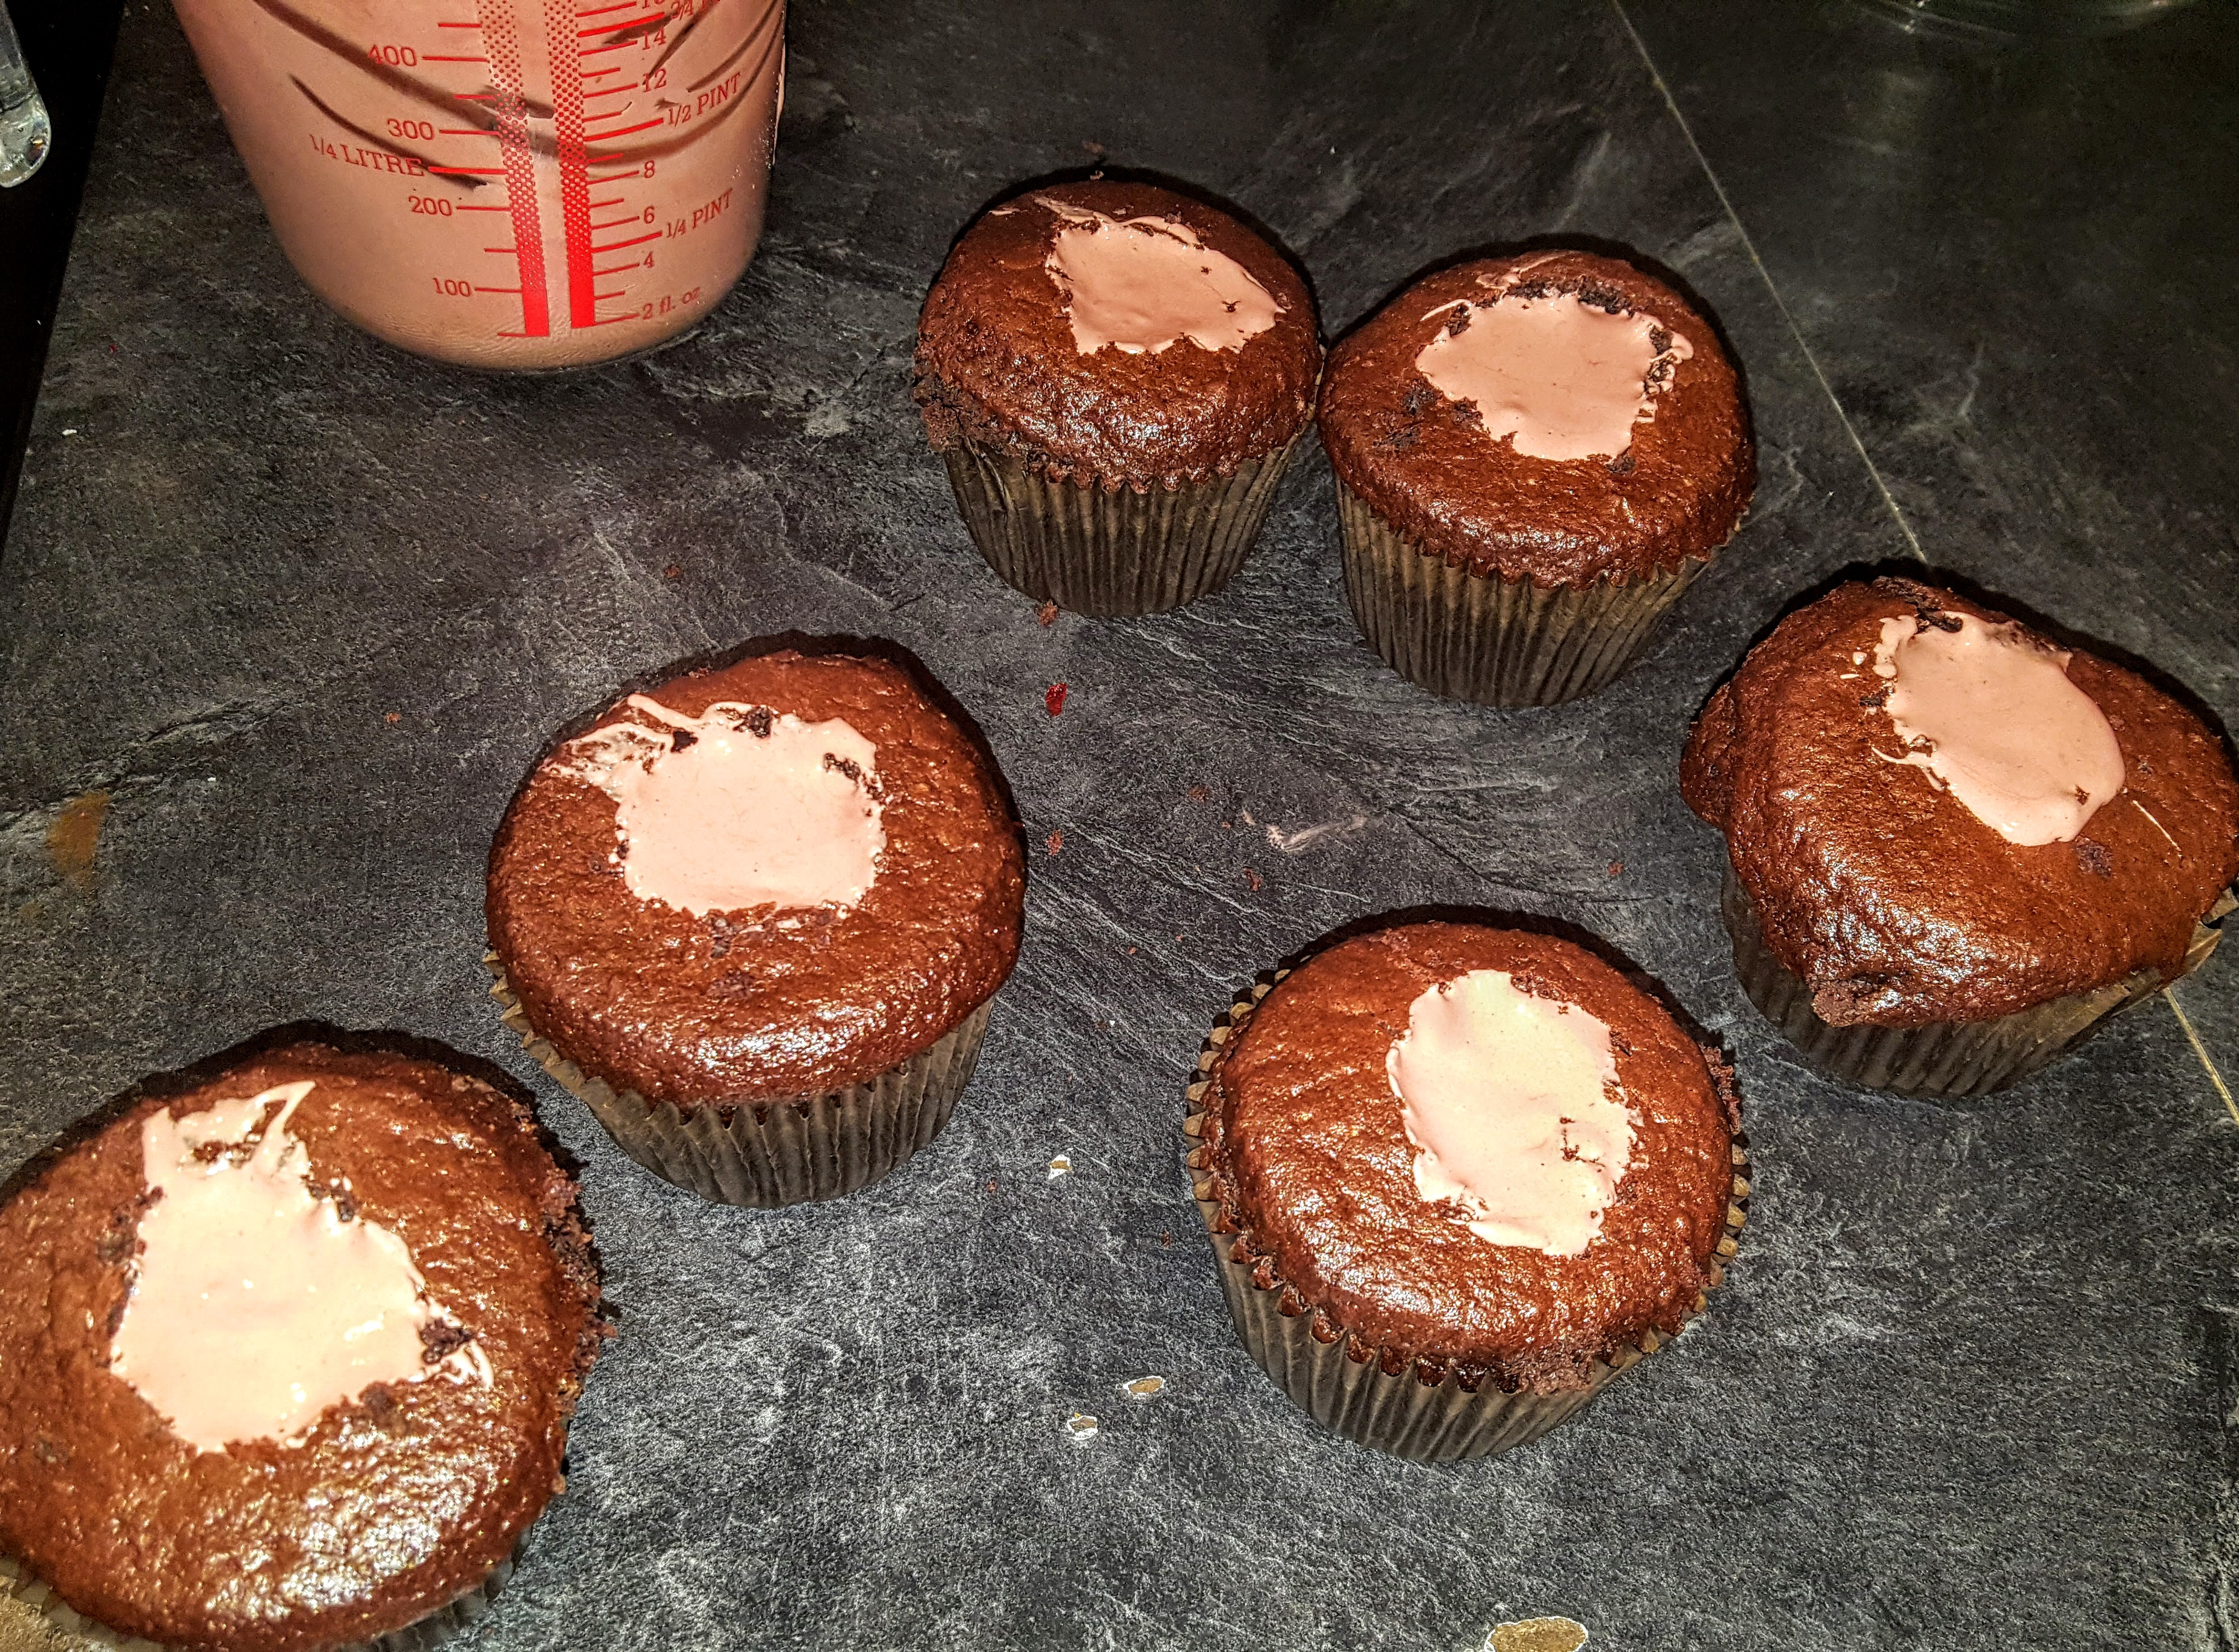


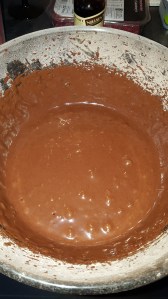
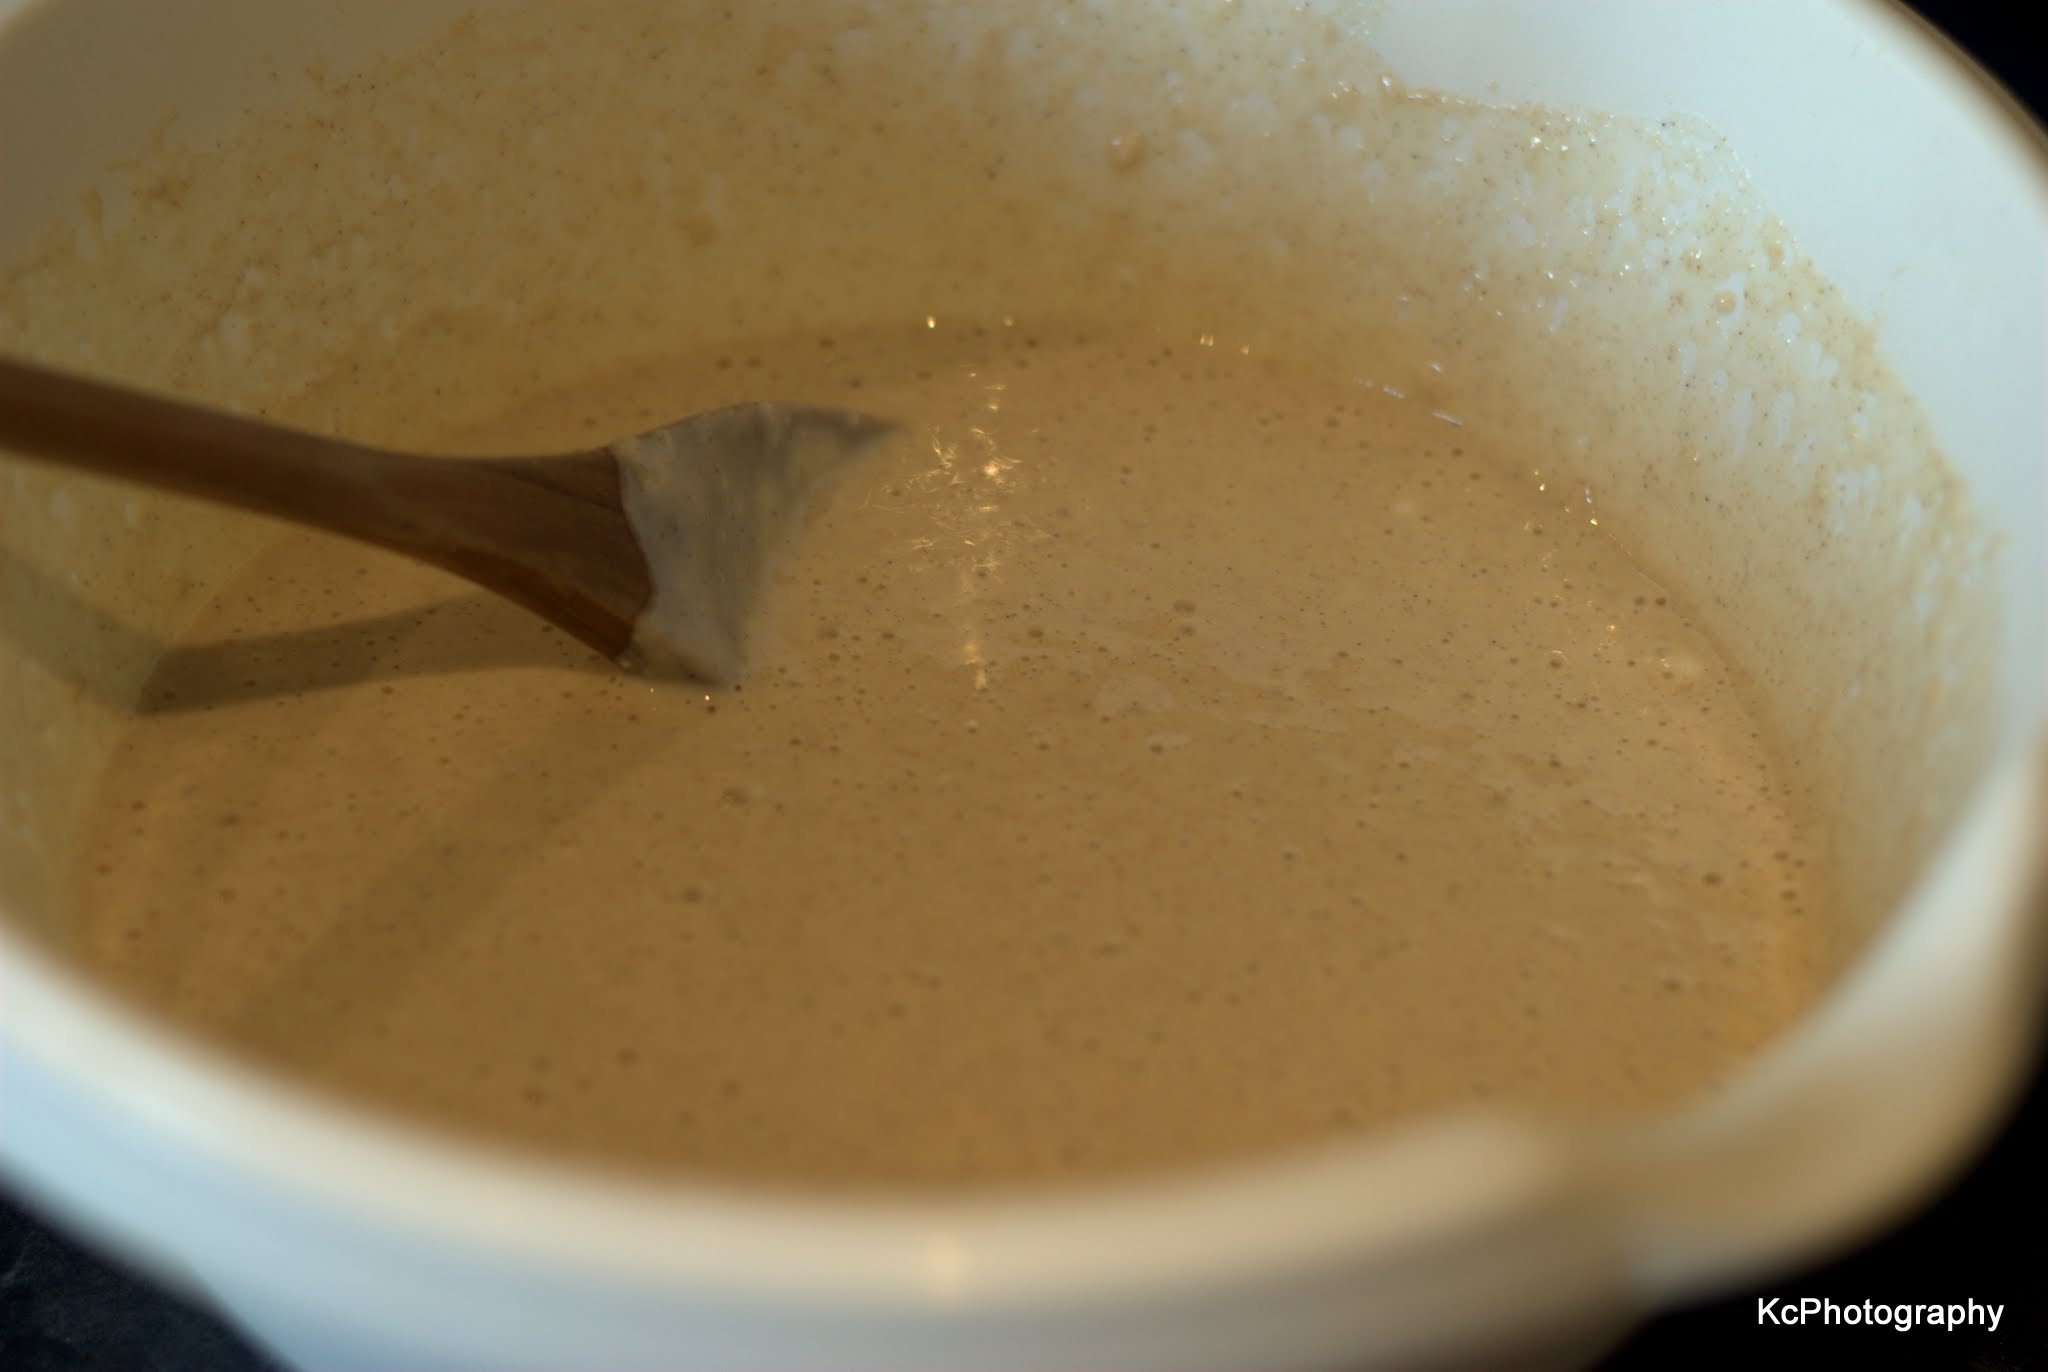
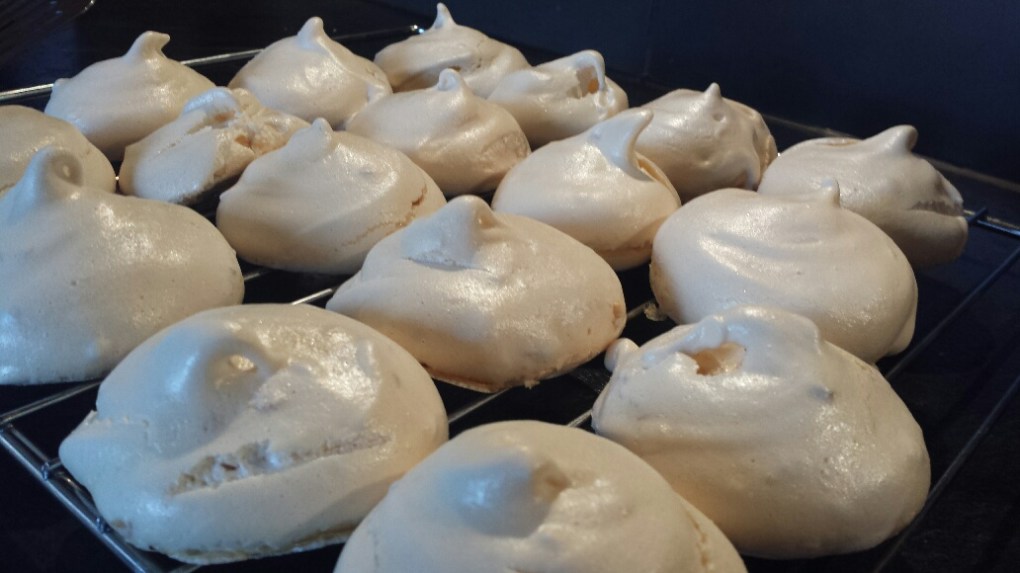
 wrong batch
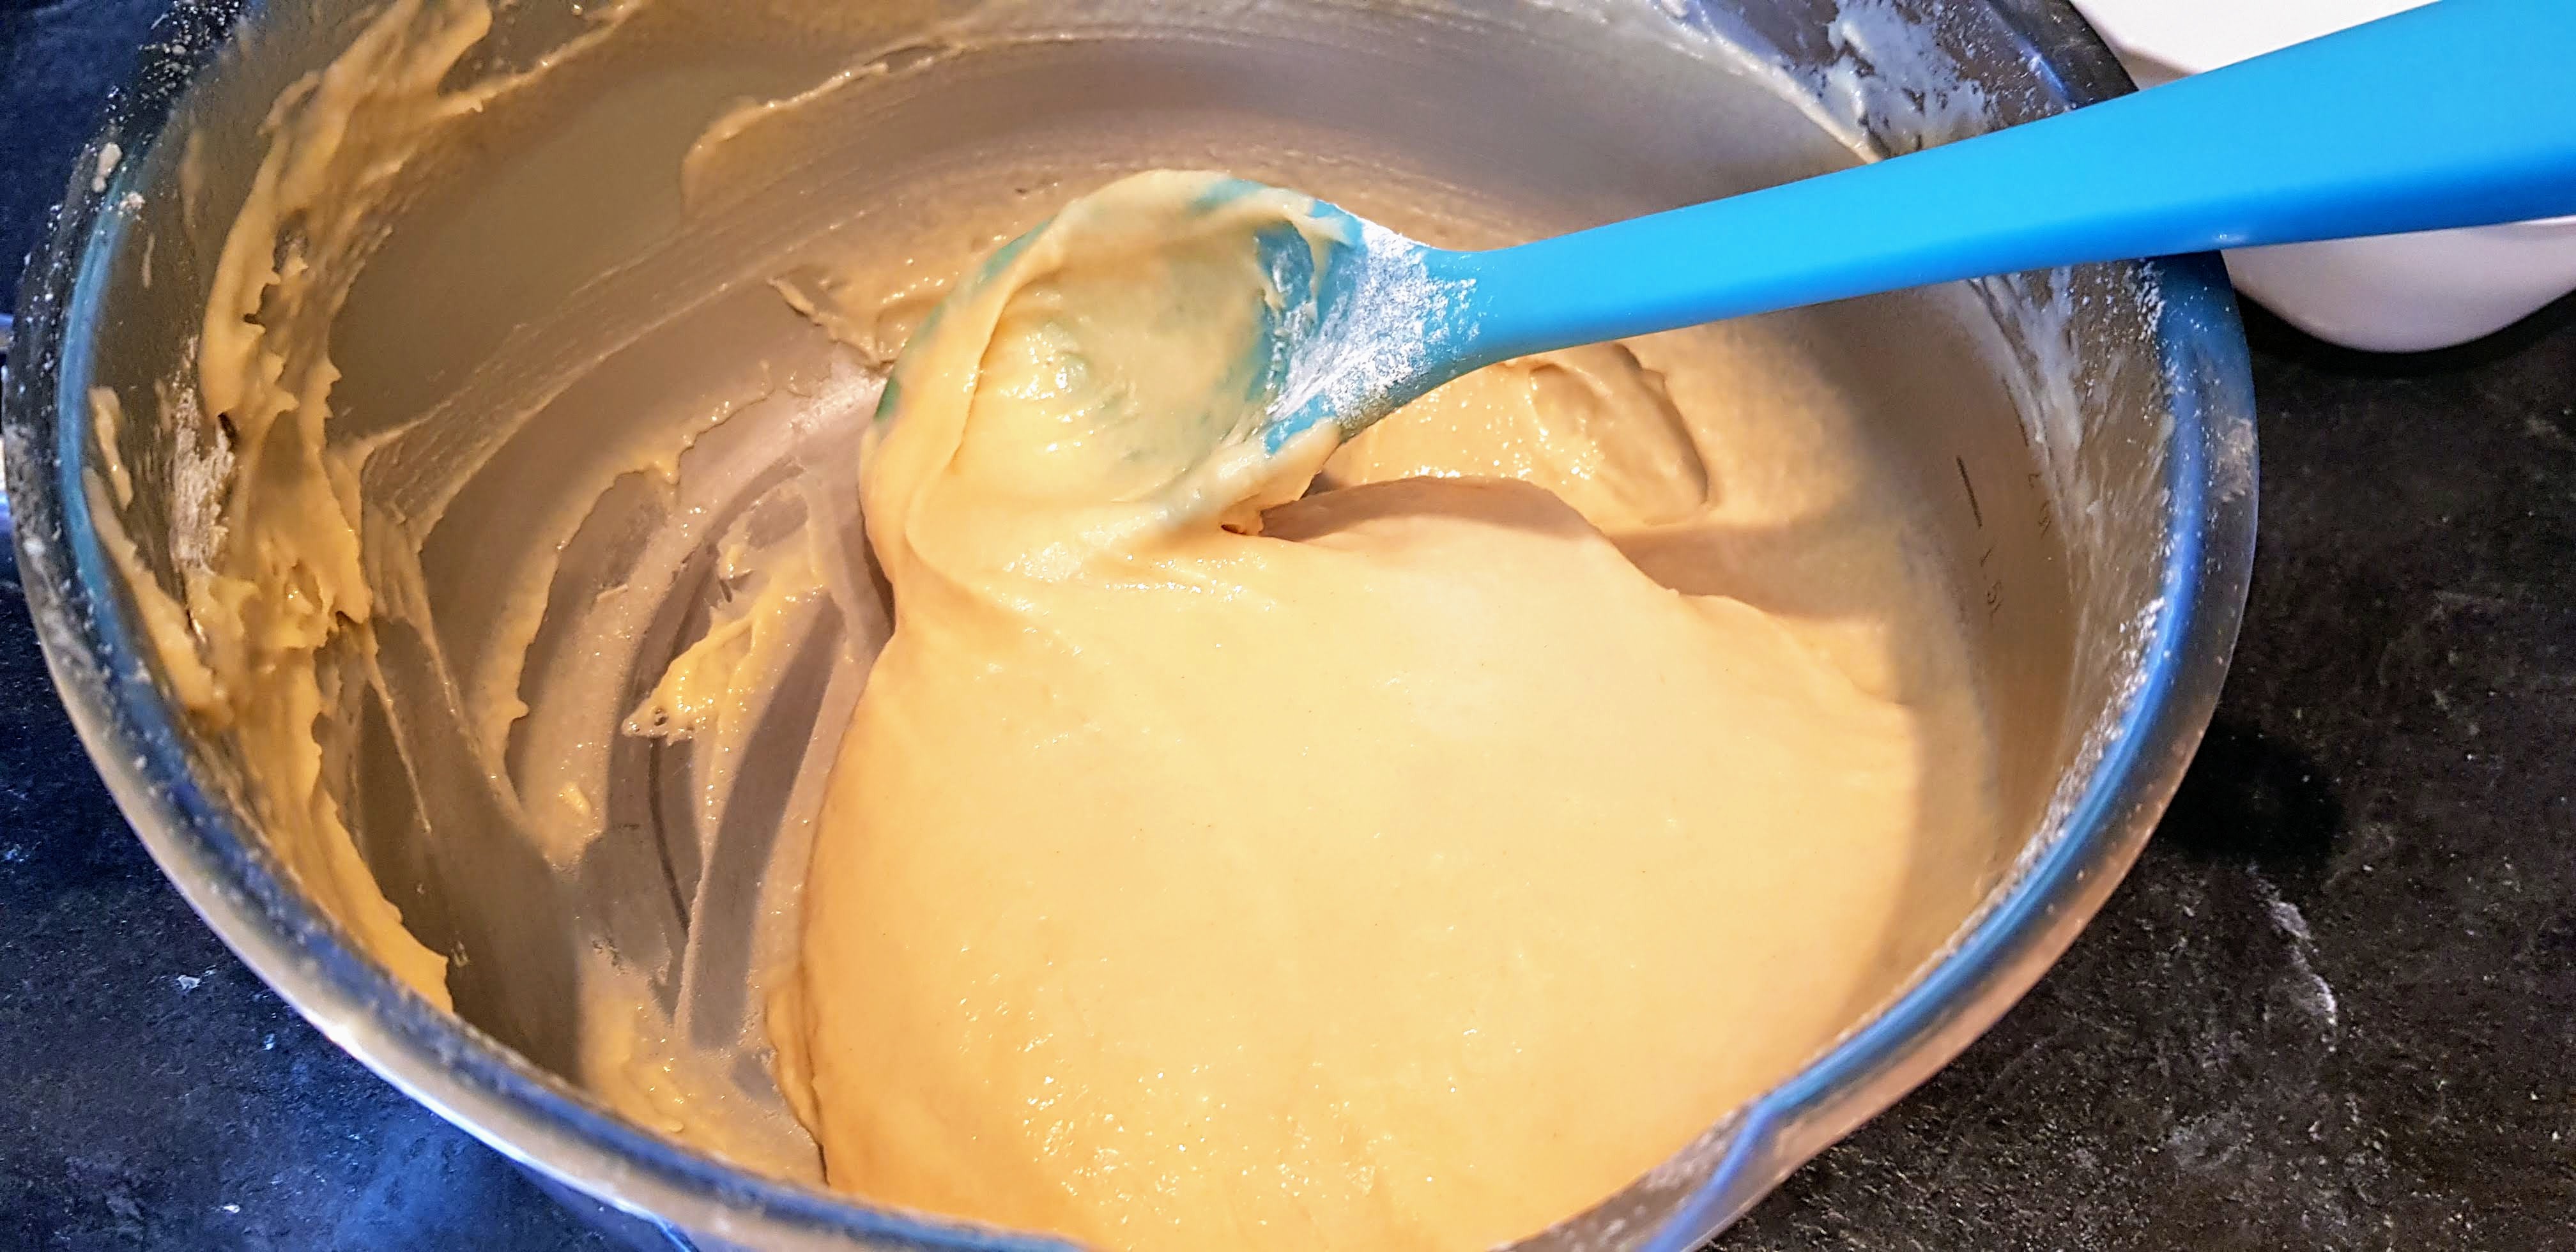
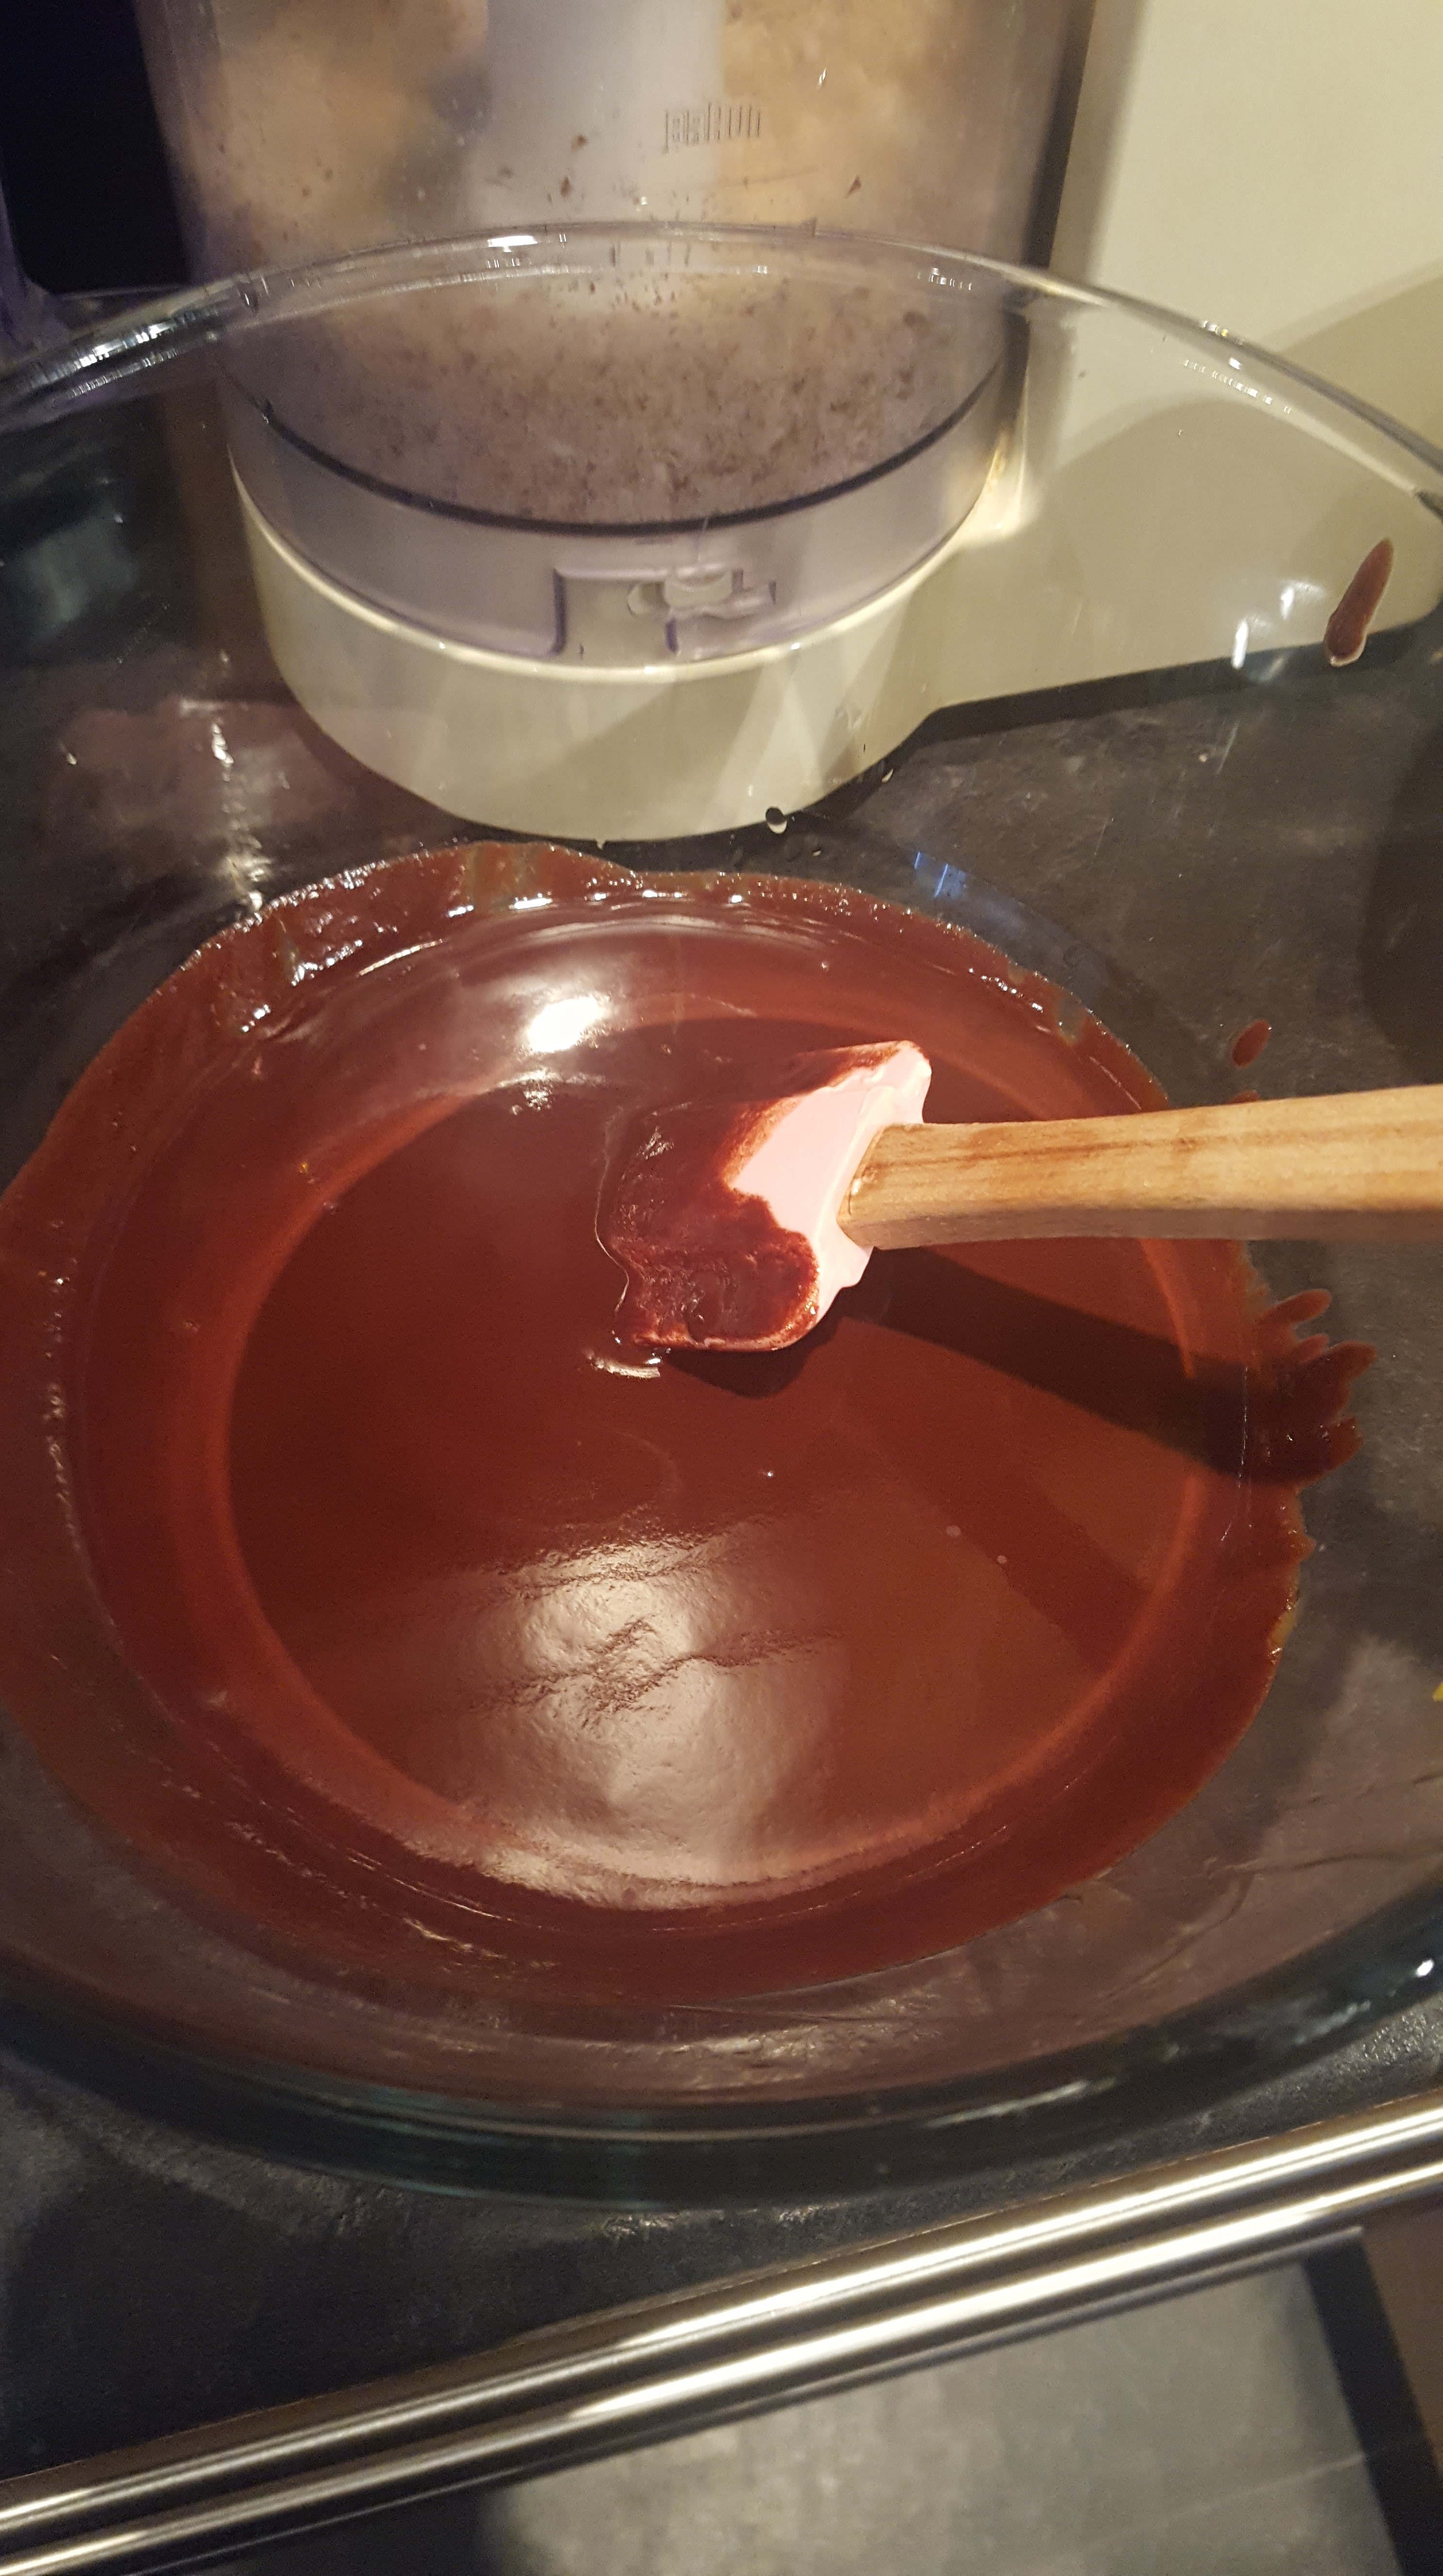
  very thick batter


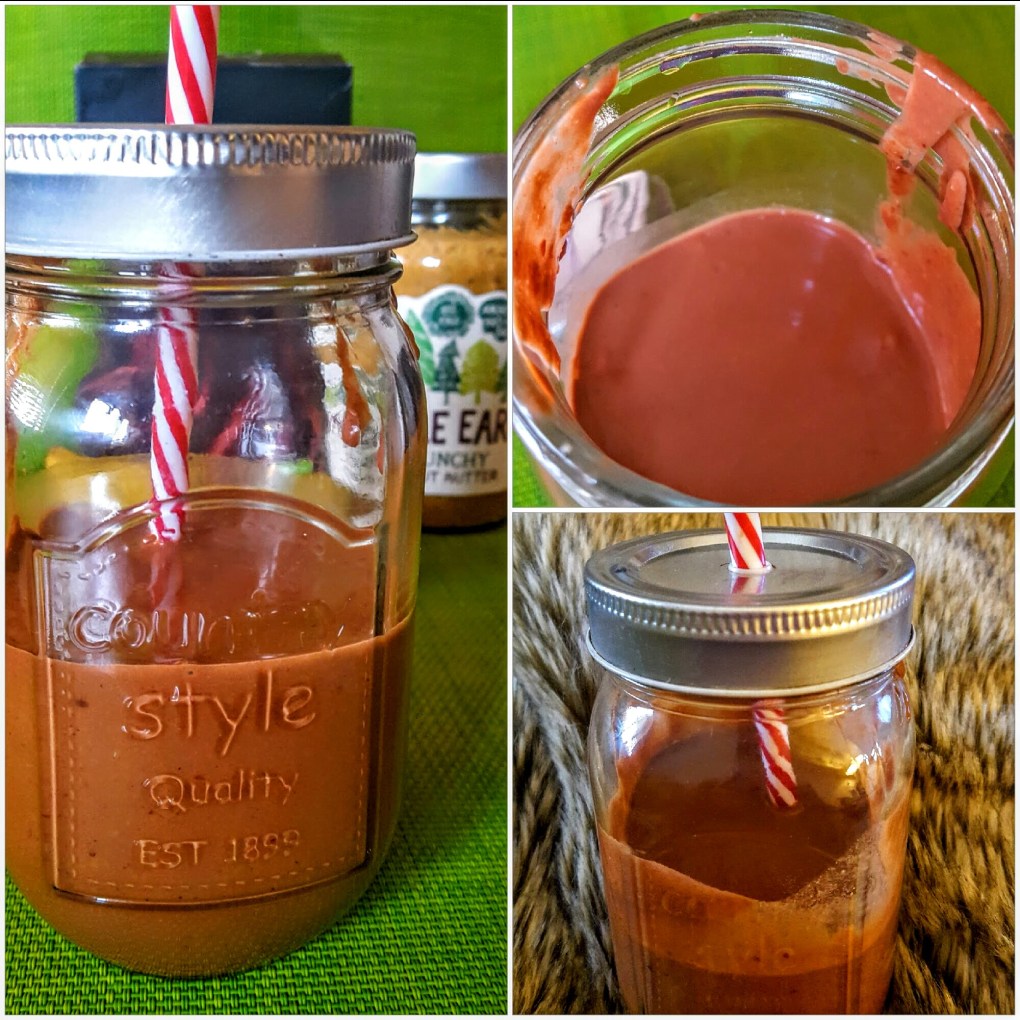


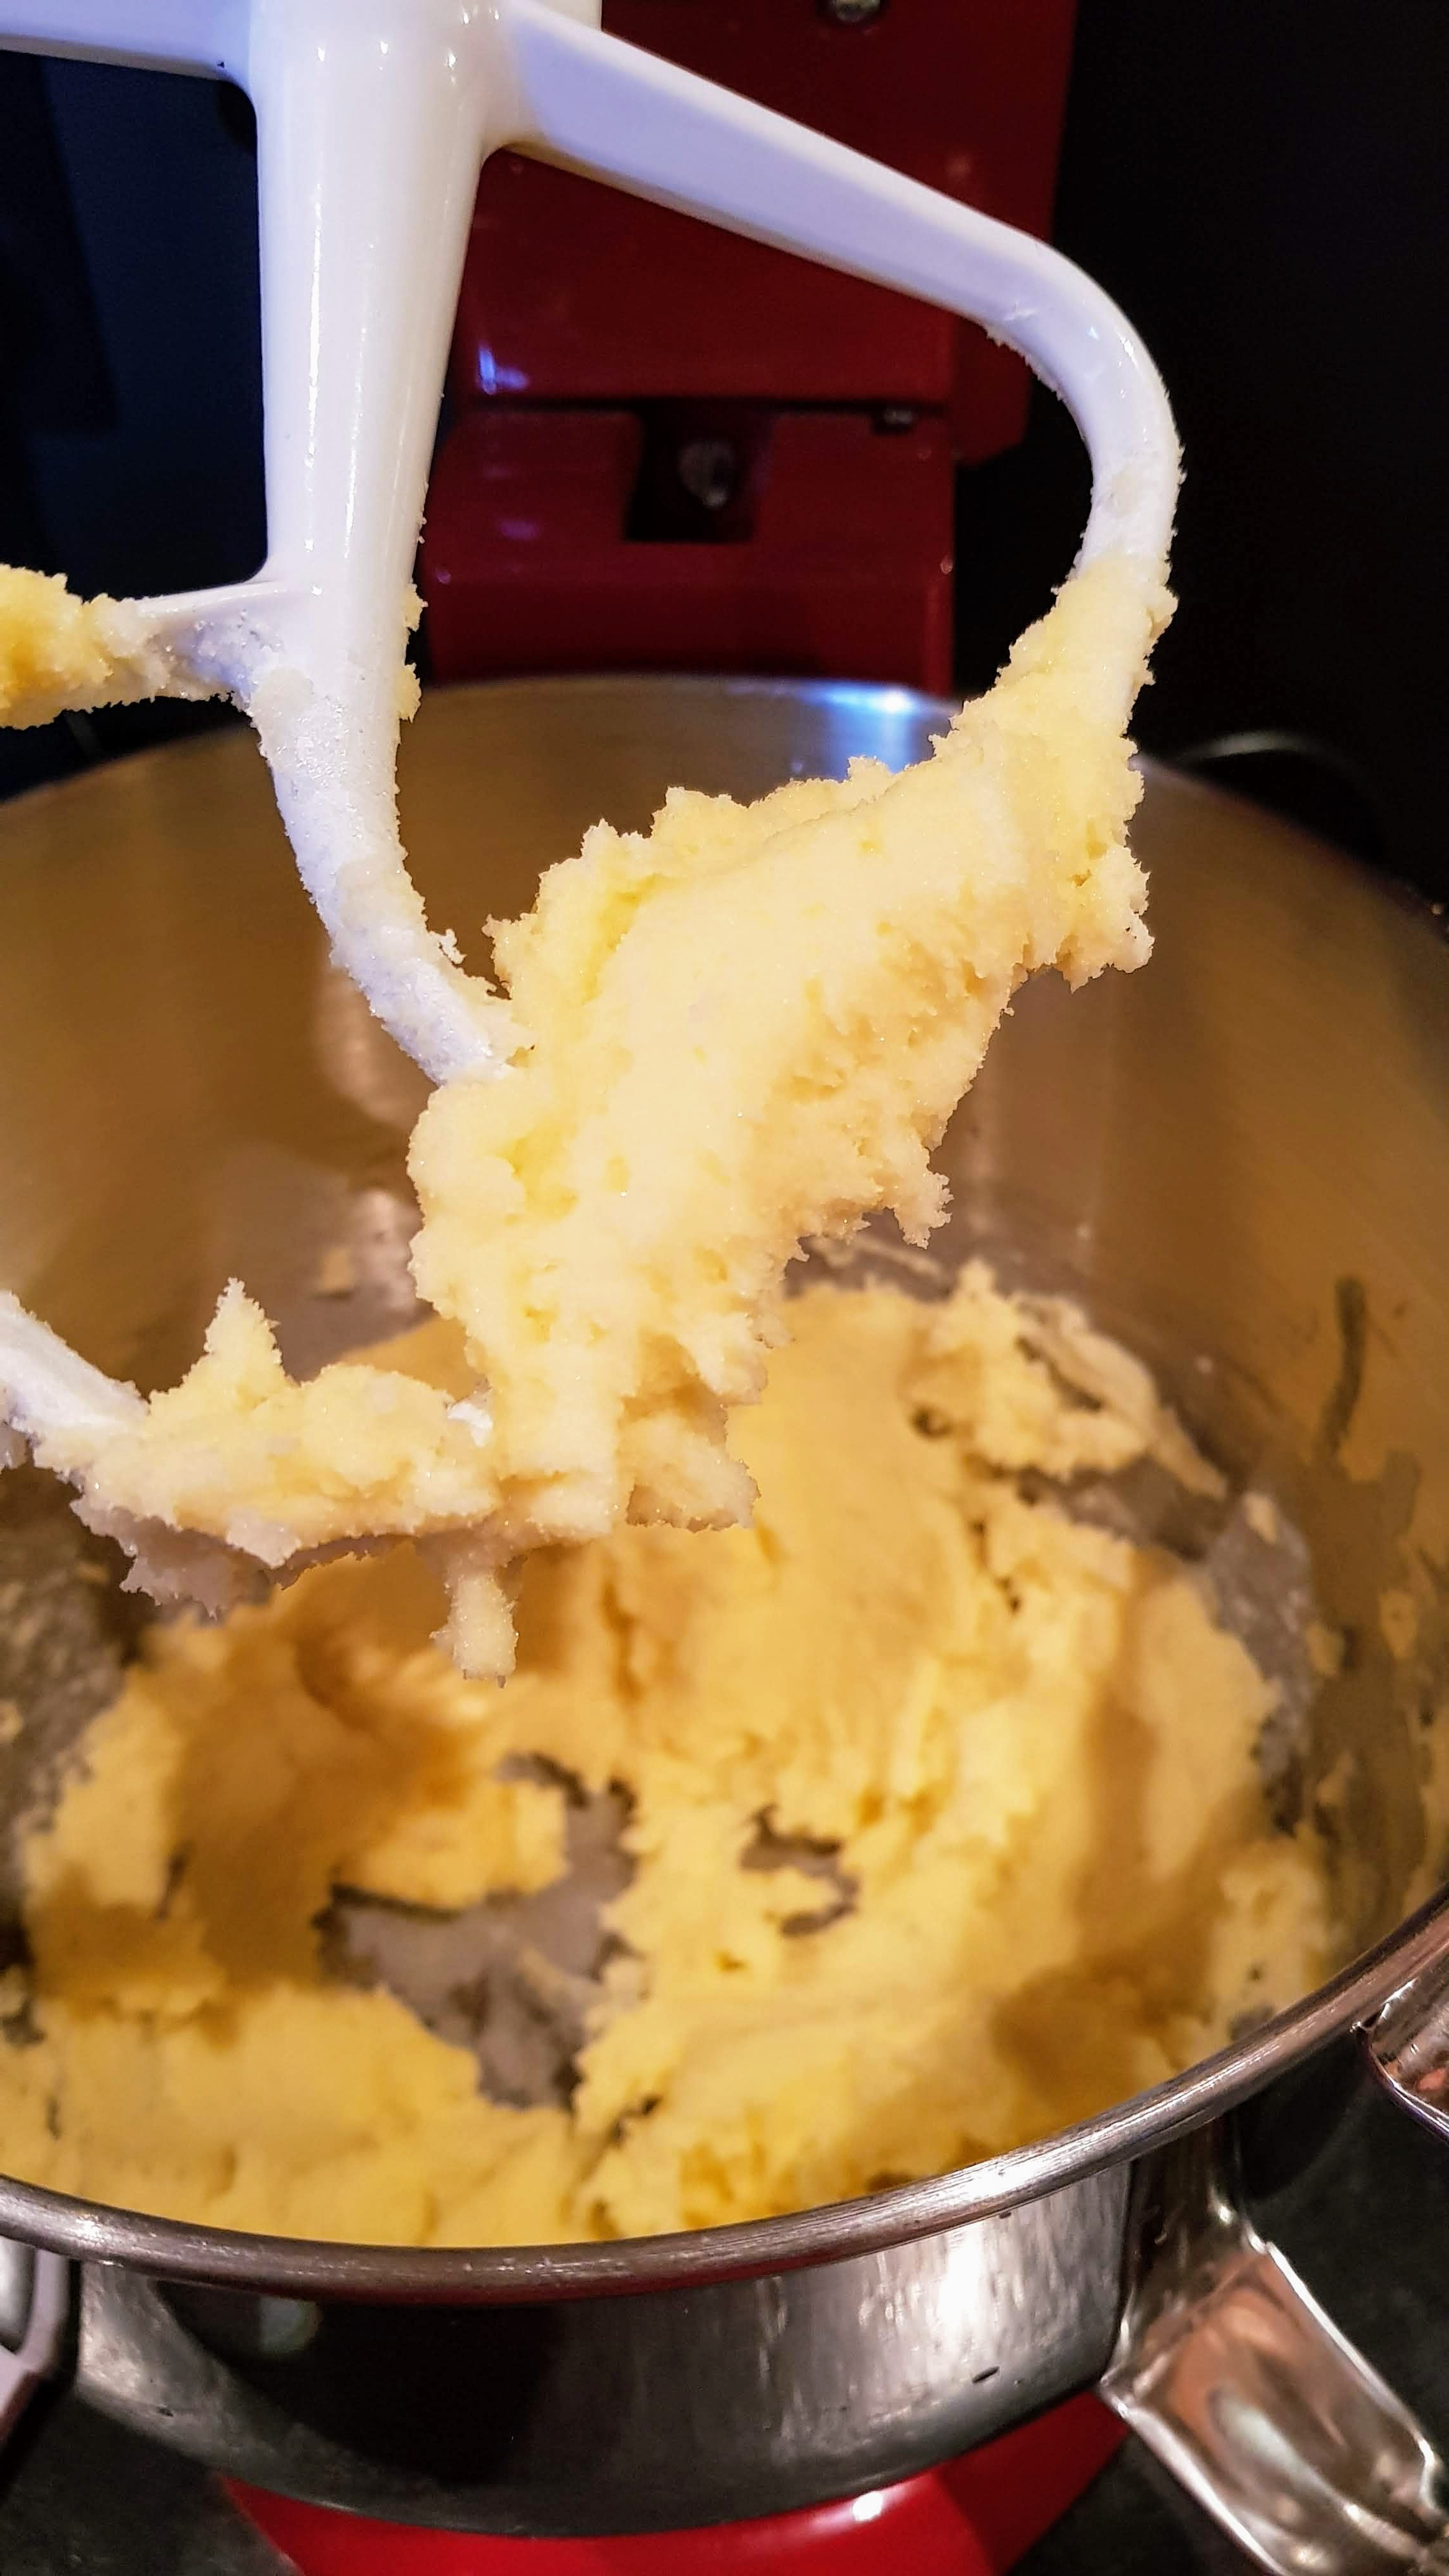
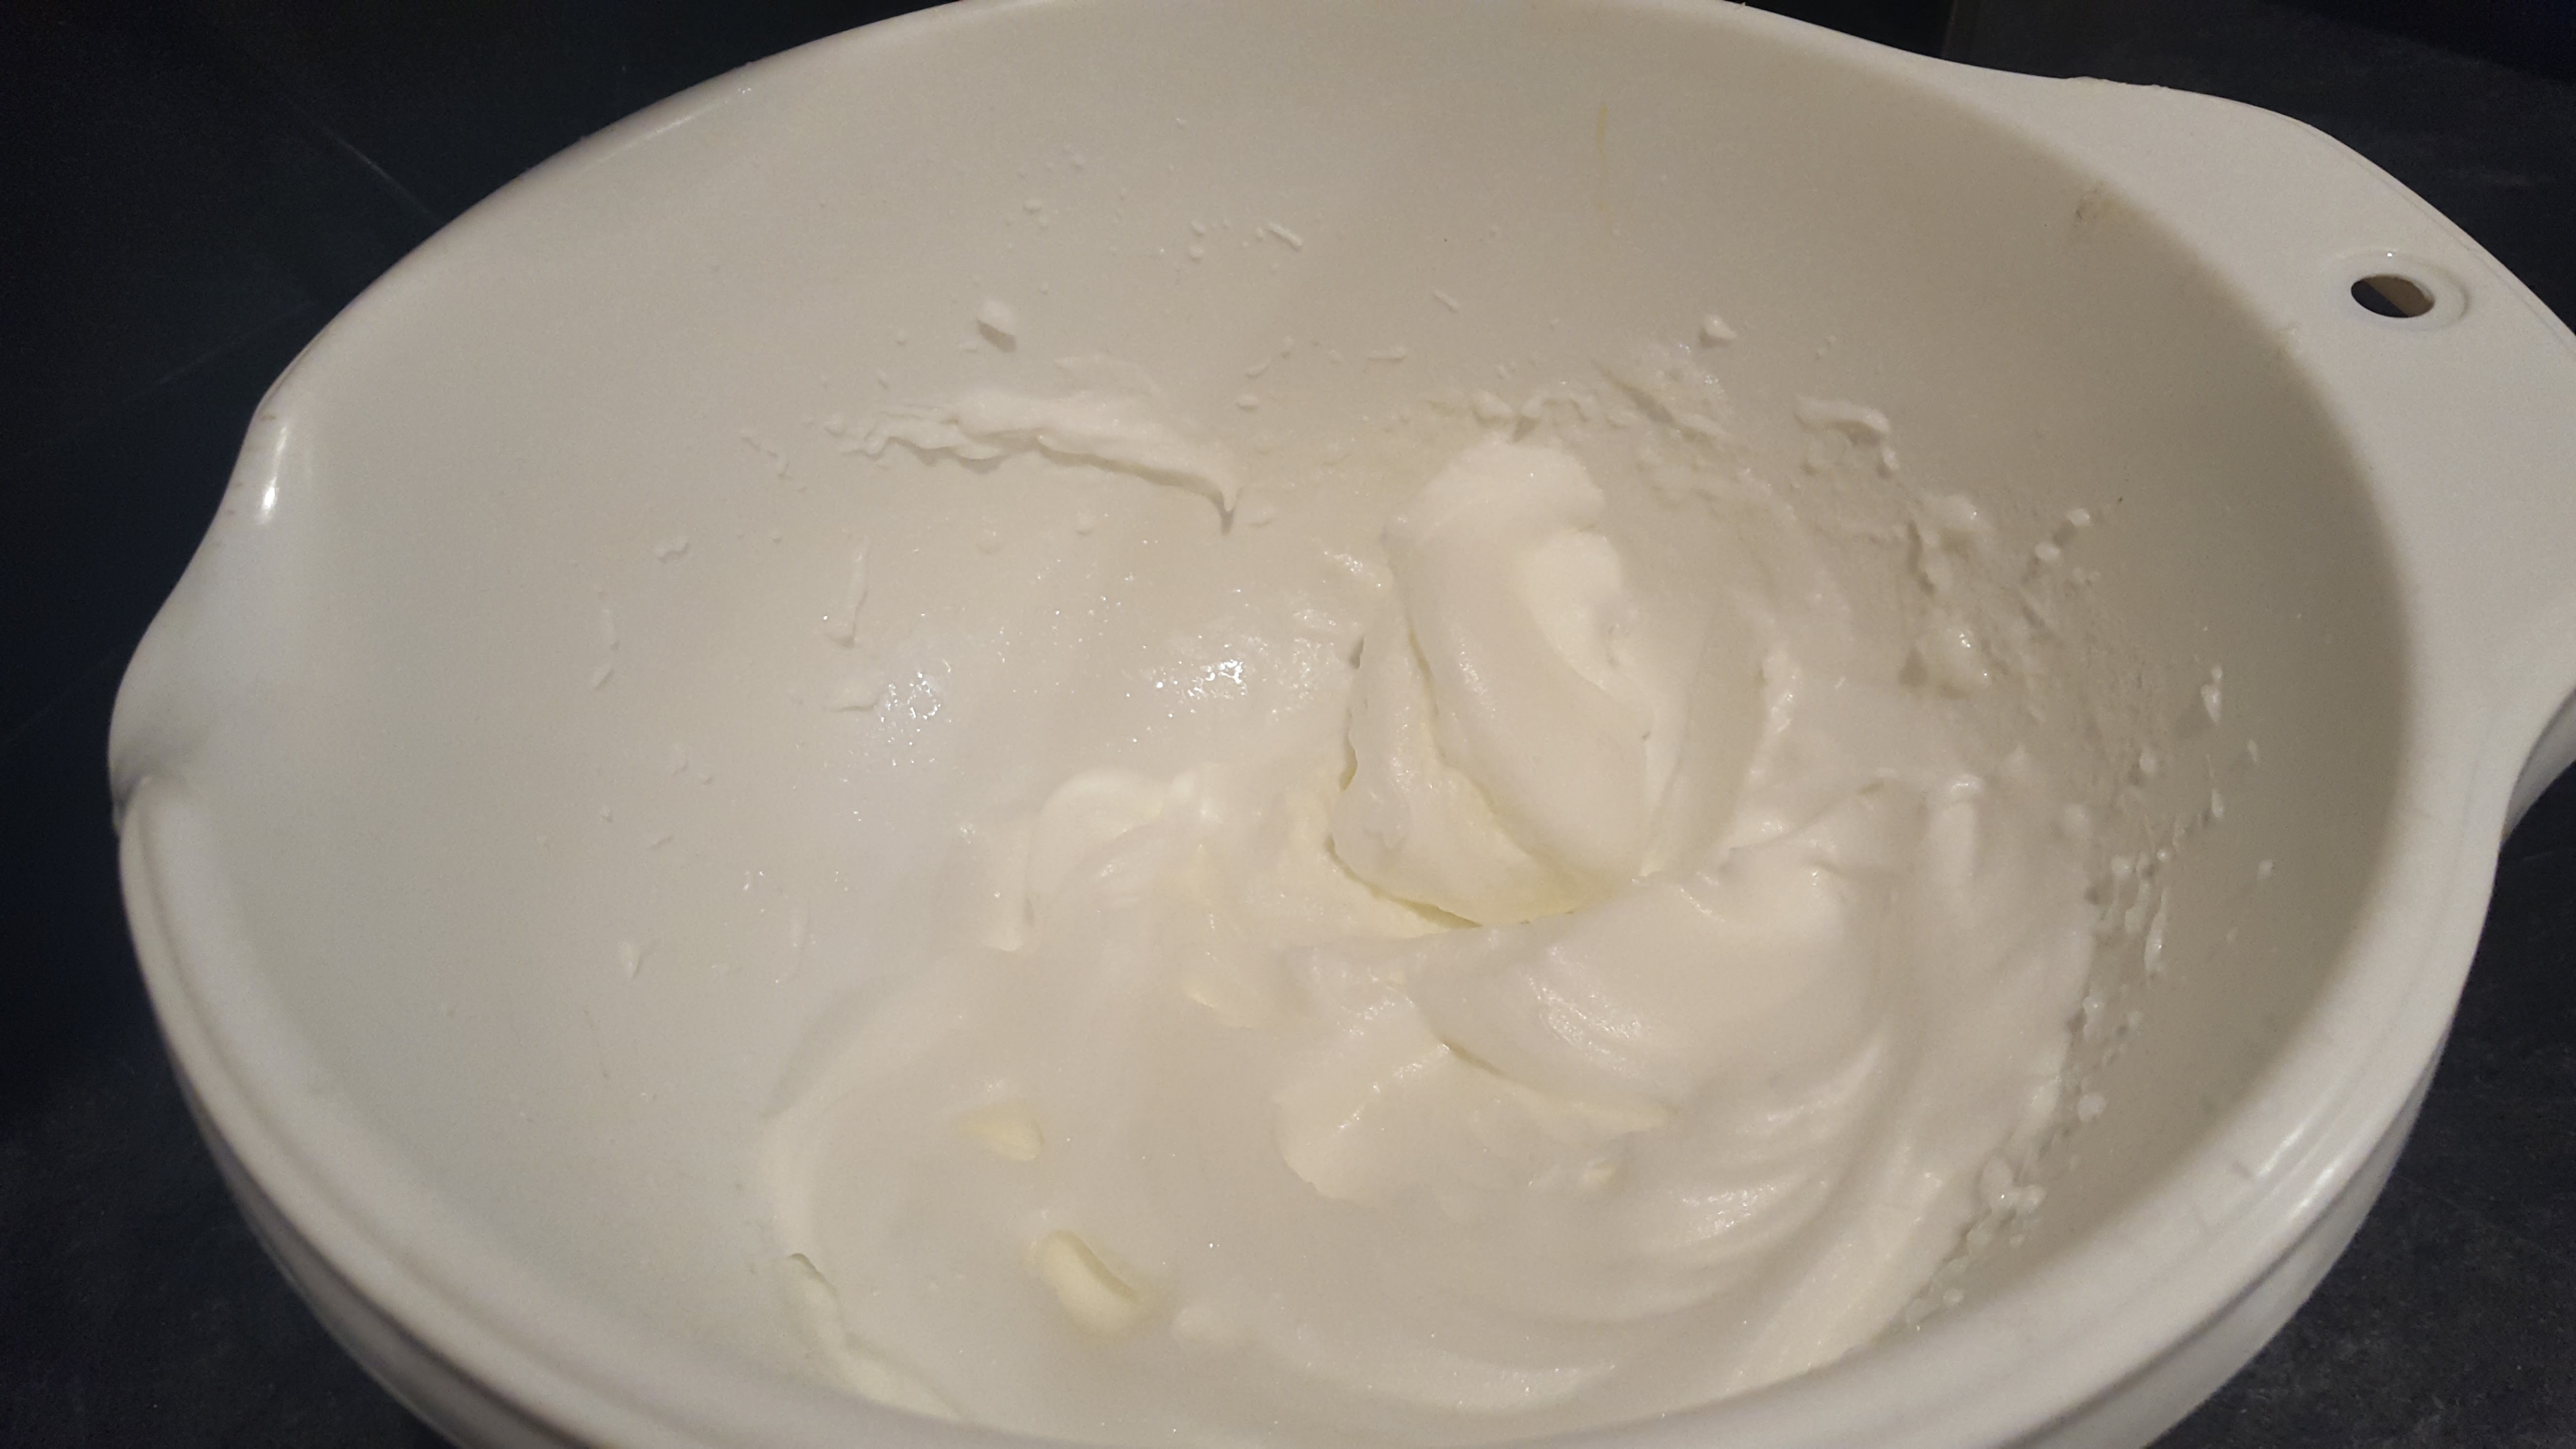
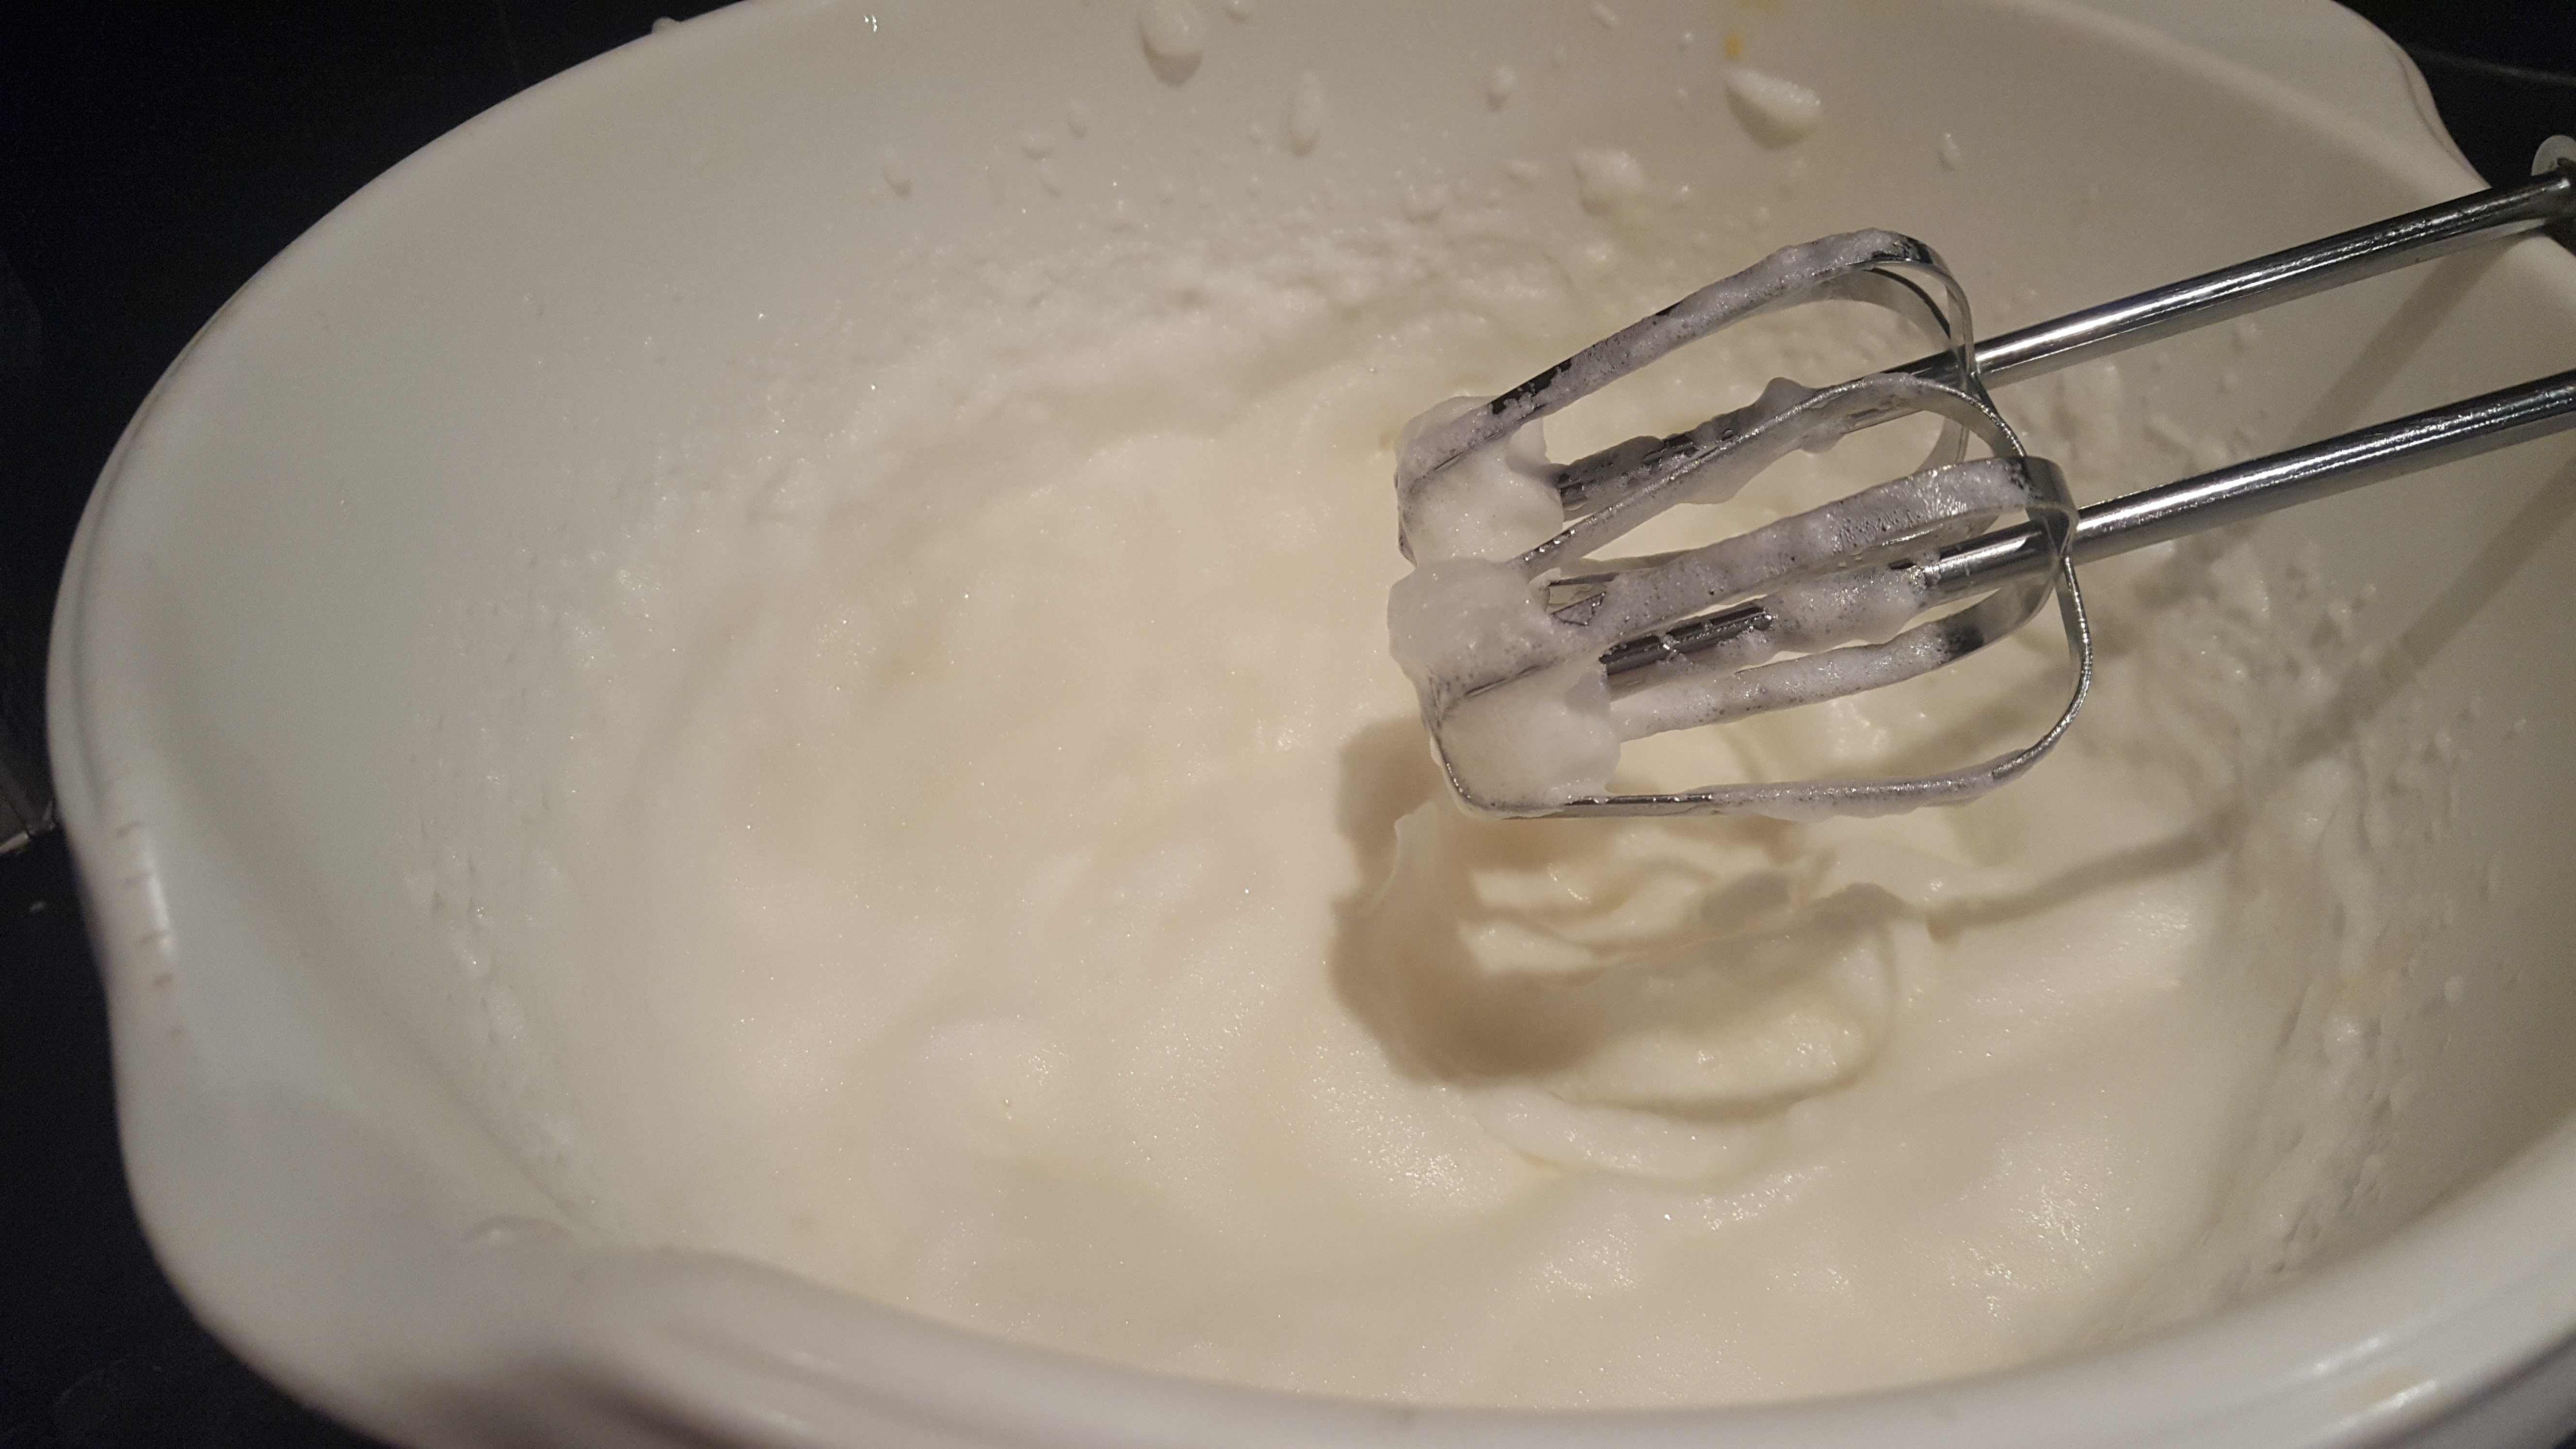
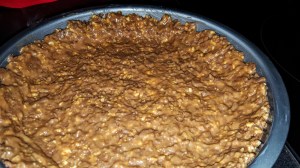
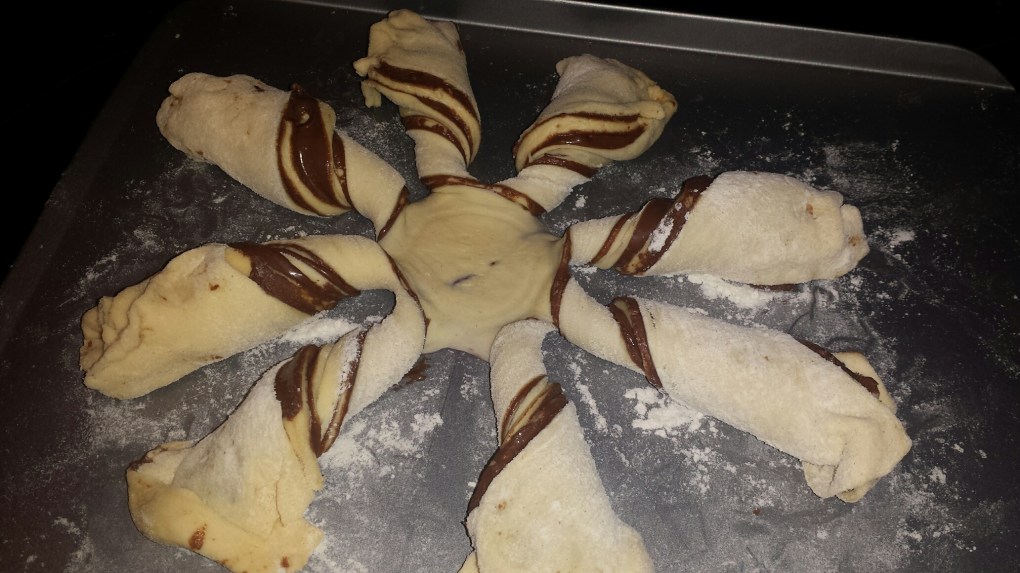
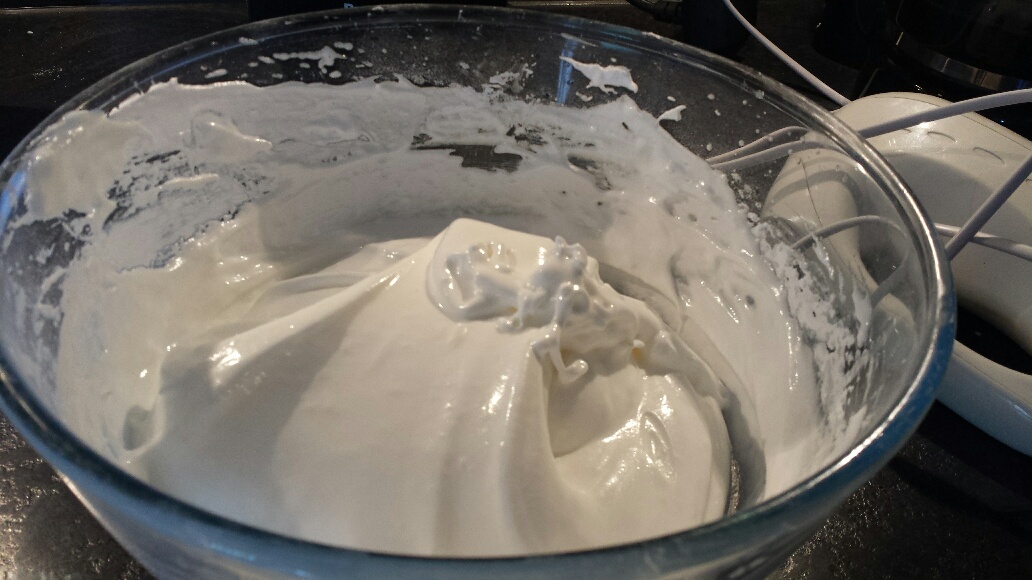
 Just starting out……..
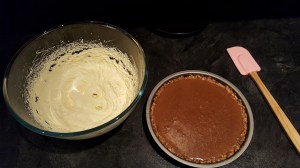
  after 5 minutes…….still no where near stiff………sip…..sip……sip……
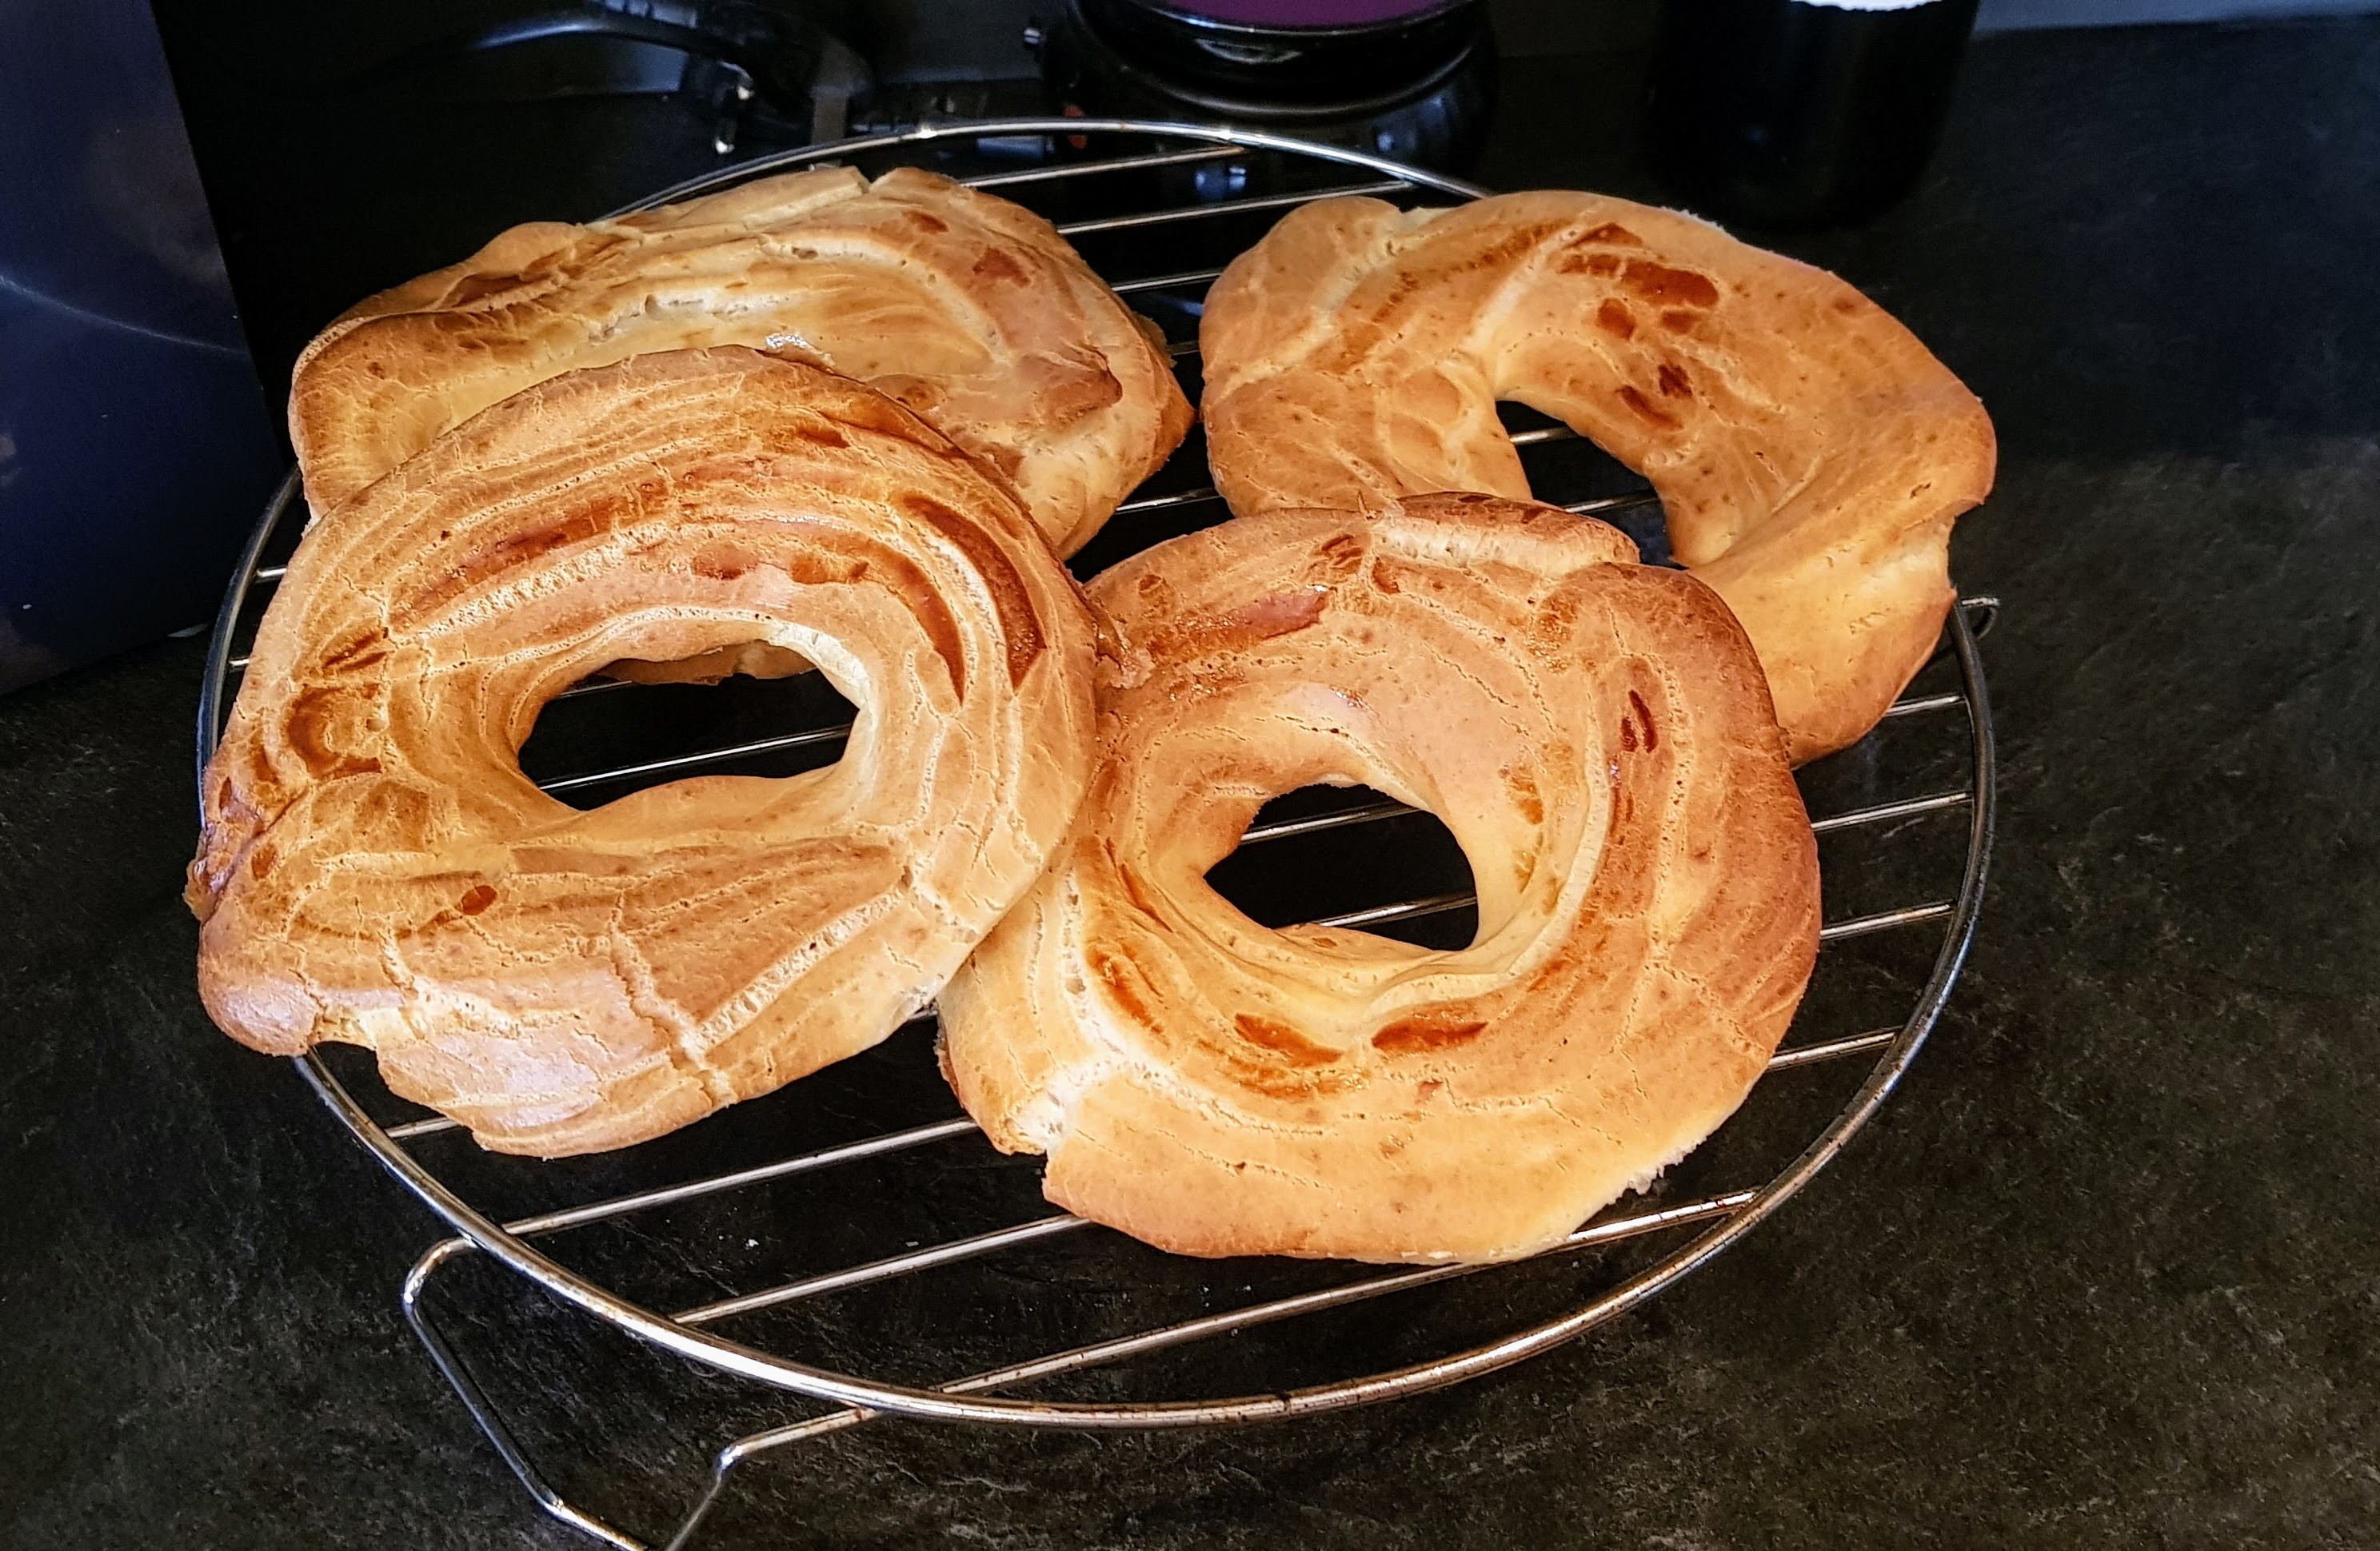
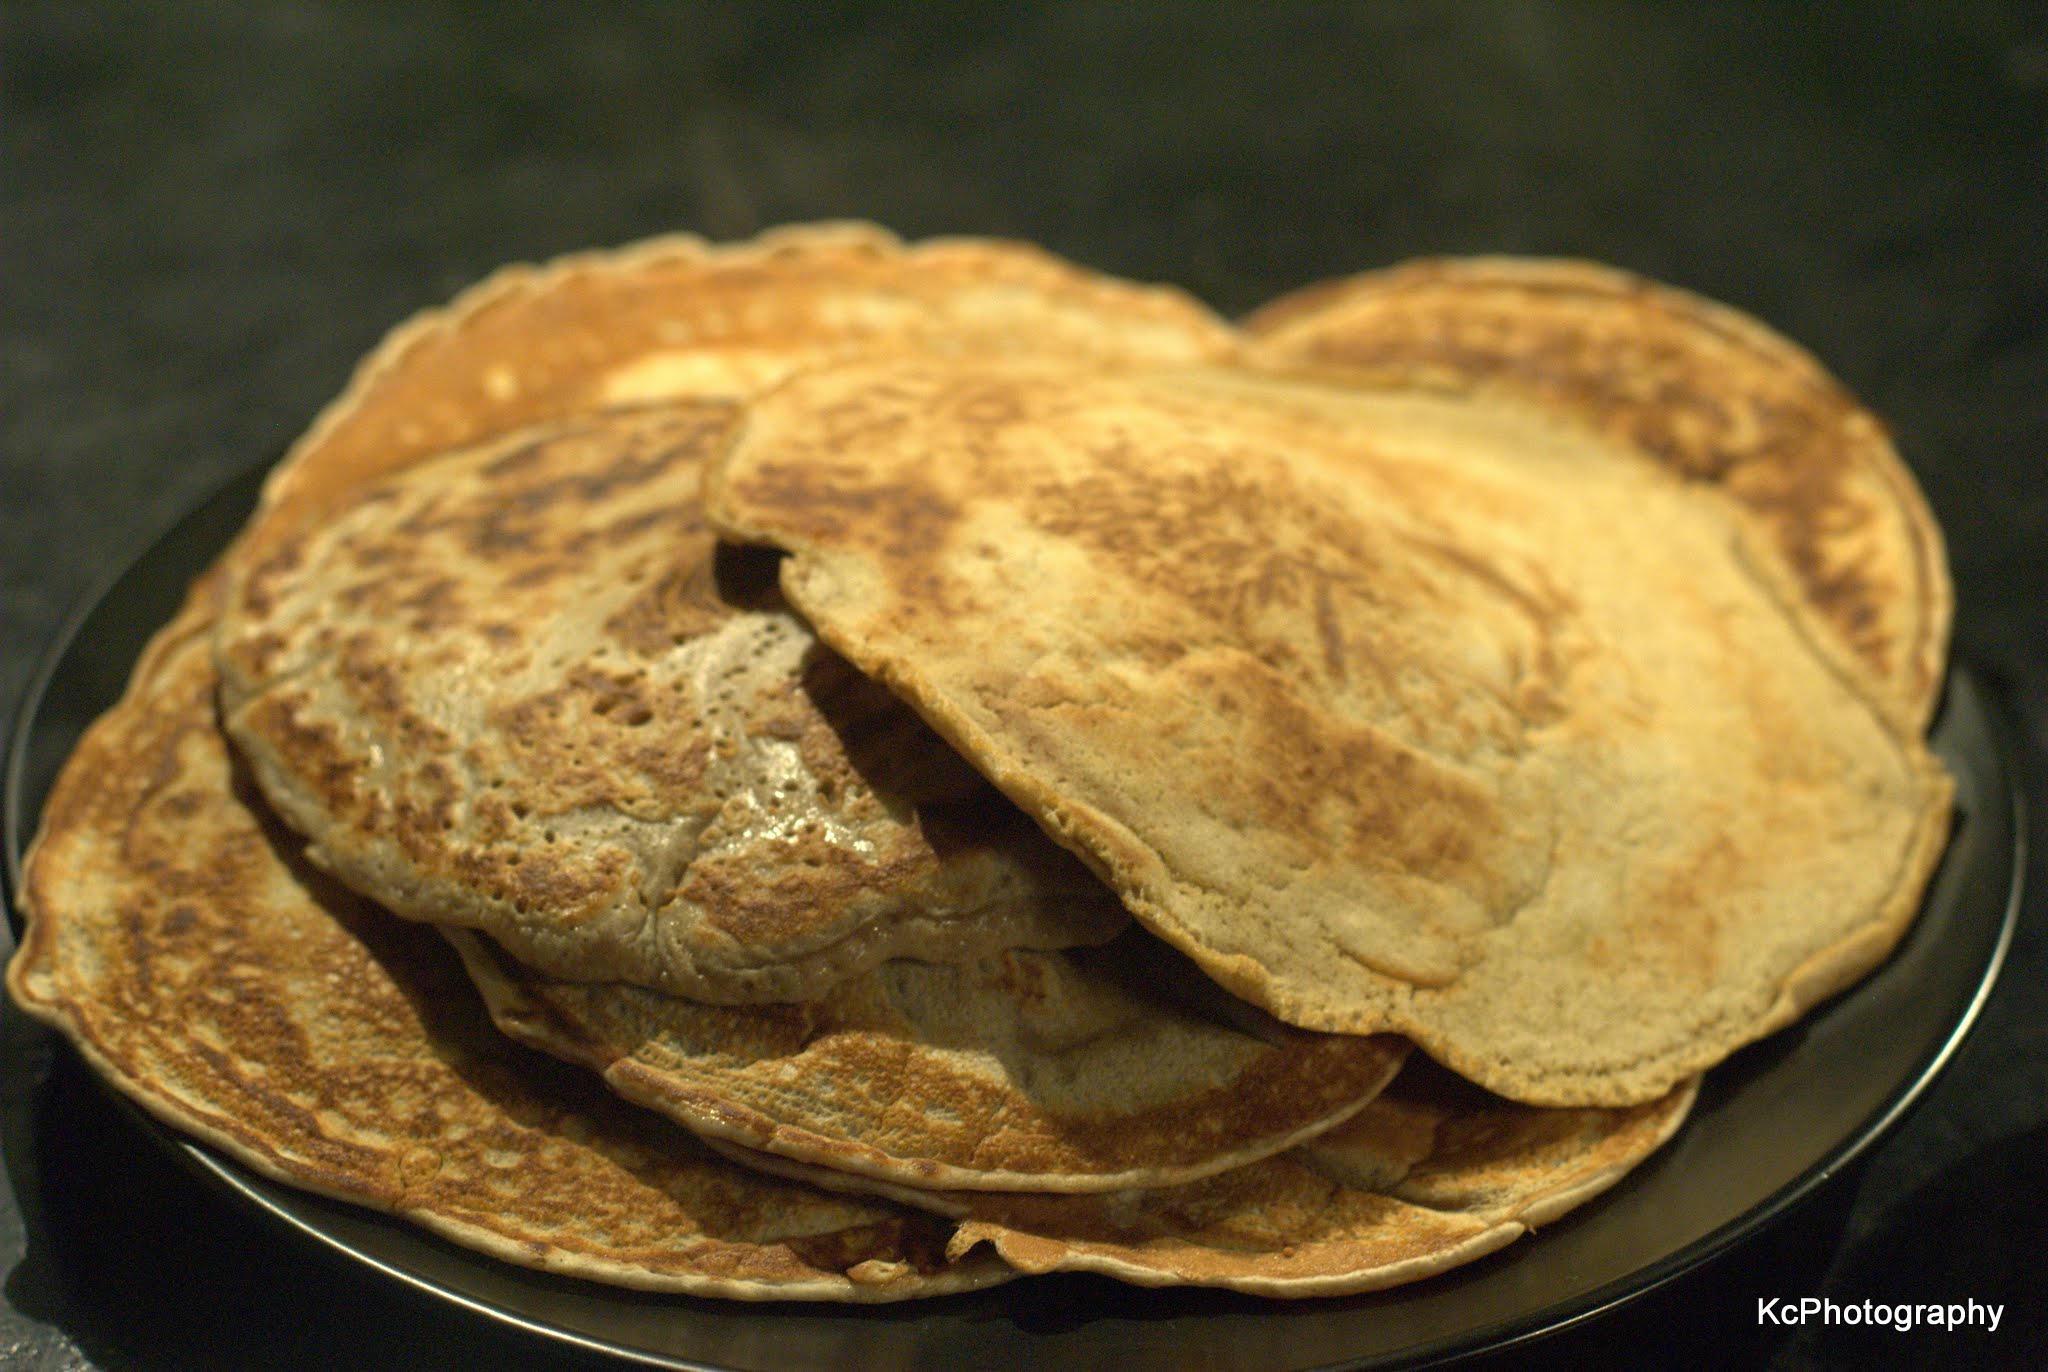
 Whoohoooo….we’re there….several sips of wine later!
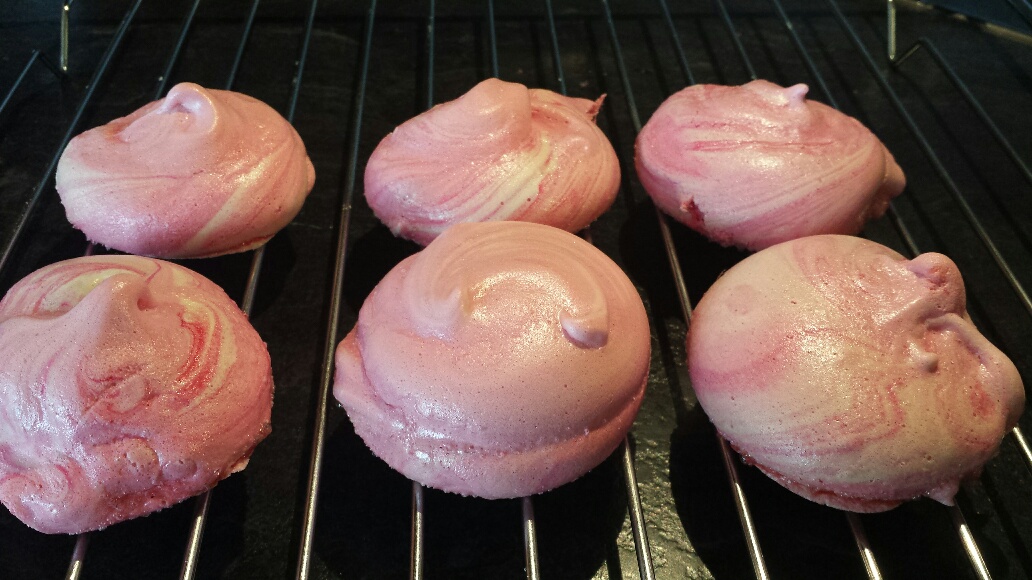


You must be logged in to post a comment.