

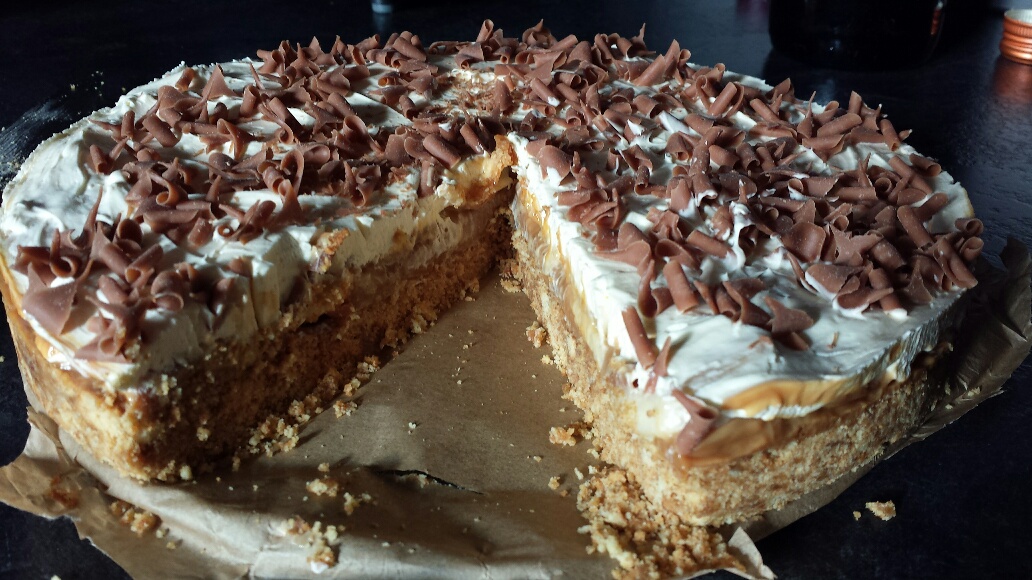
Do you like Biscoff? Do you love Lime? If the answer is yes, you will absolutely love this.
With the weather being so warm and lovely lately, there is nothing more refreshing than a cool tangy cheesecake! This one, I wanted it to be a mix of tangy and refreshing but light and creamy too and I am happy to write that it was just that. I was so impressed with how this turned out.
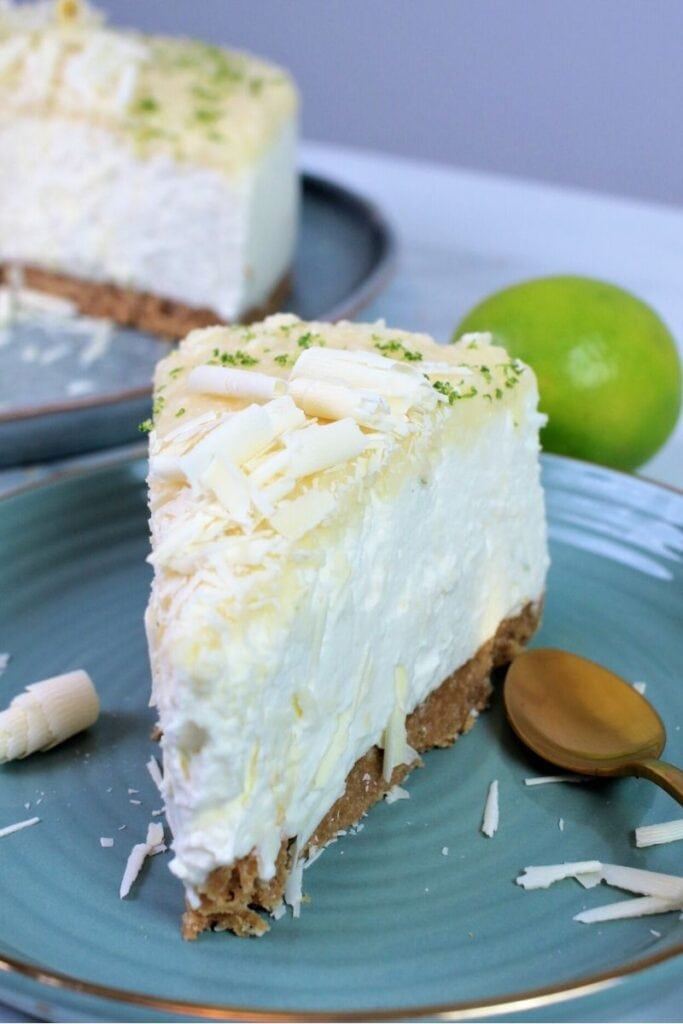
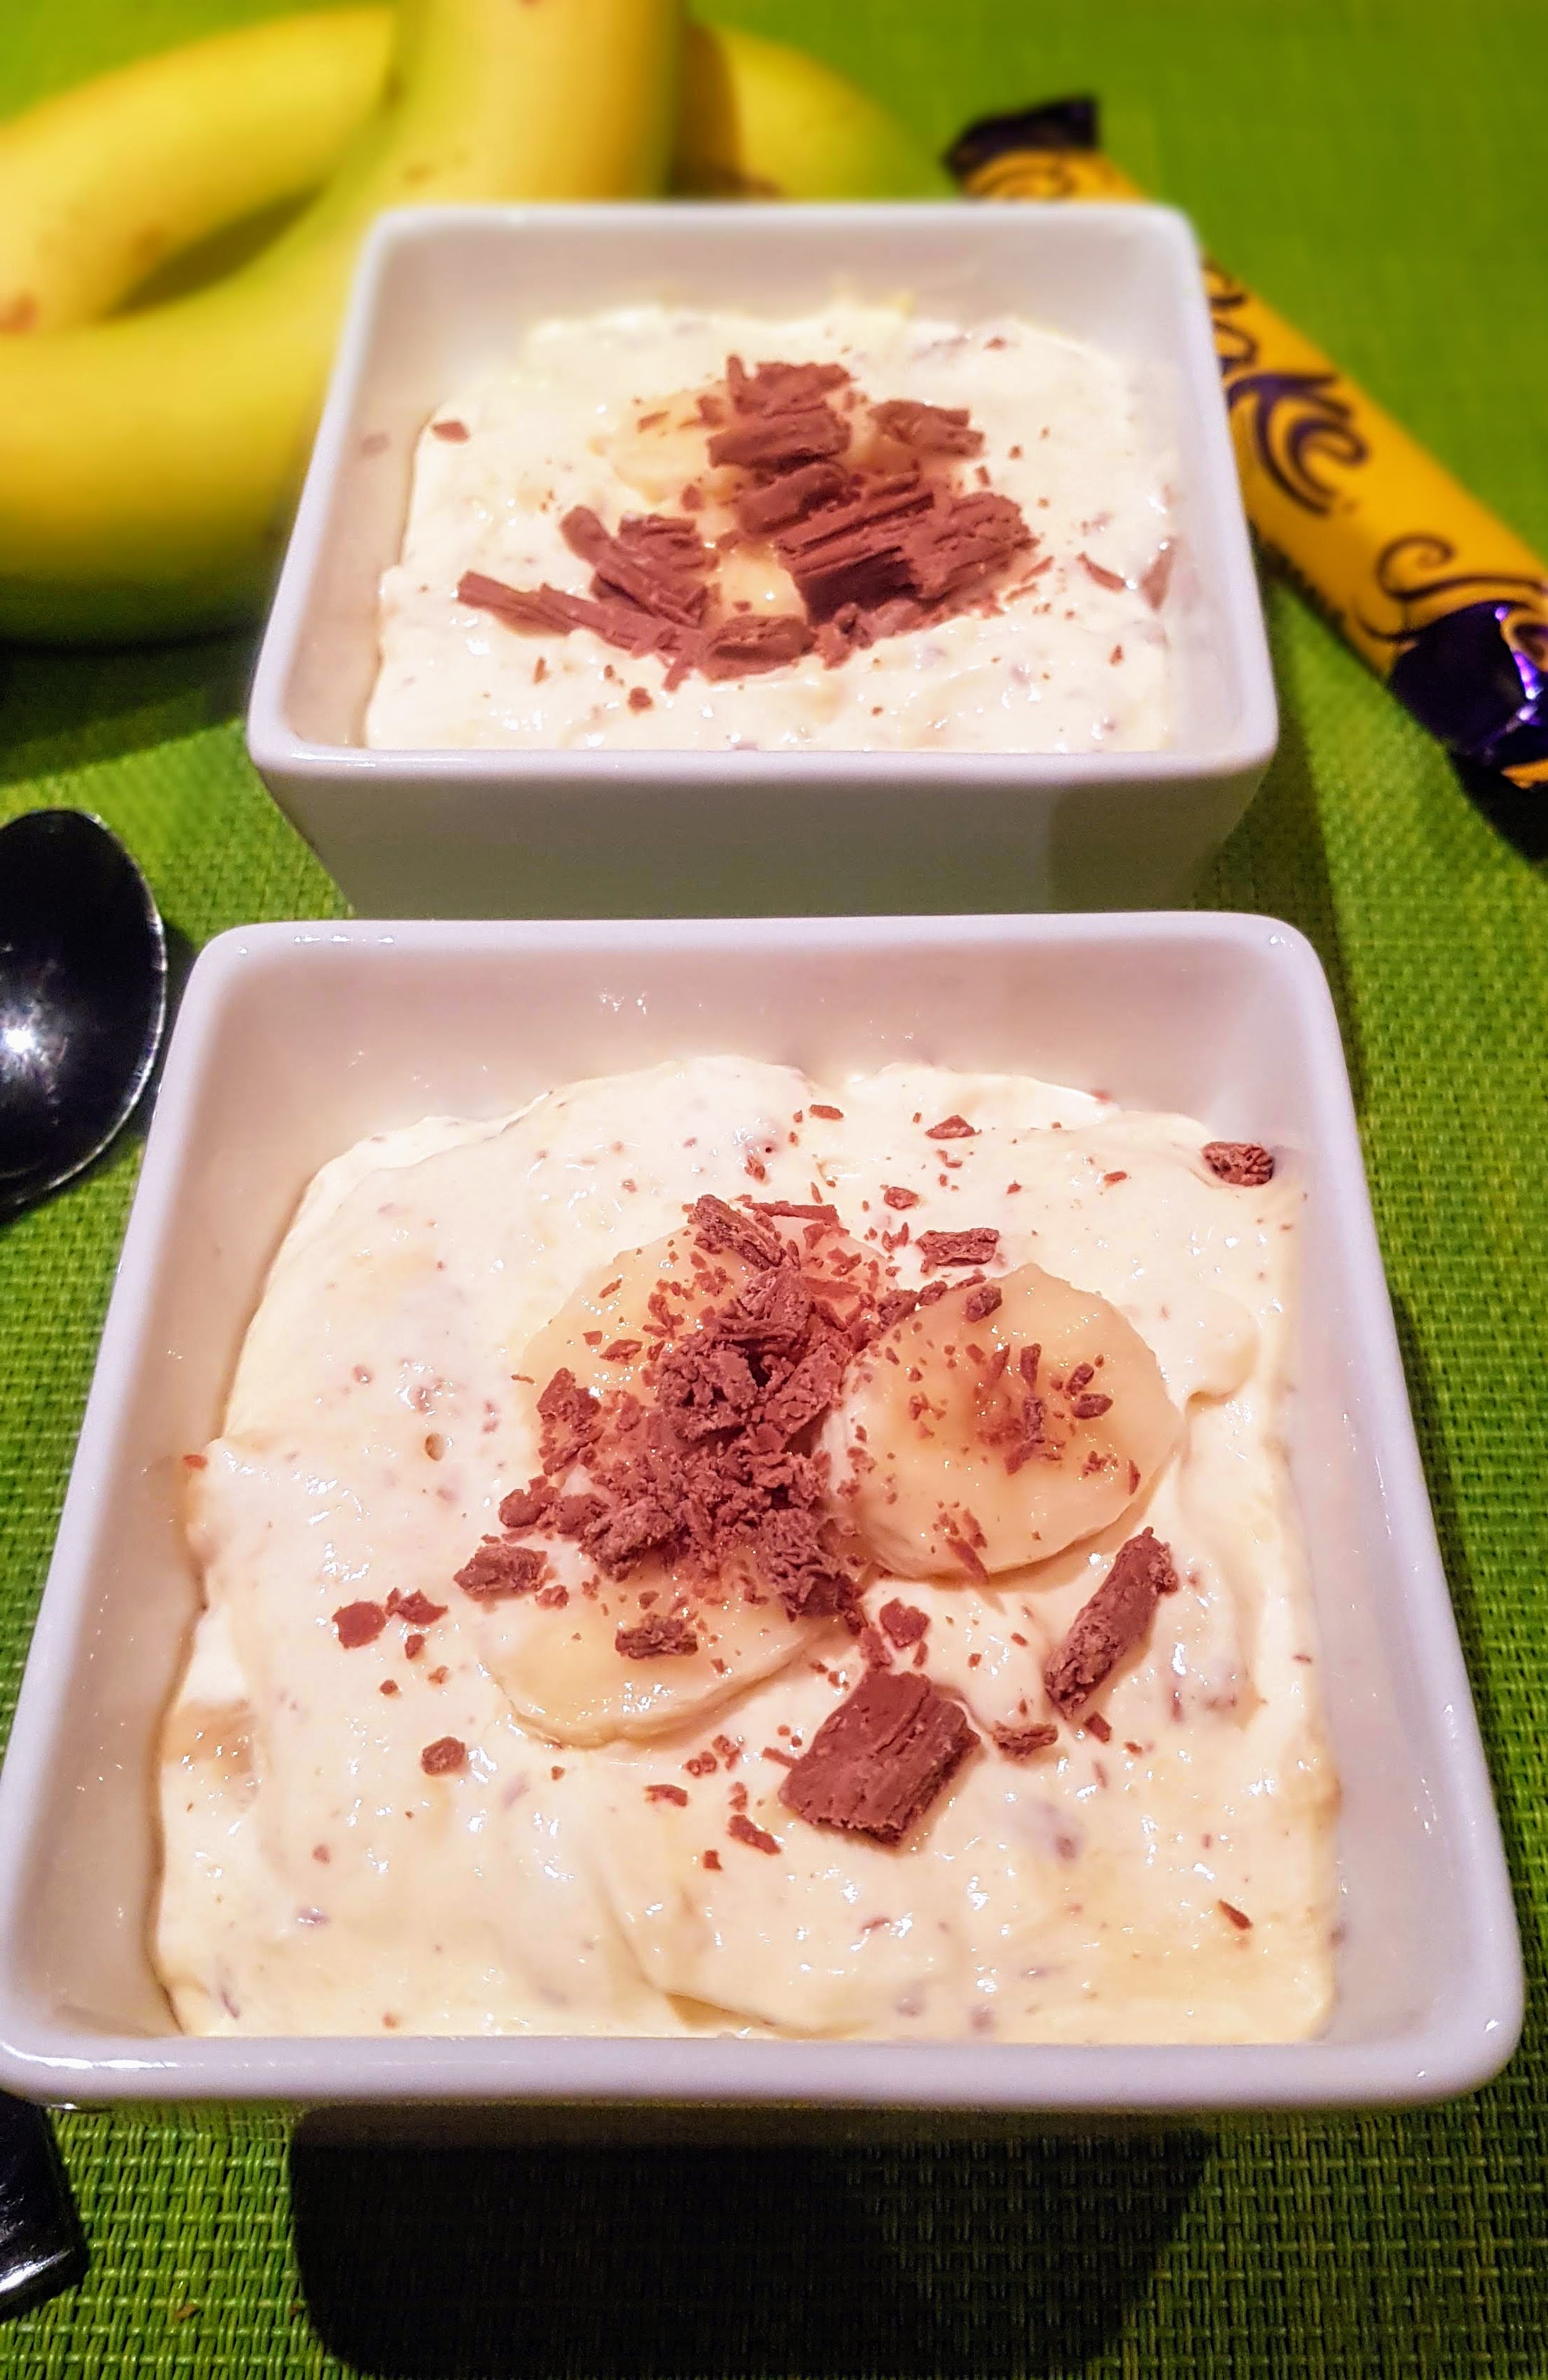
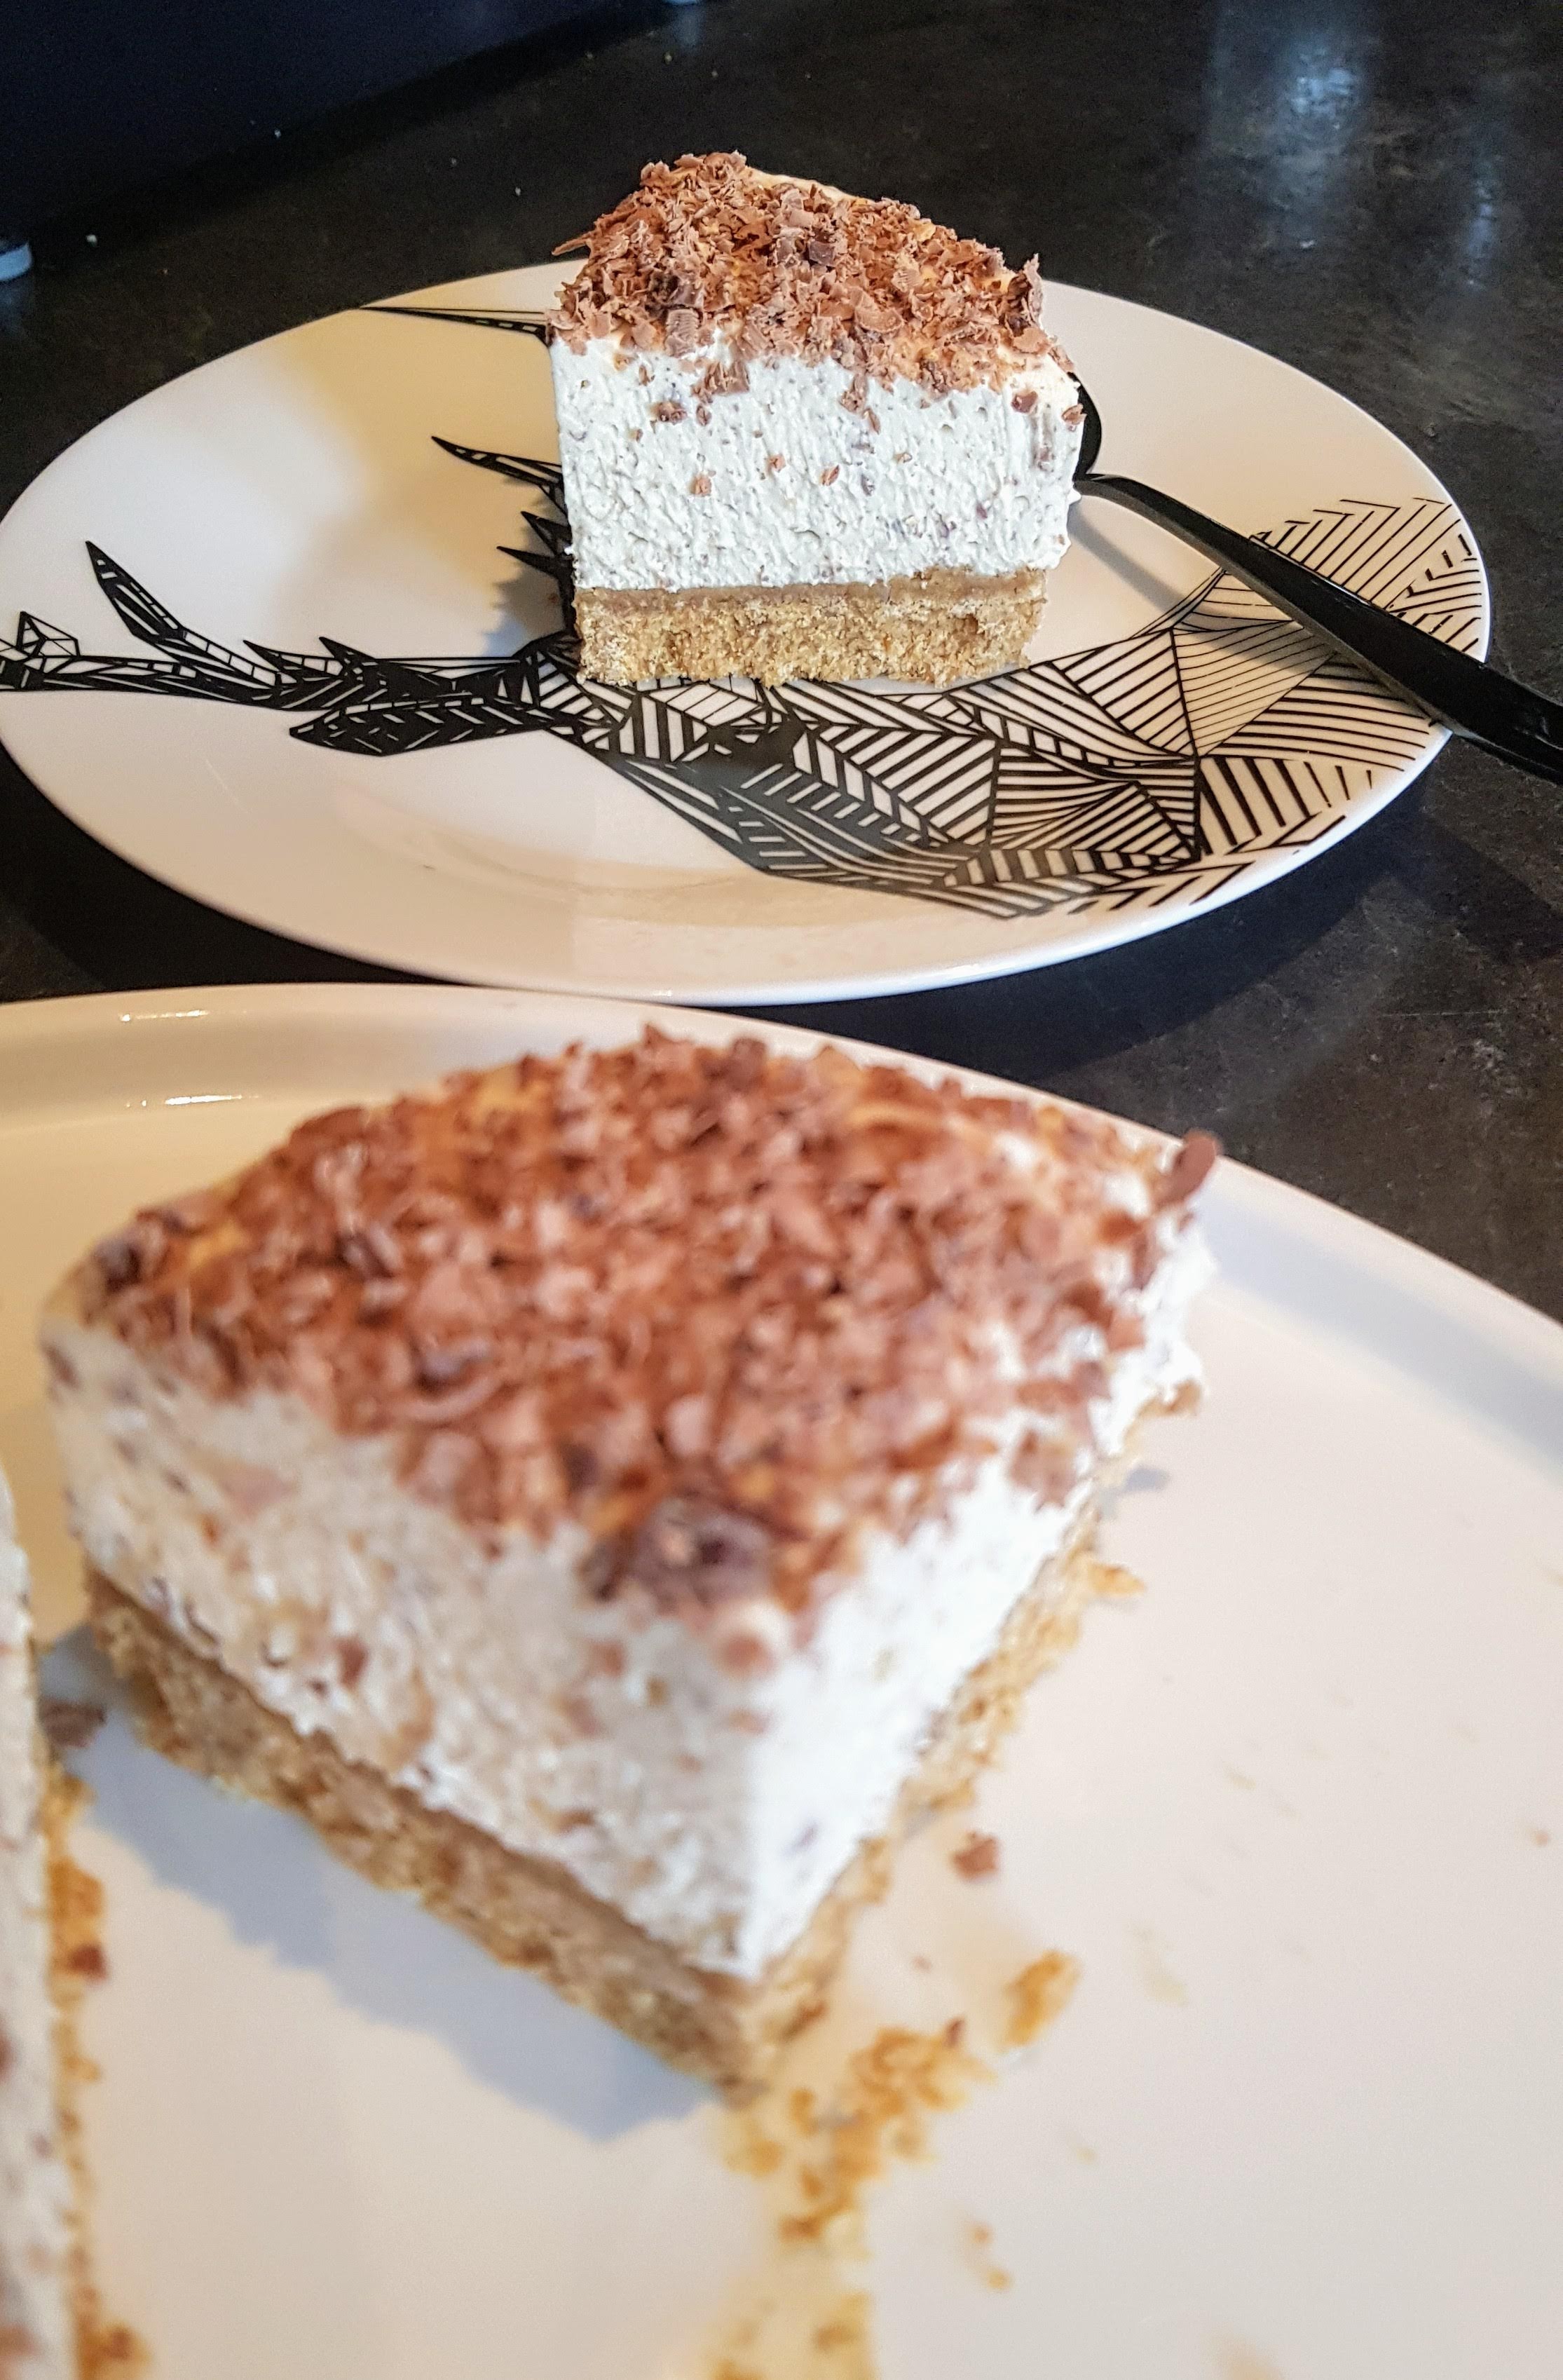
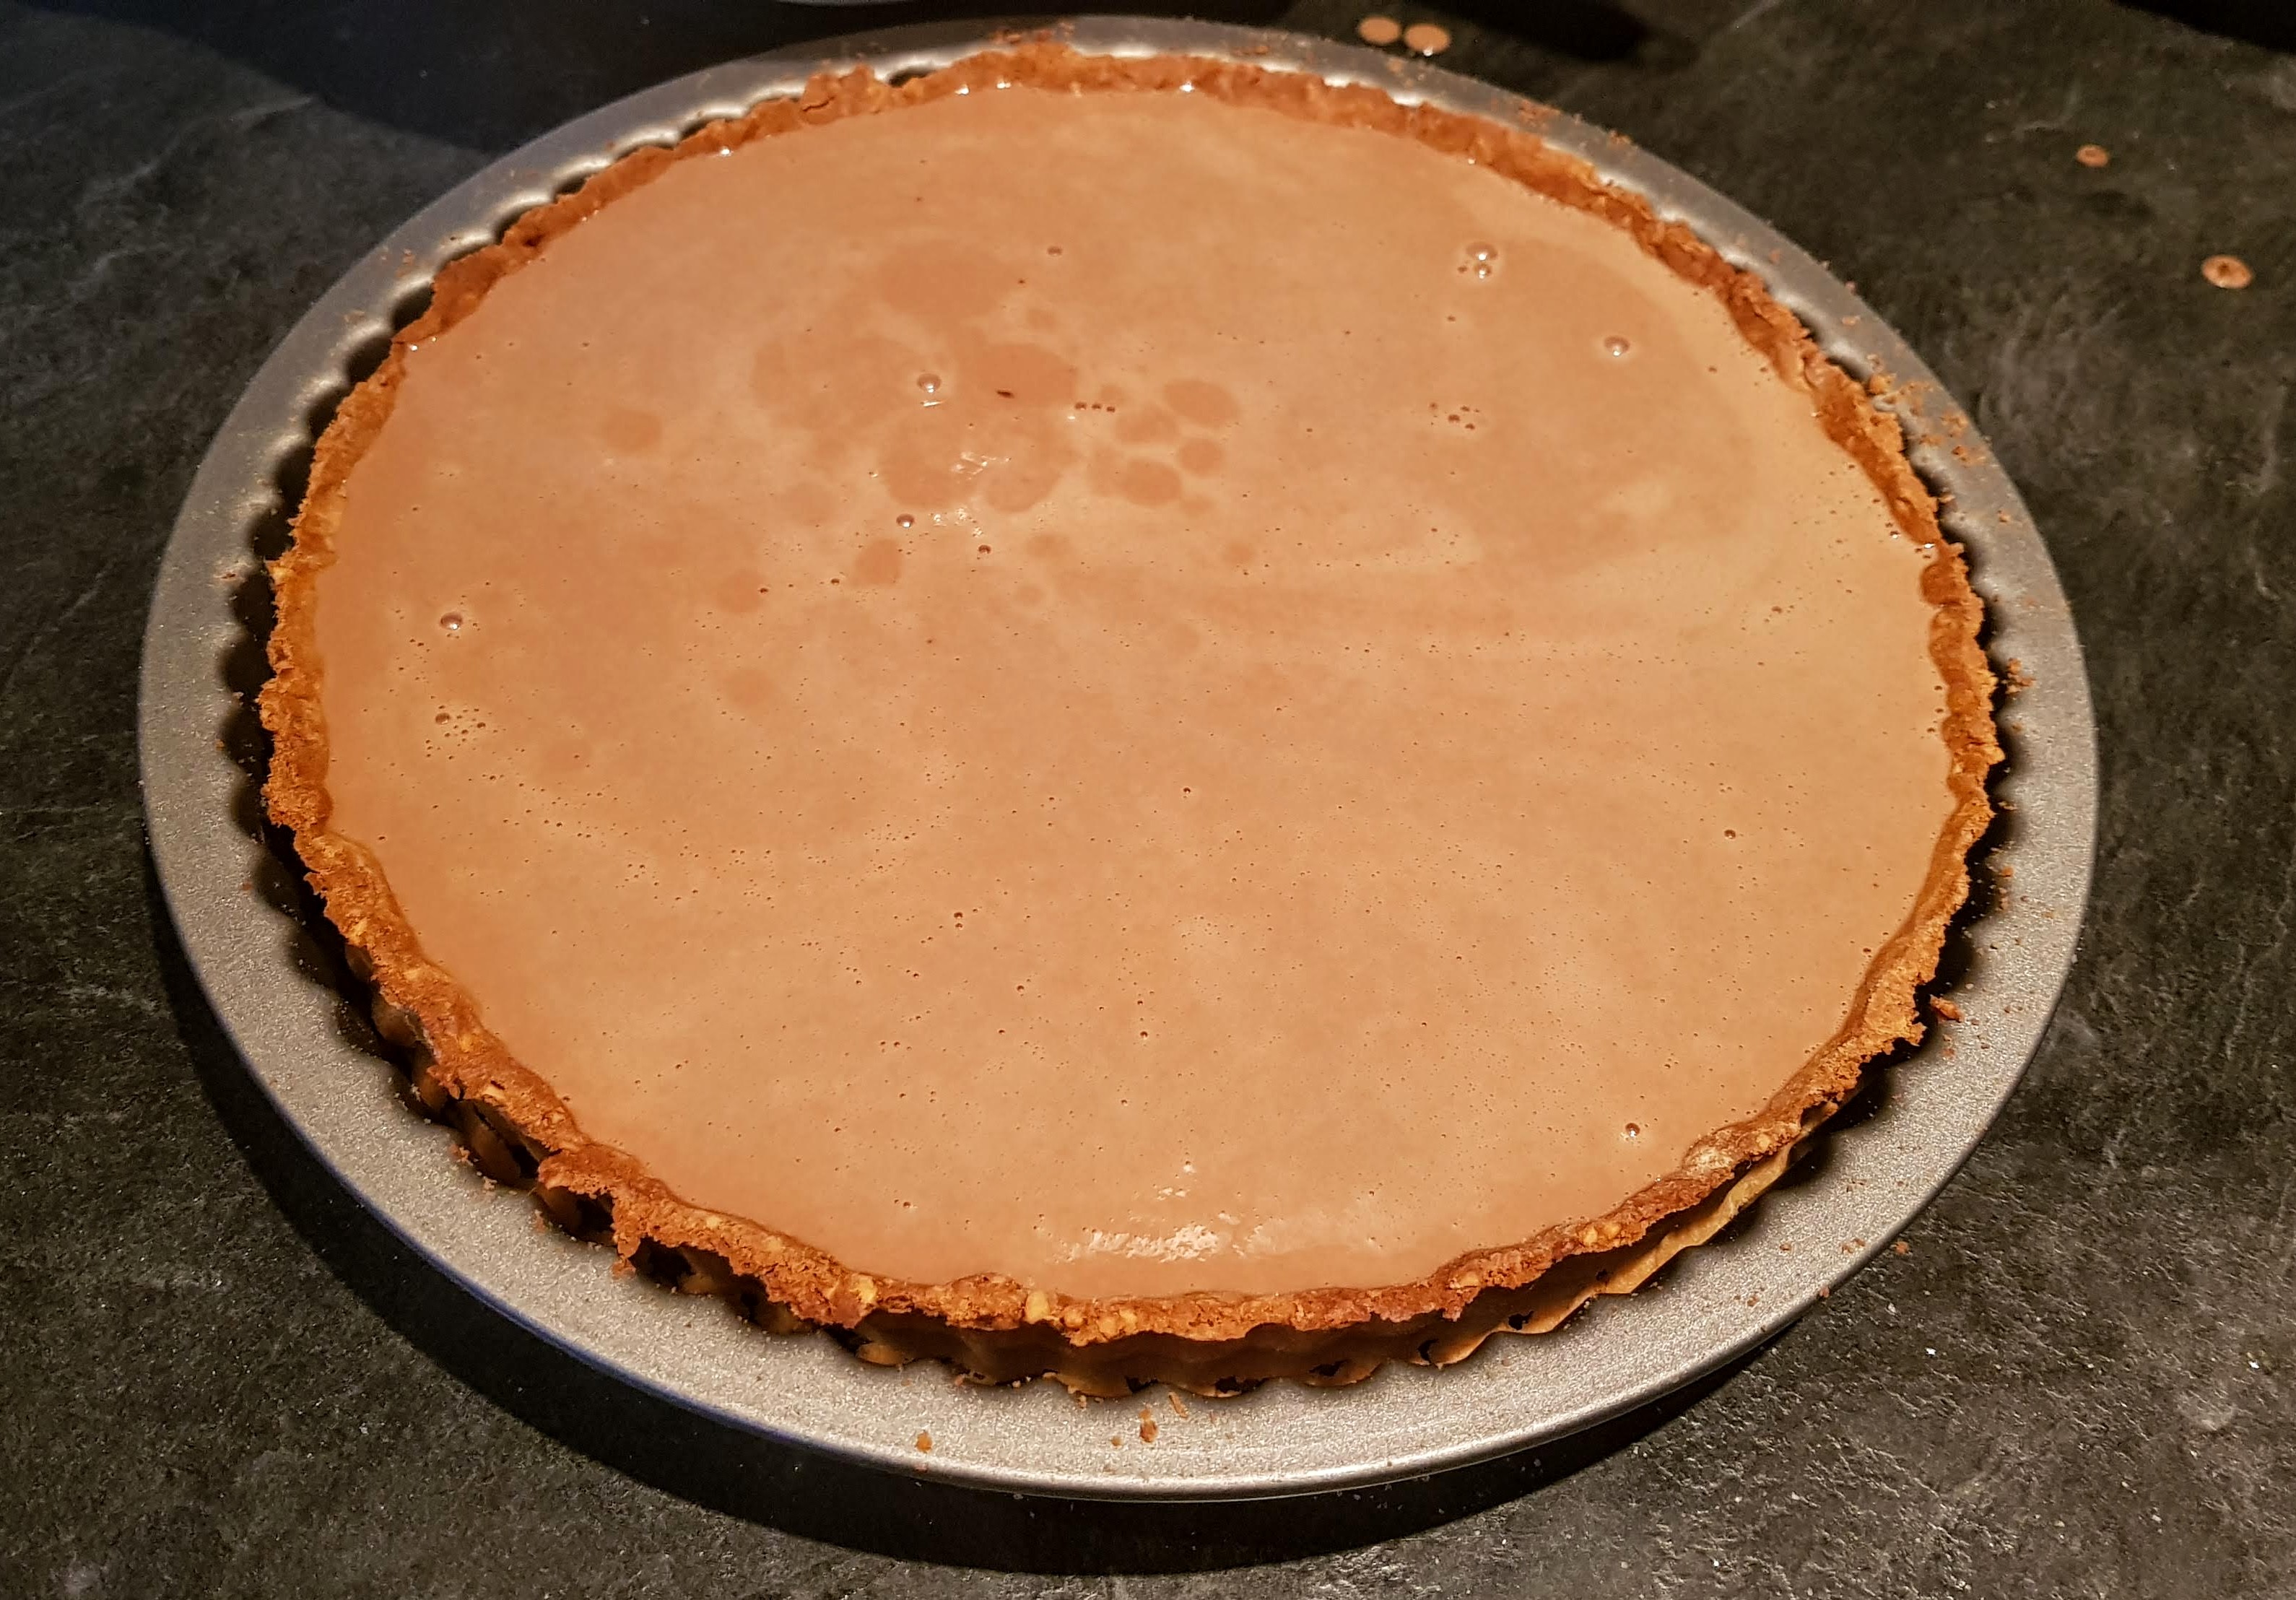
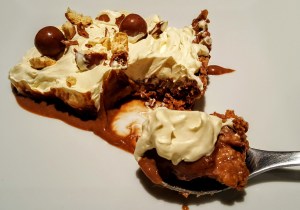
The cheesecake is firm enough to hold its shape, but still super creamy and melt-in-your-mouth velvety. The tanginess of the lime and cheese coupled with the delicate sweetness of the white chocolate complement each other so well. The Biscoff crust adds a good crunch to the experience in your mouth. This is now on my favourite dessert list.
For the Crust
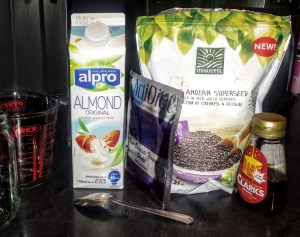
1 packet of Biscoff Biscuits (250g) – (If you don’t like Biscoff, you can use Digestives)
2 Tbsp Butter , melted
For the Lime Layer
1 packet of Lime Jelly (I used Hartley’s – my personal favourite)
100ml Boiling water
1 small tub Greek Yoghurt (80-100g)
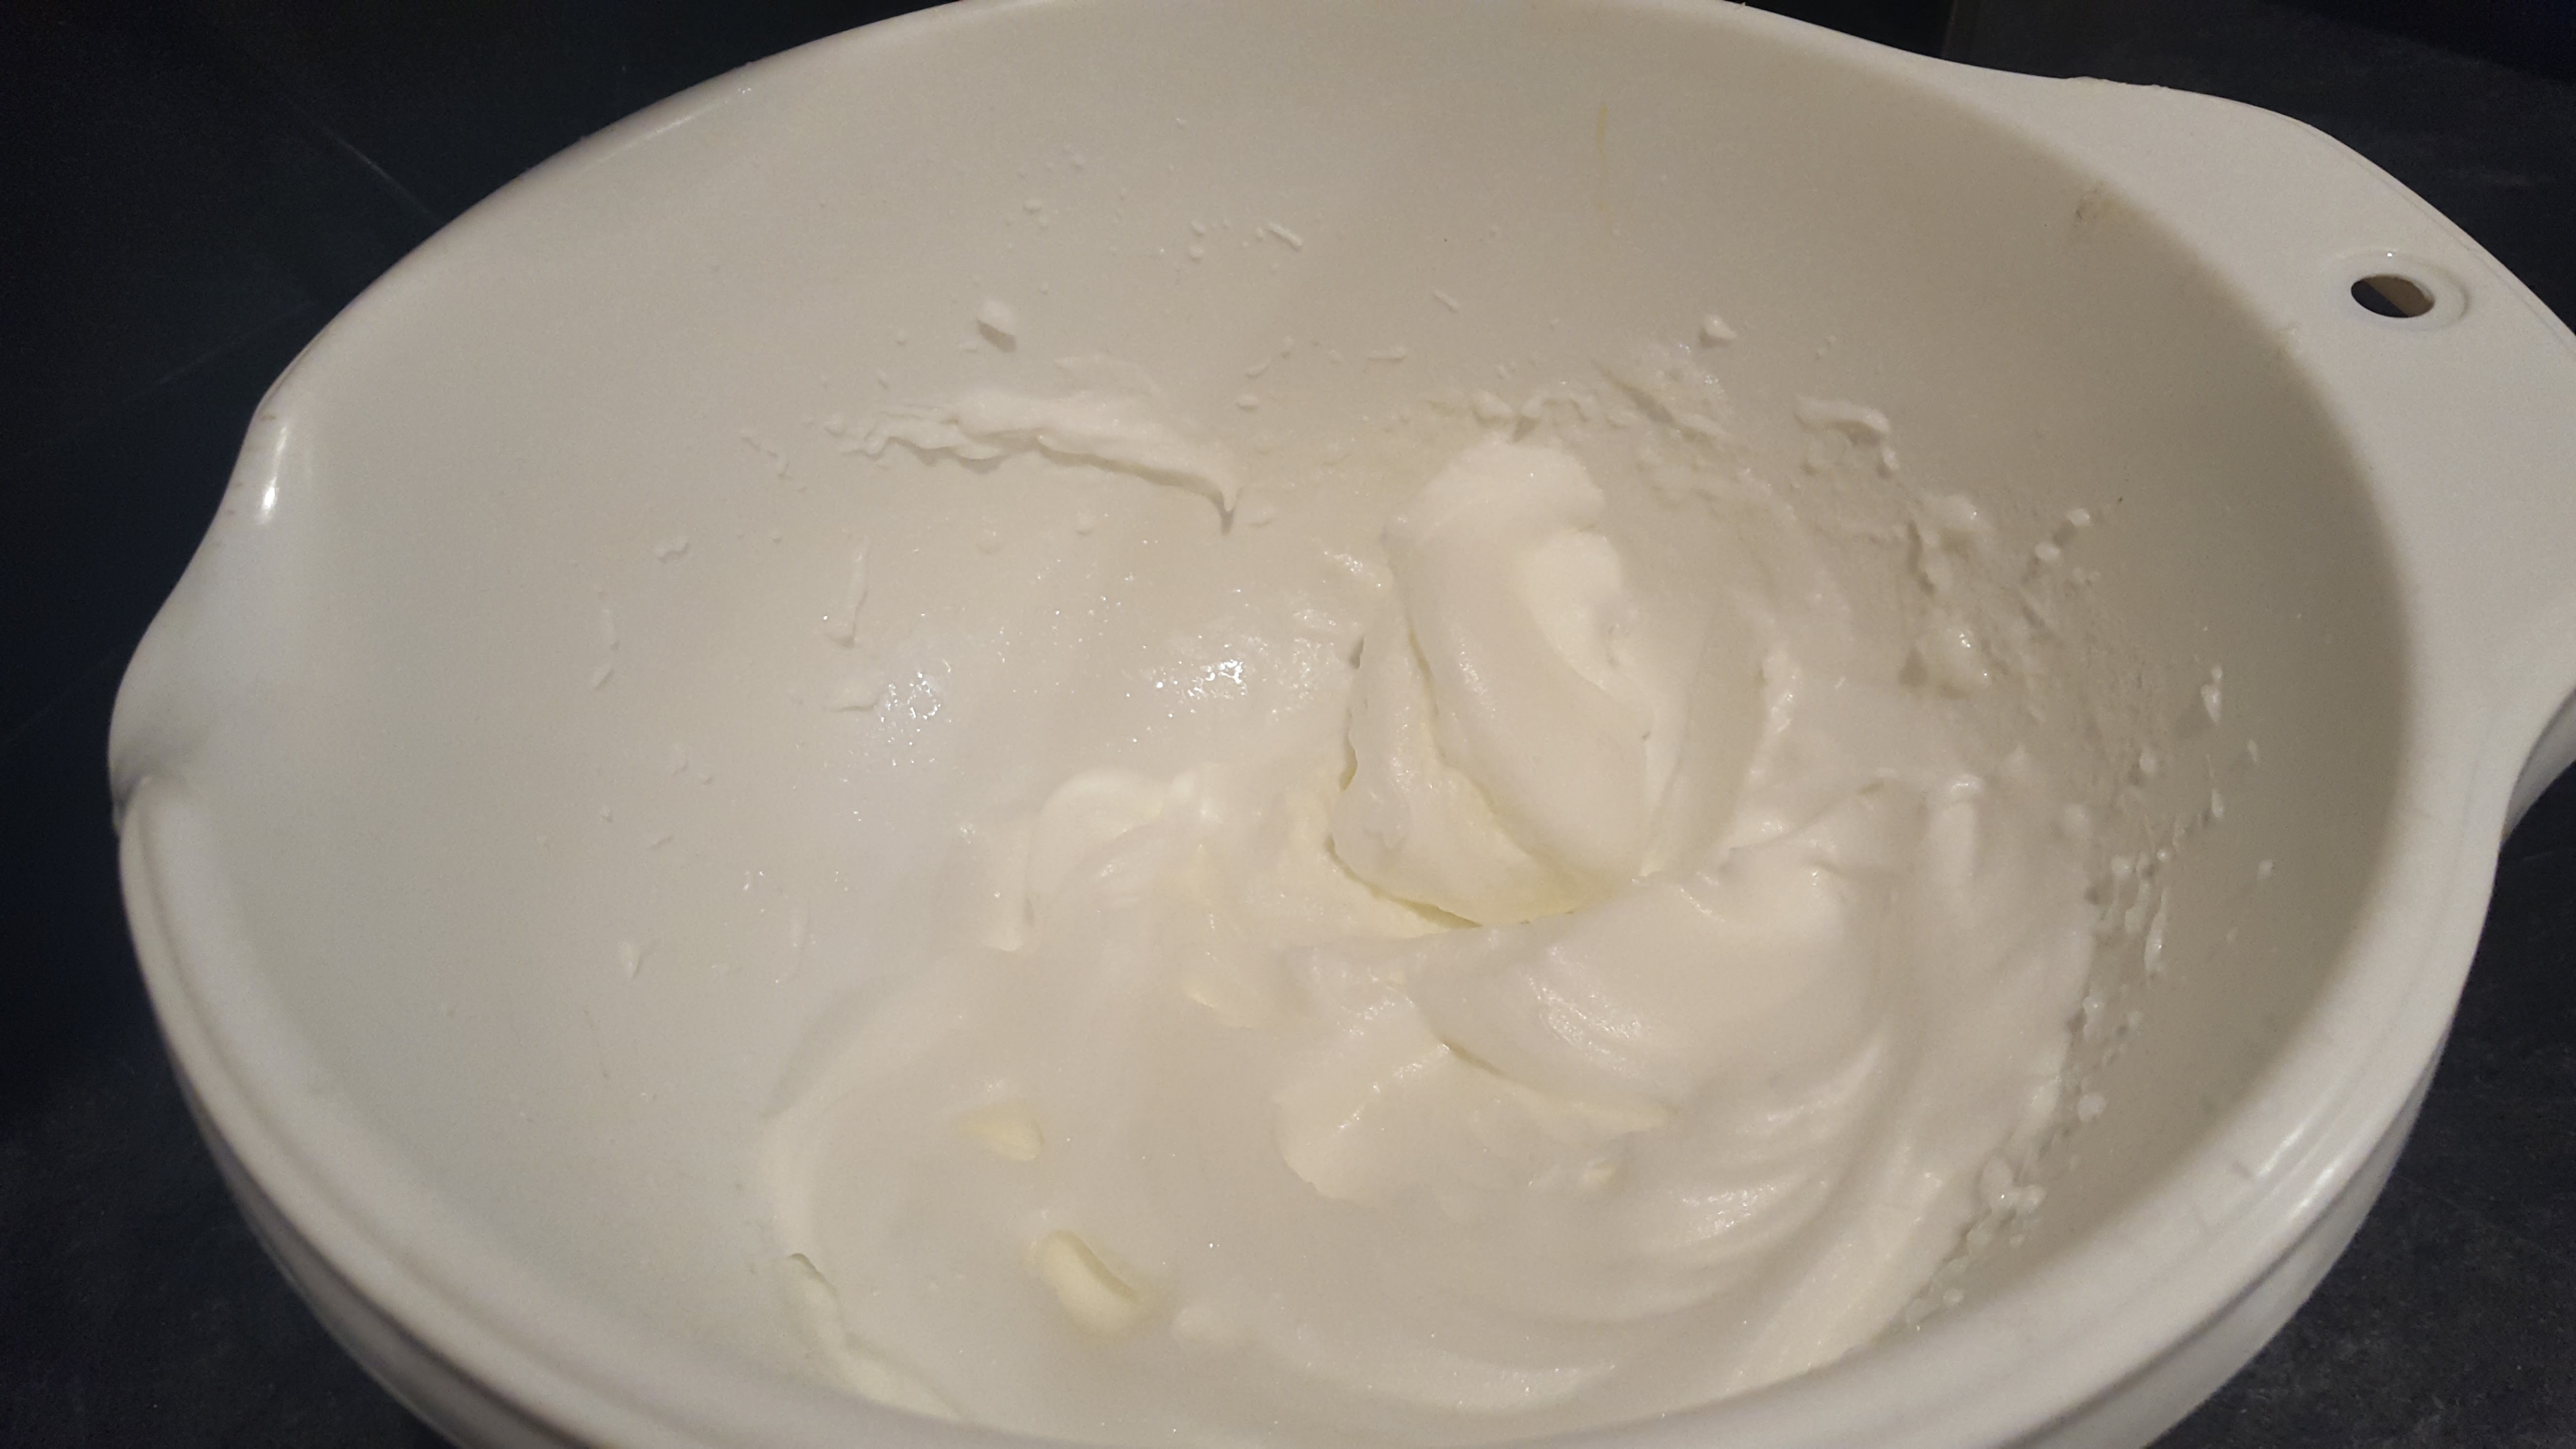
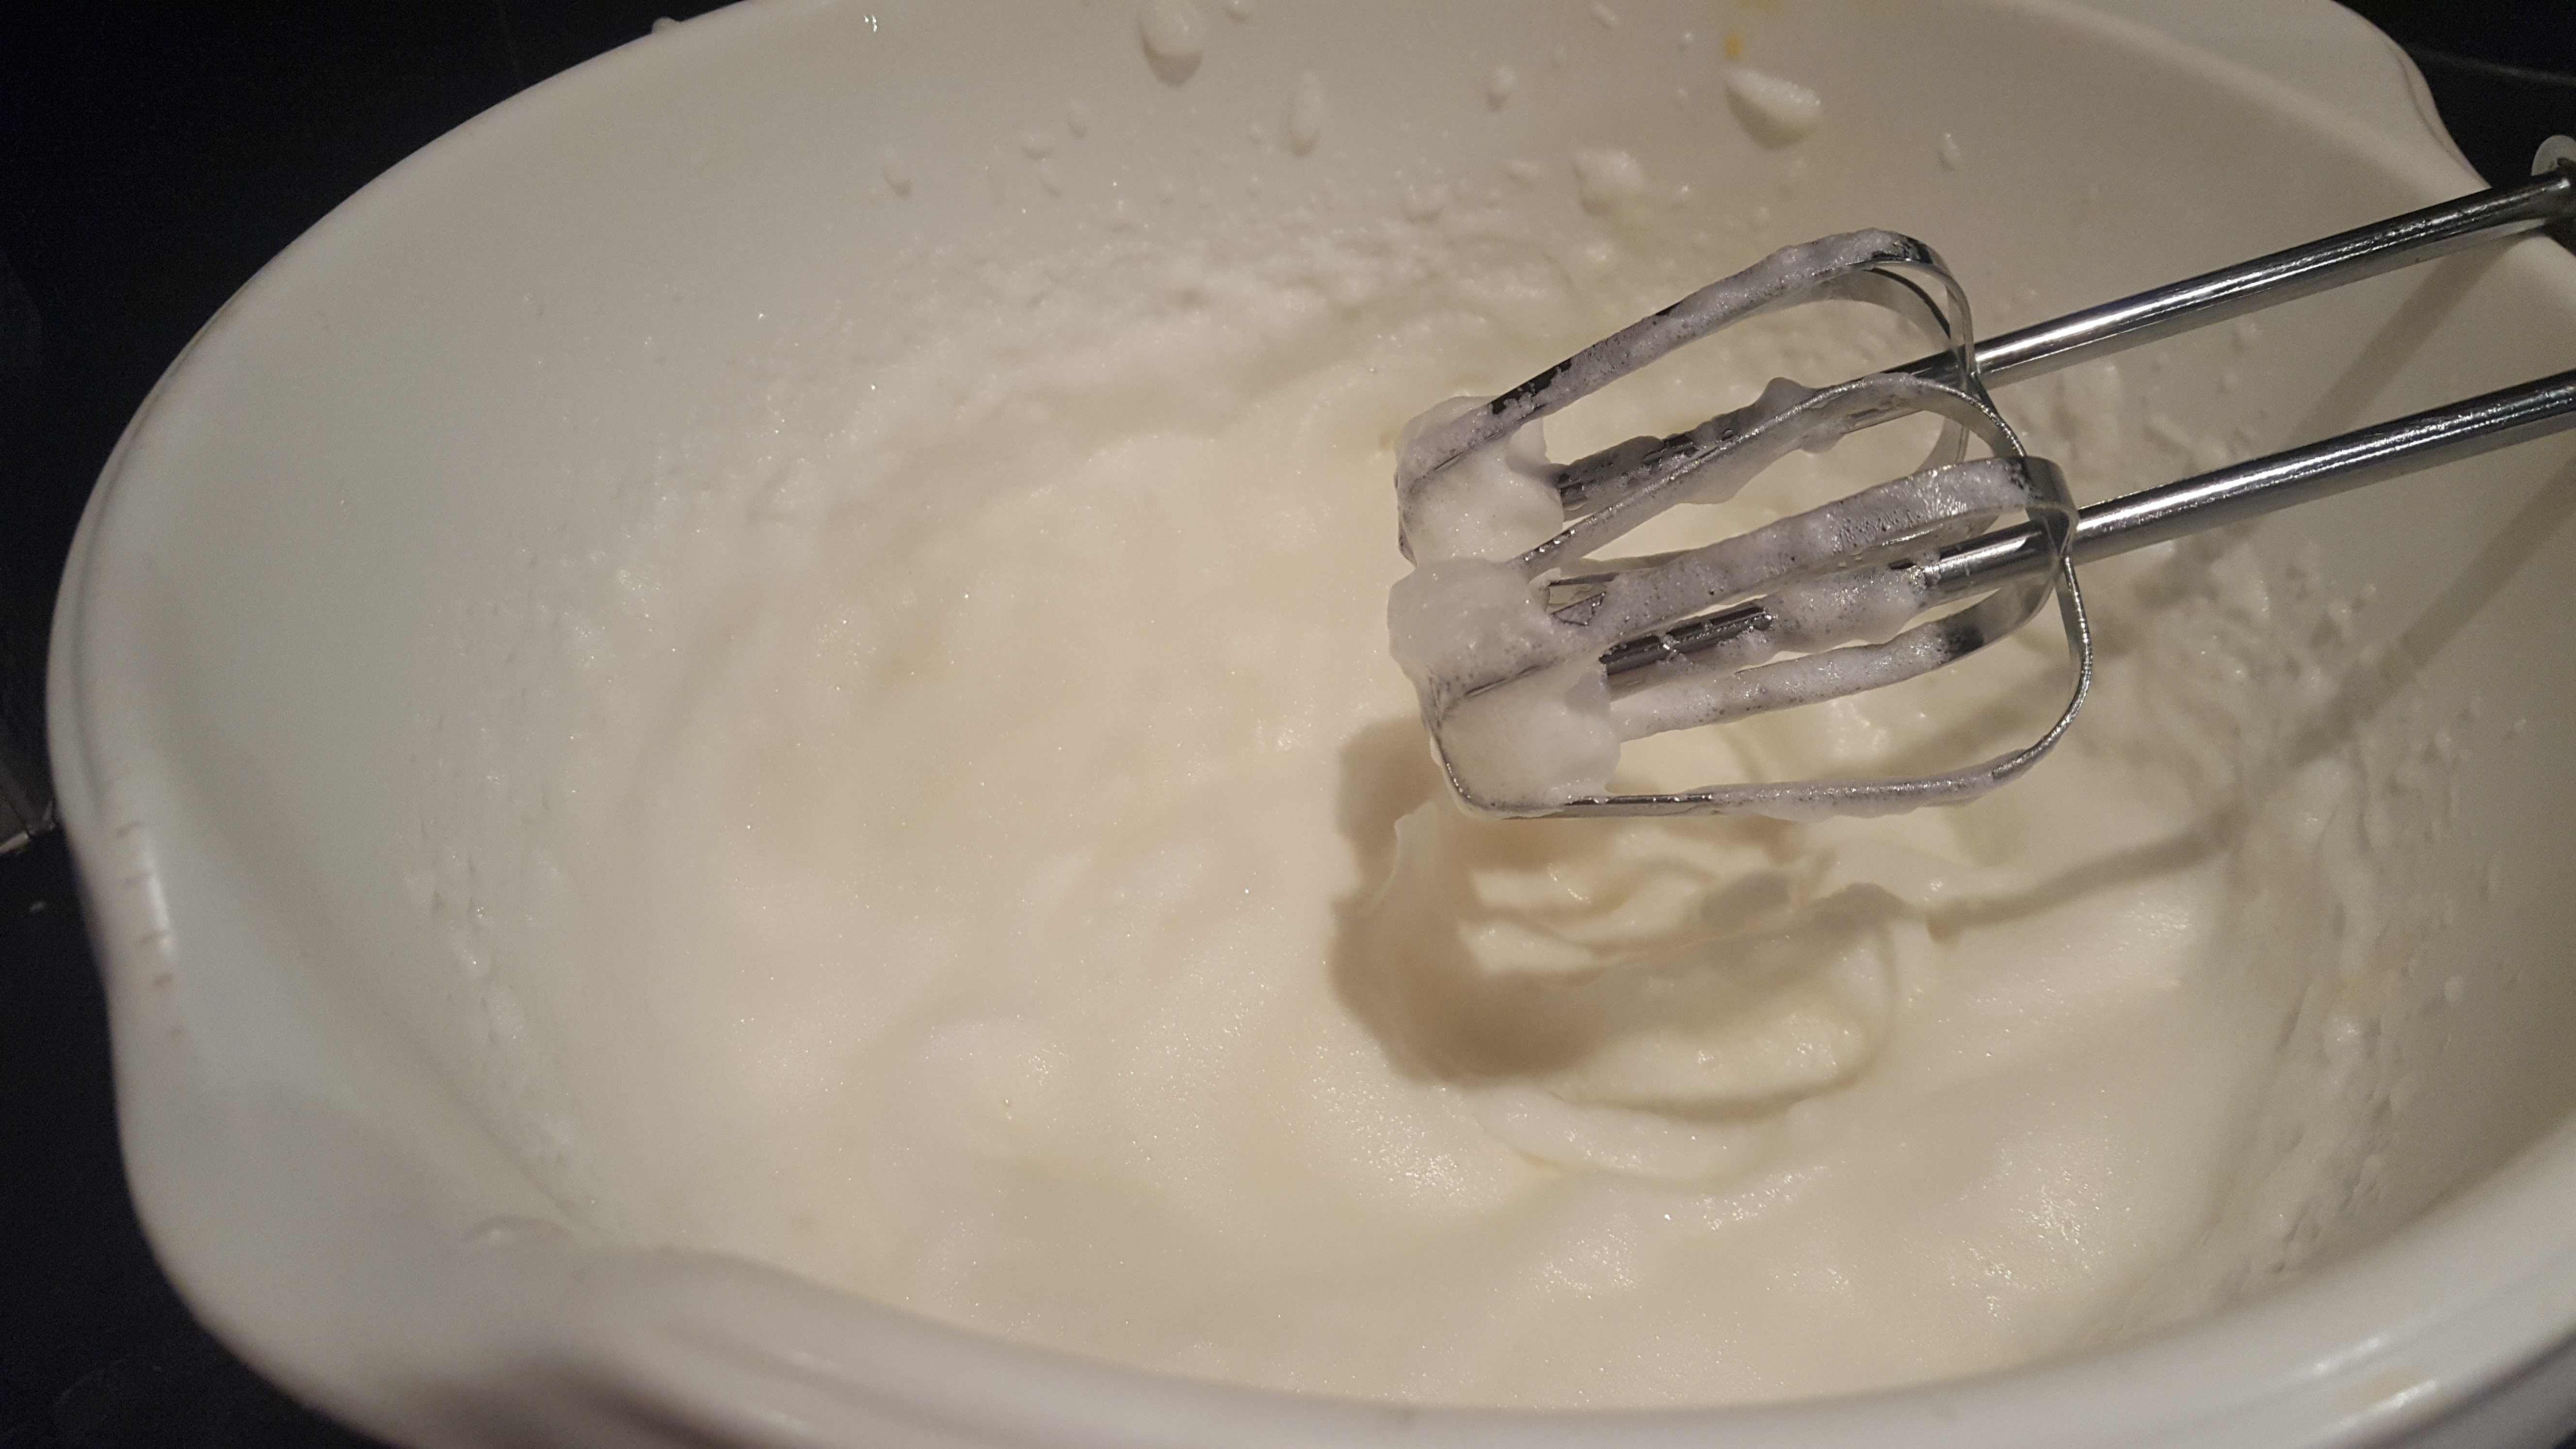
200ml Whipping Cream
For the Cheesecake Layer
80g Unsalted Butter
120g Icing Sugar
200g Cream Cheese (I use Philadelphia – no other compares for me)
100ml Whipping Cream
1 tsp Vanilla Essence
Juice of 1 Lime
For the Topping:-
Zest of 1 Lime
100-200g White Chocolate Shavings (as much as you want really)
Method:-
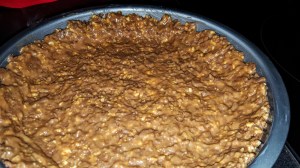
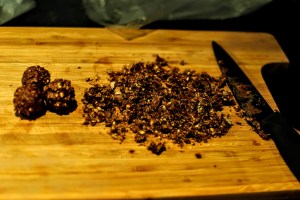
- Blitz the biscuits in a processor, so they resemble fine crumbs. Tip into a bowl and pour over the melted butter and mix through until all moist. Press into a 9 x 13 x 2″ springform tin and place in the freezer while you make the next layer.
- In a large bowl dissolve the Jelly with the boiling water, allow to cool slightly.
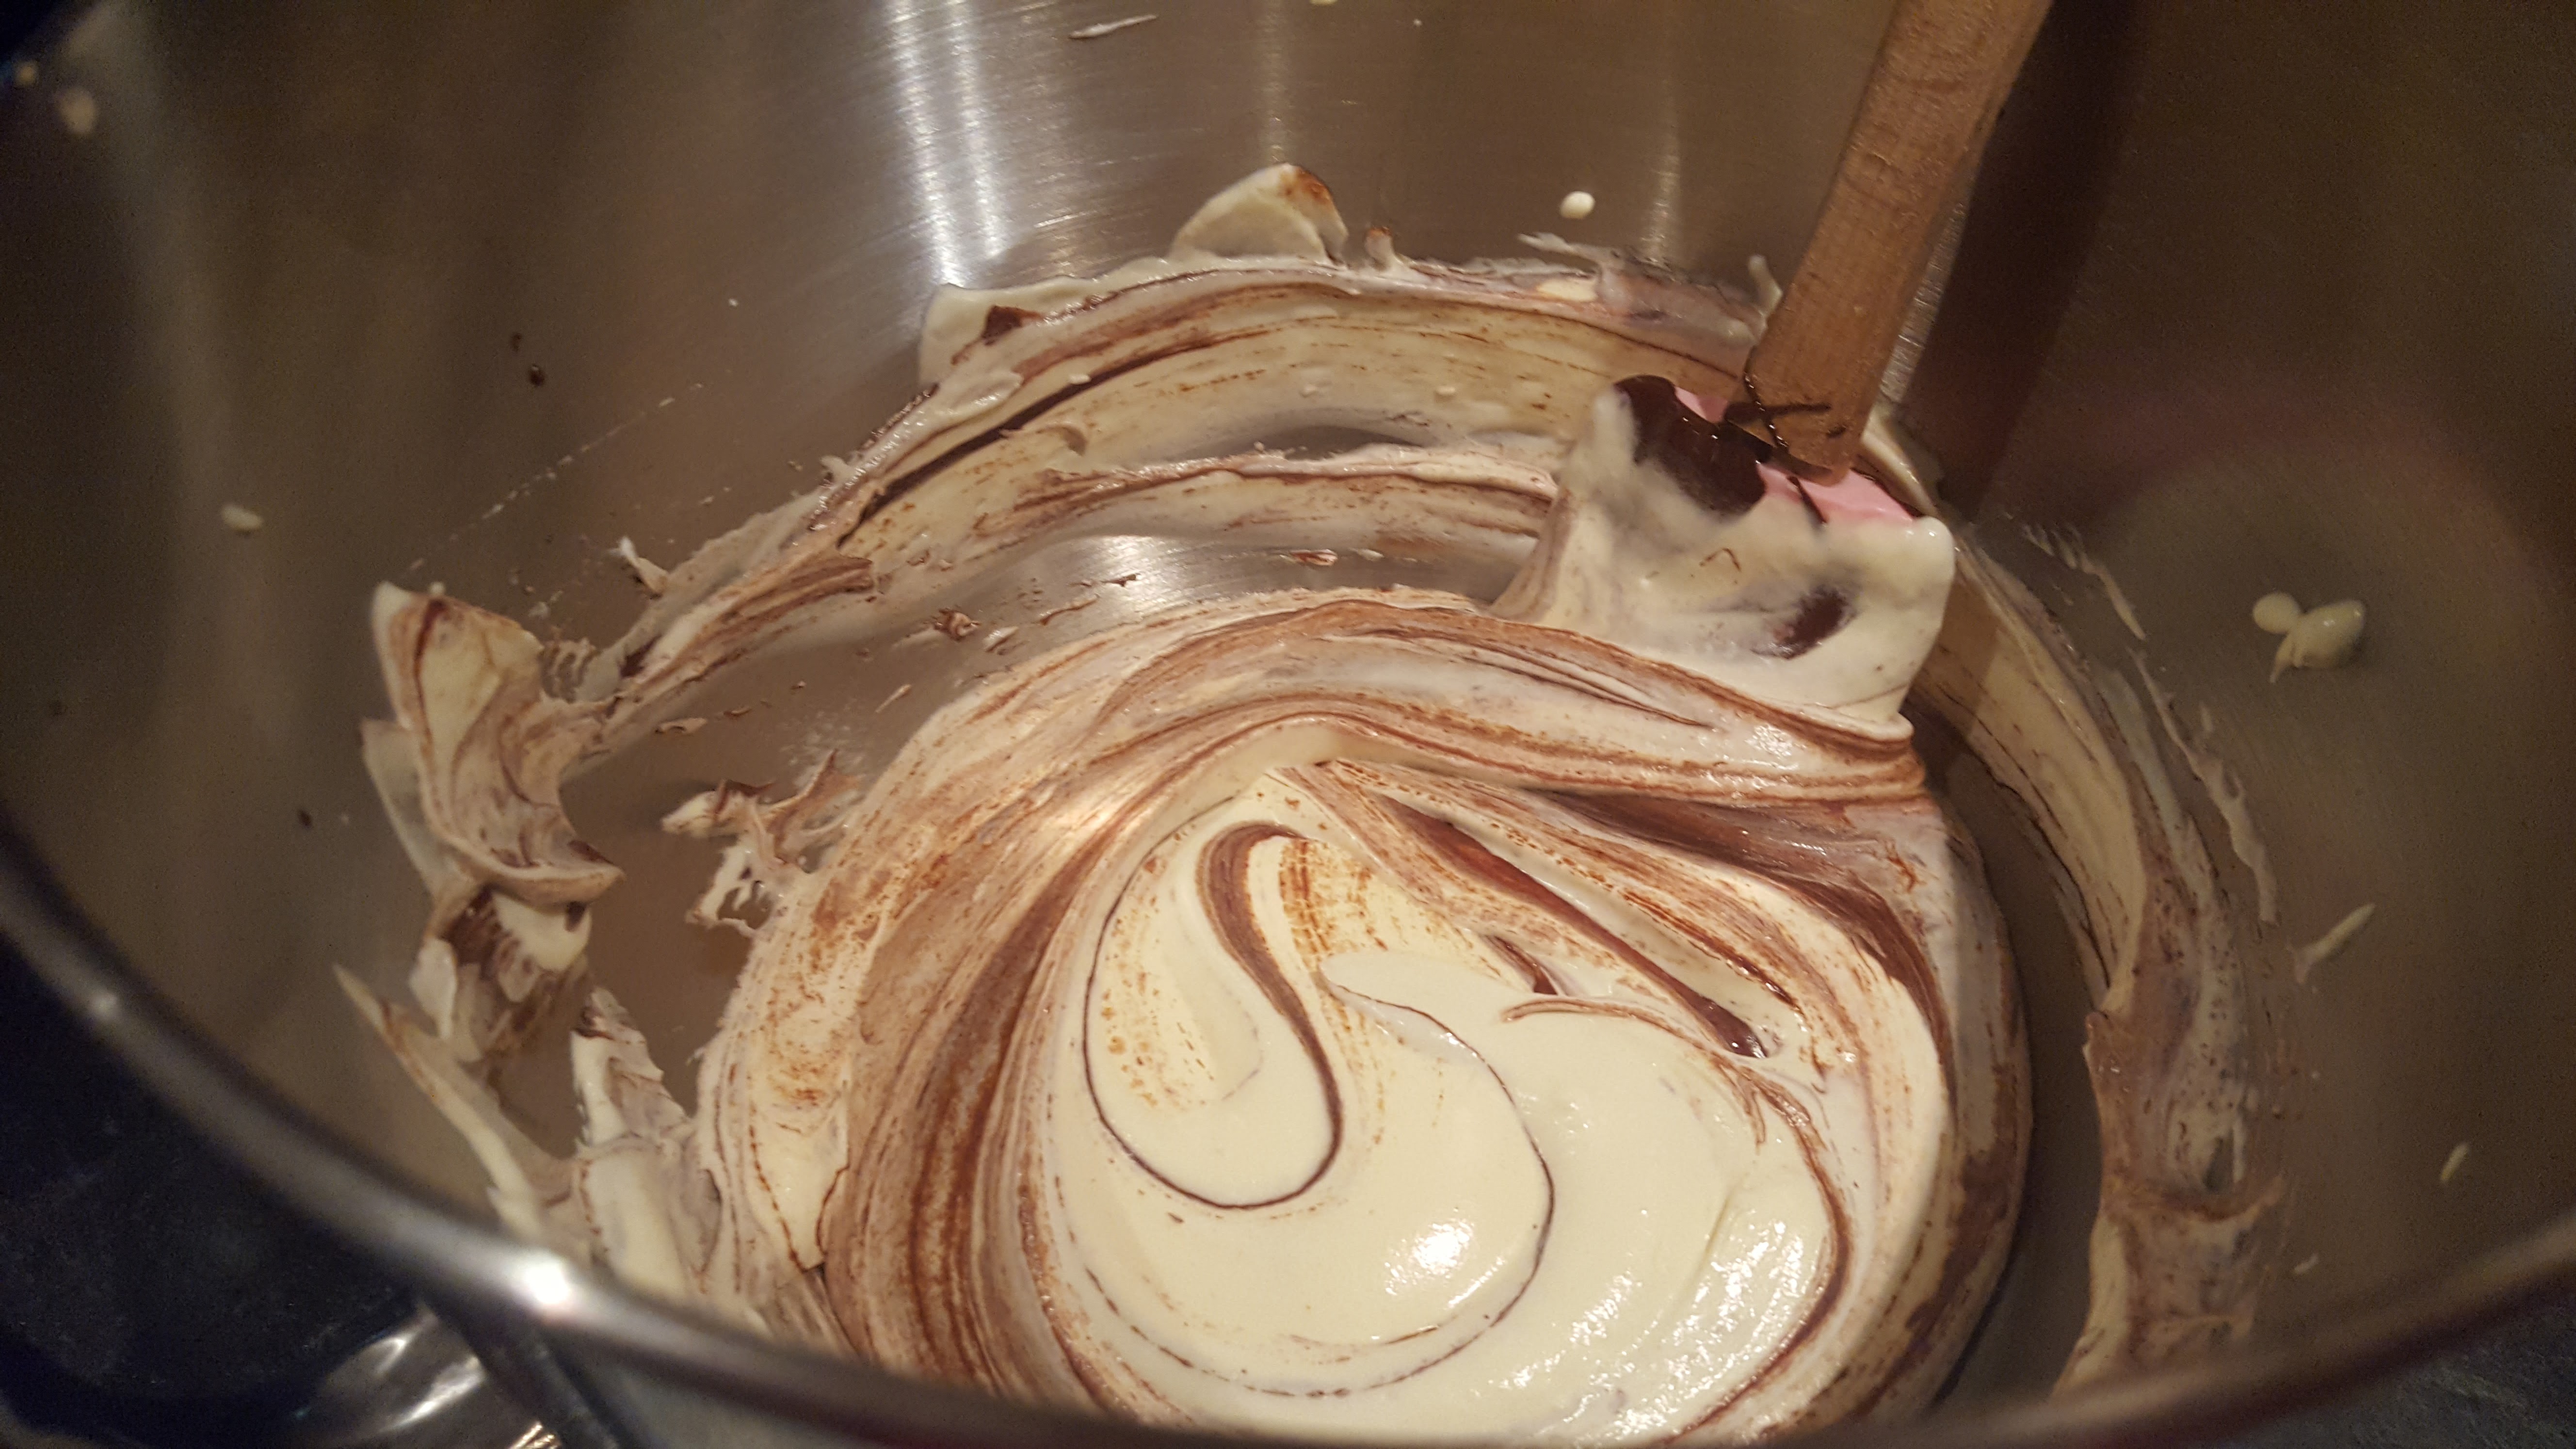
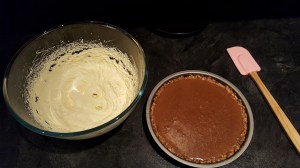
- Whisk up the whipping cream until light and fluffy. Whisk into the Jelly the Greek Yoghurt and fold in your whipped cream. Pour on top of the biscuit layer and place in the freezer to set. (about 45-60 mins)
- Meanwhile, make your cheesecake topping, Beat together the butter, icing sugar, cream cheese, lime juice, 1/2 the lime zest and vanilla essence. Whip up your cream and fold into mixture.
- Smooth over the Jelly layer once set and place back in the freezer for a further 30 mins to firm. Transfer to the fridge and allow to fully set overnight.
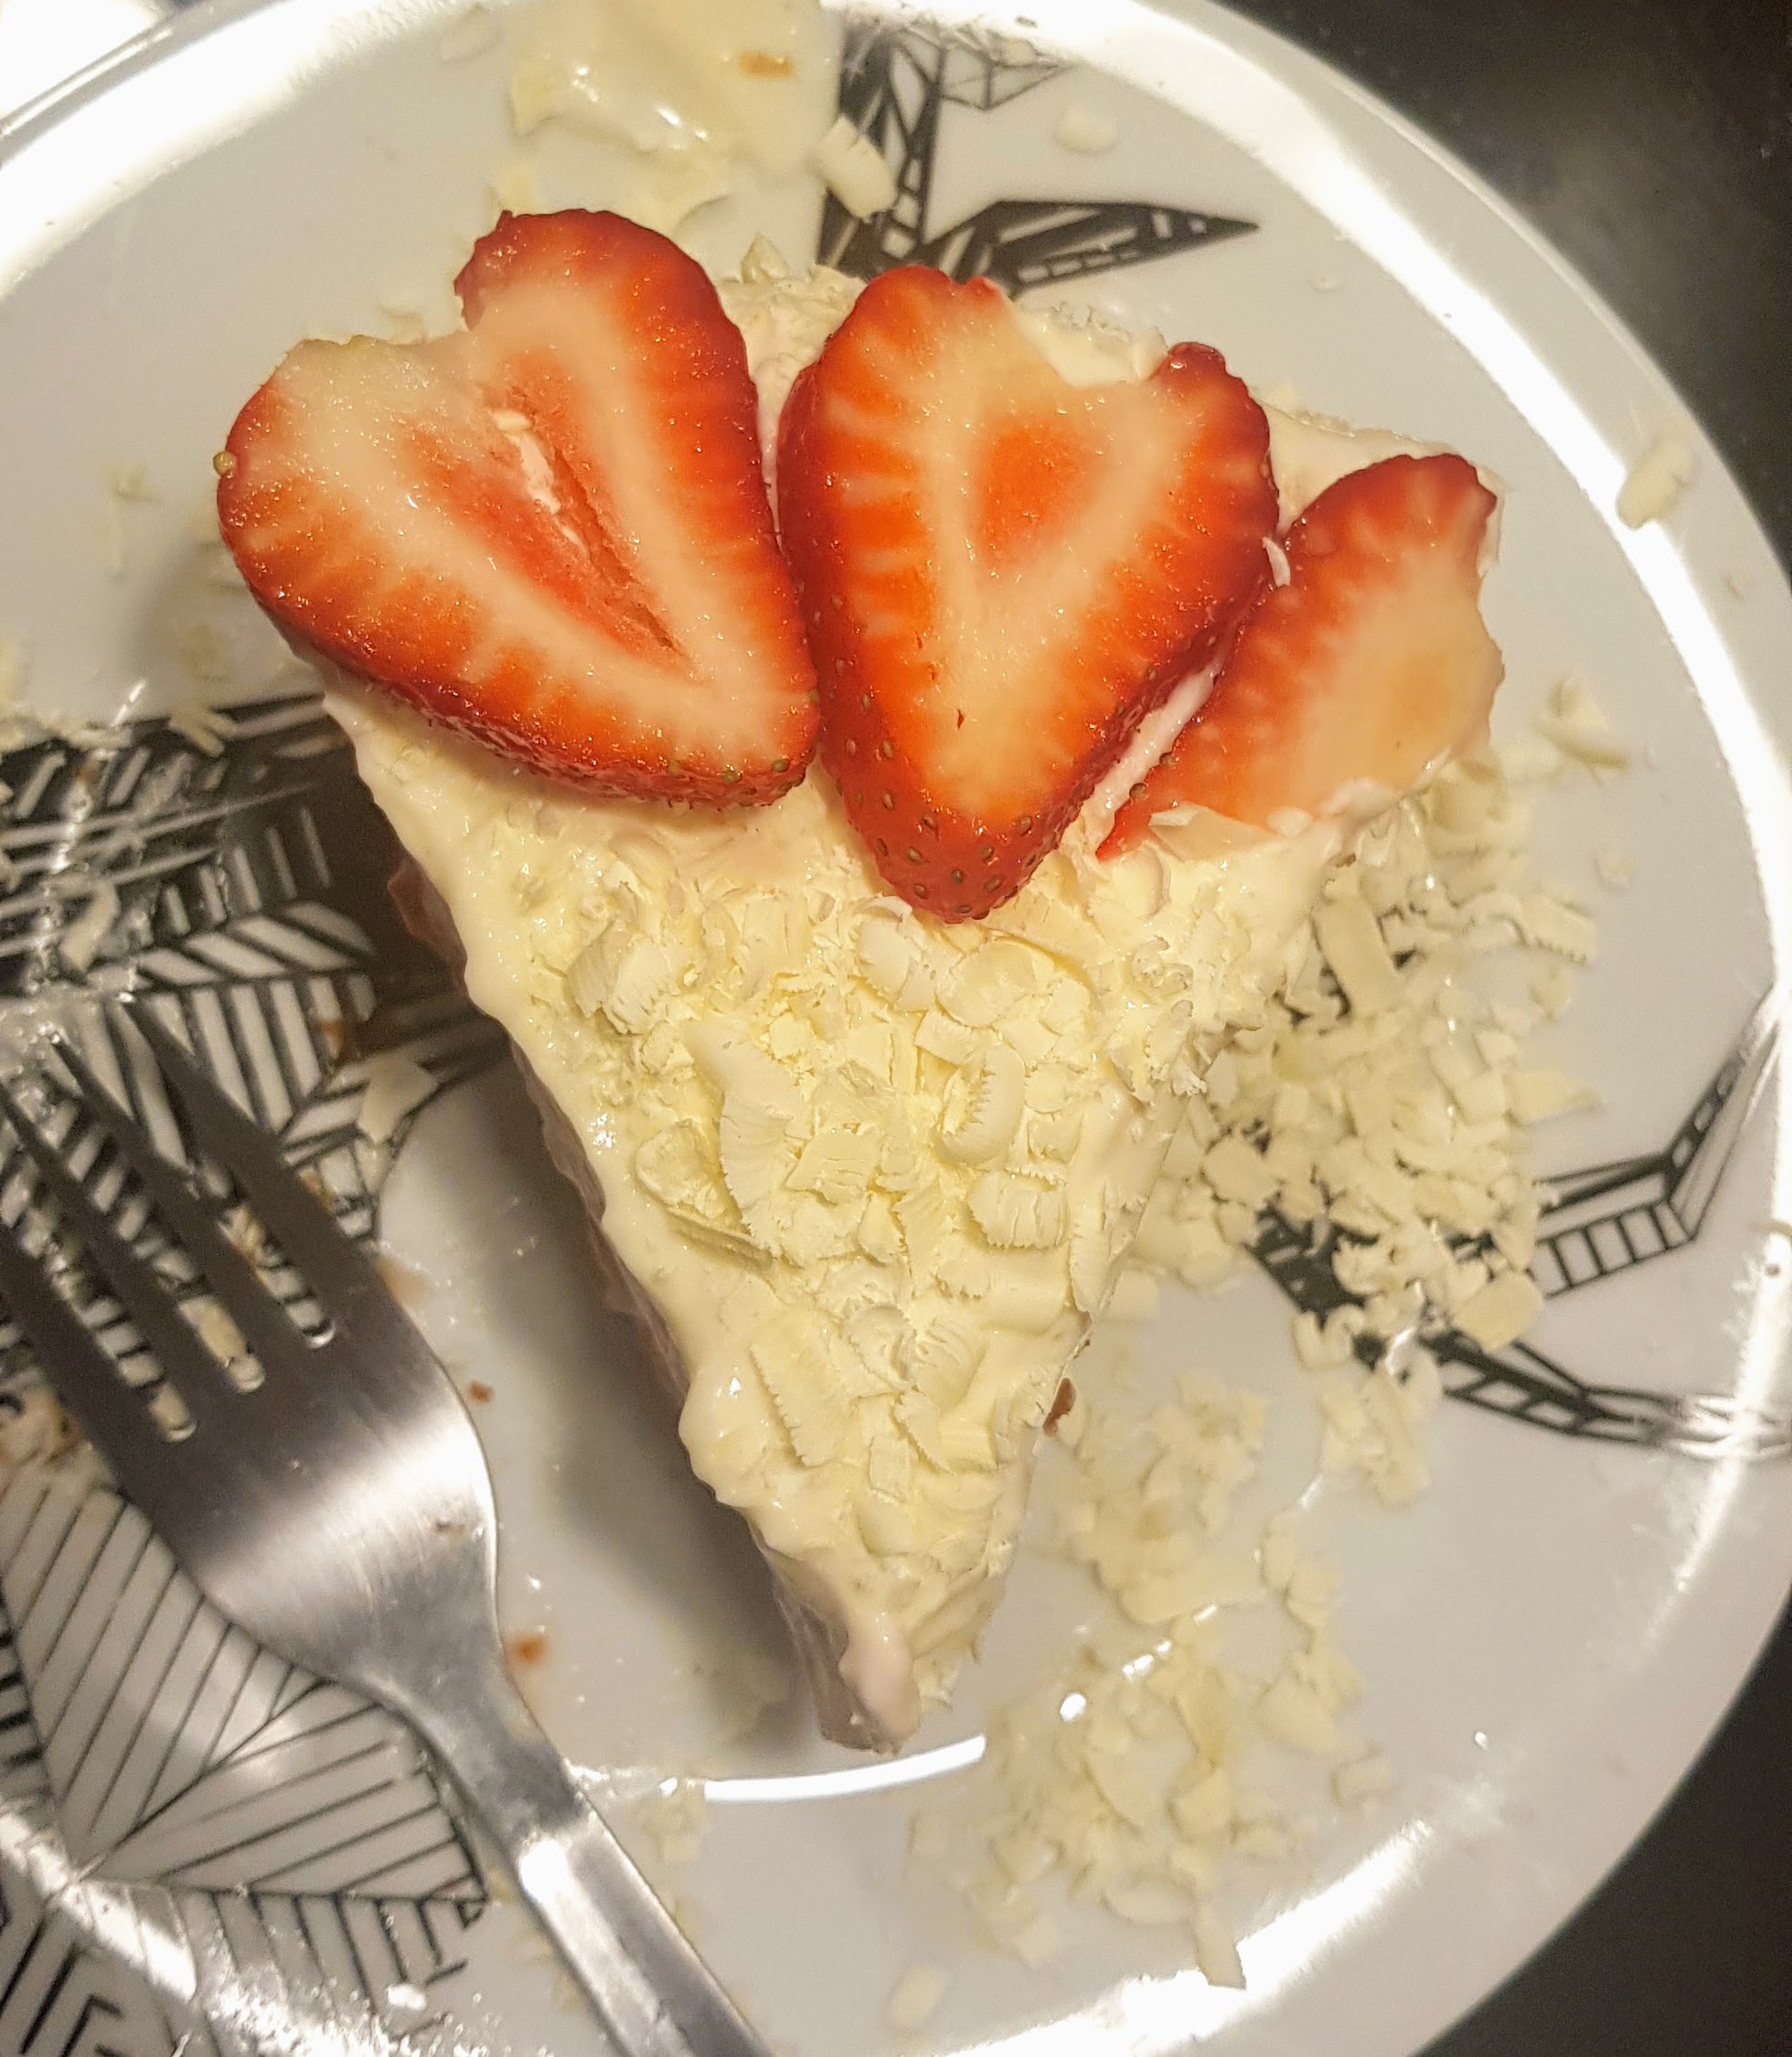
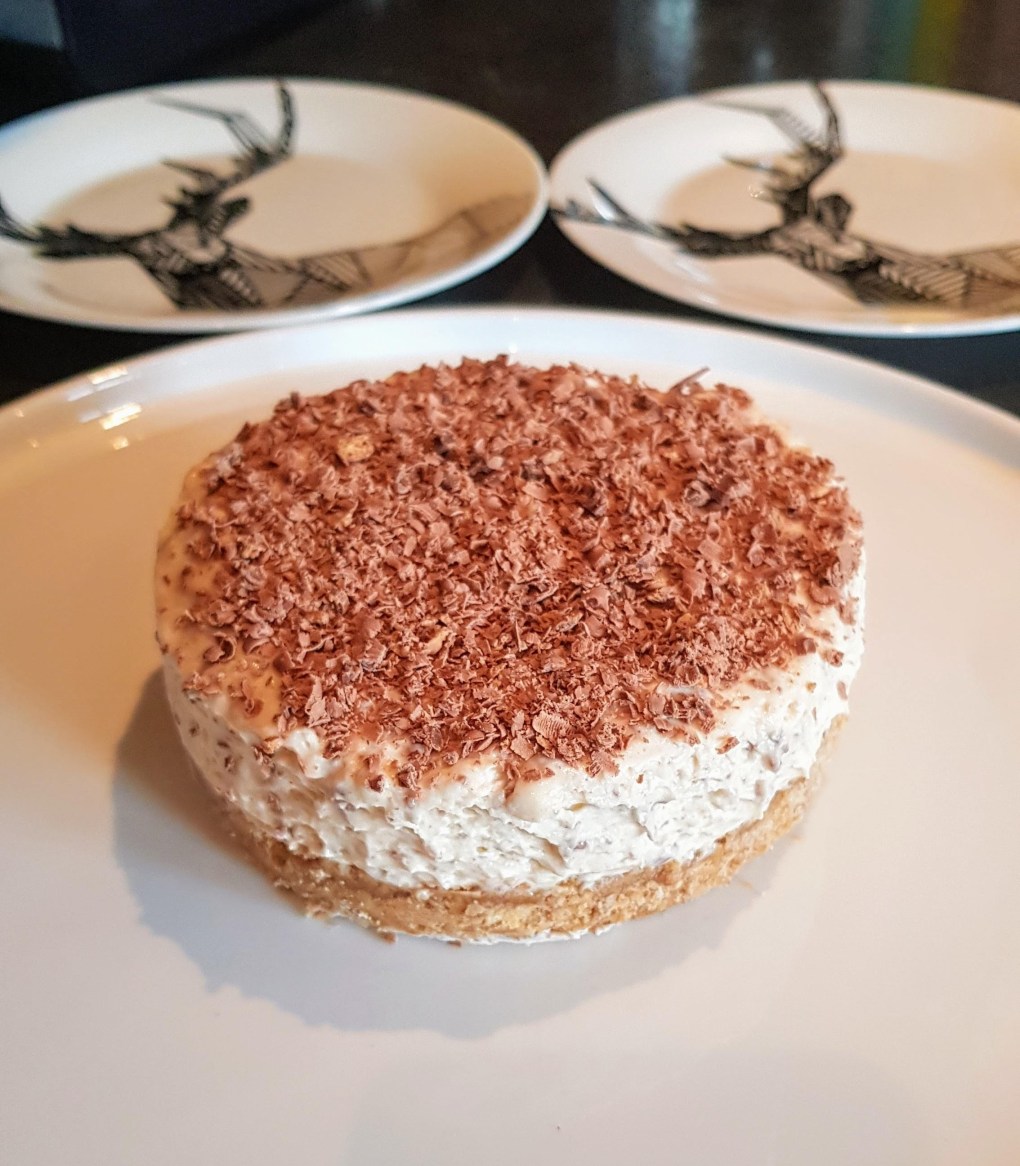
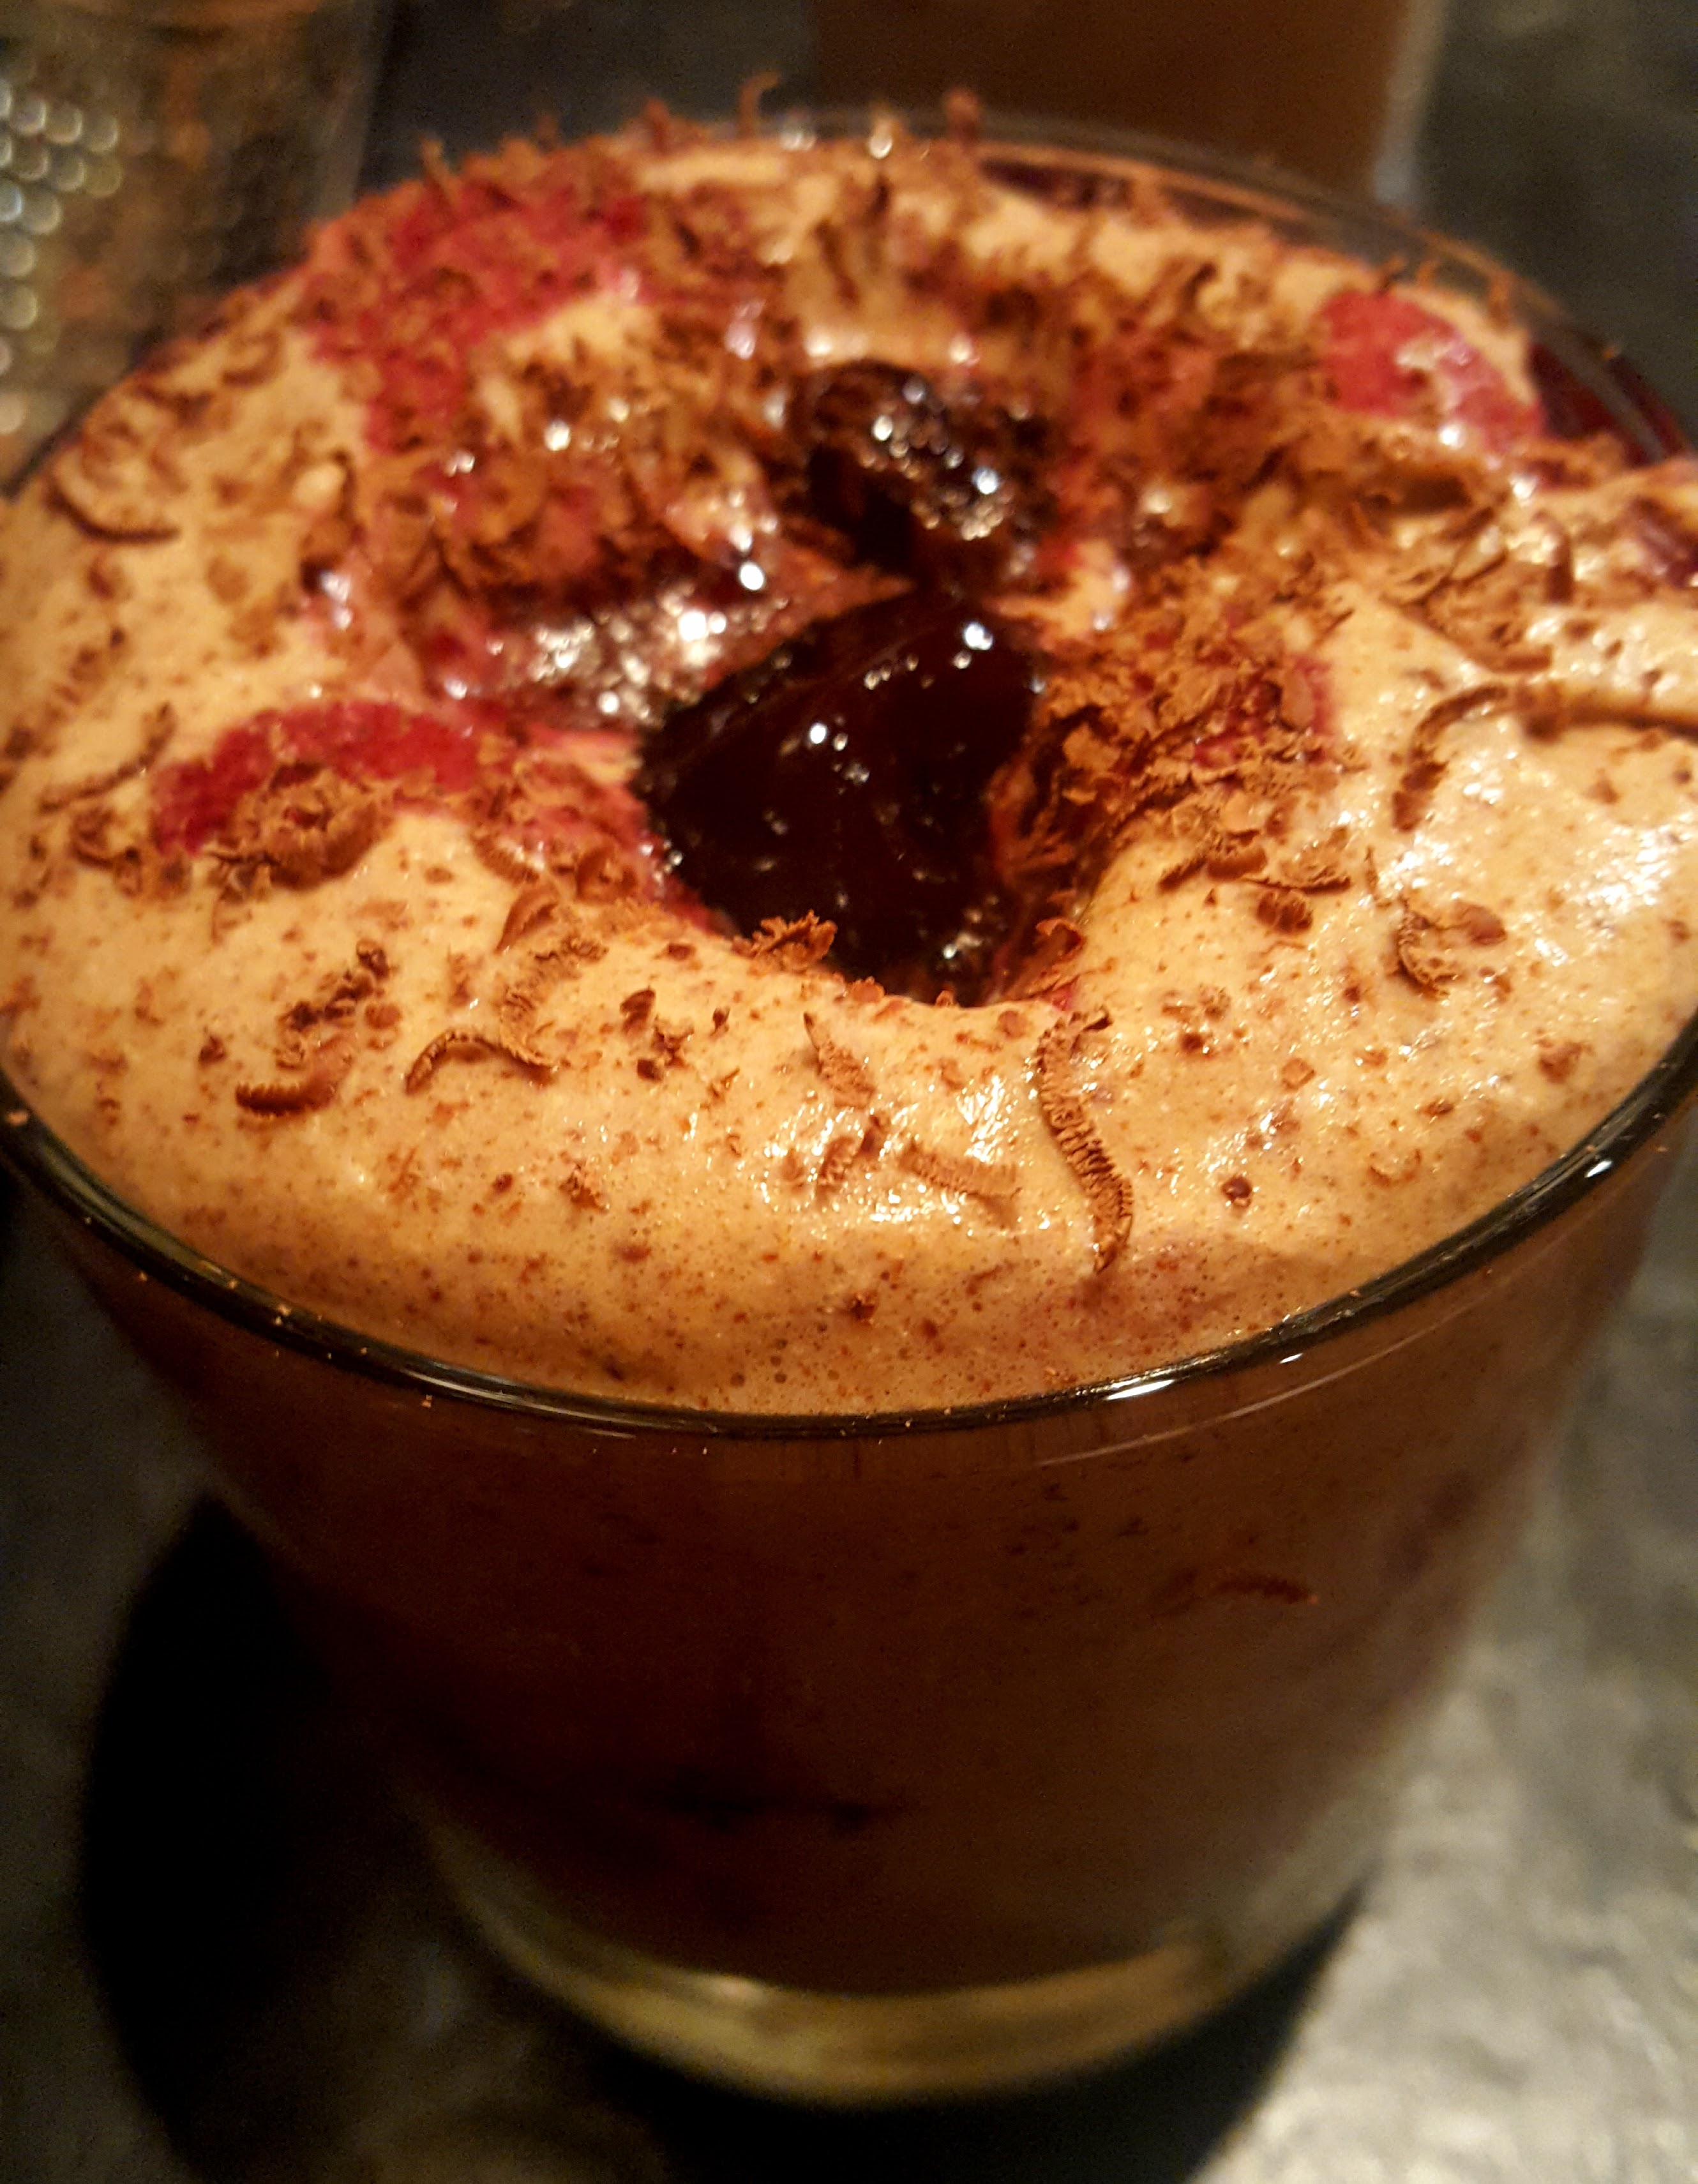
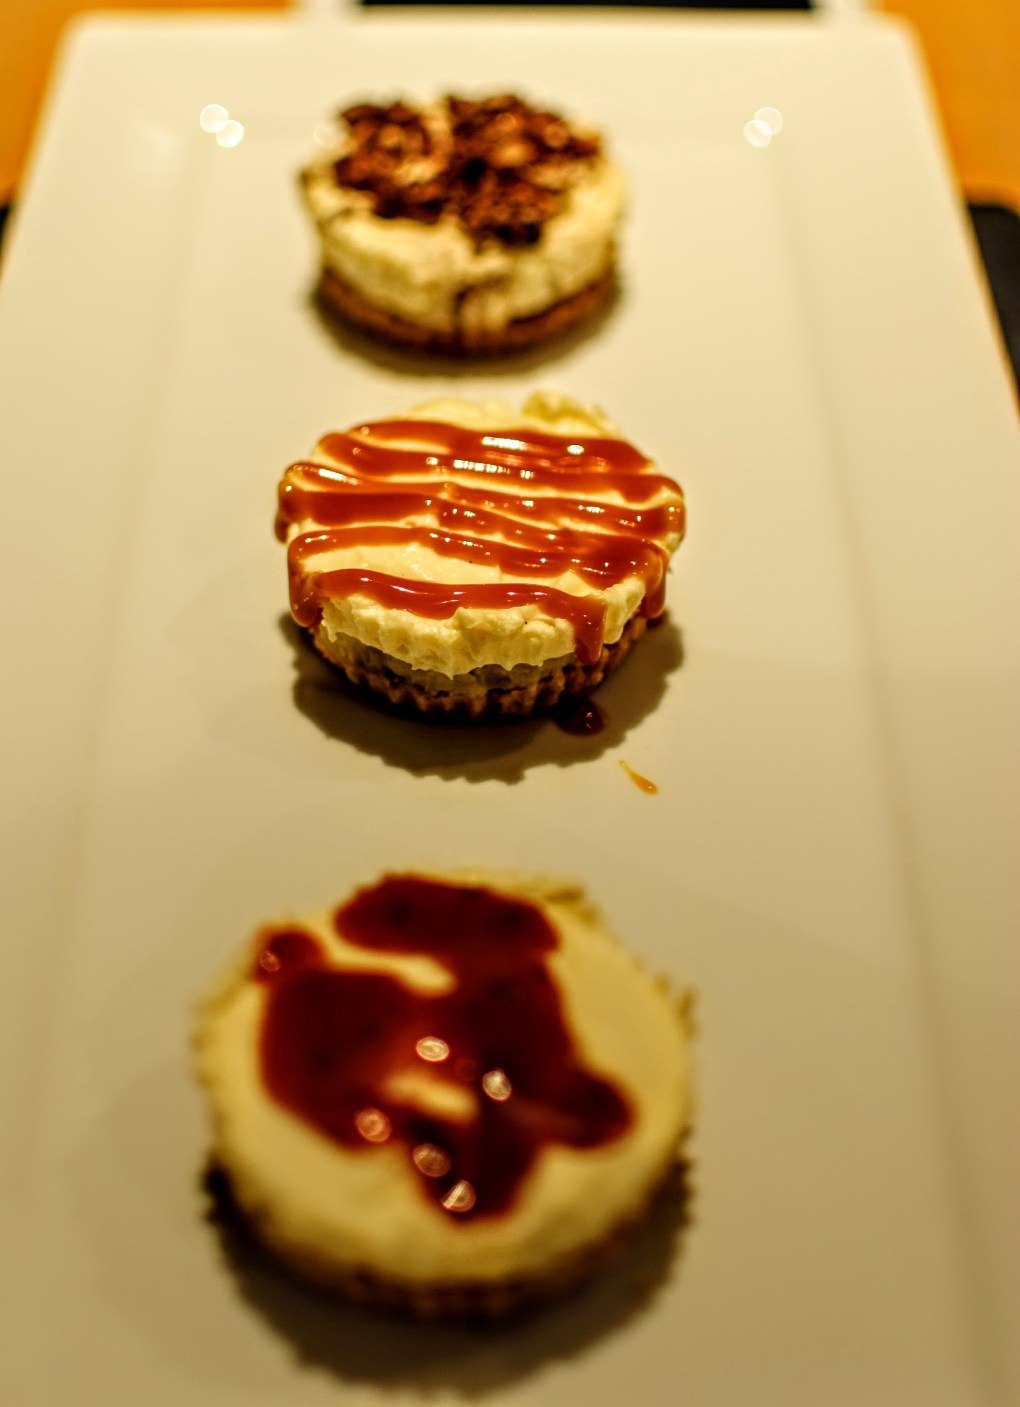
- Before serving, sprinkle the white chocolate shavings over the top and the lime zest to finish.
- Slice and Enjoy!


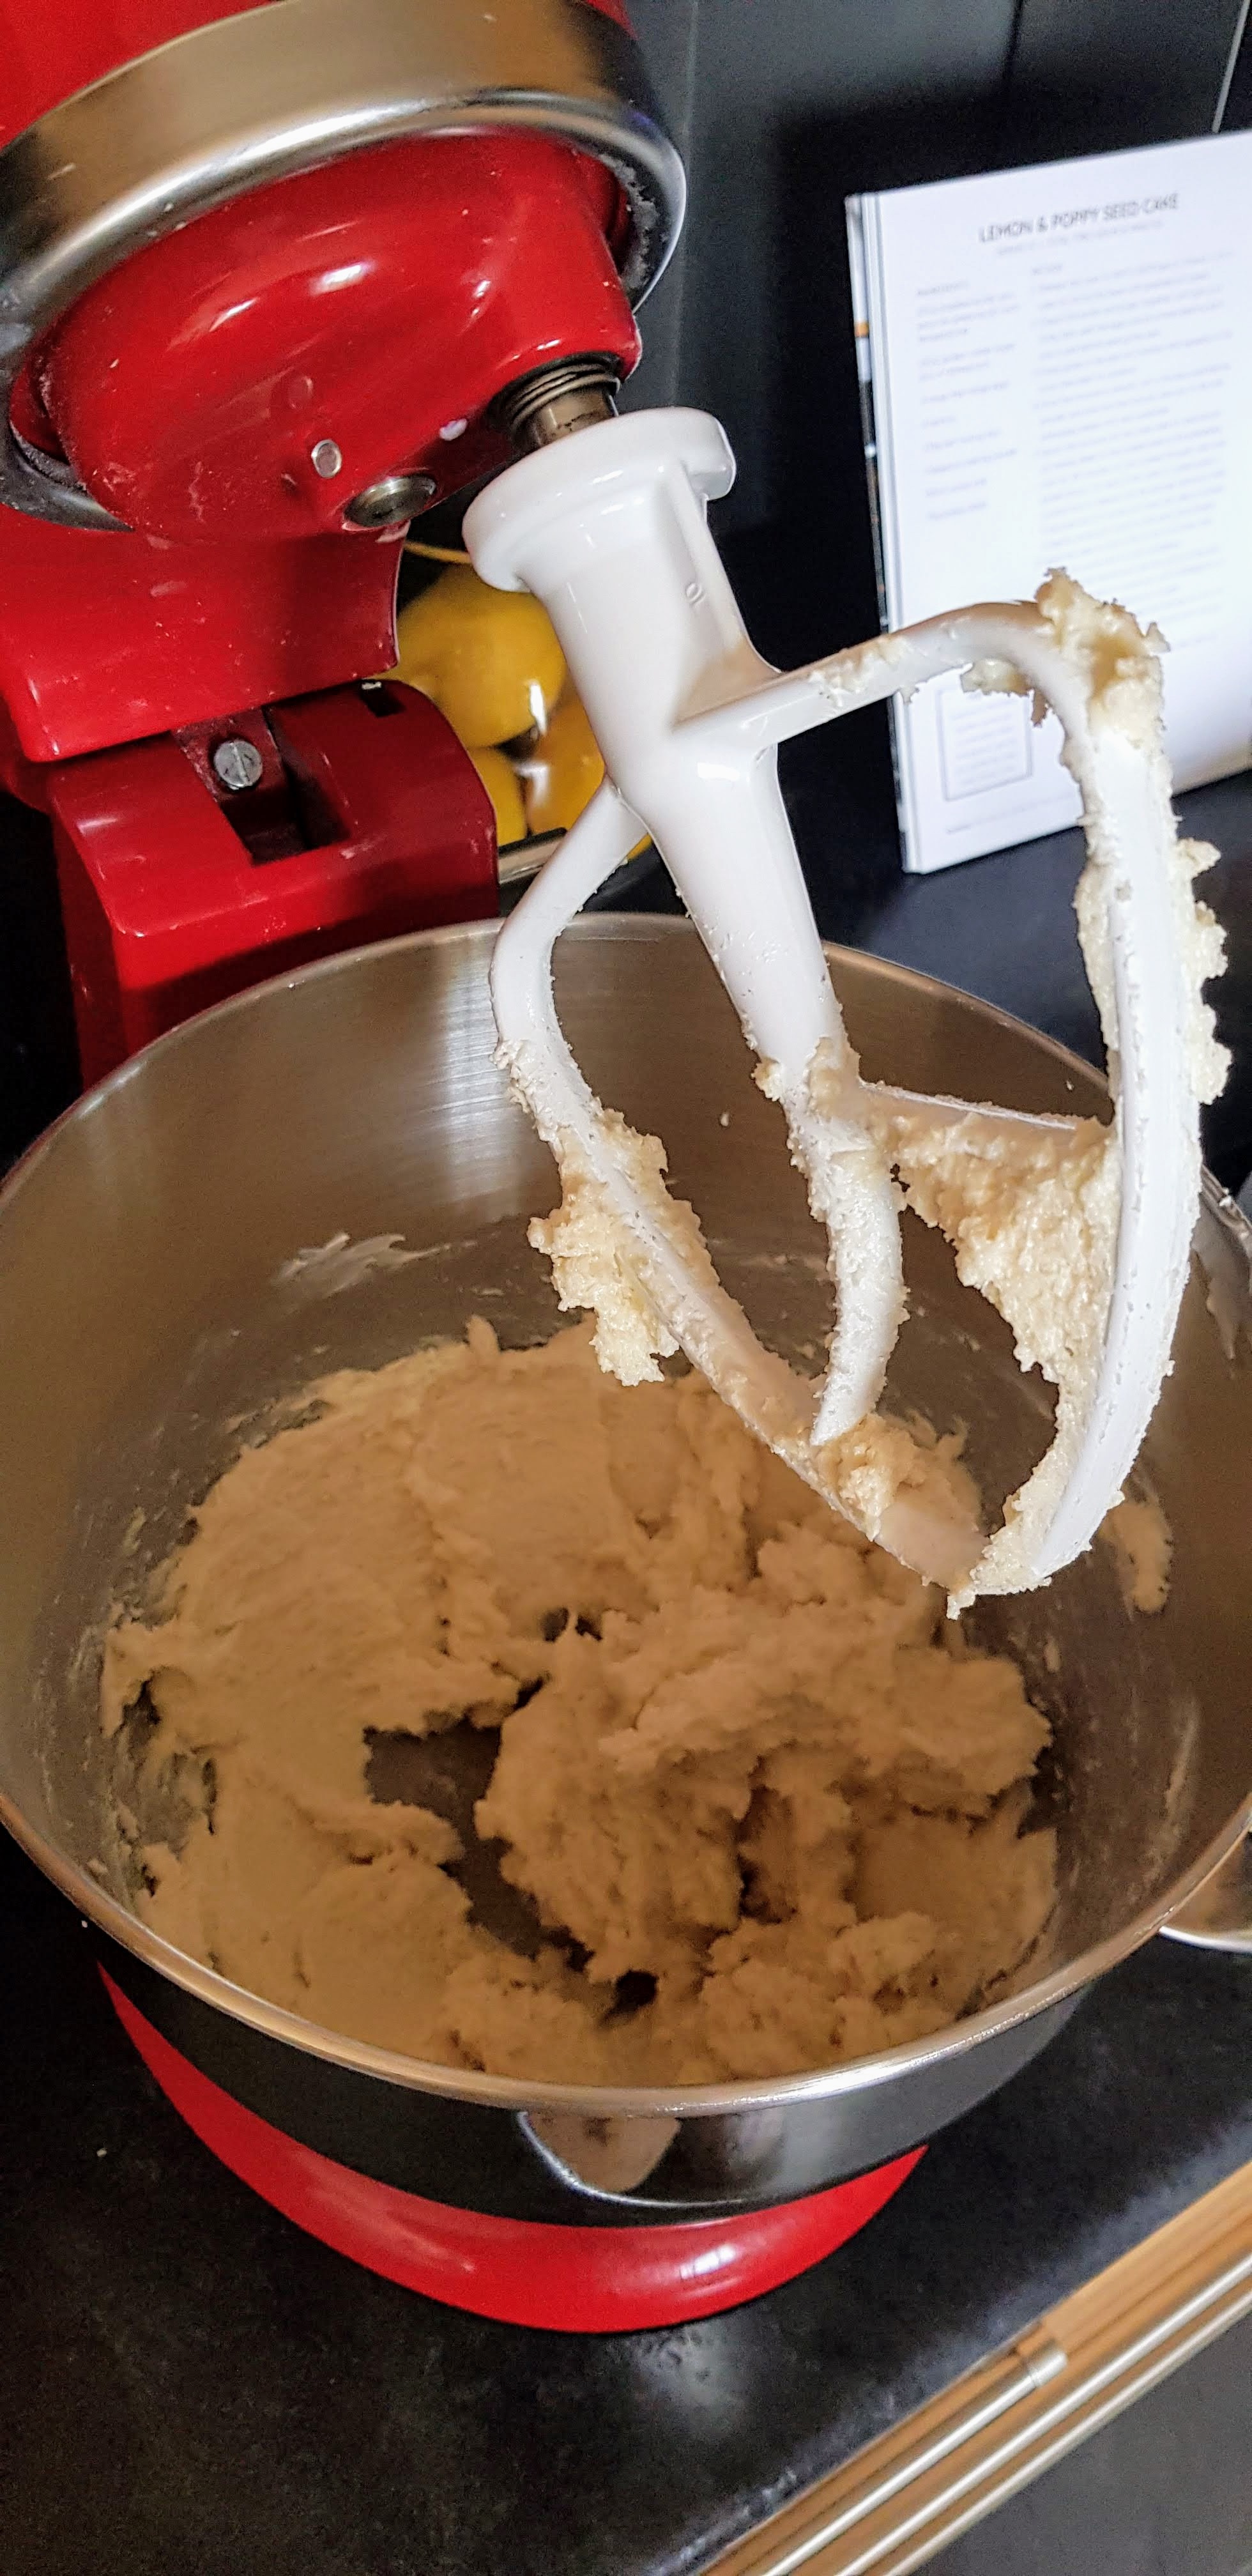


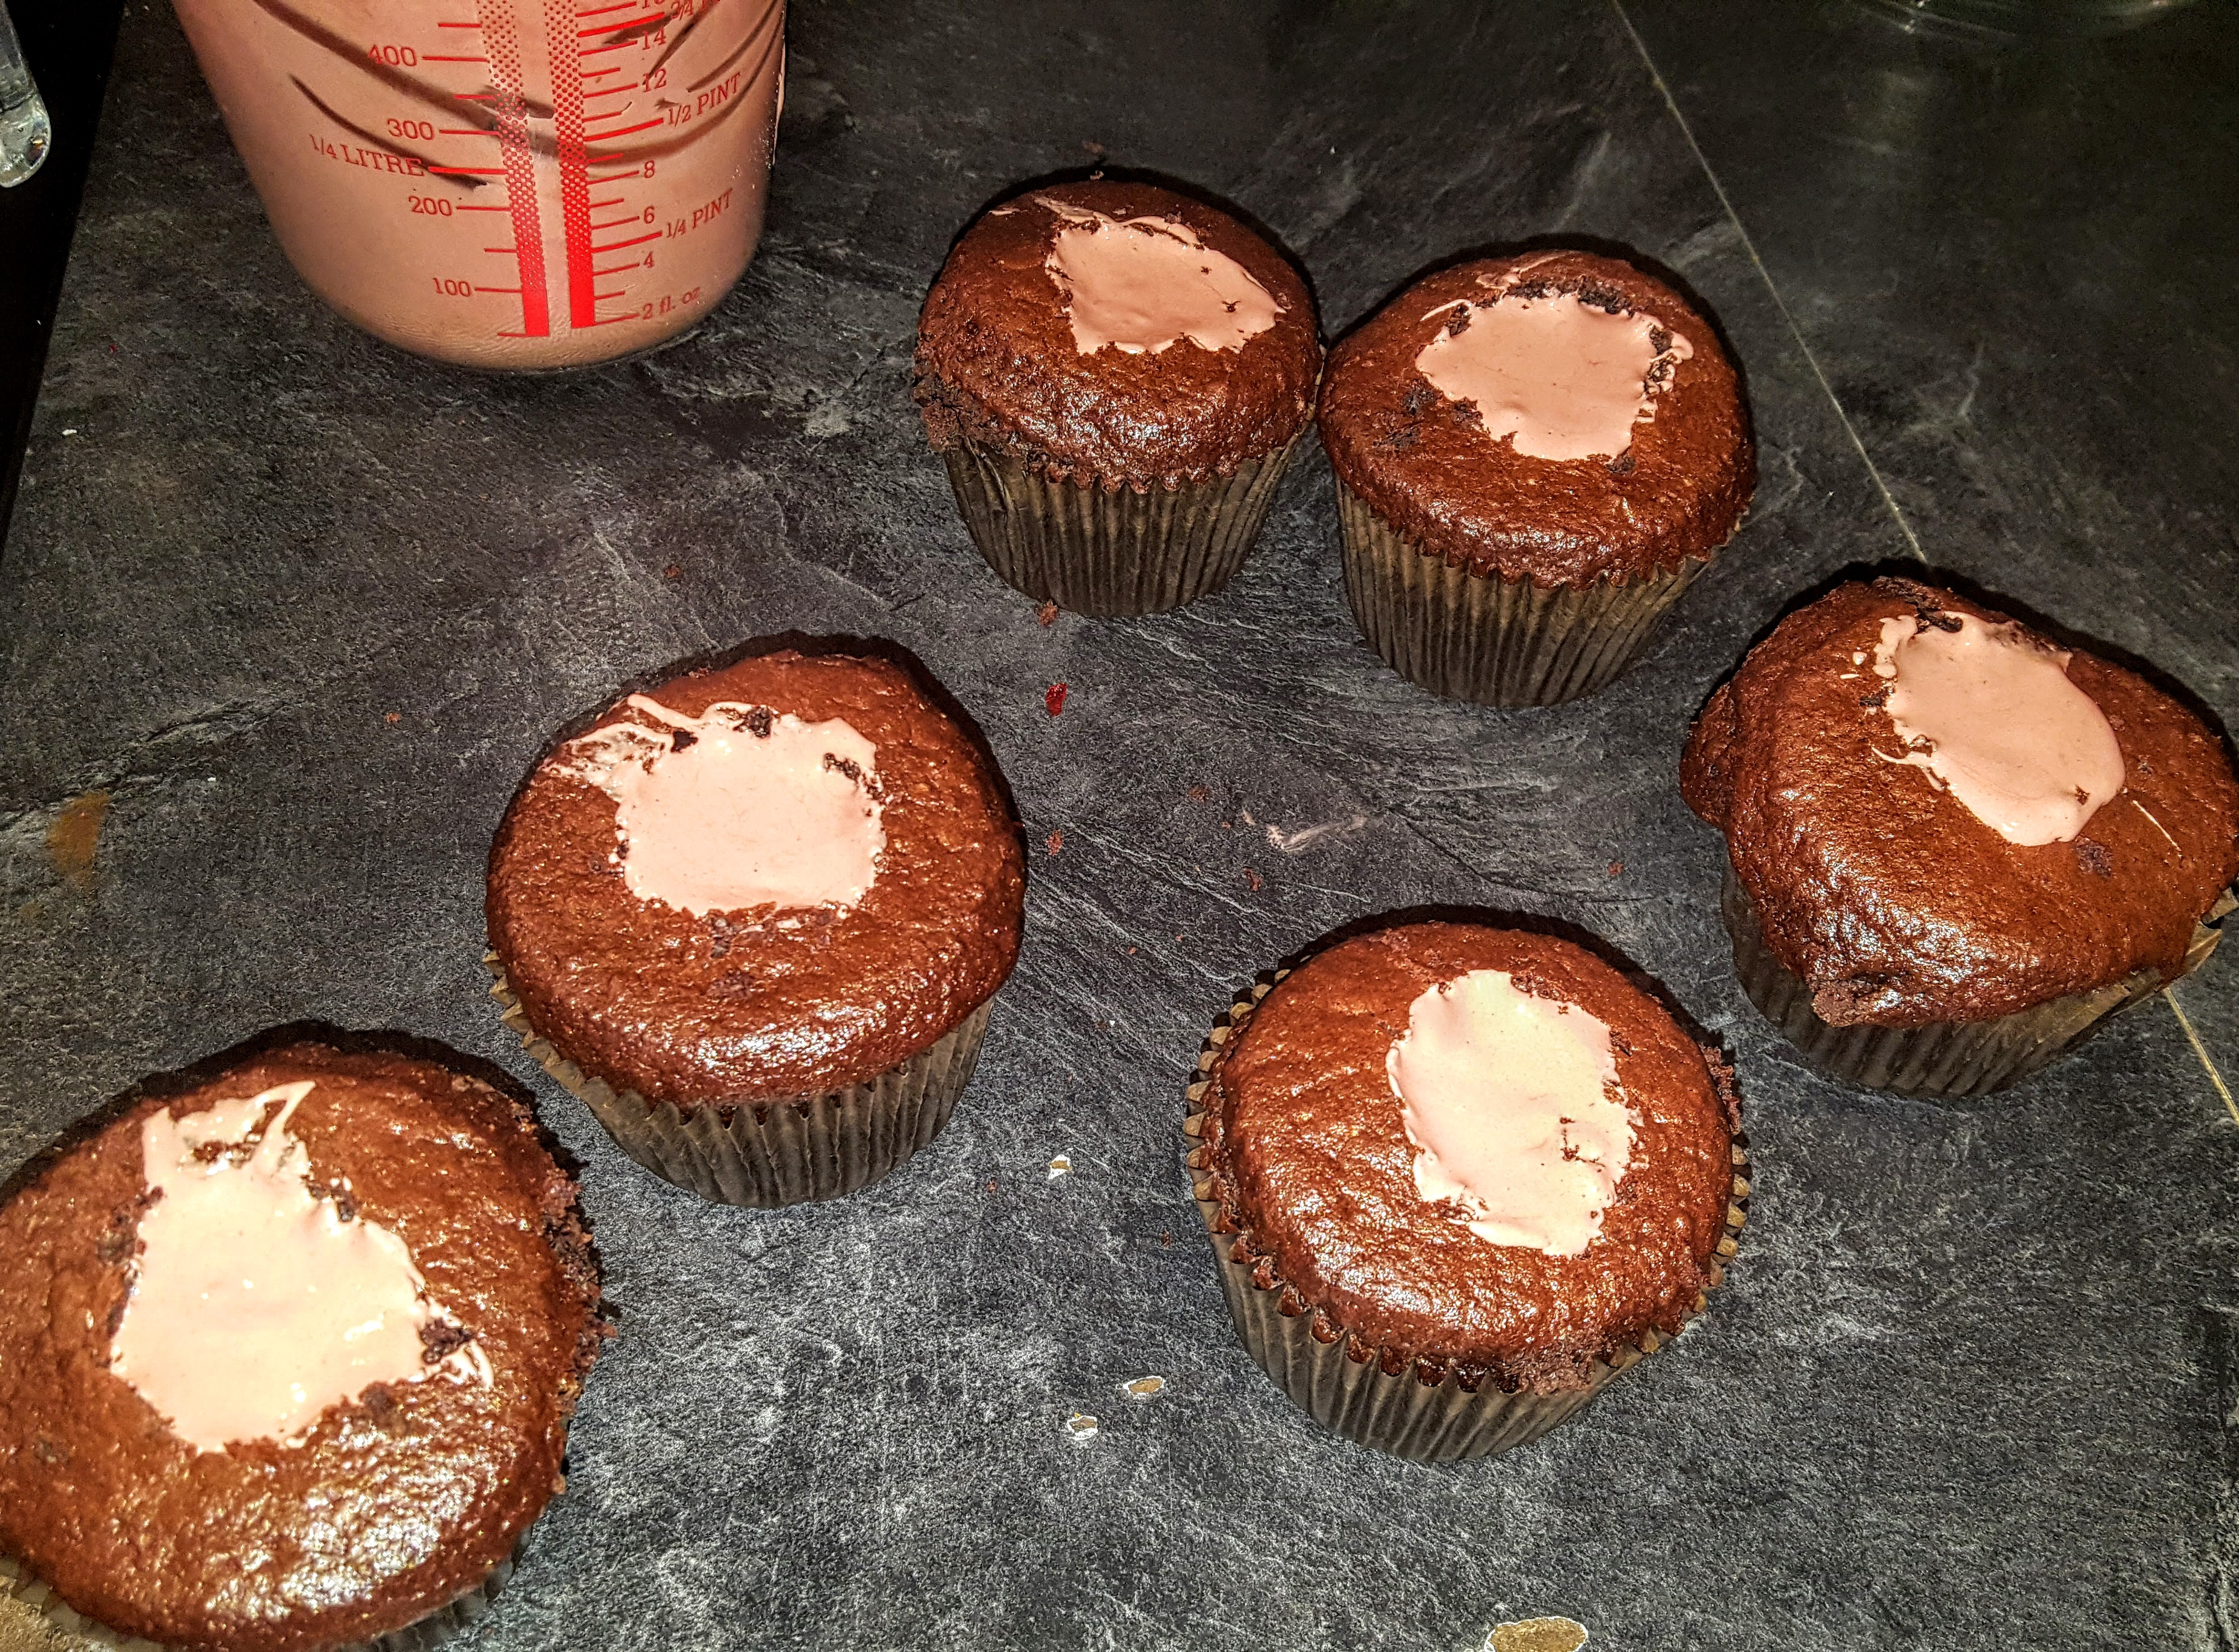


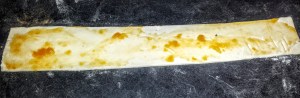
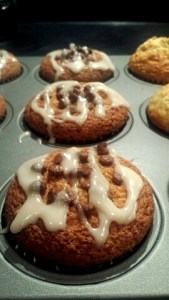
 wrong batch
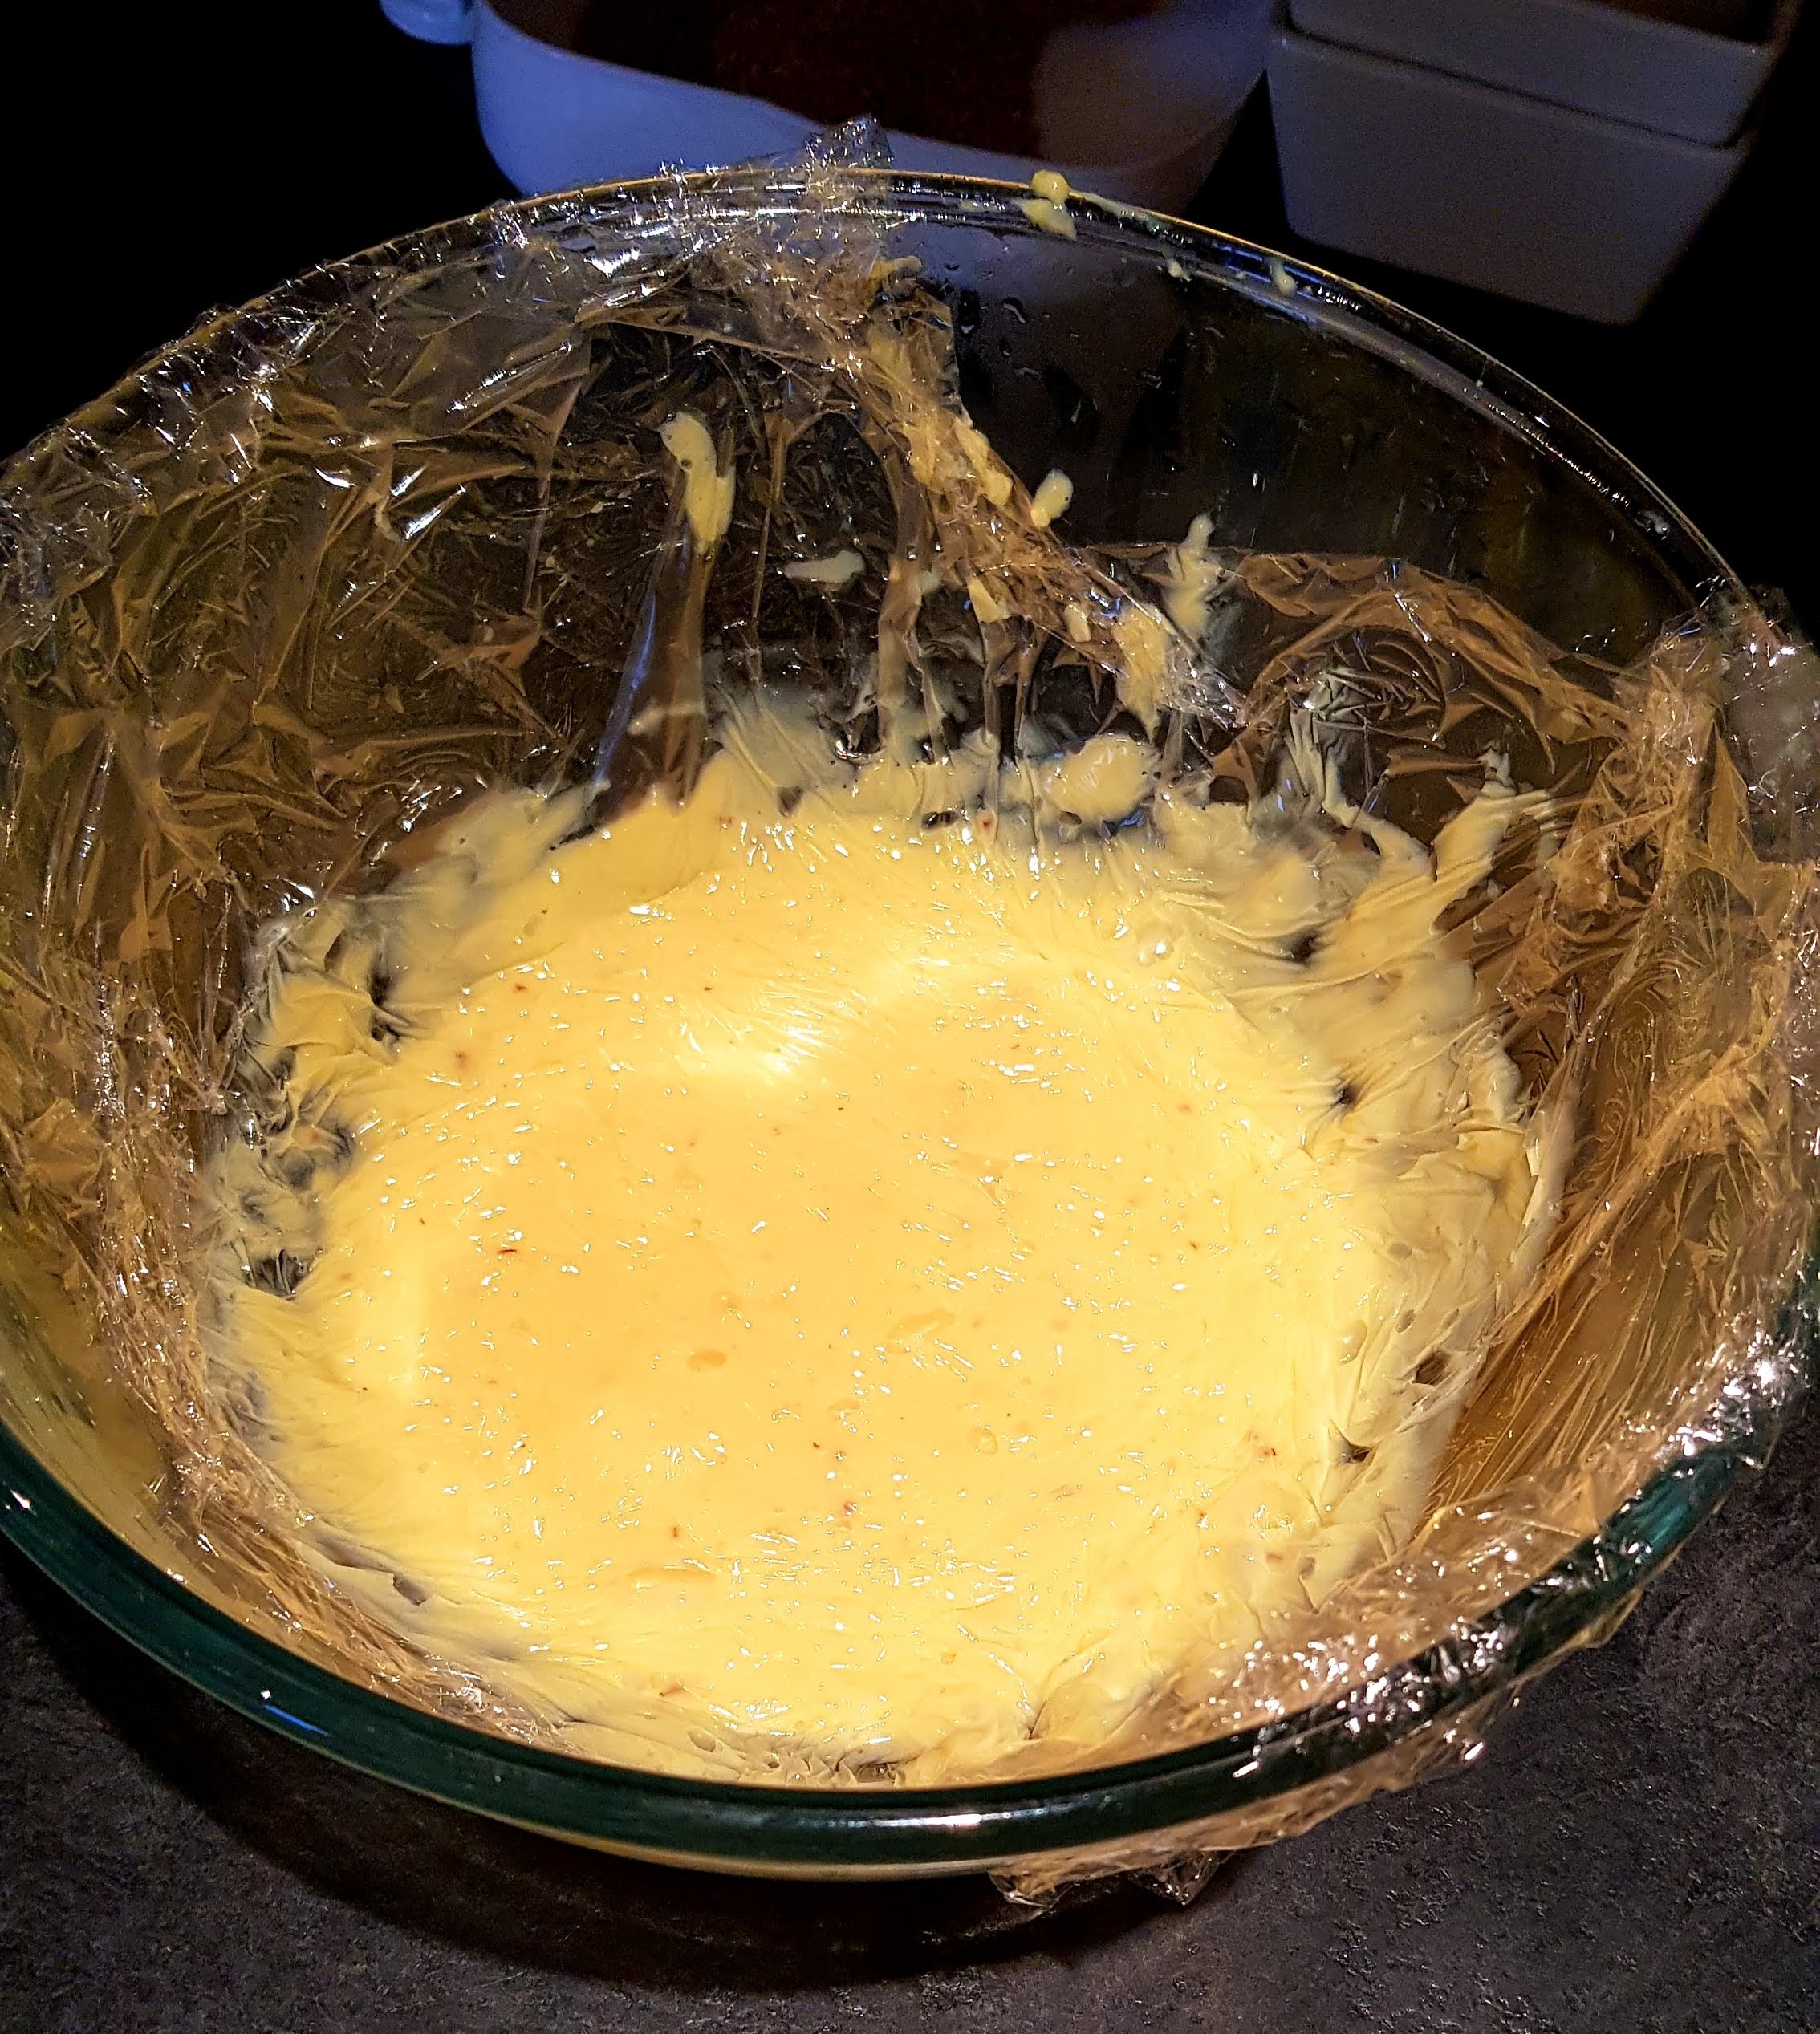
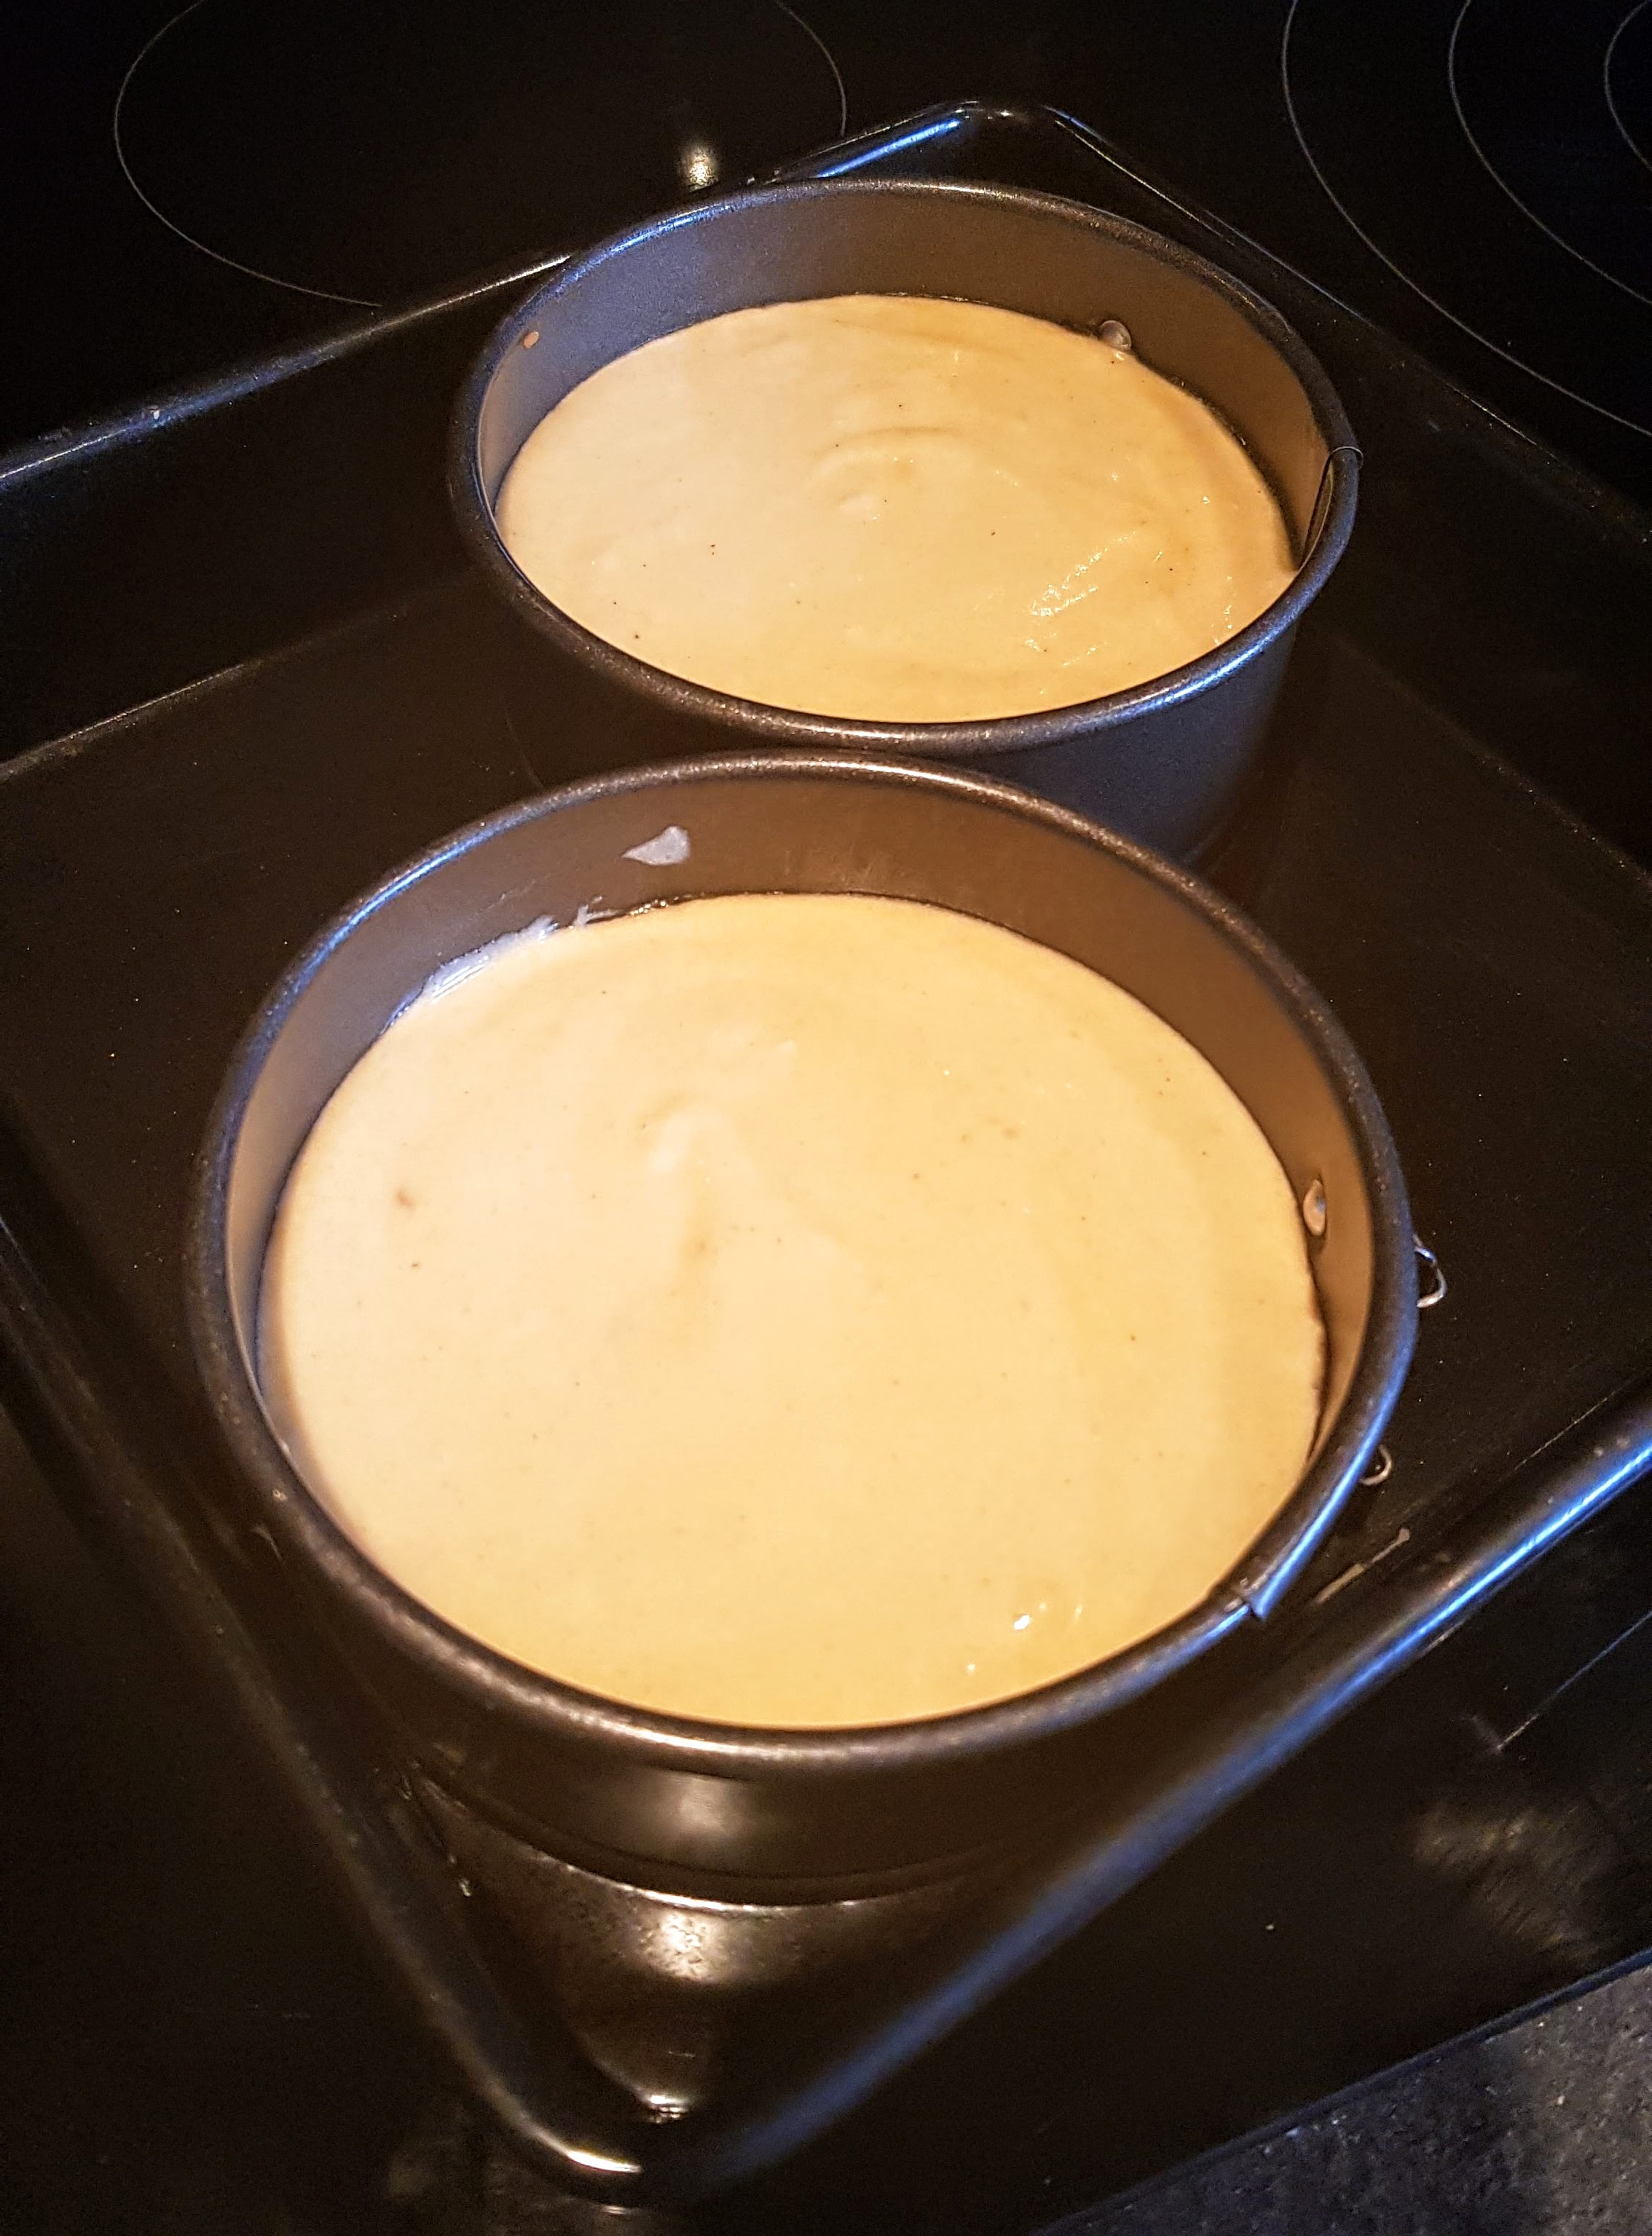
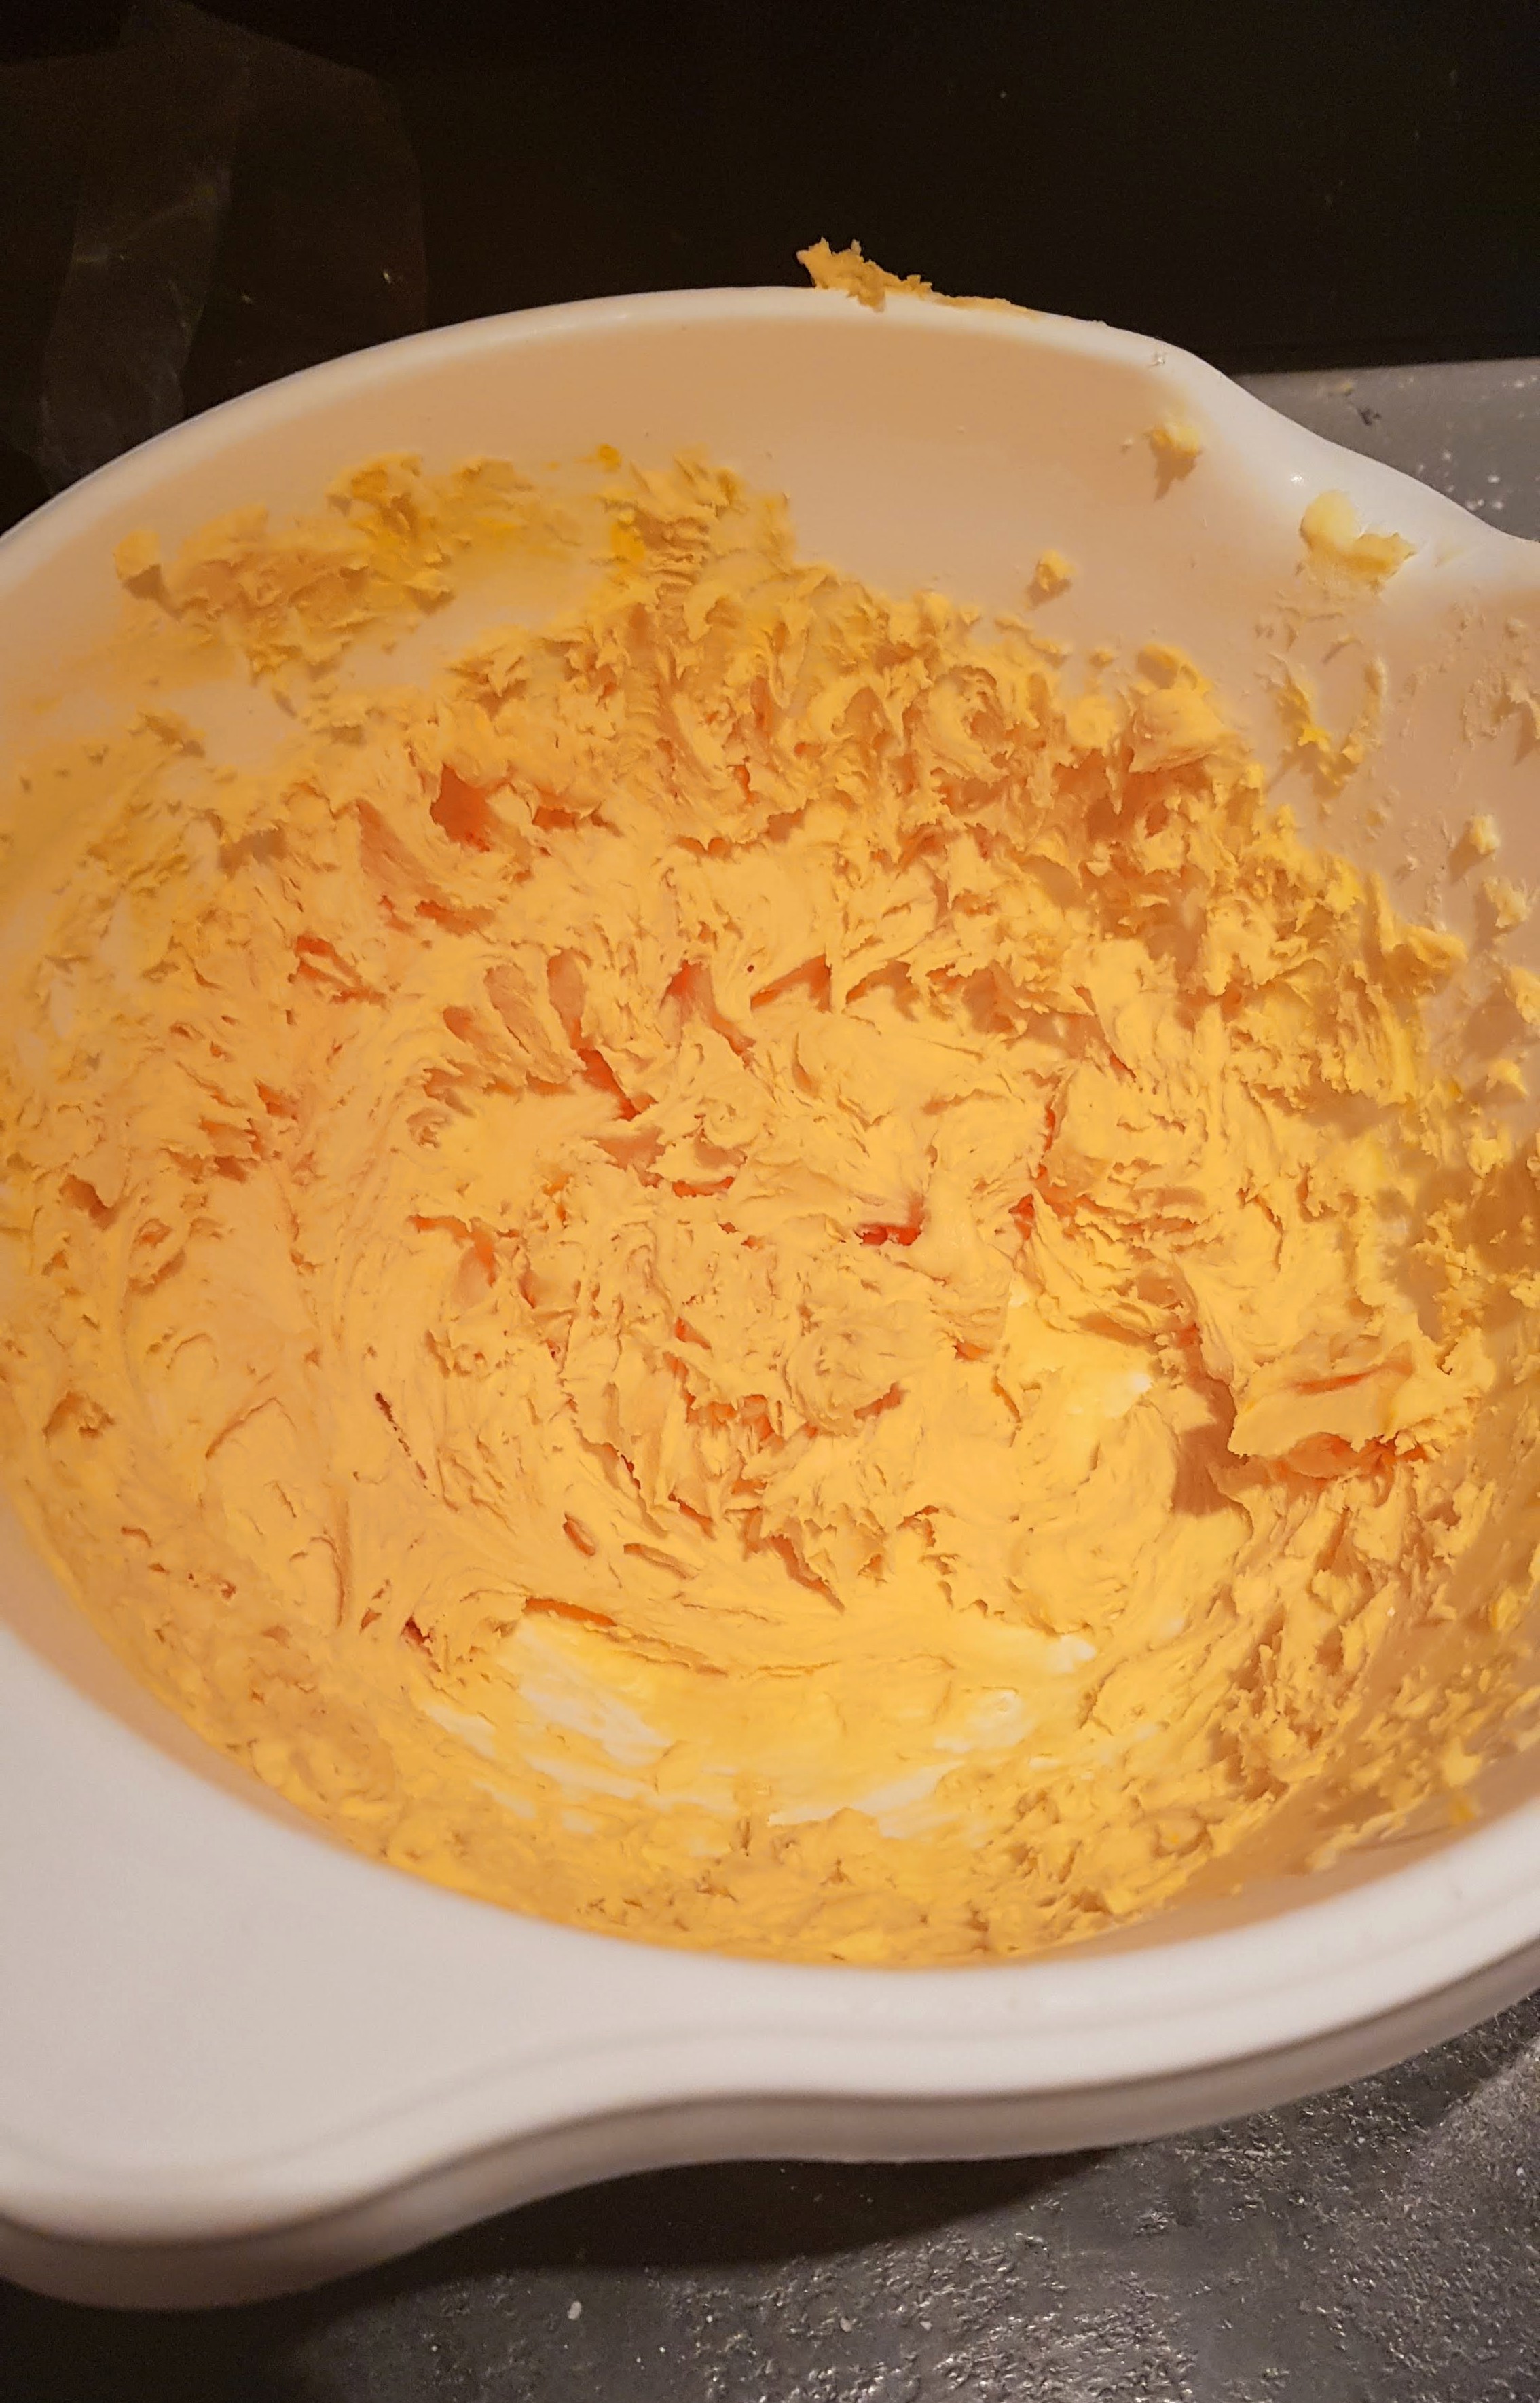
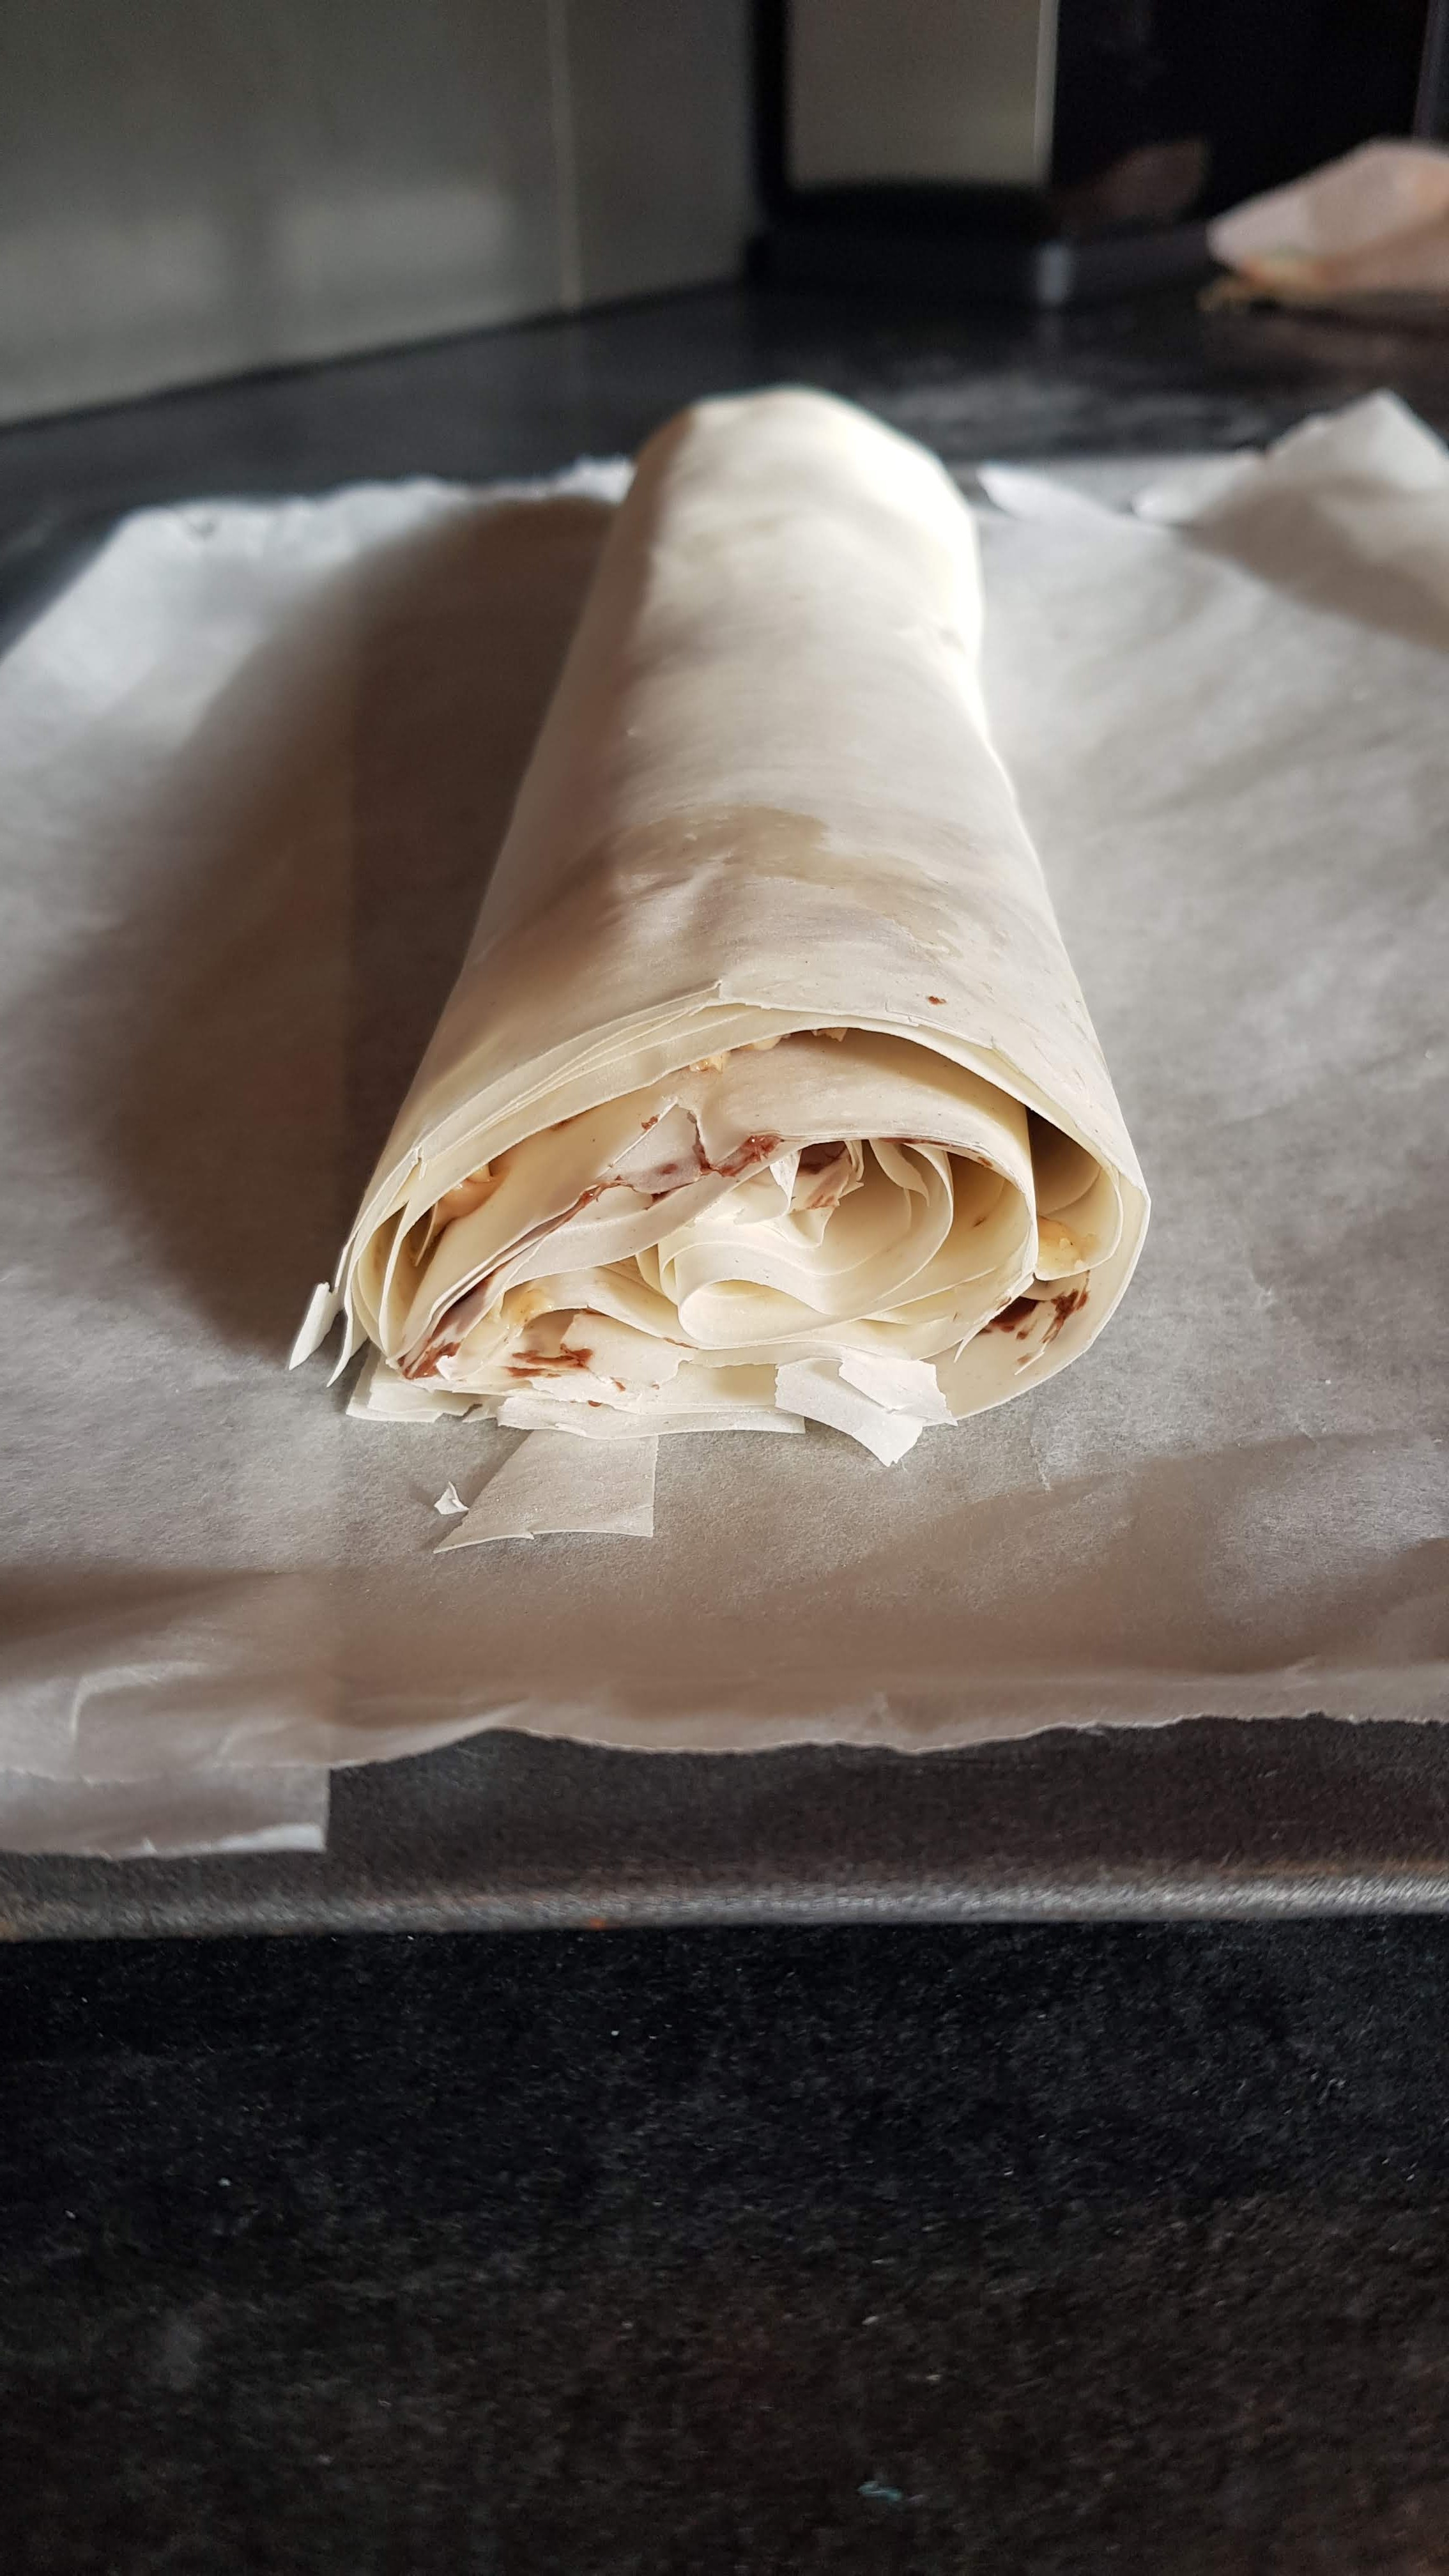
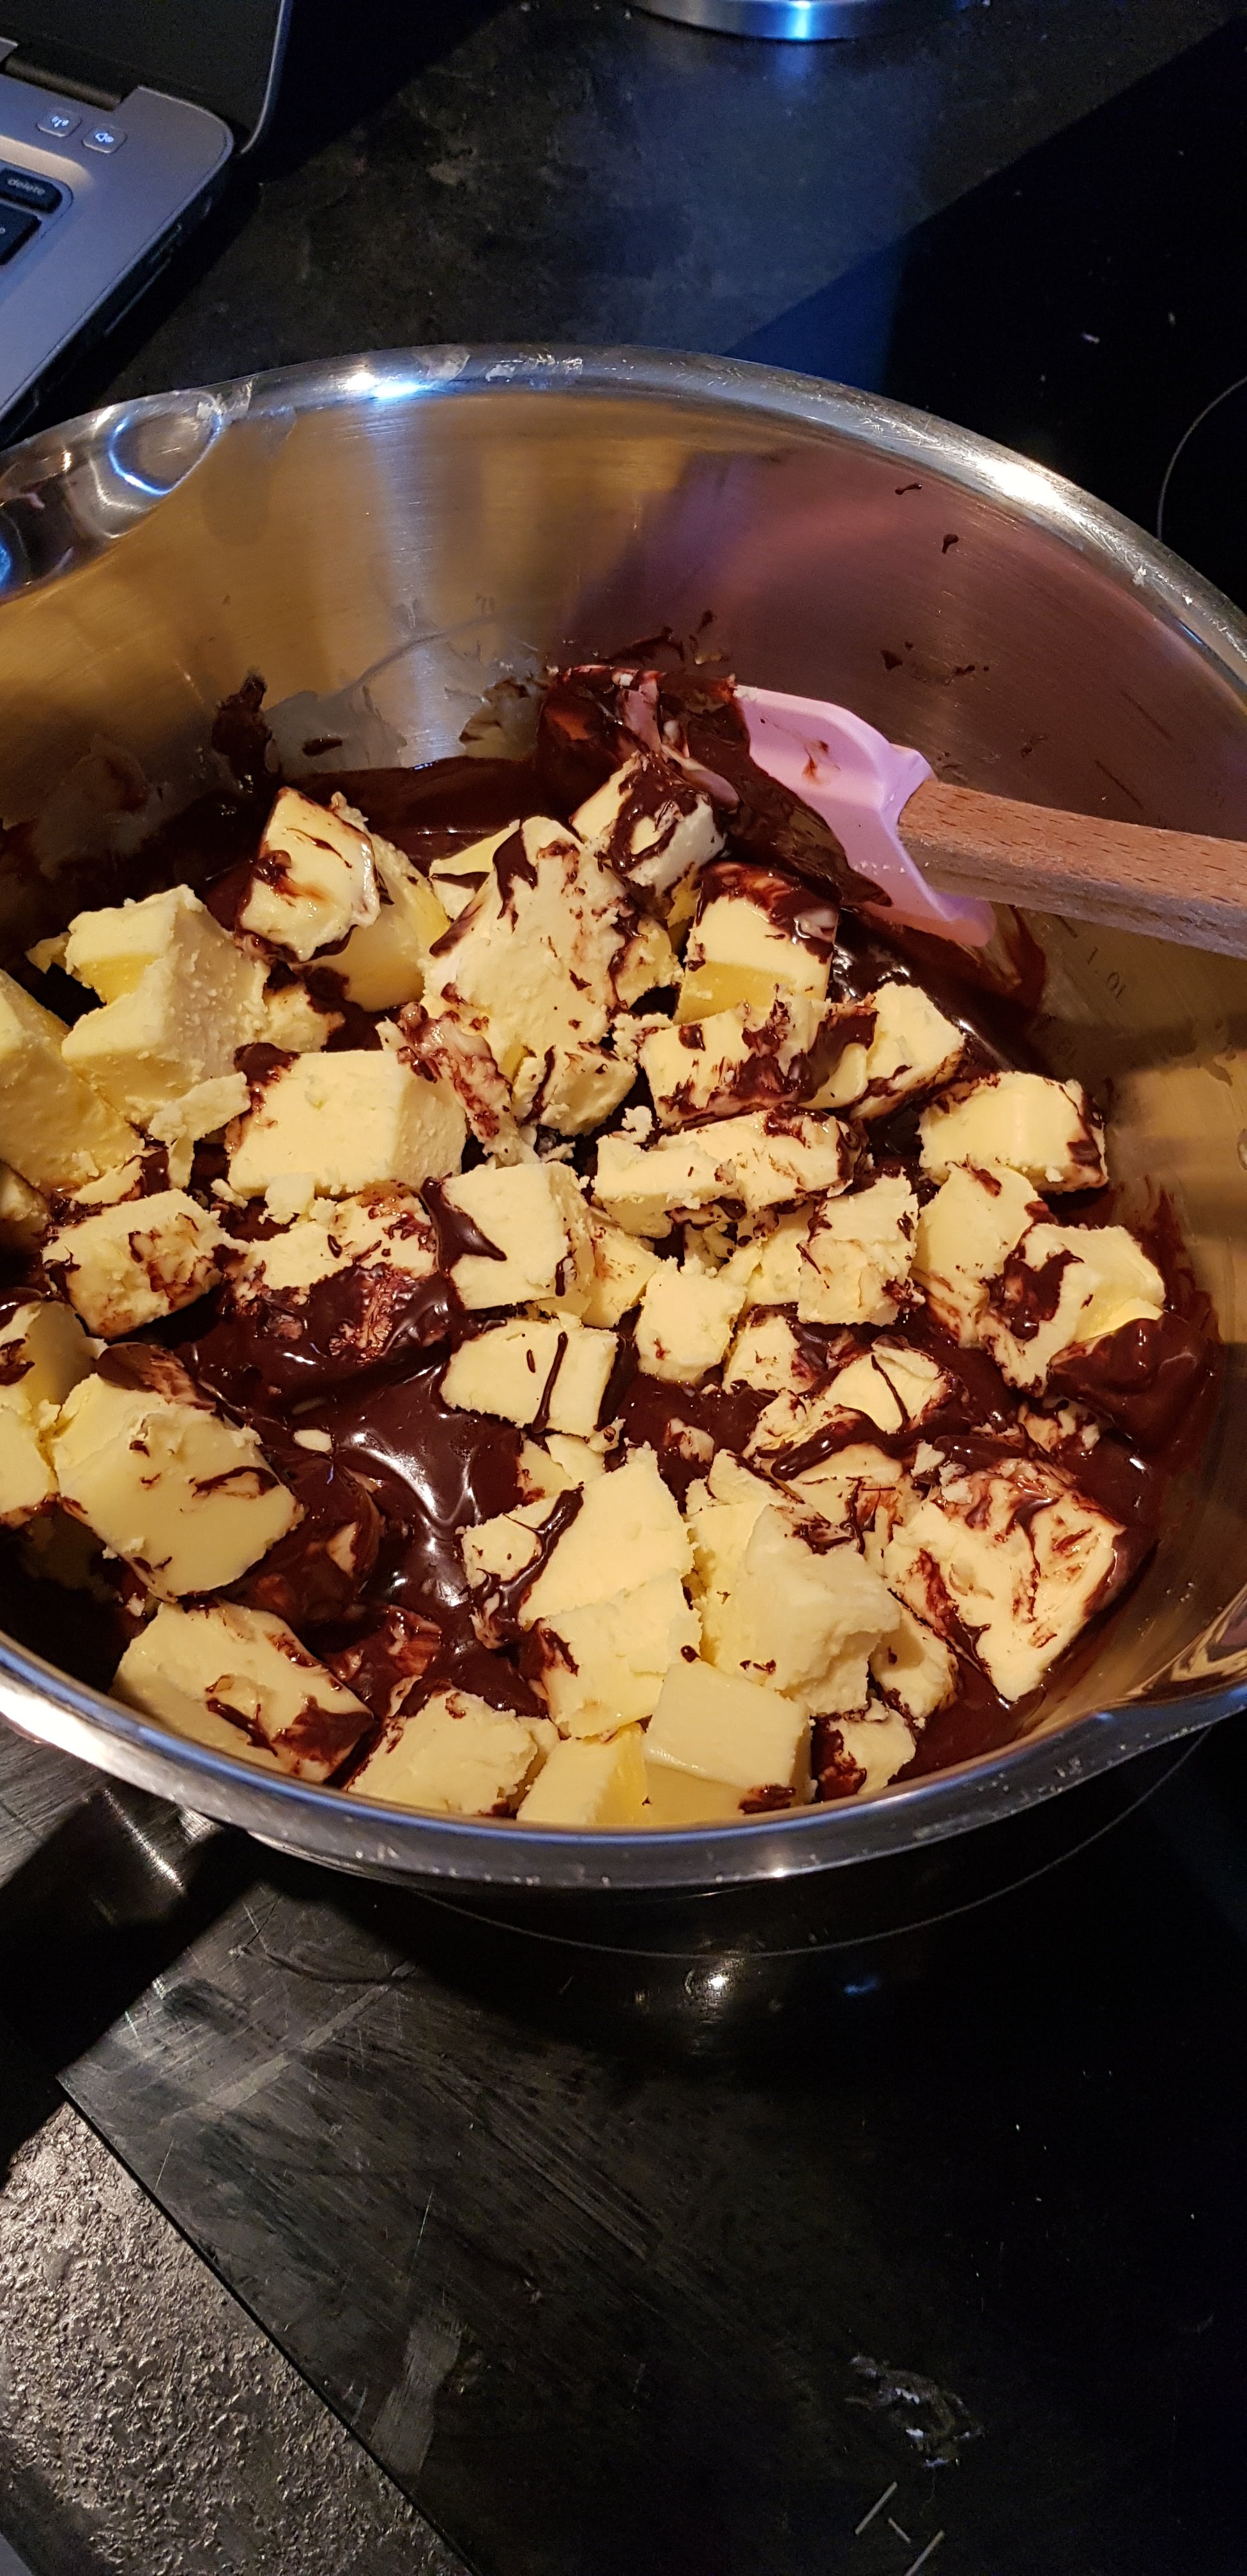
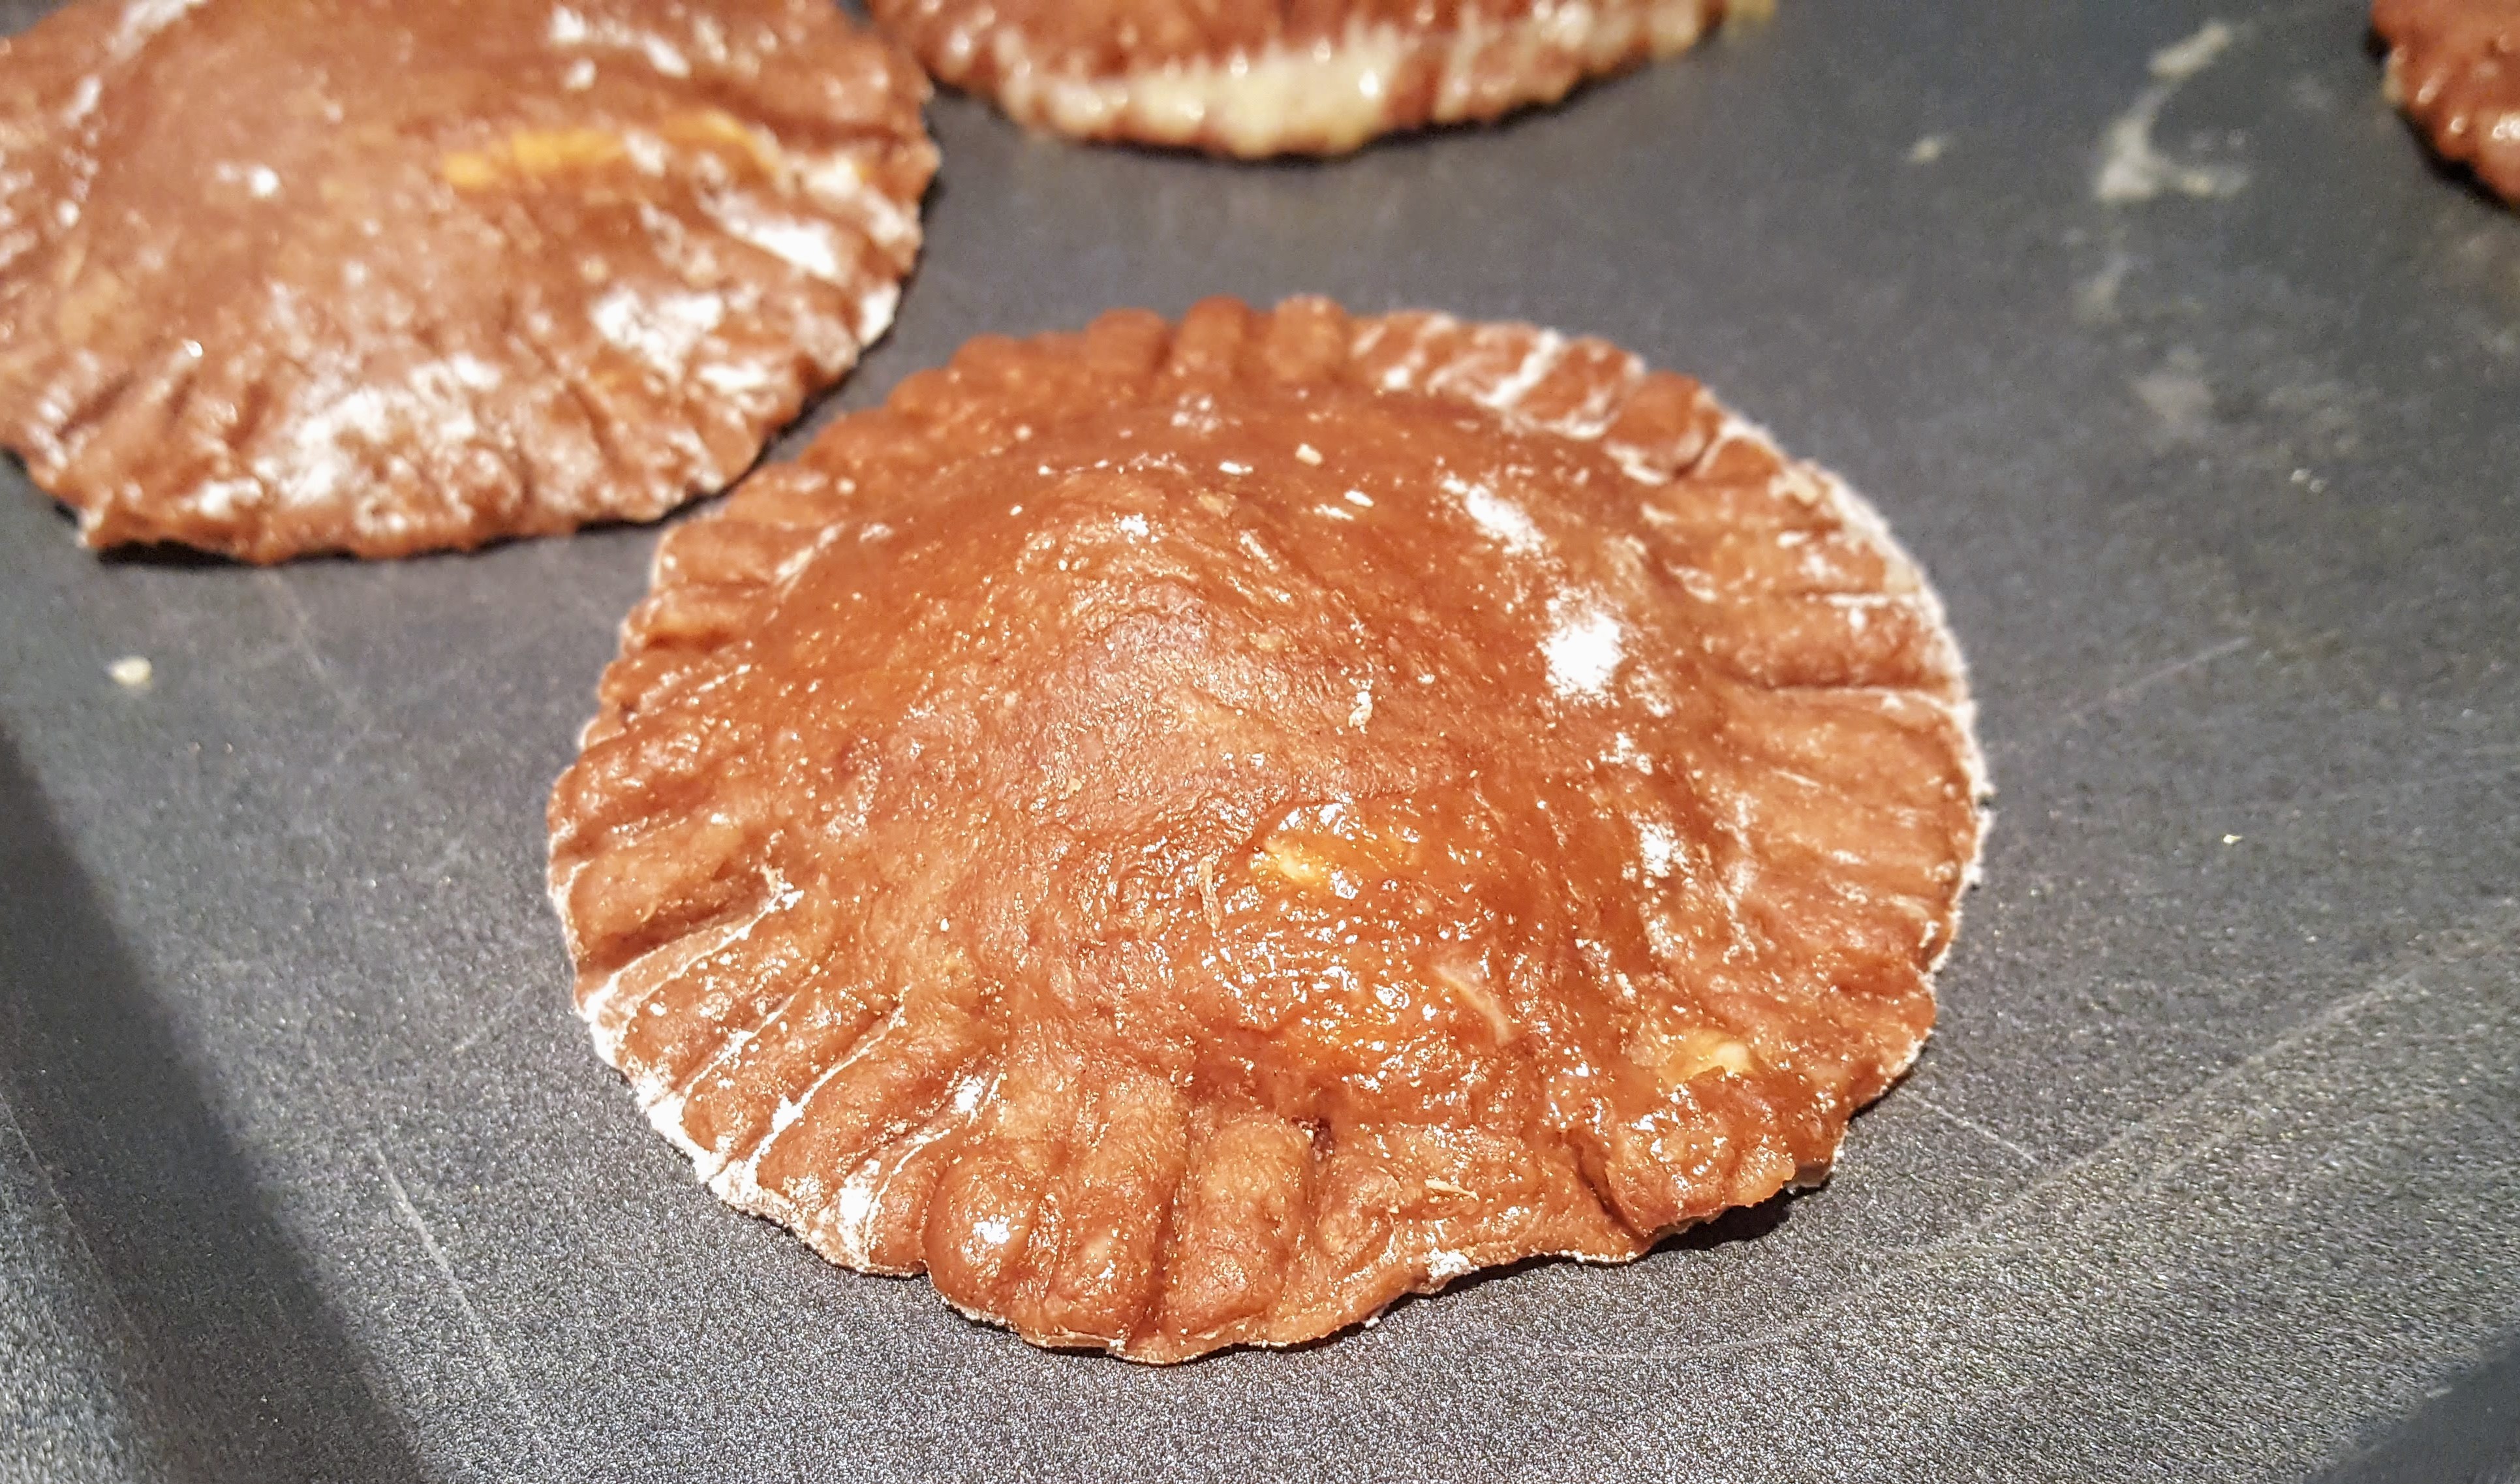
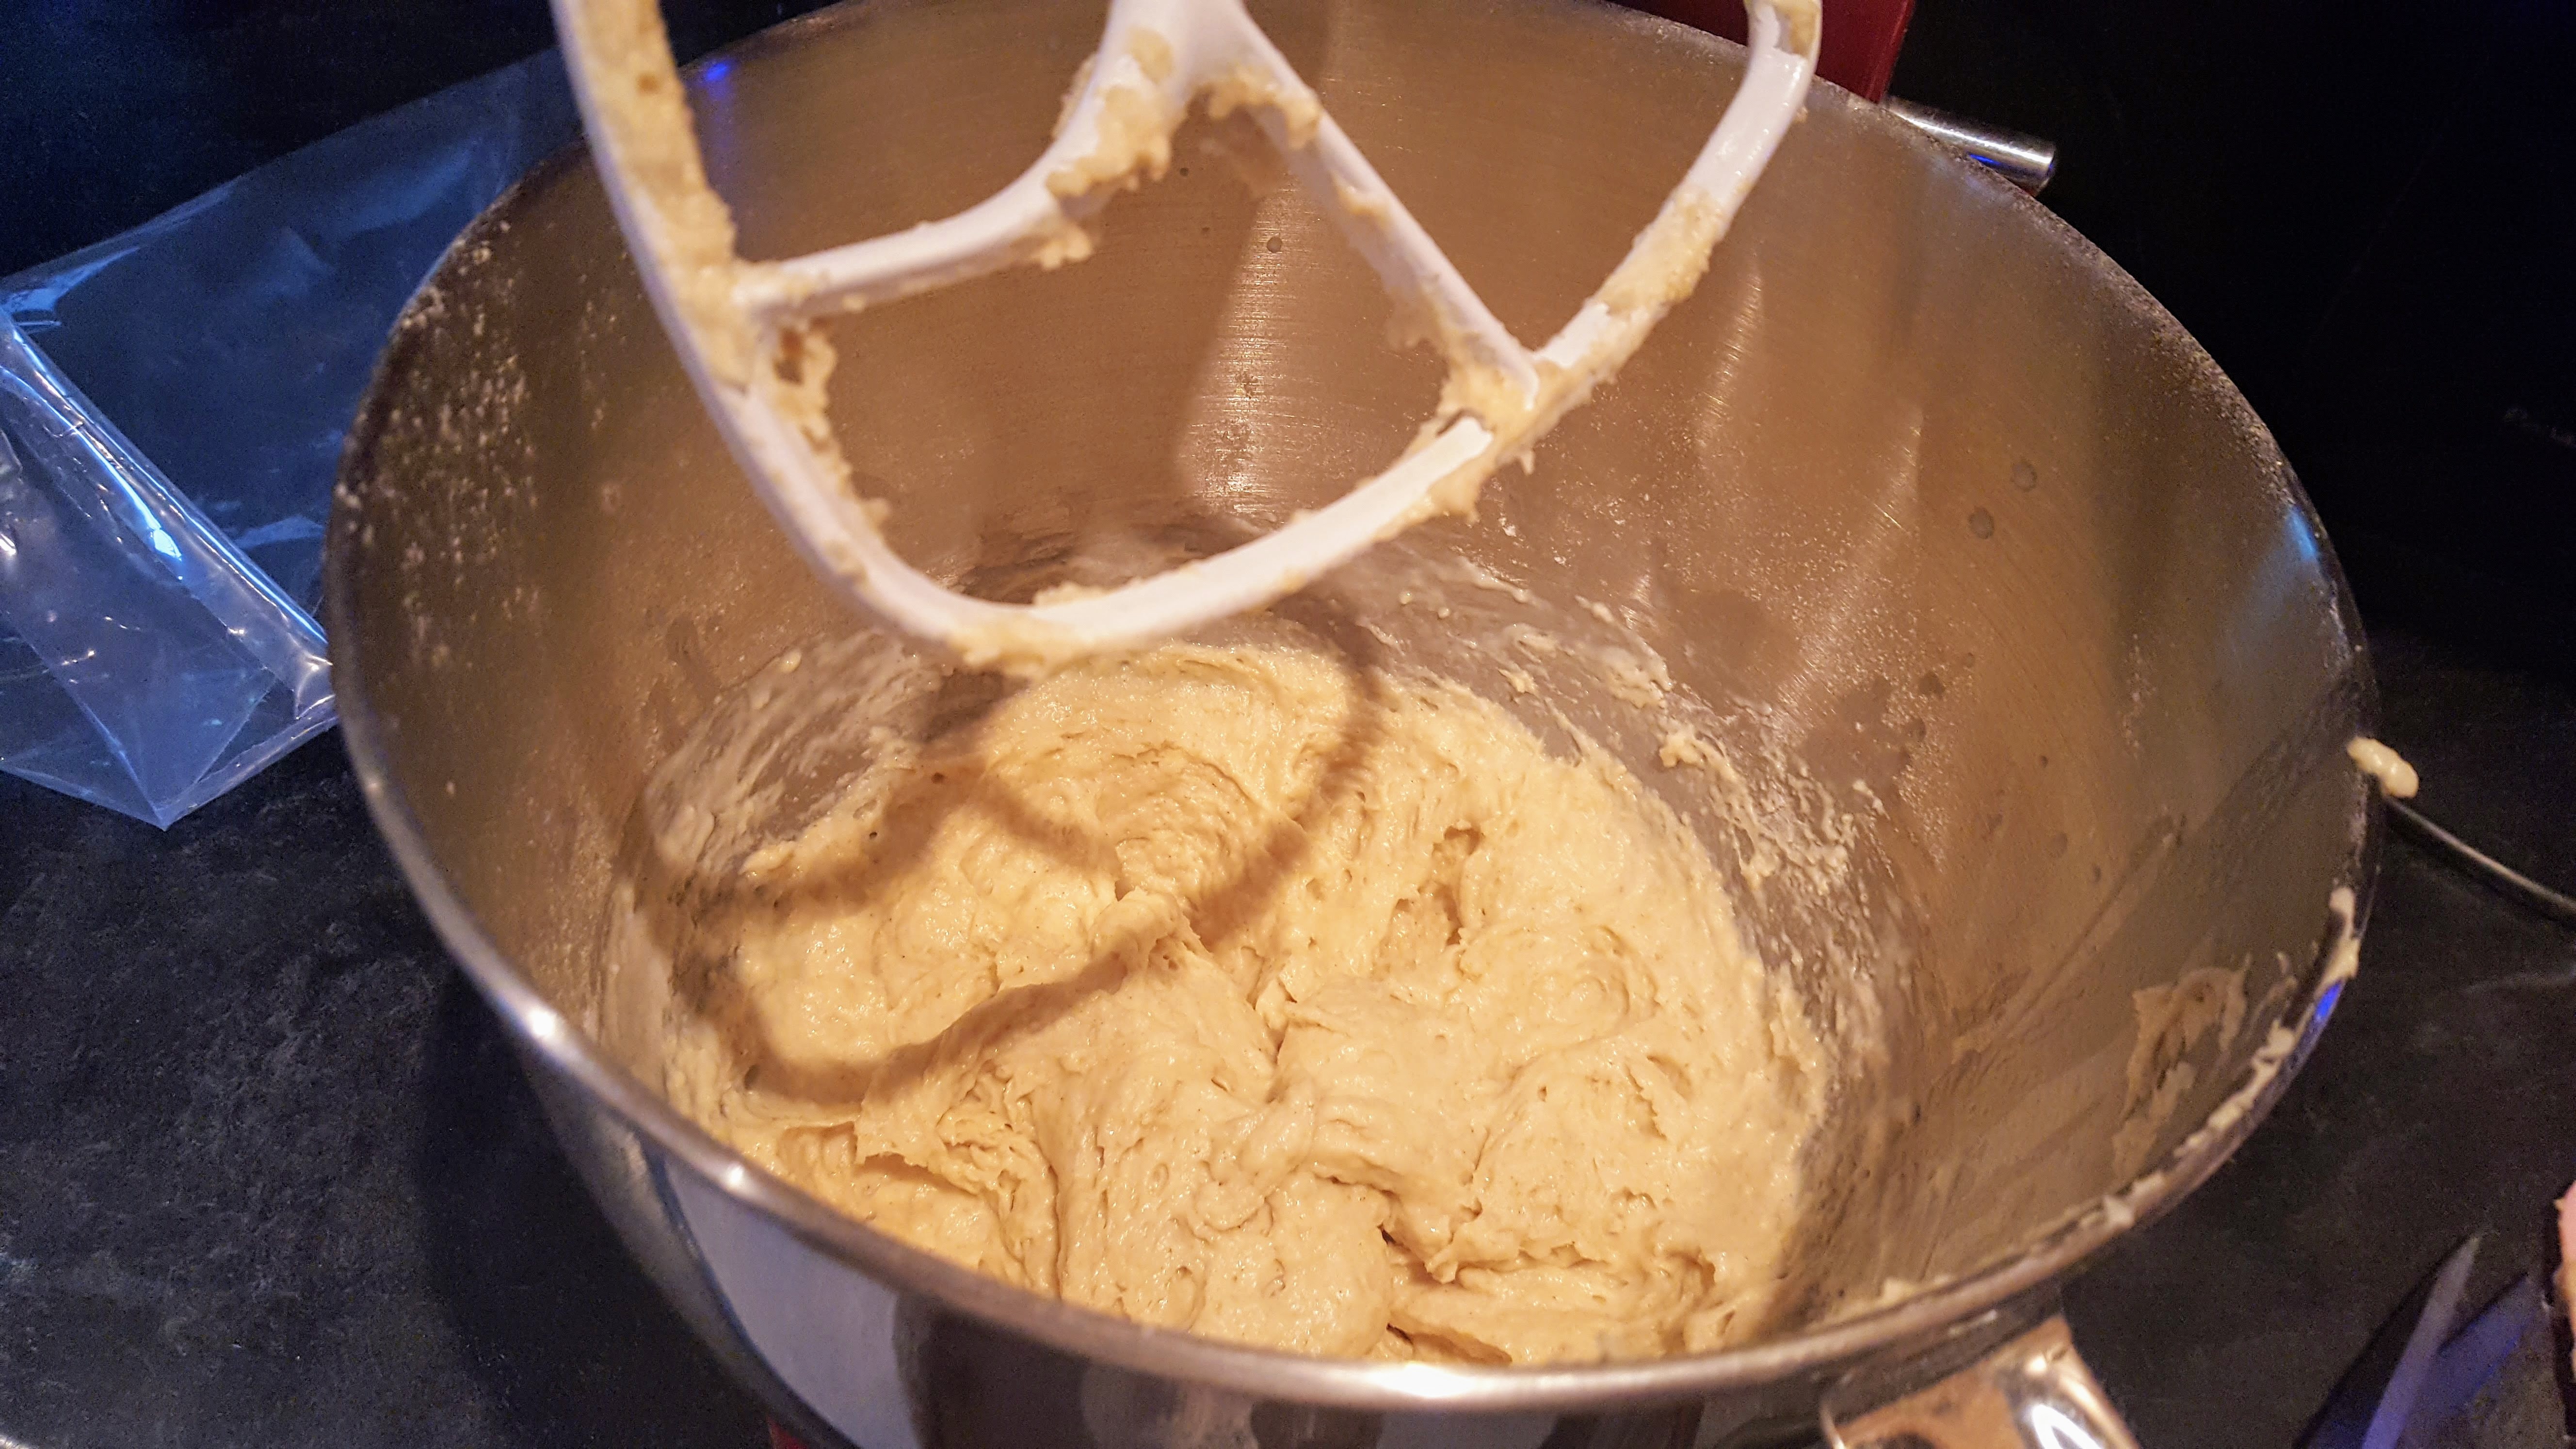
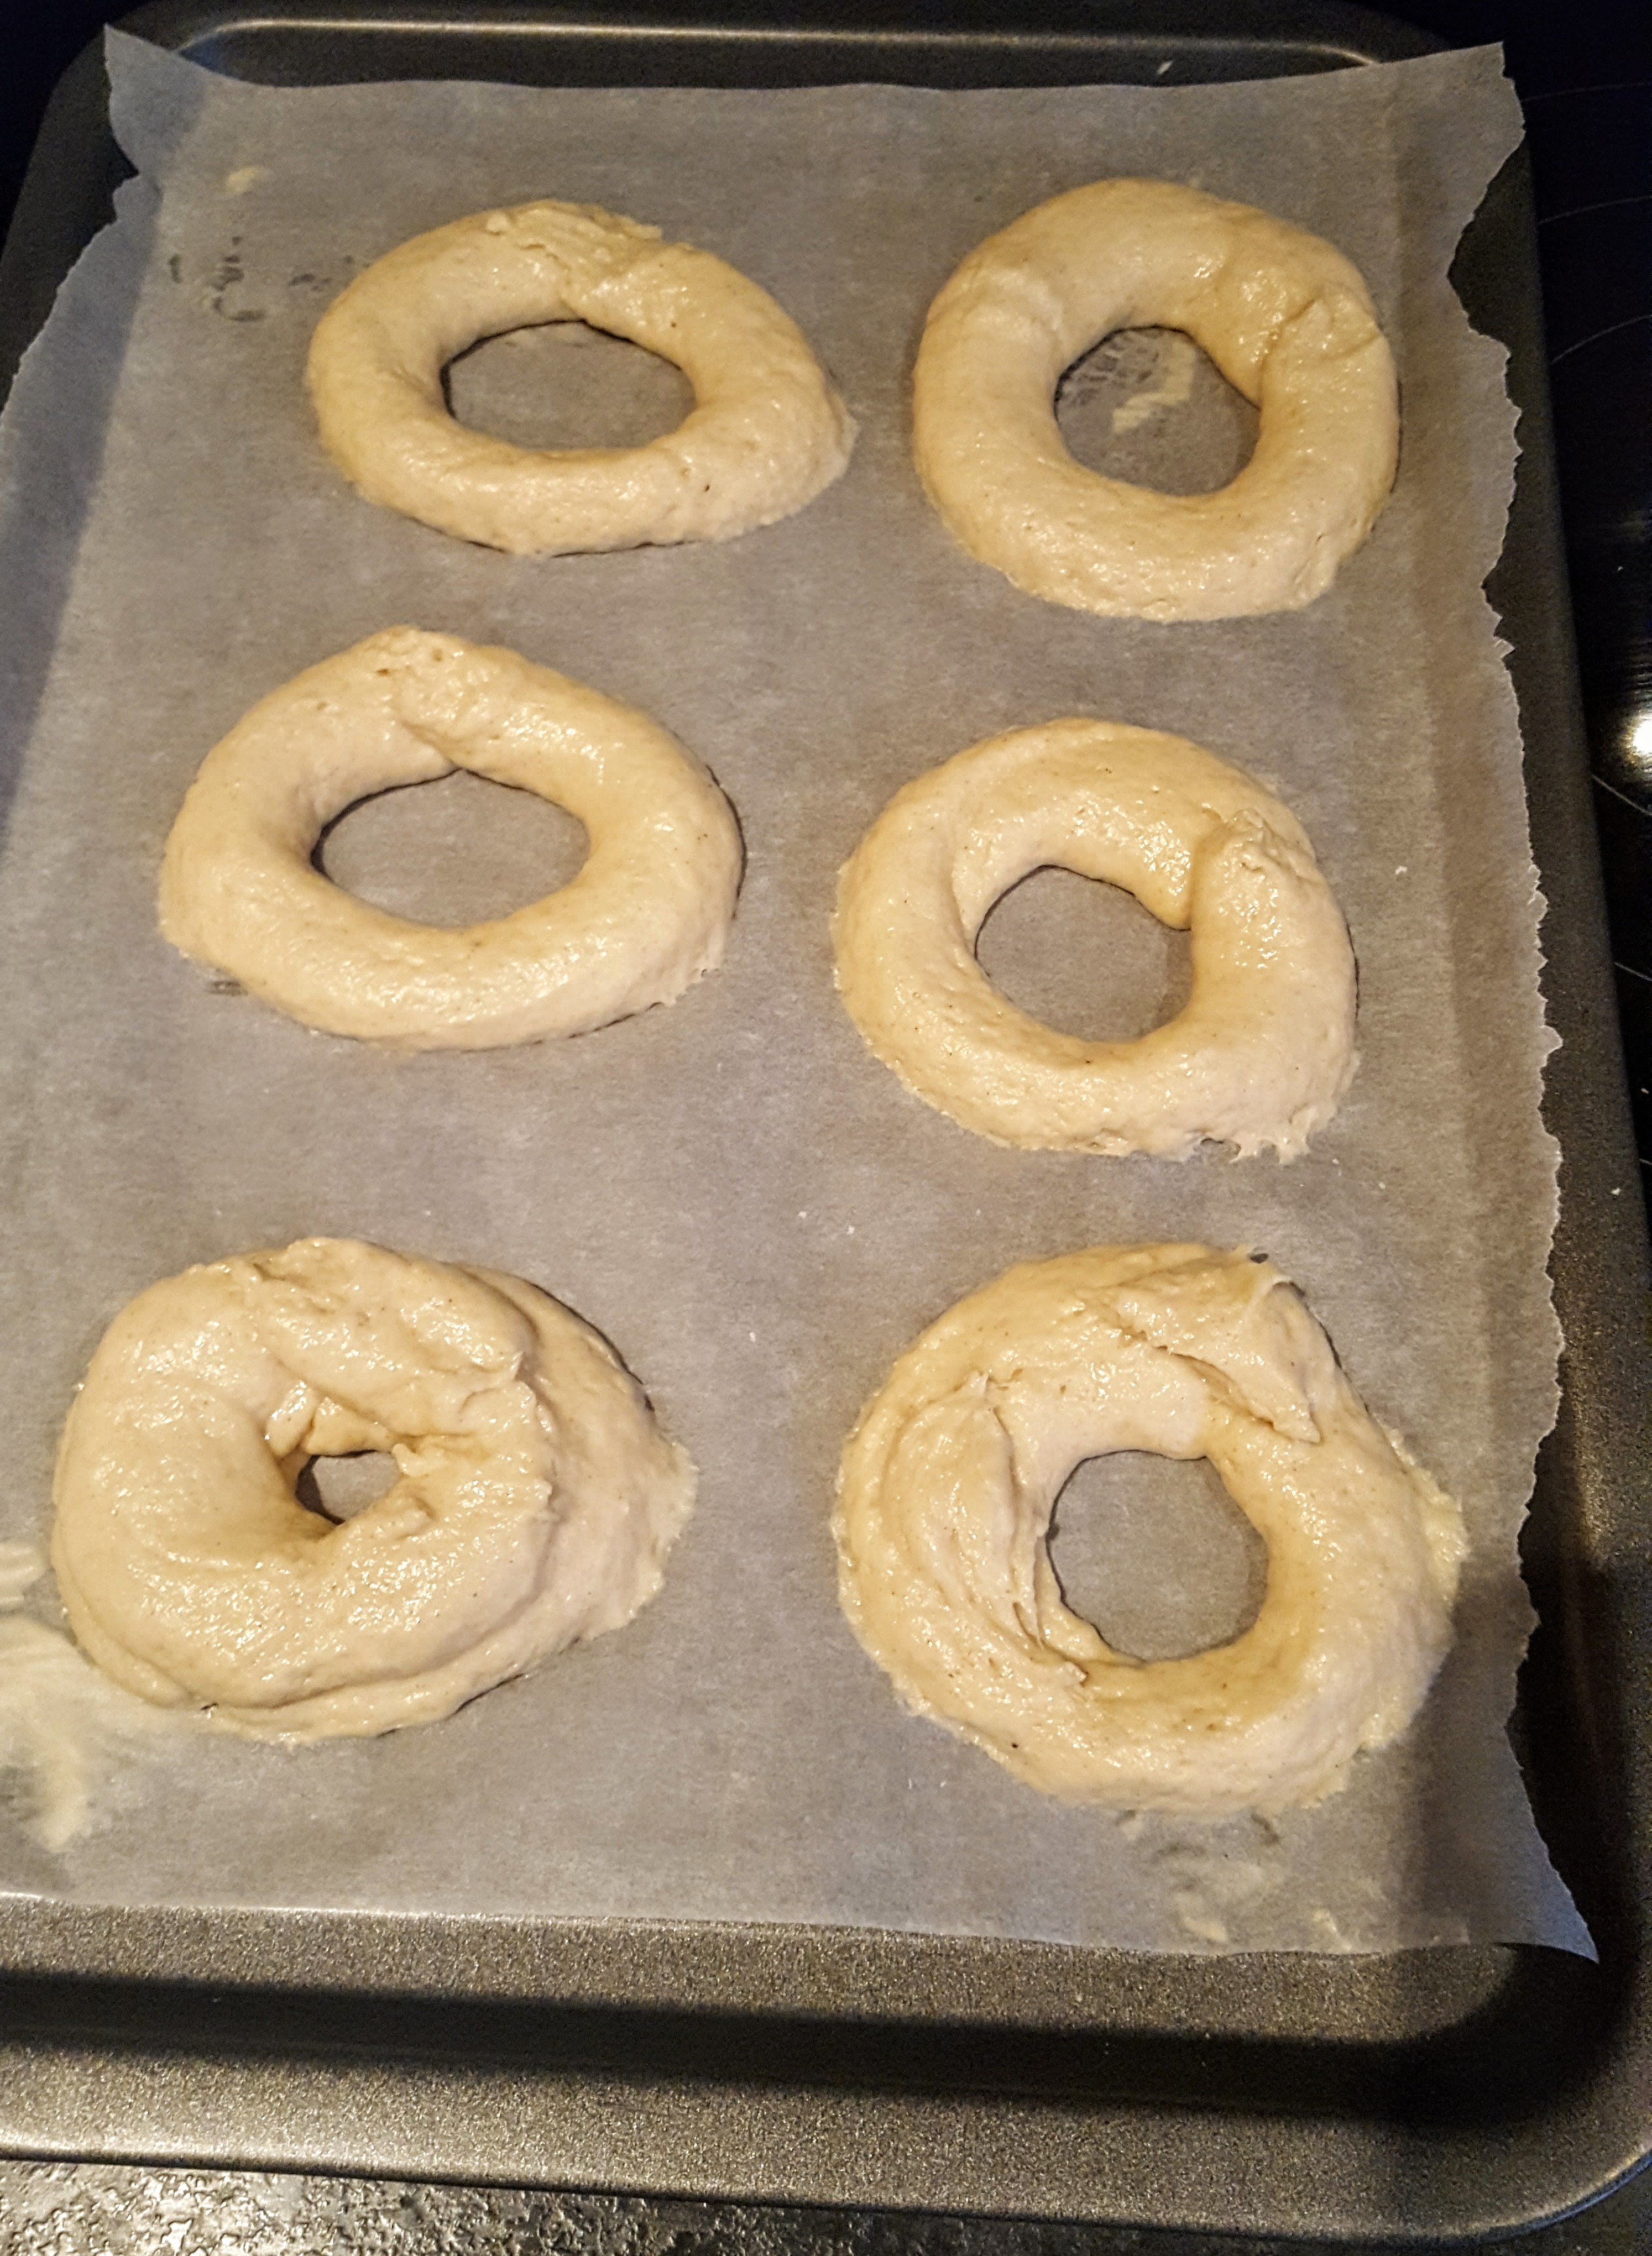
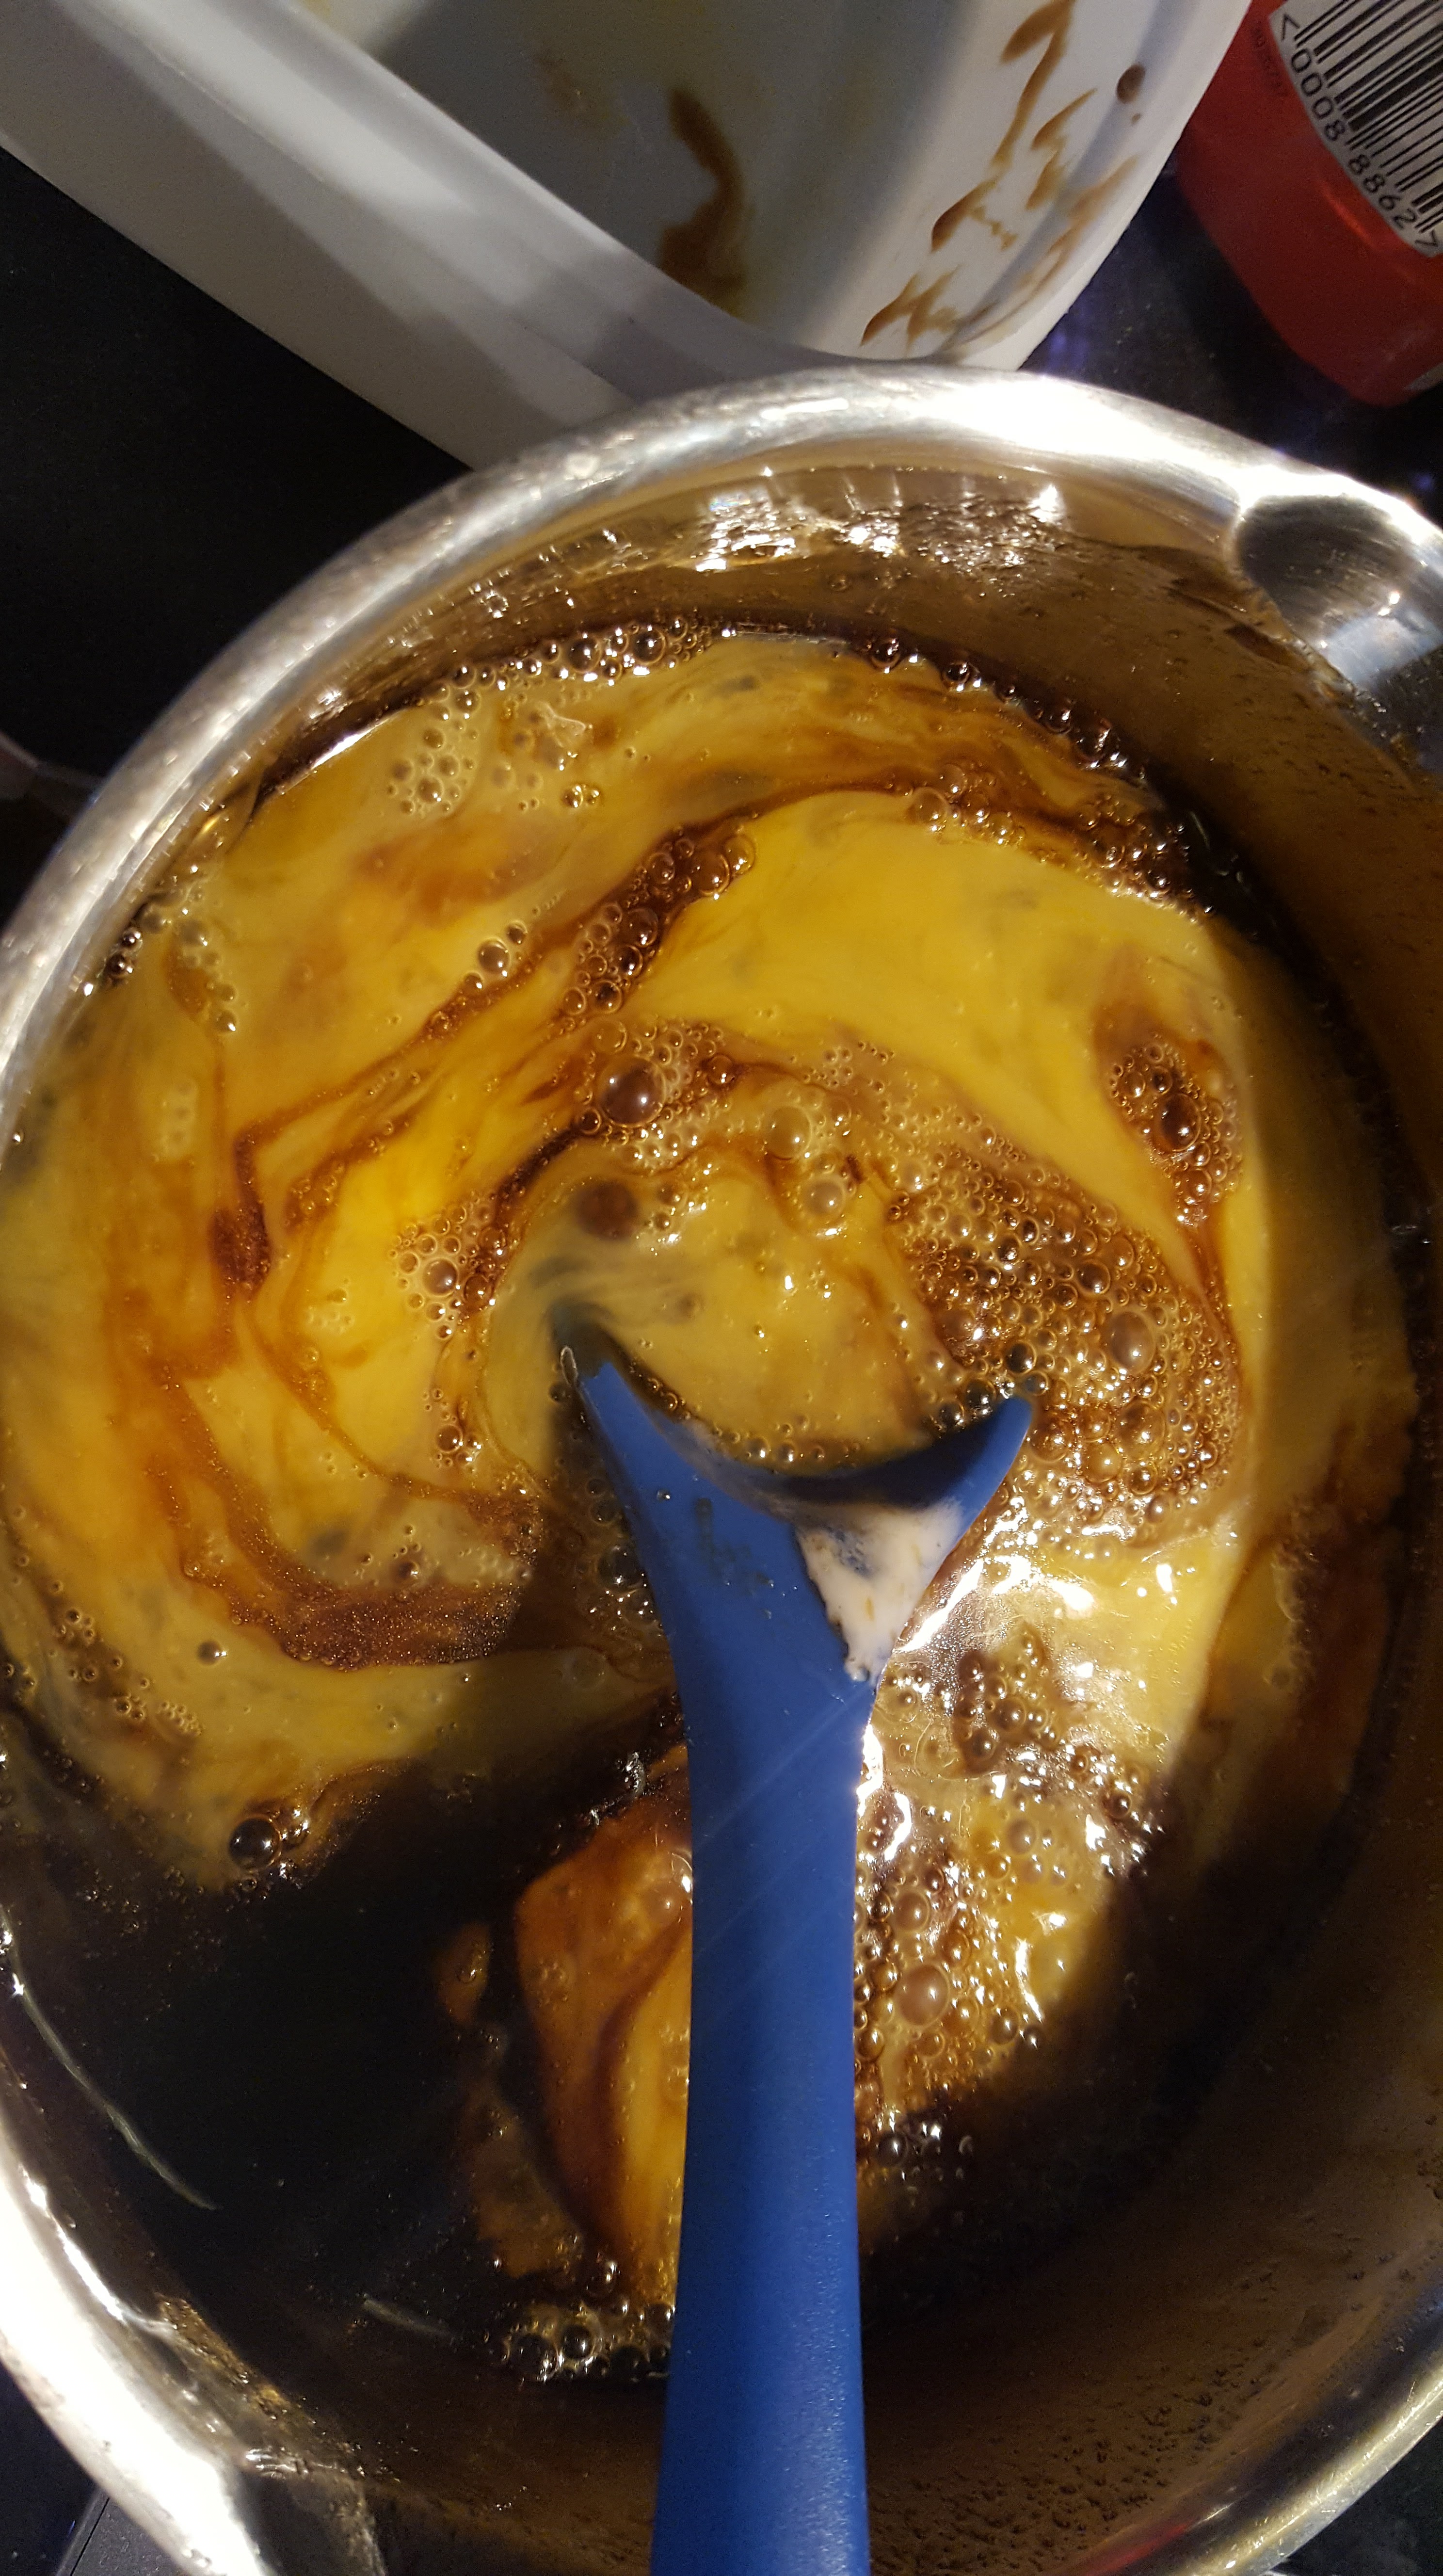
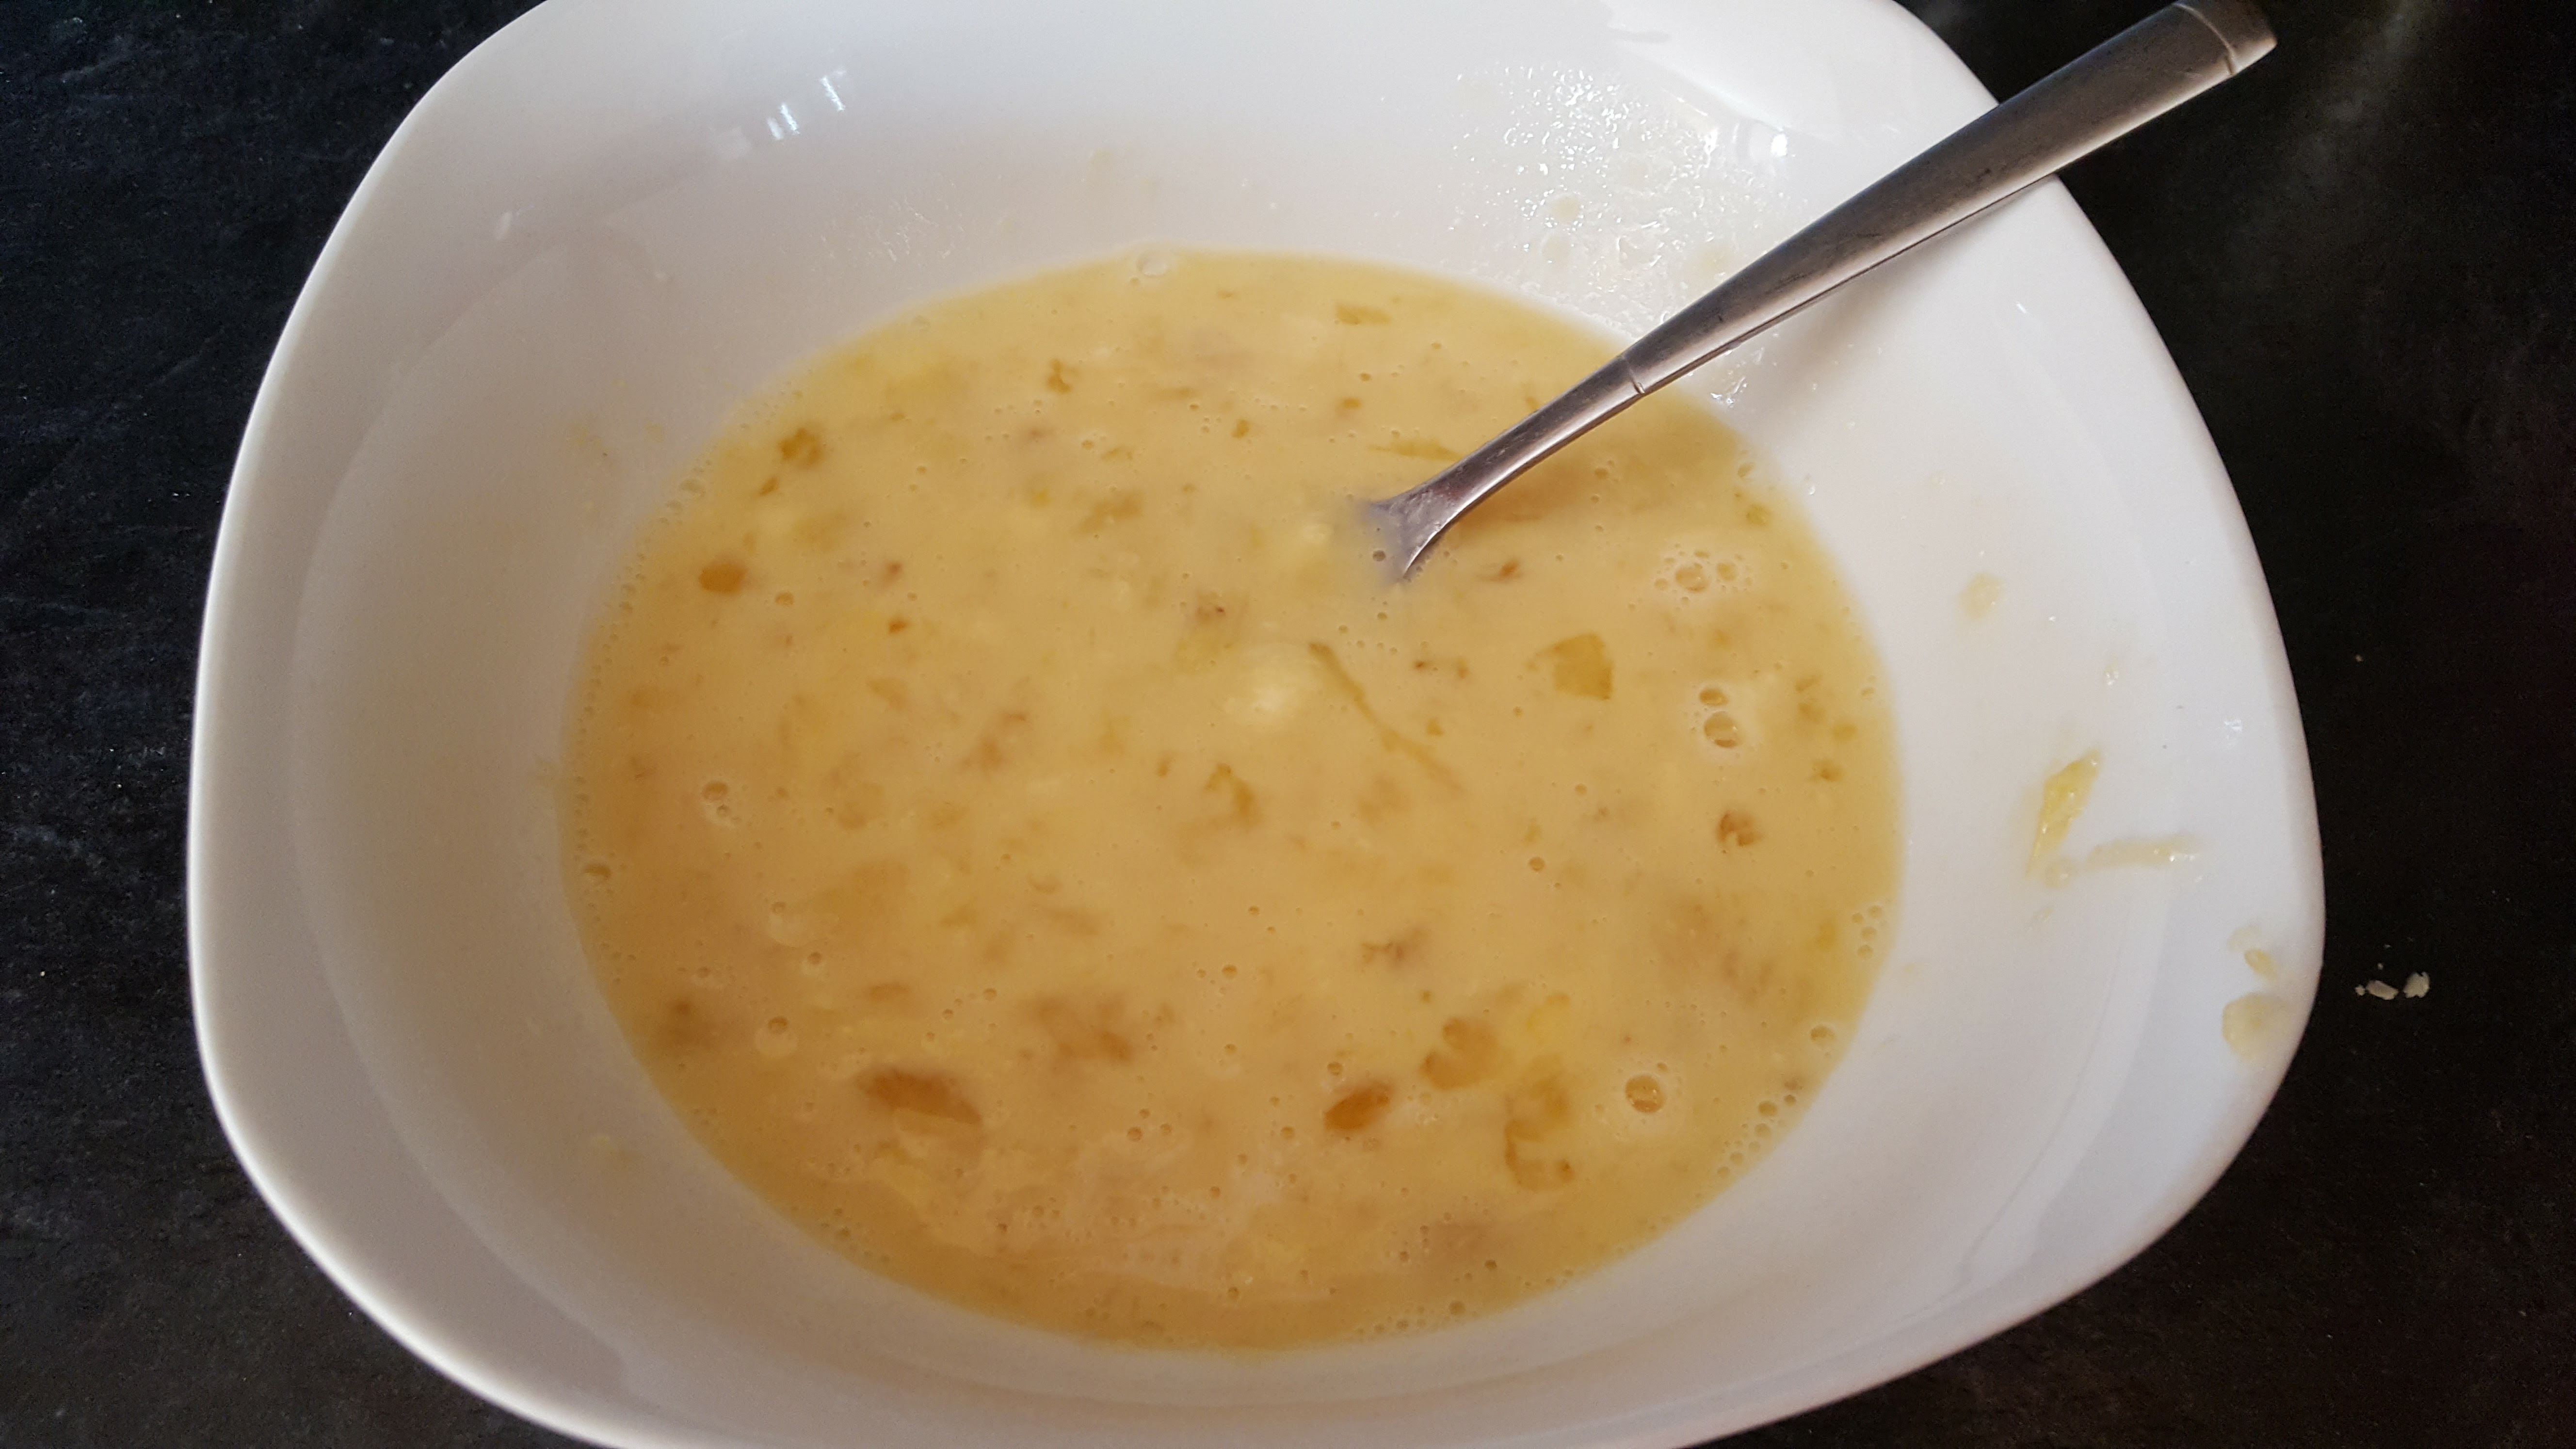
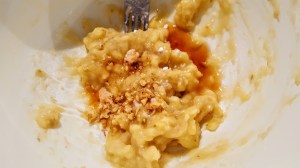
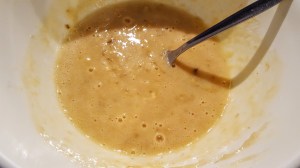
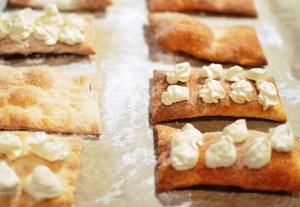
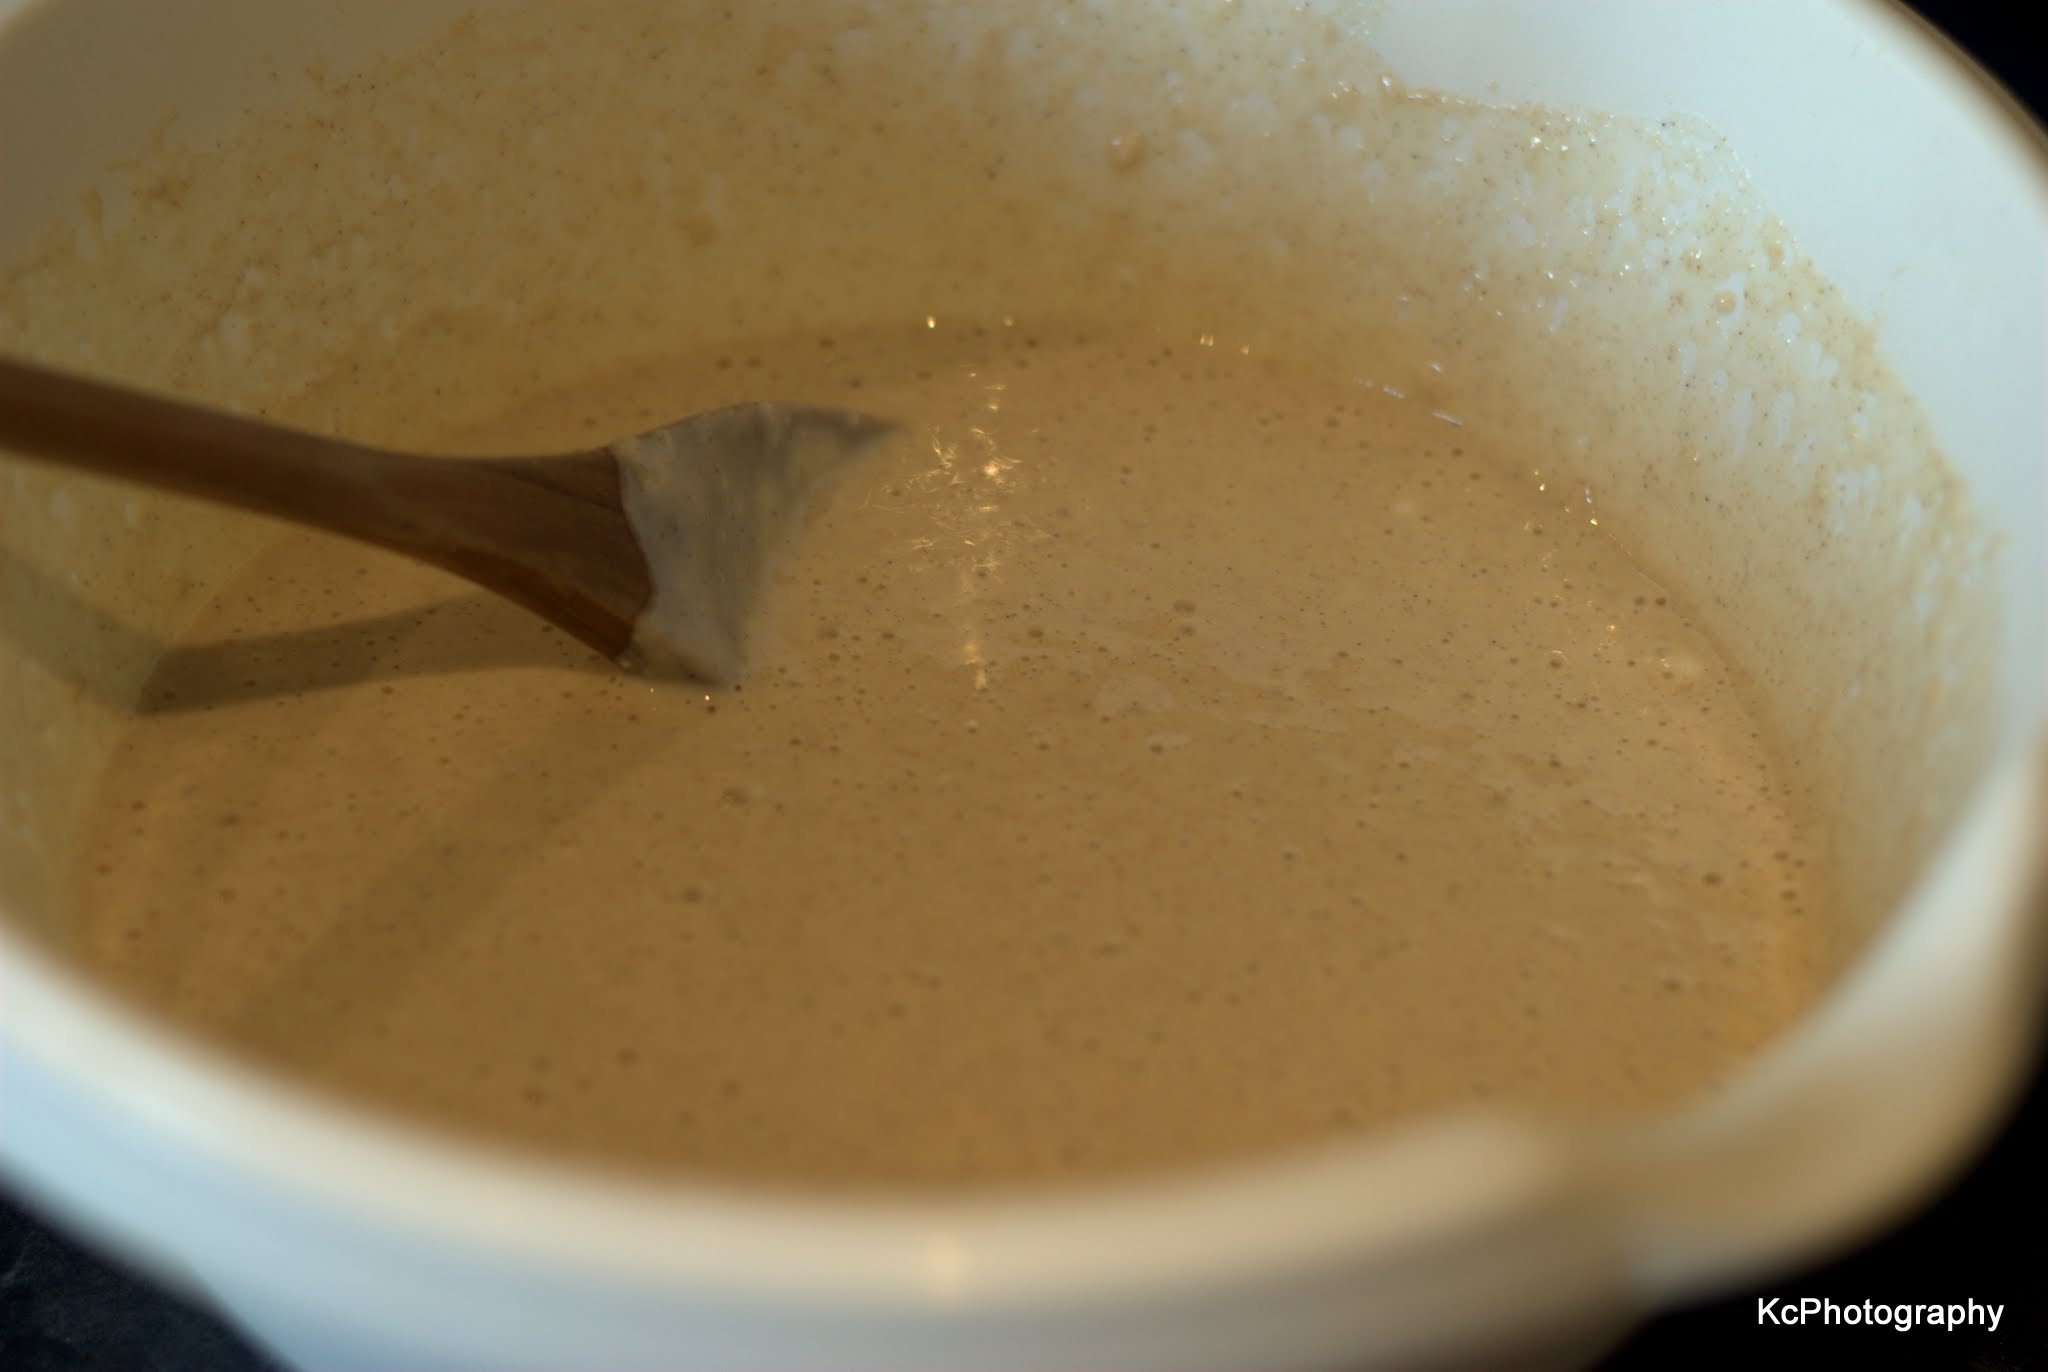
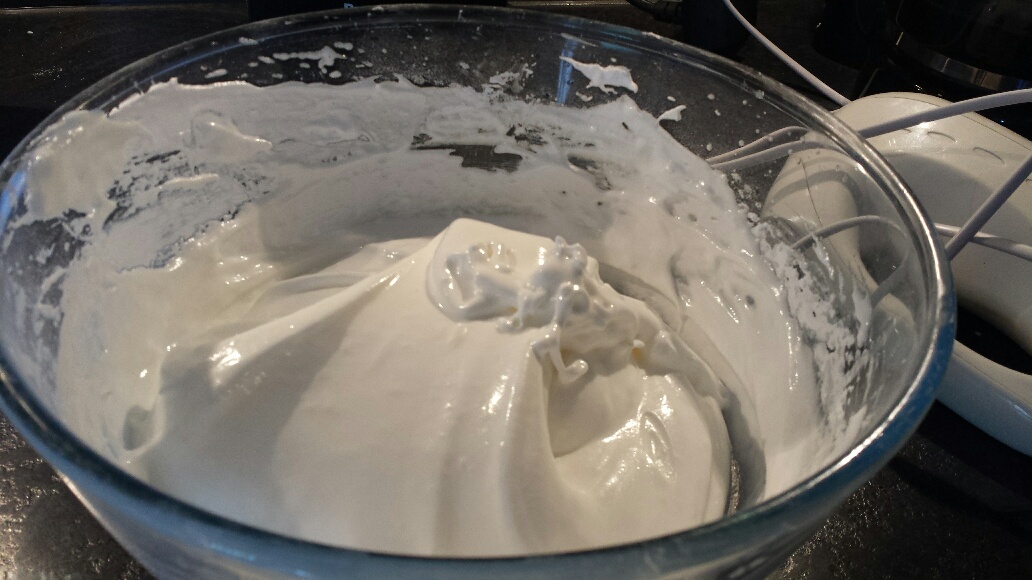
  very thick batter


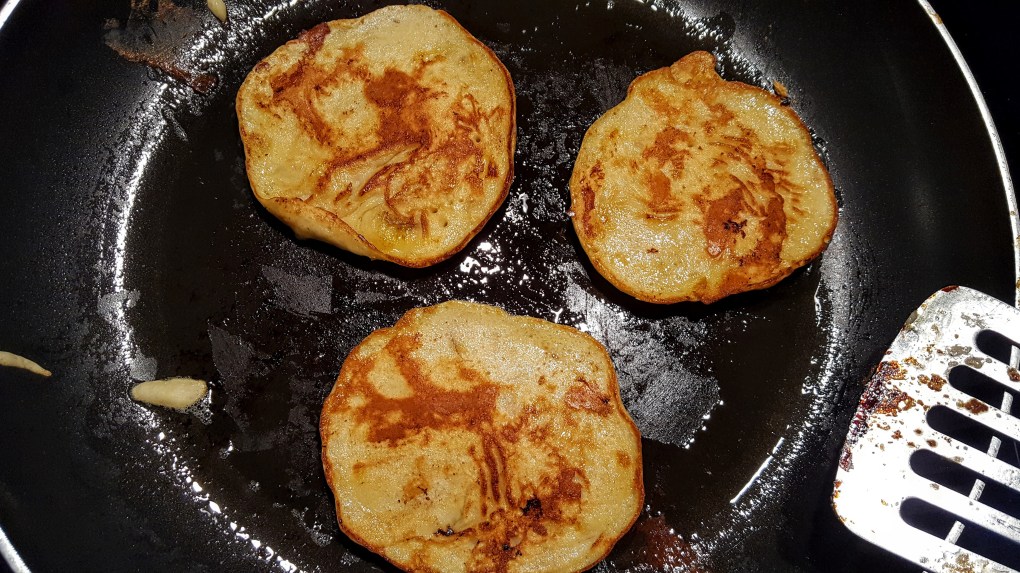


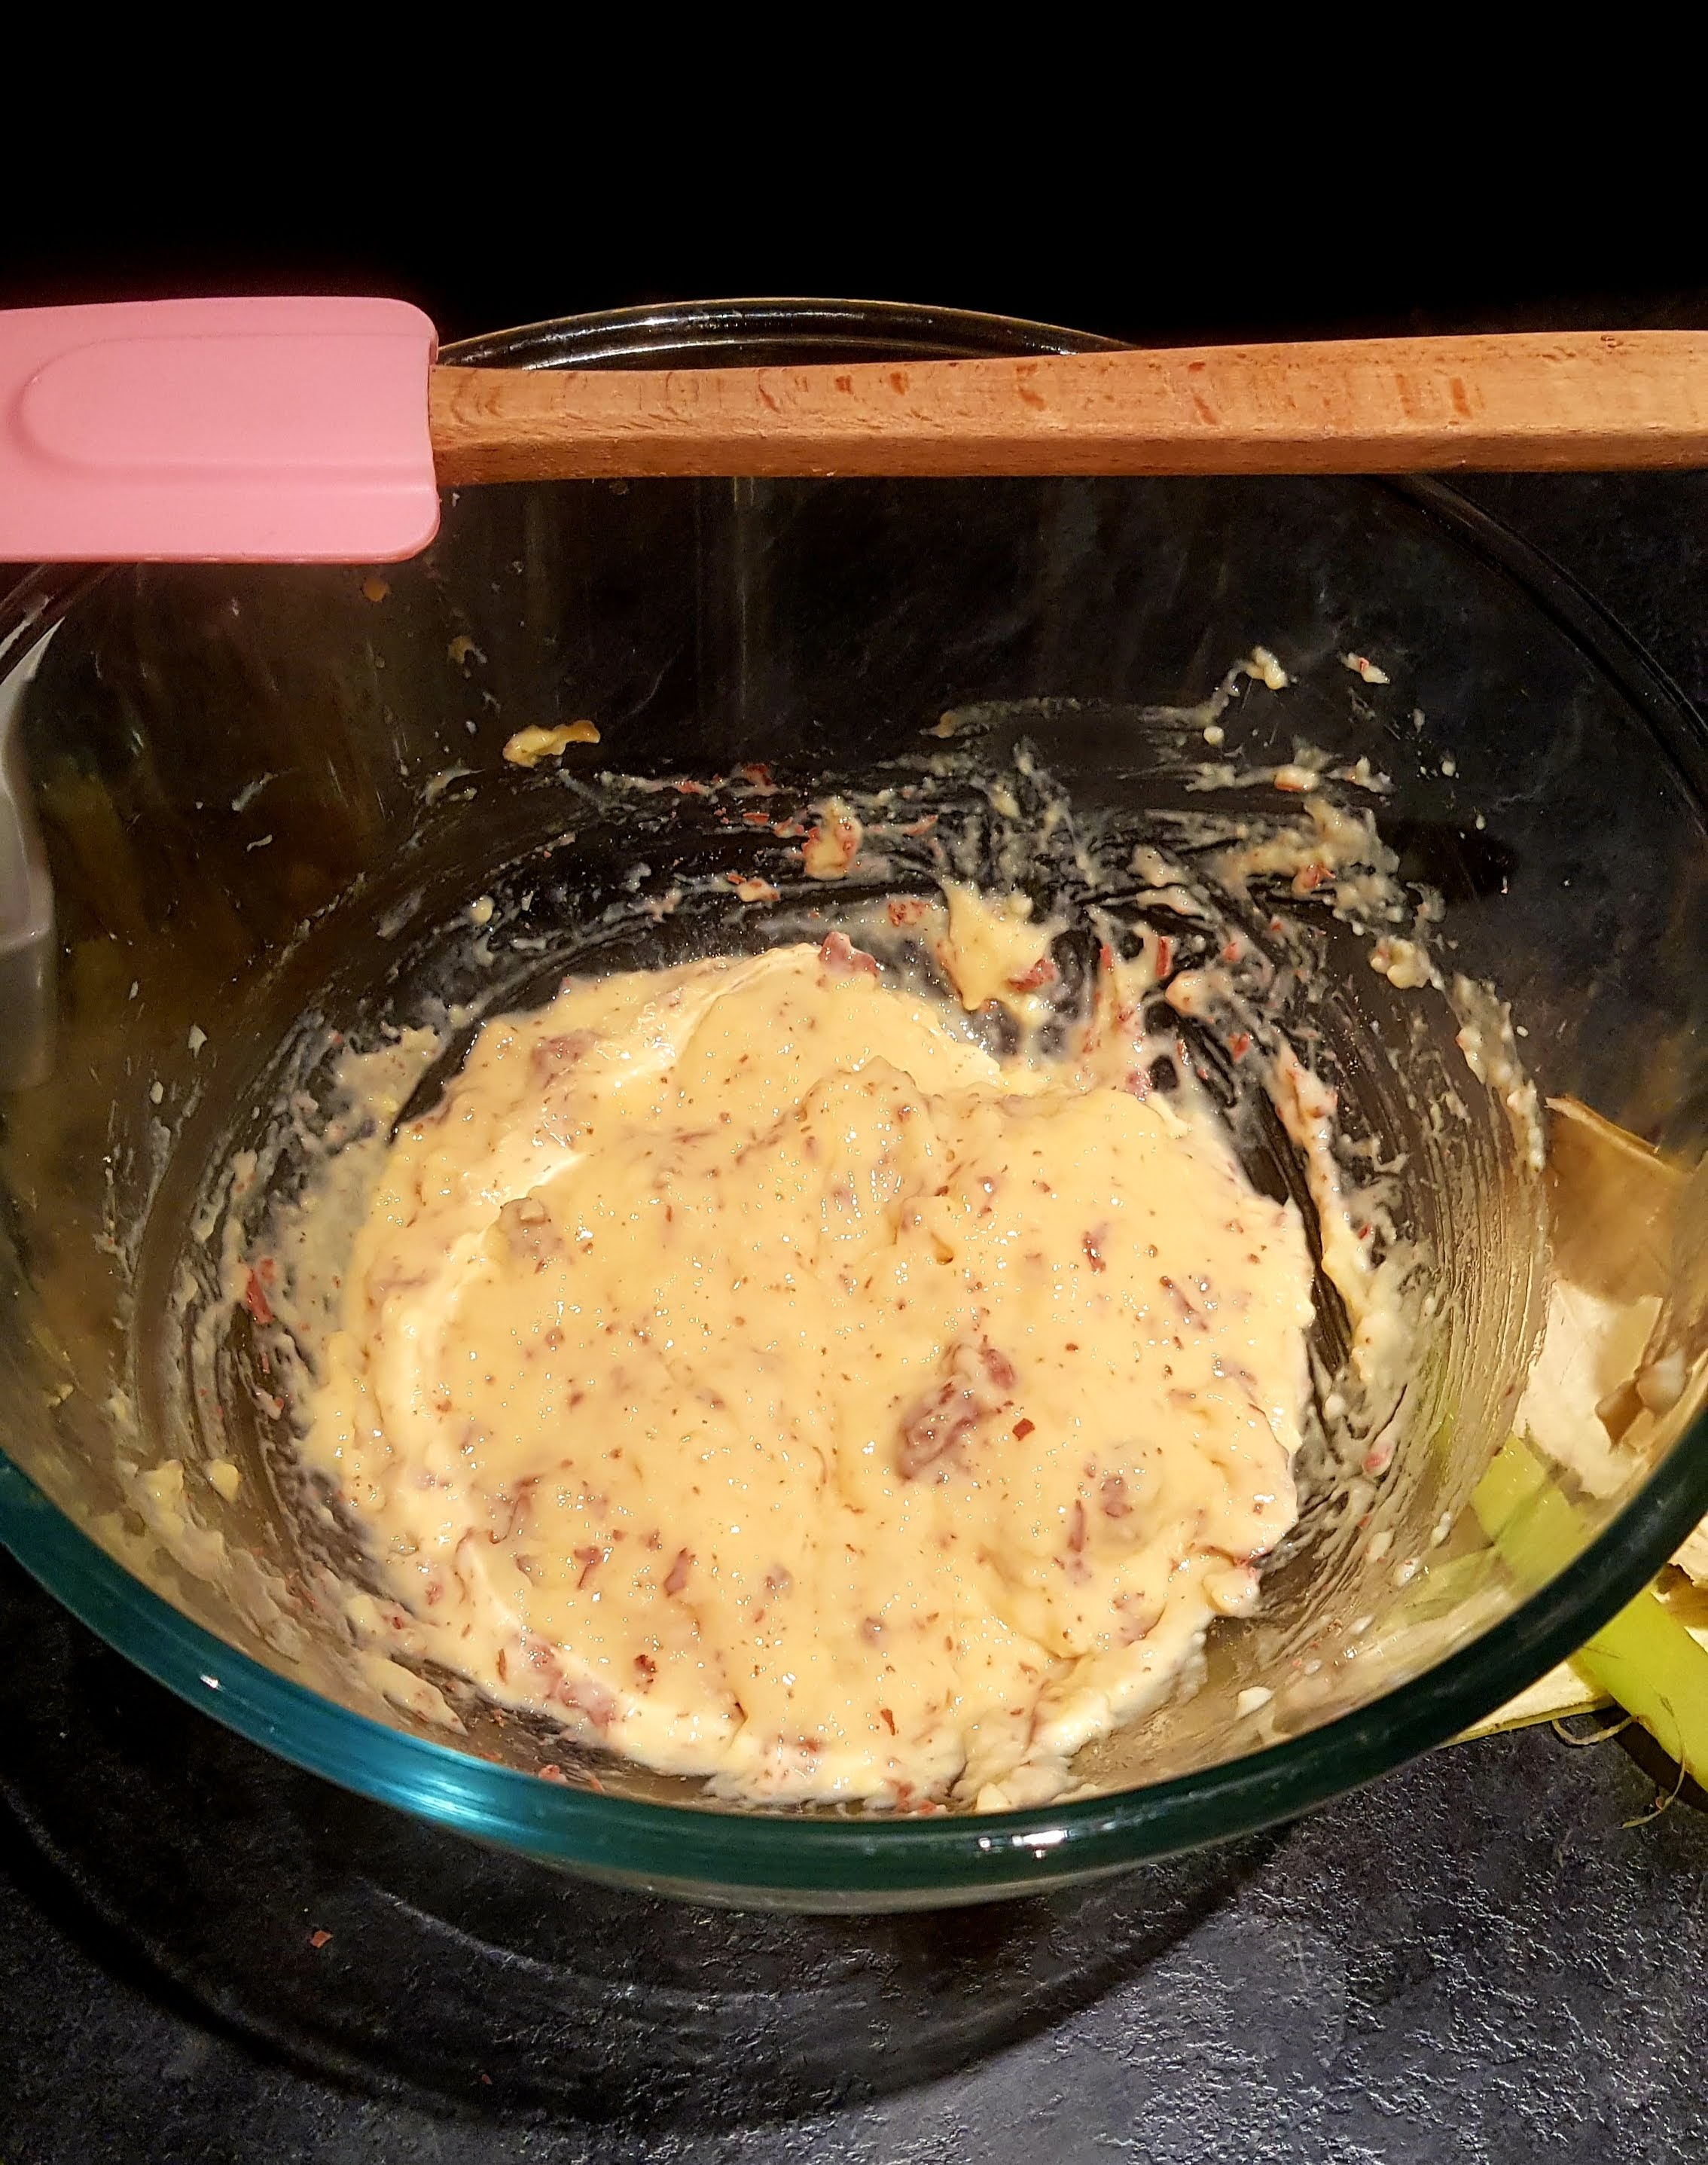
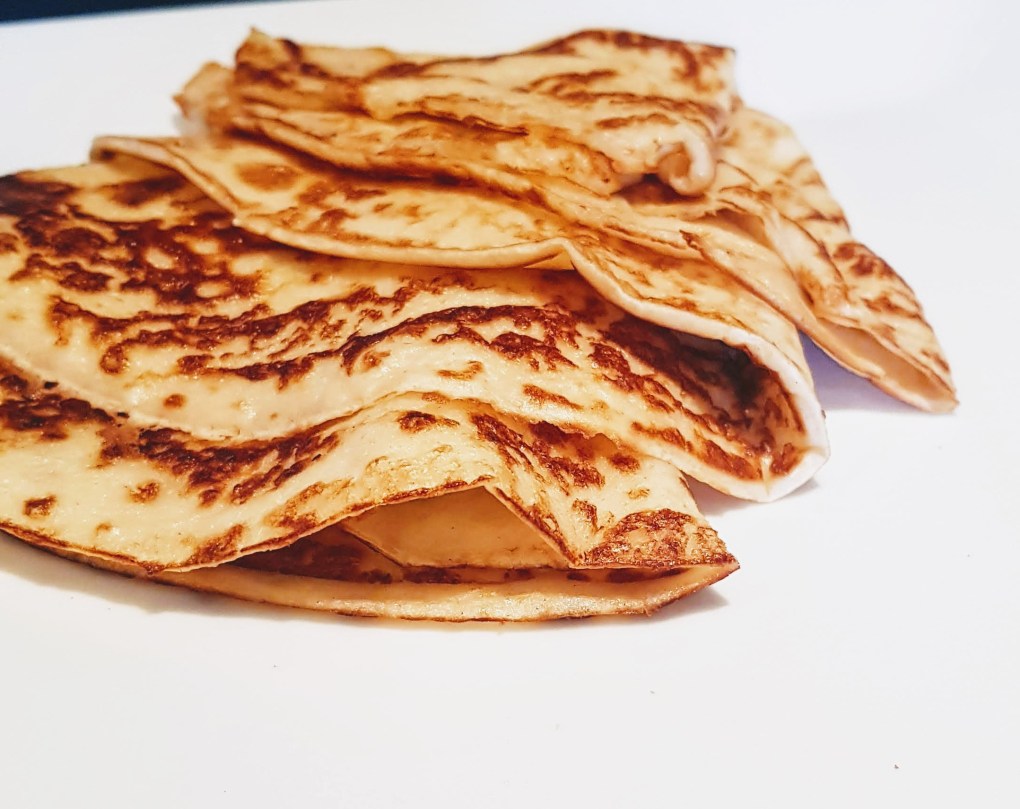
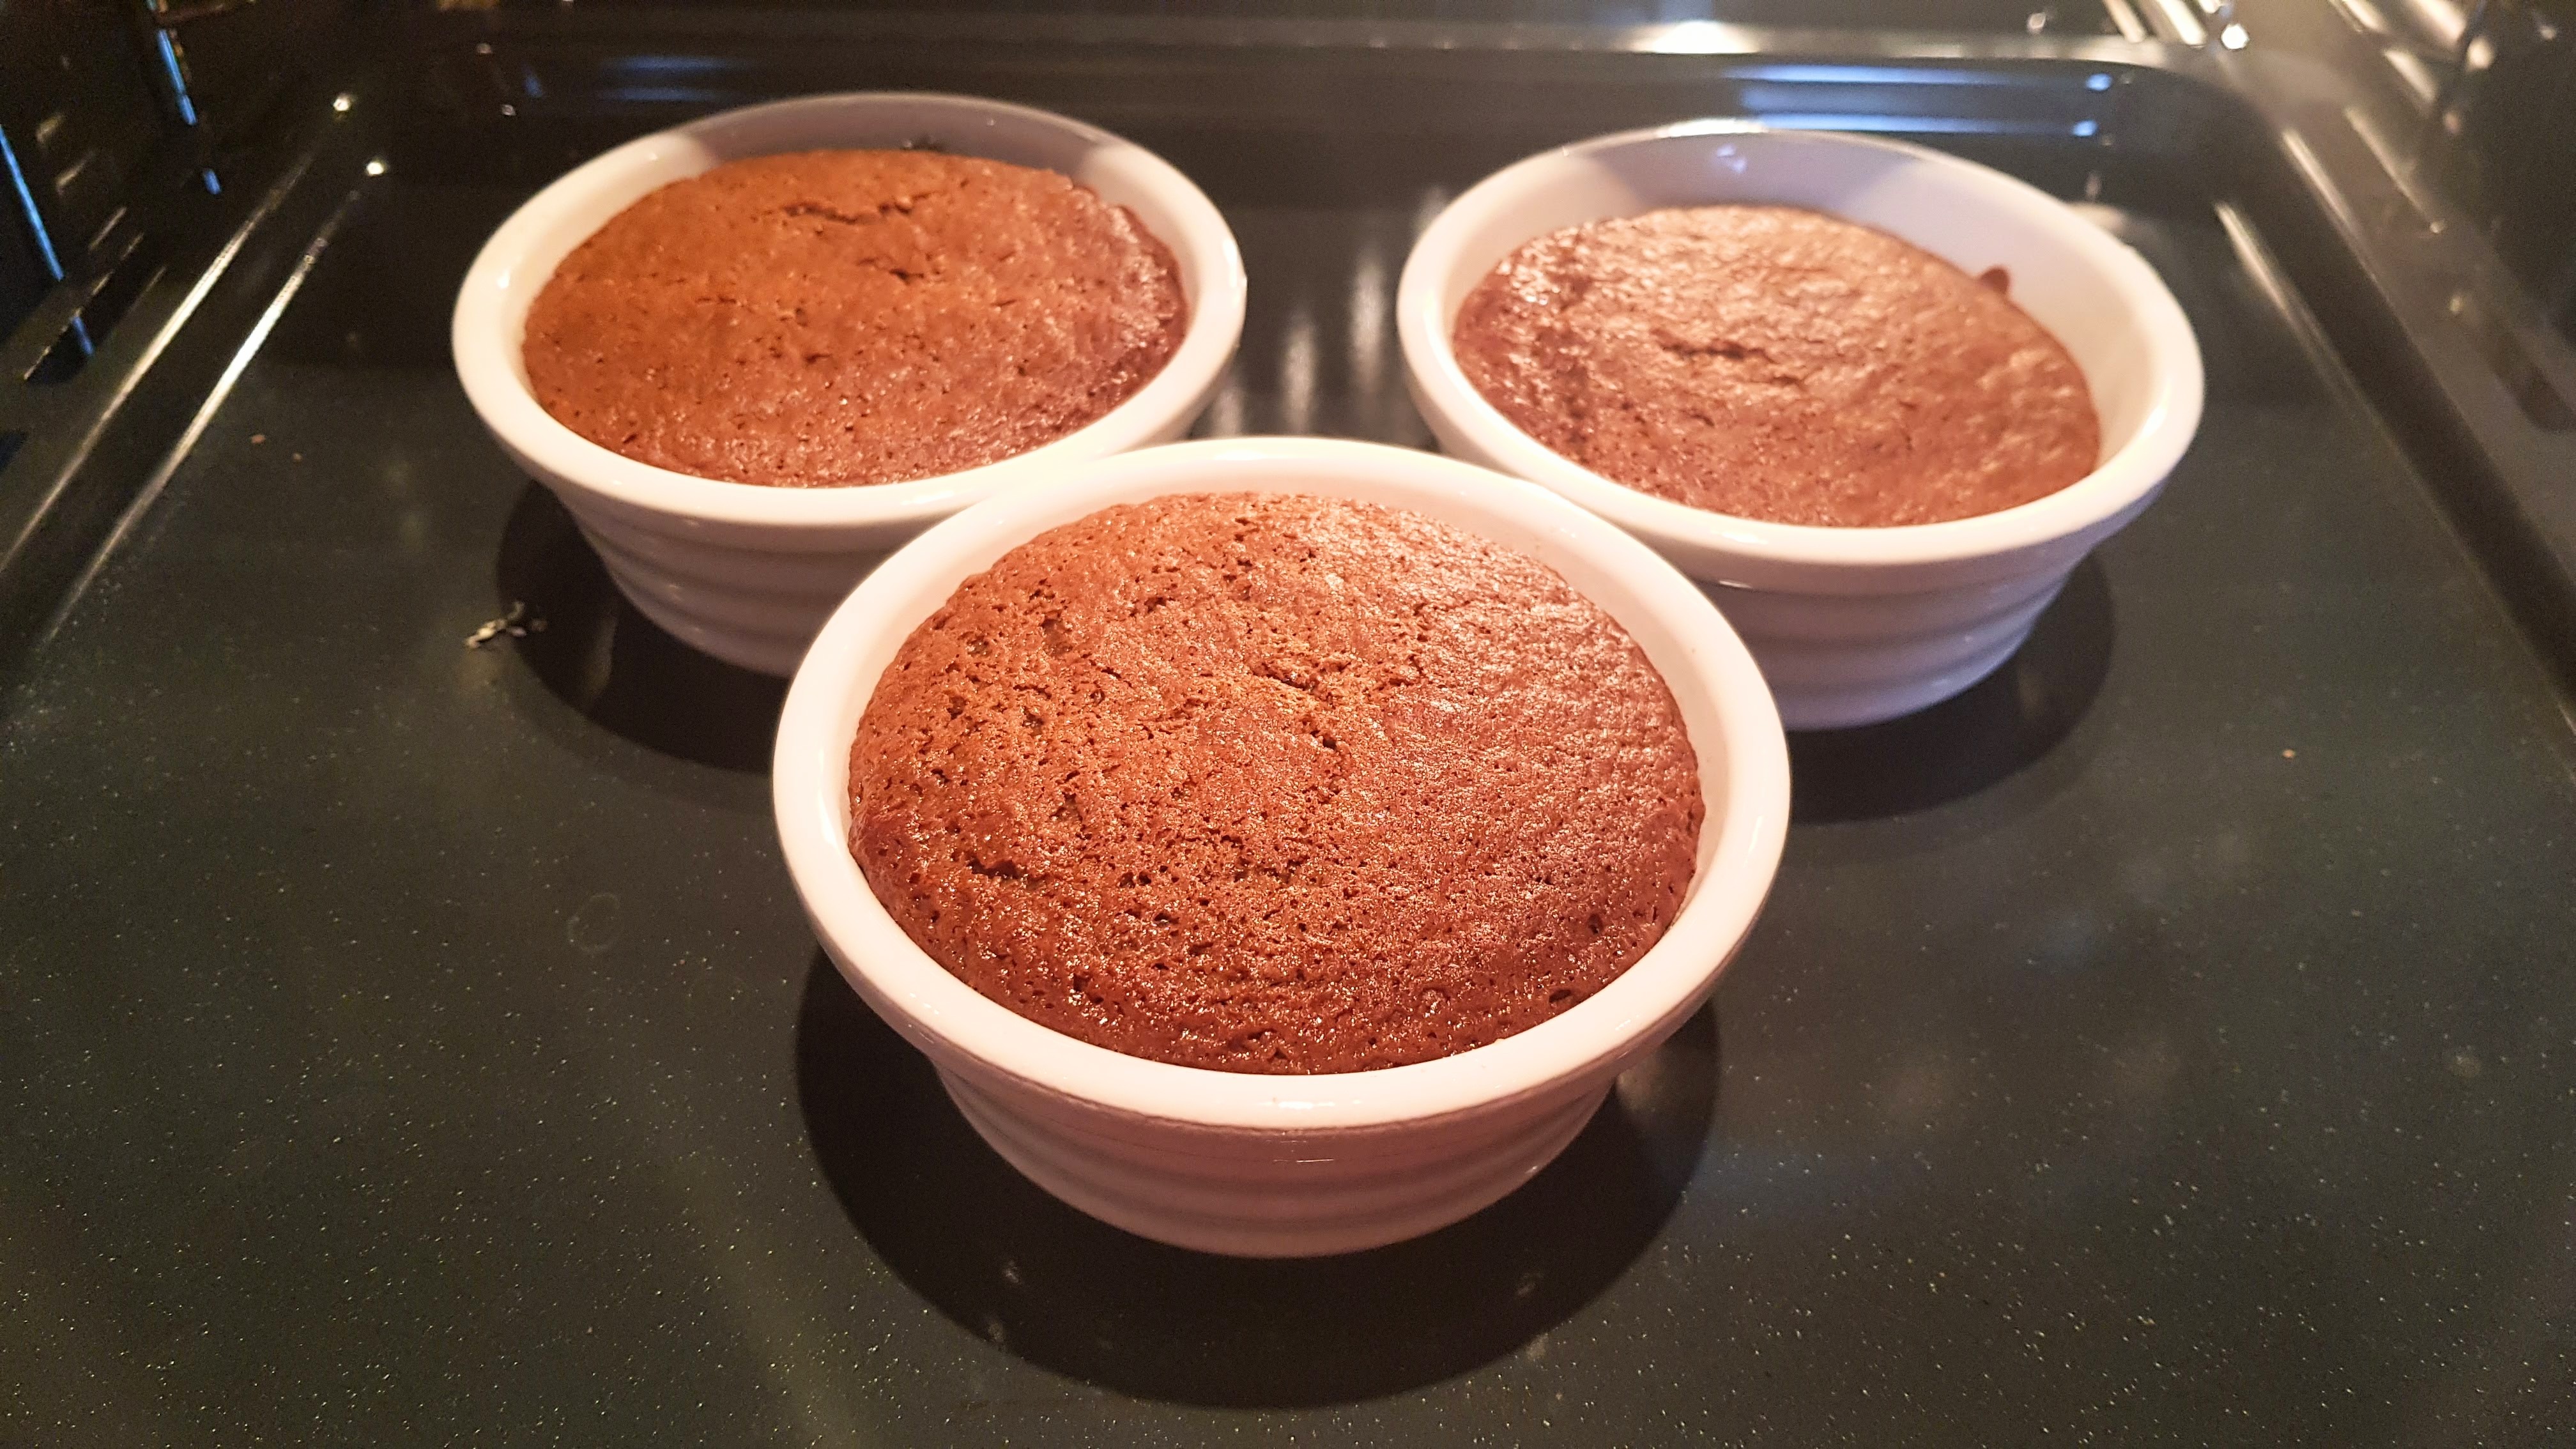
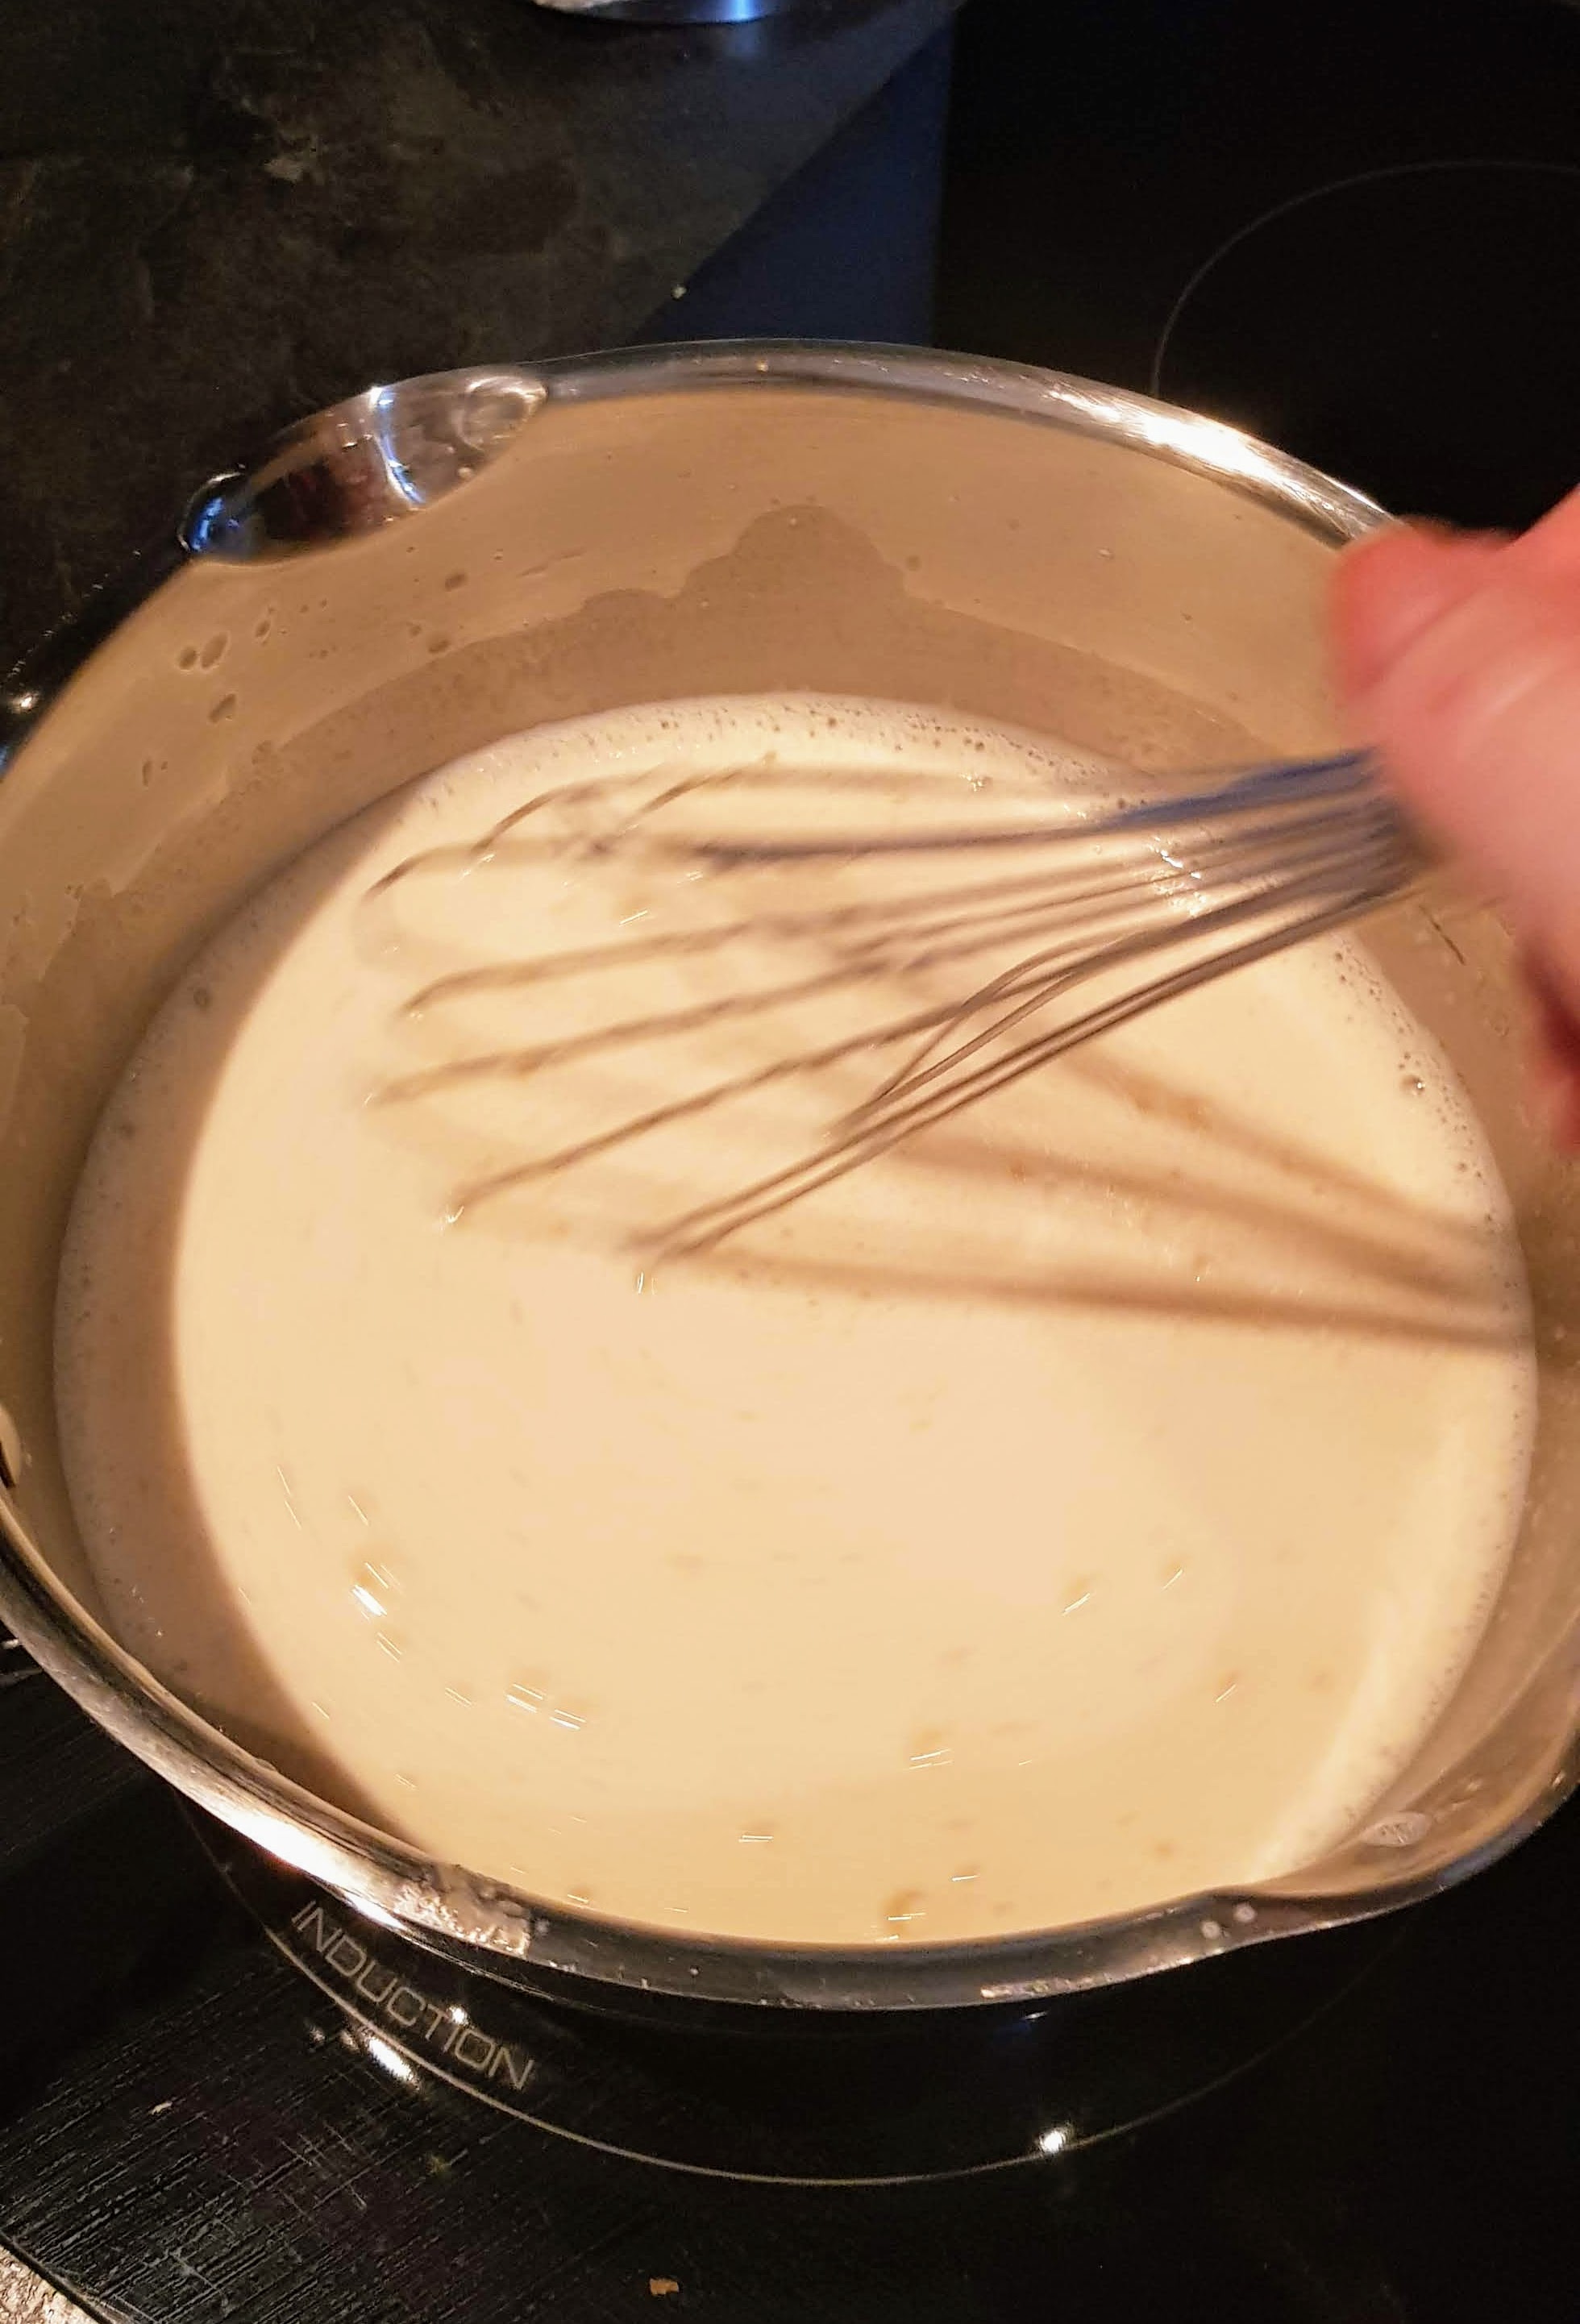
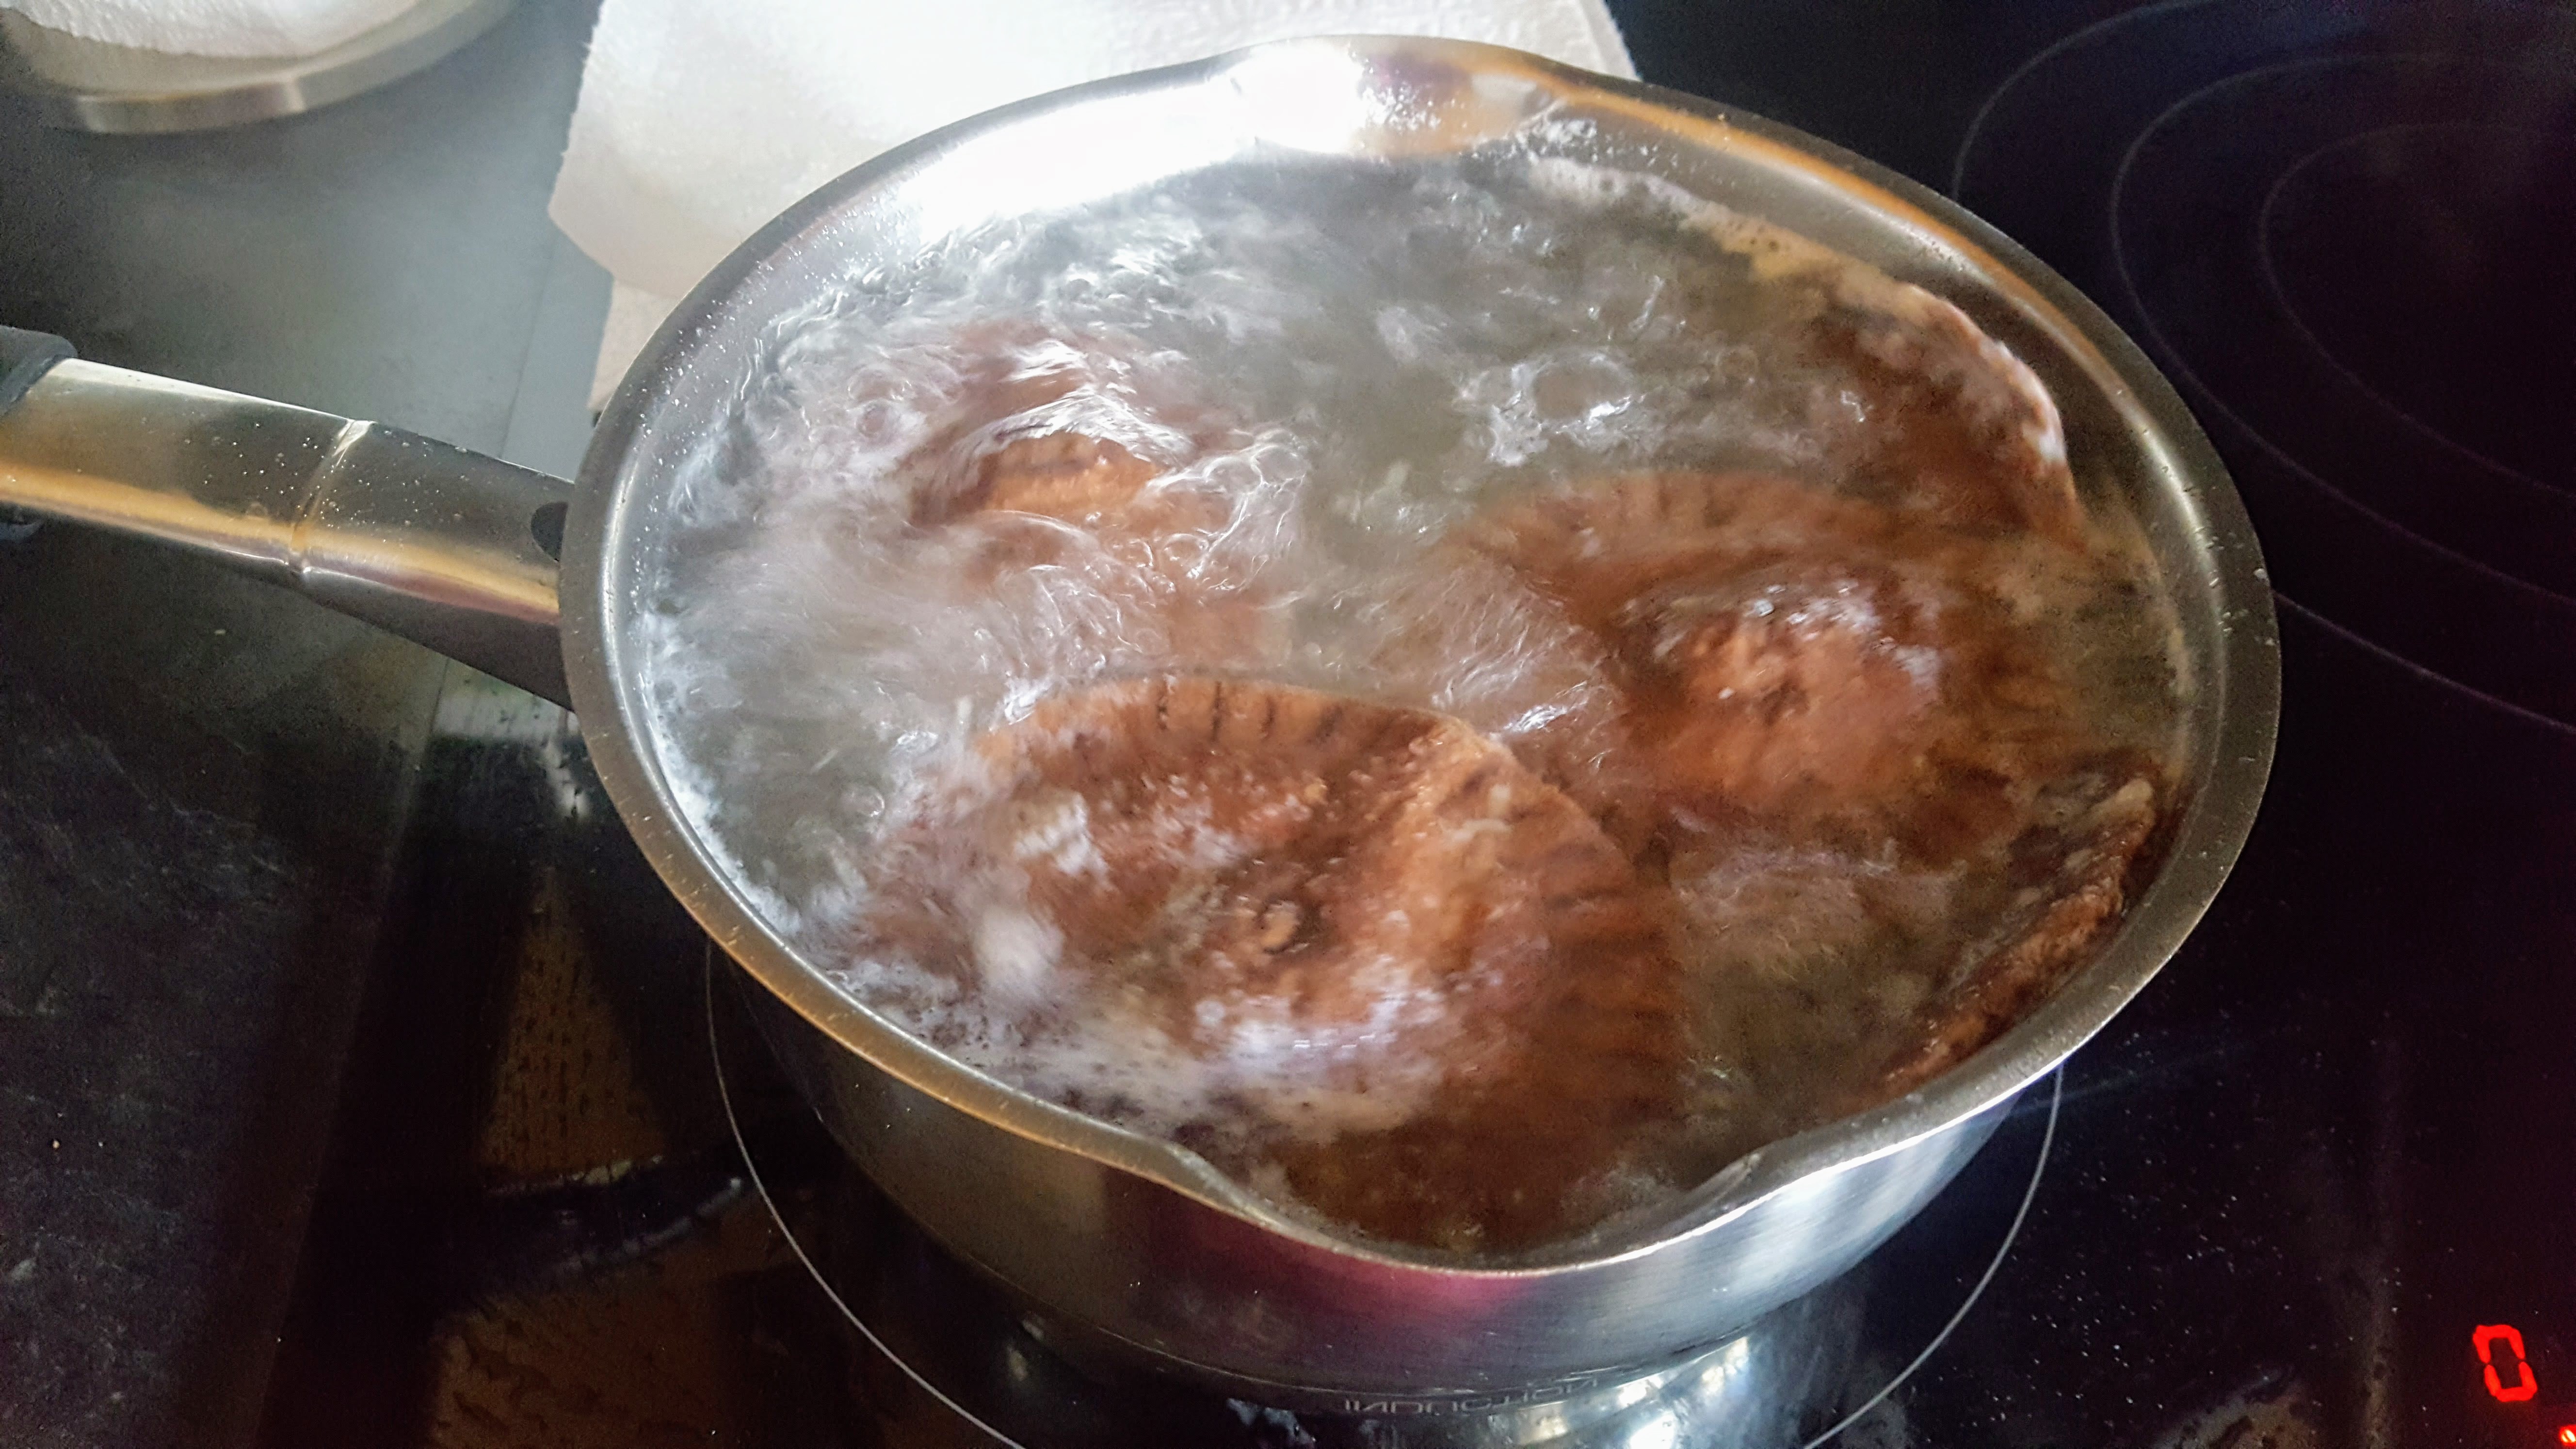
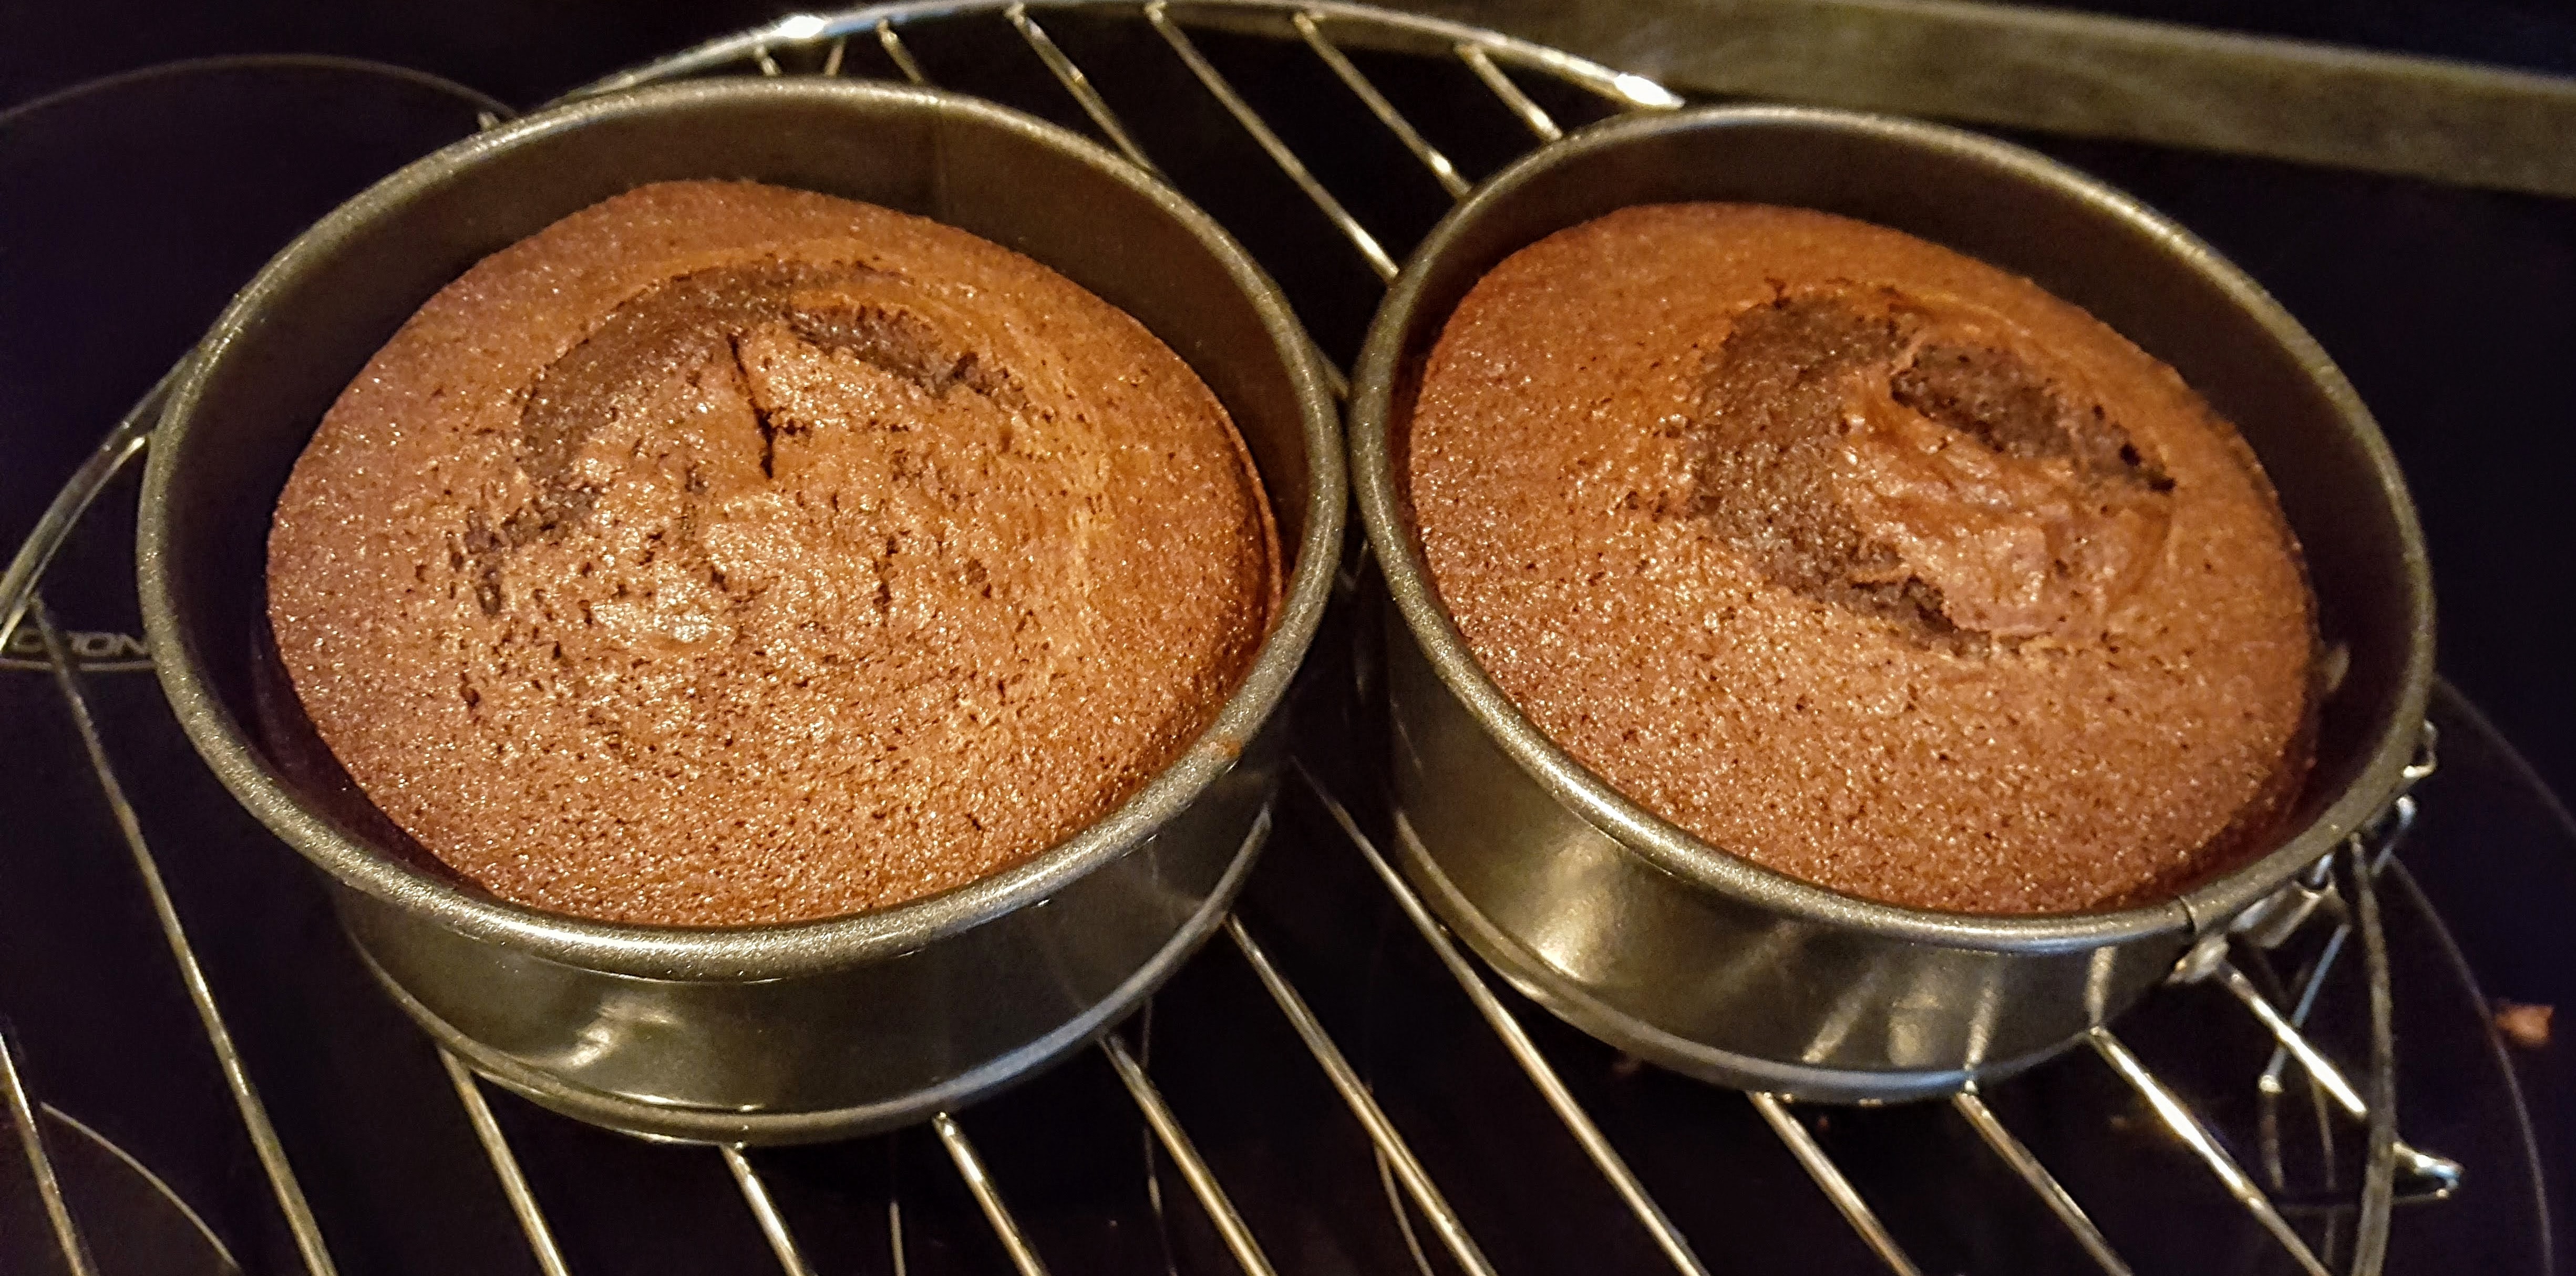
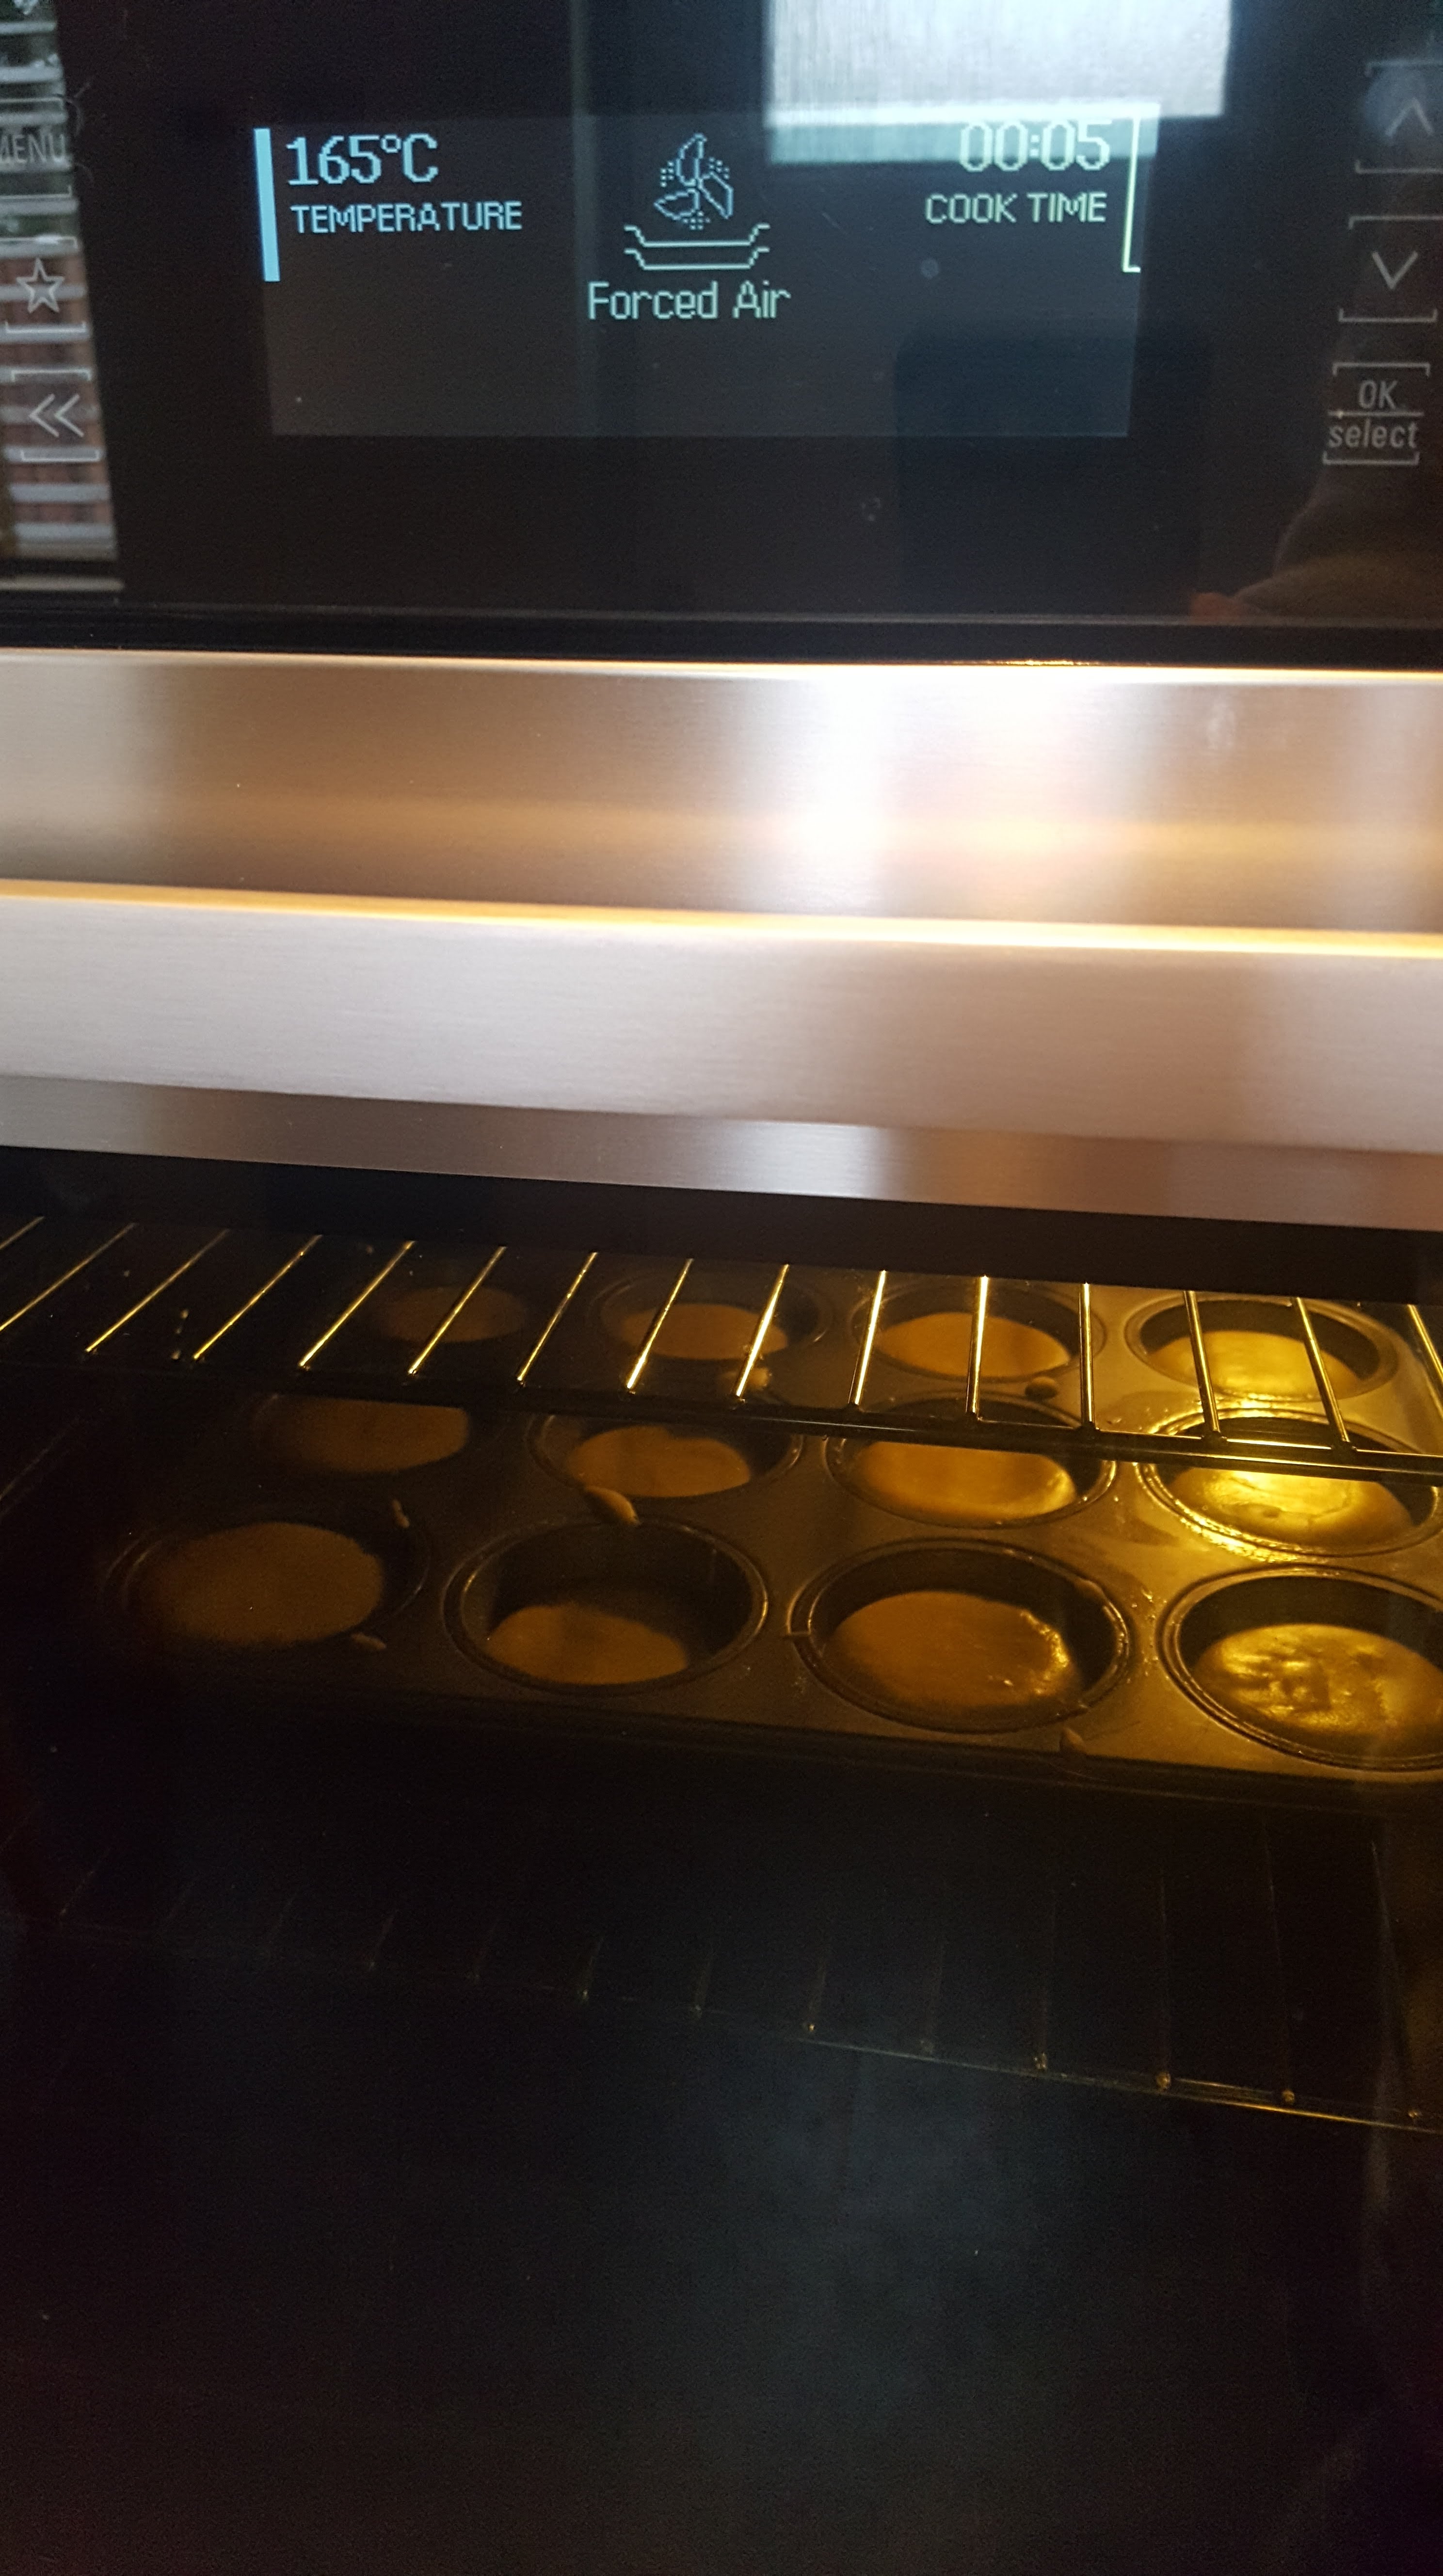
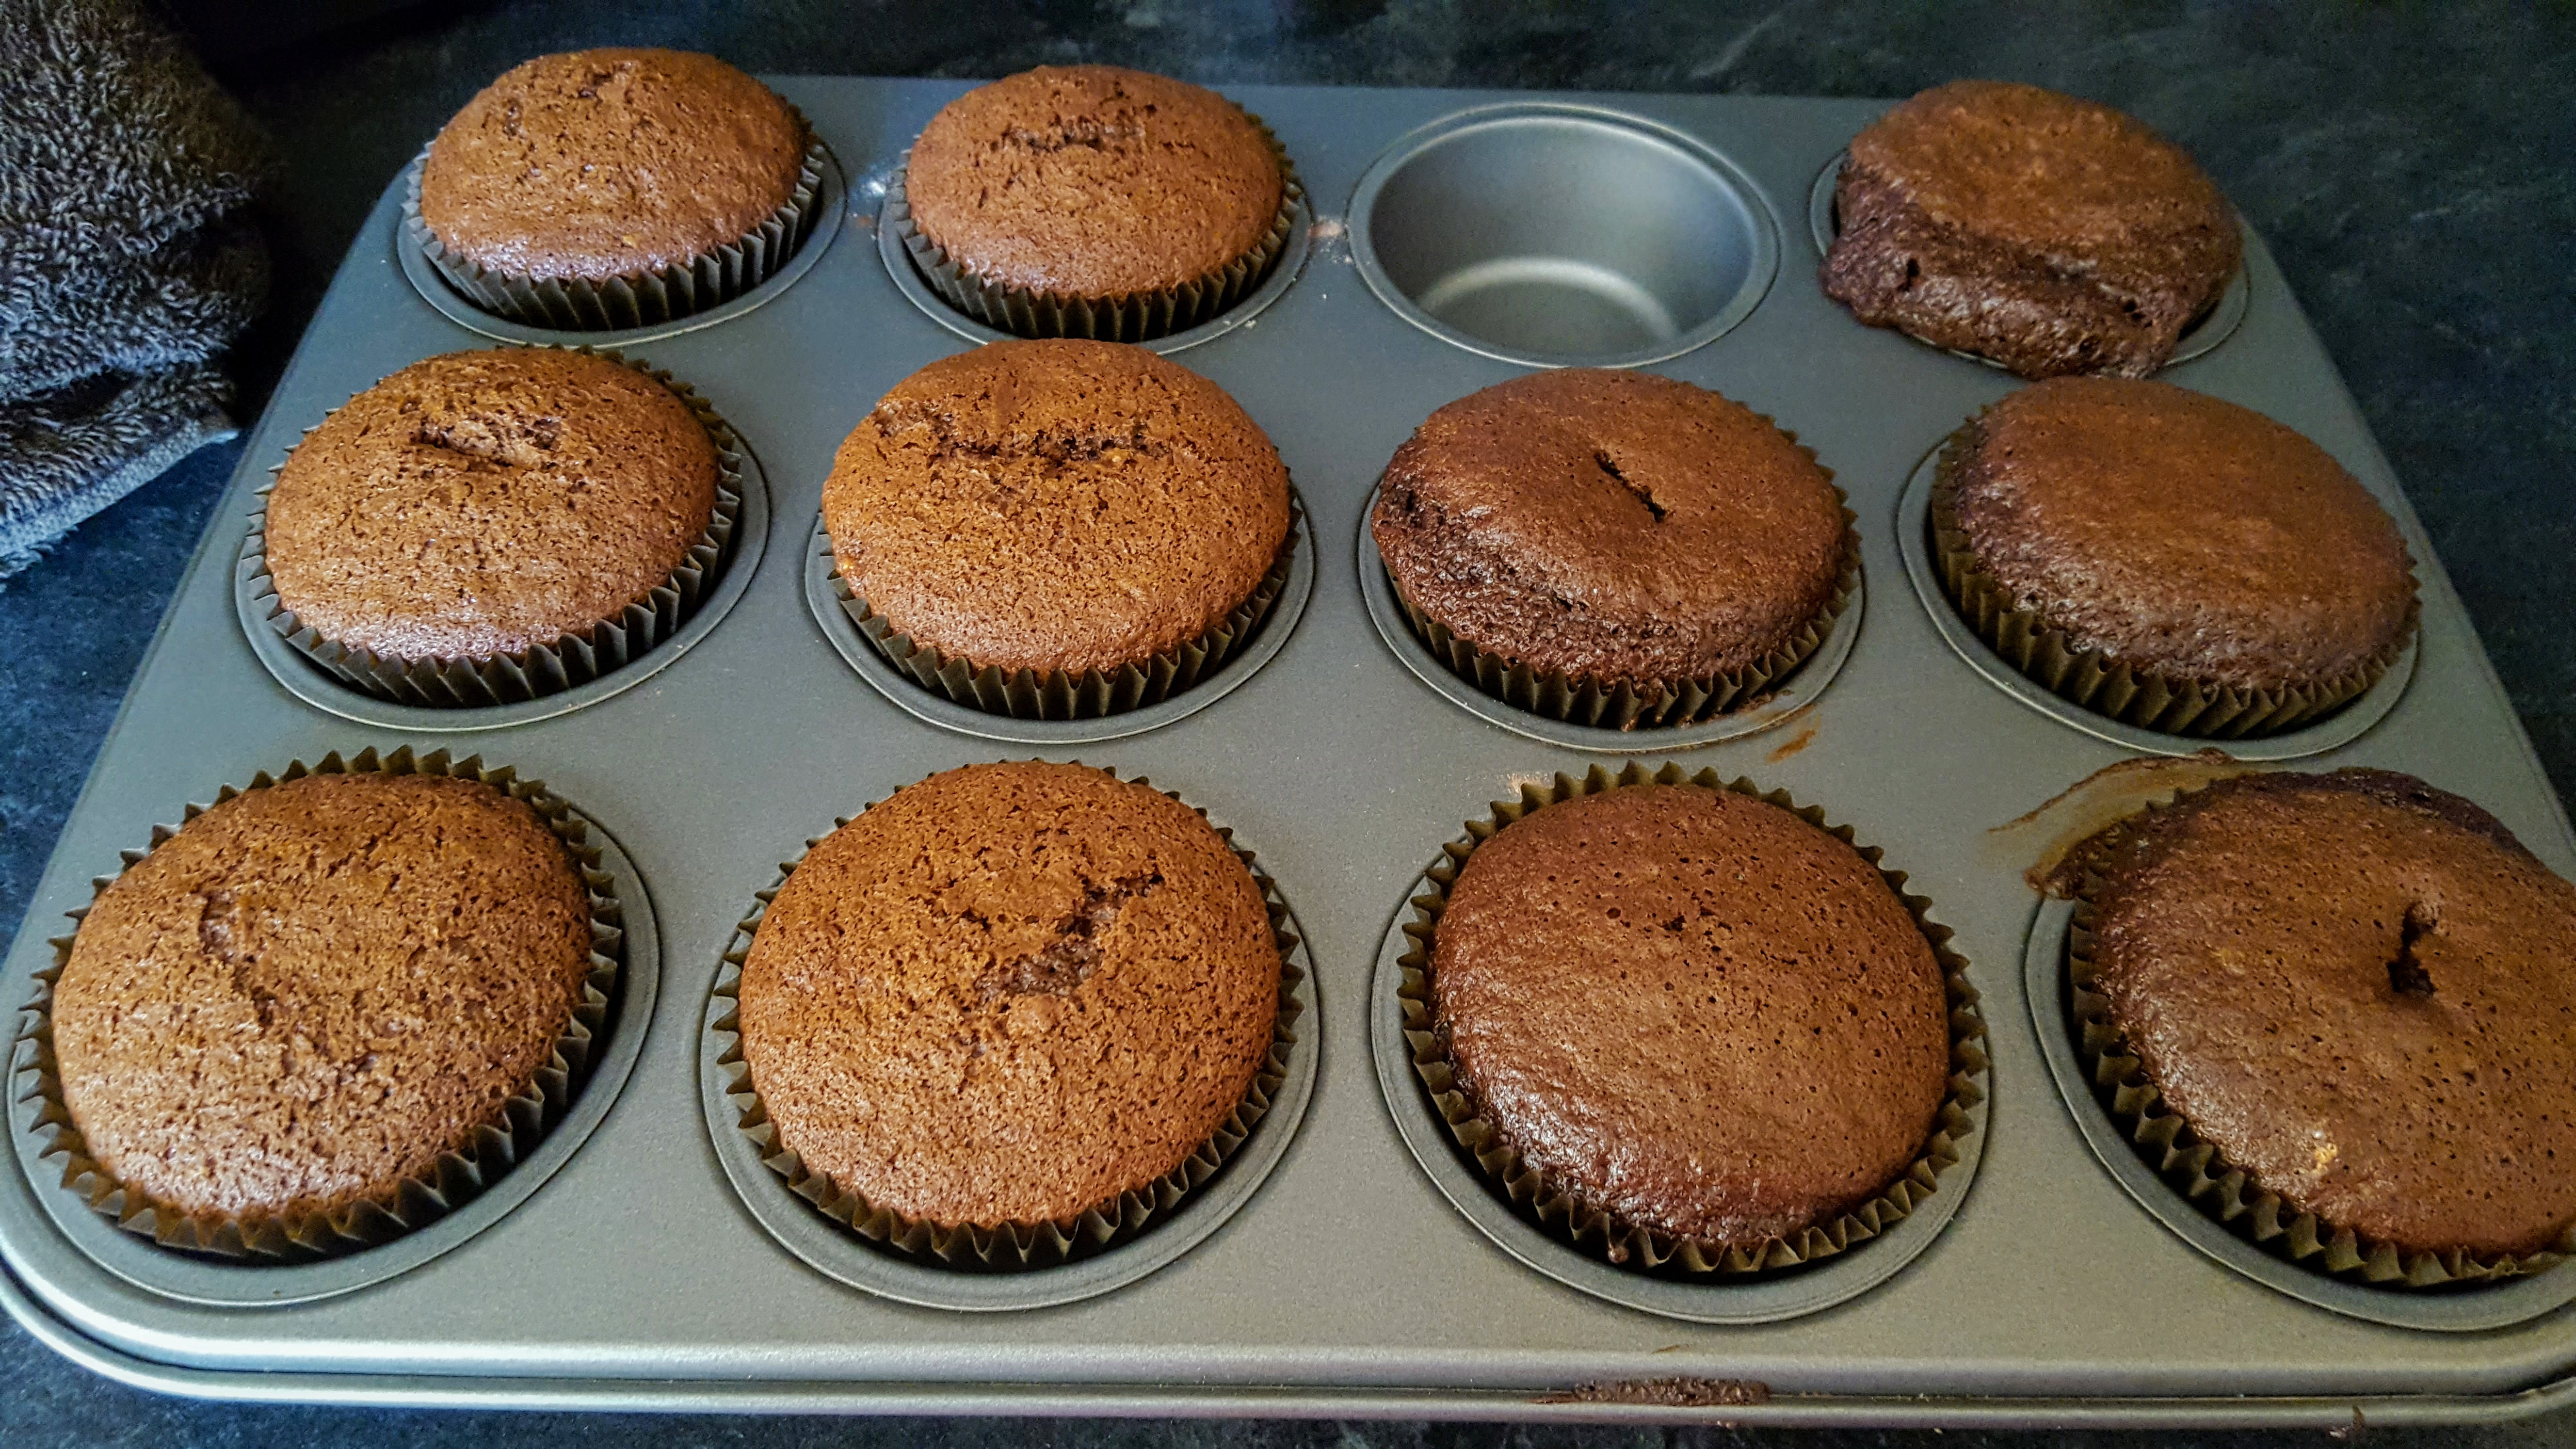
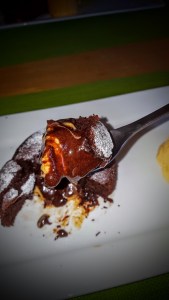
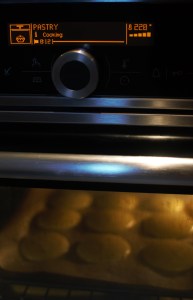
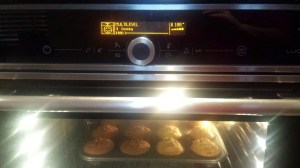
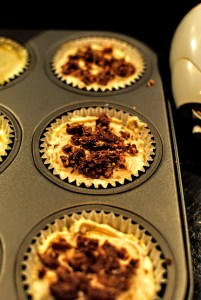
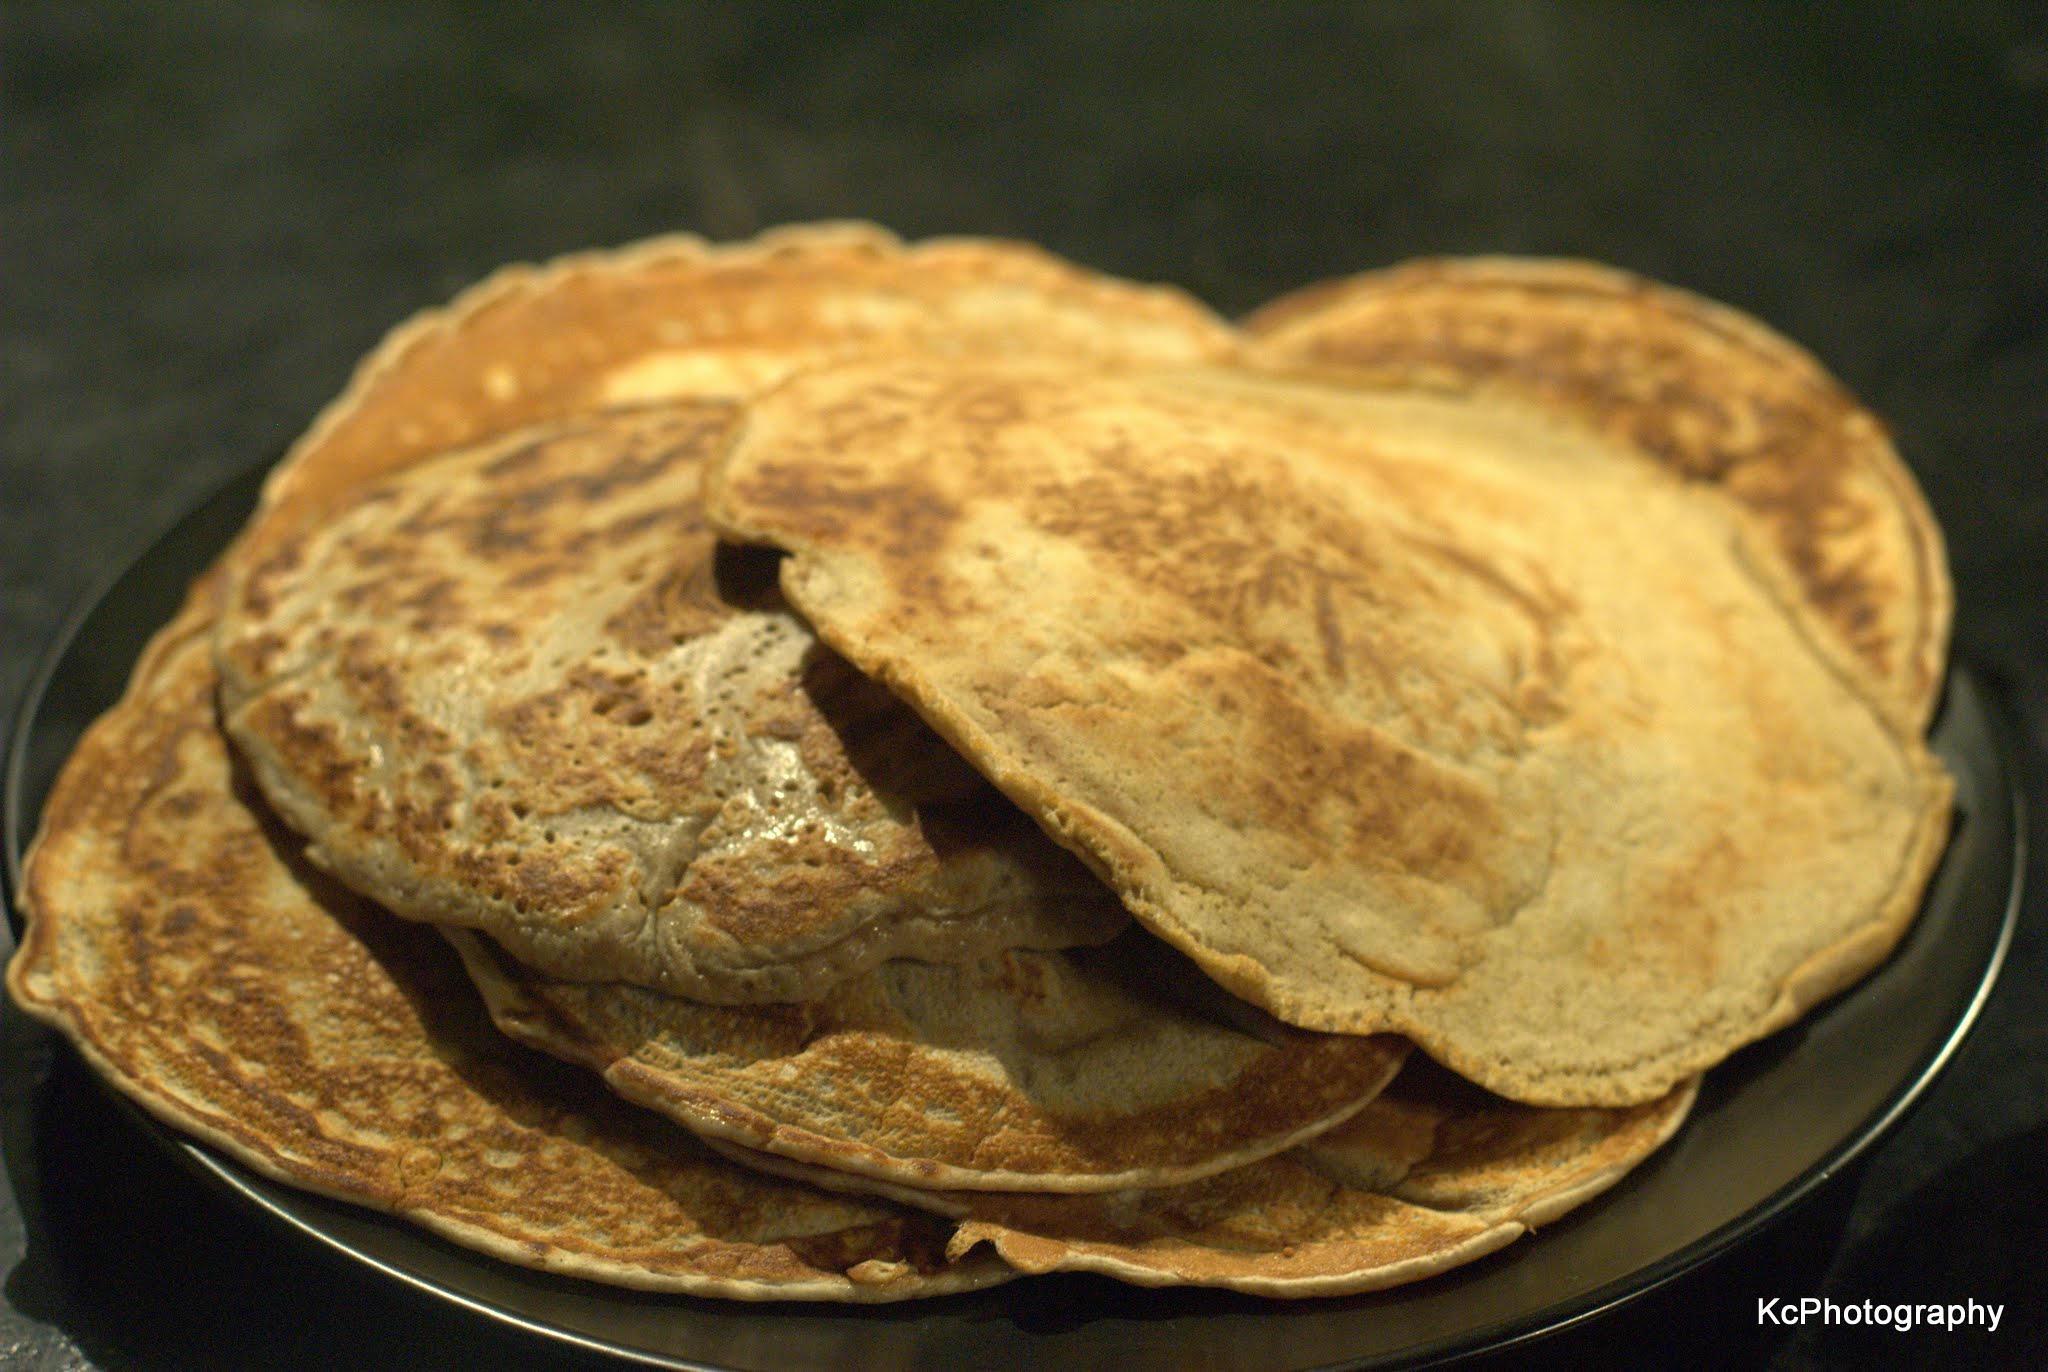
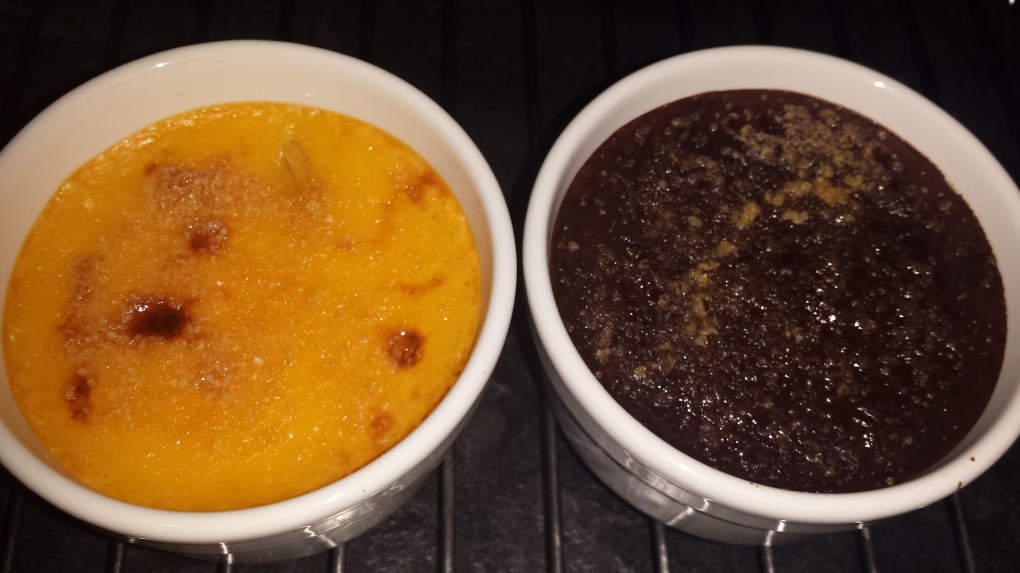
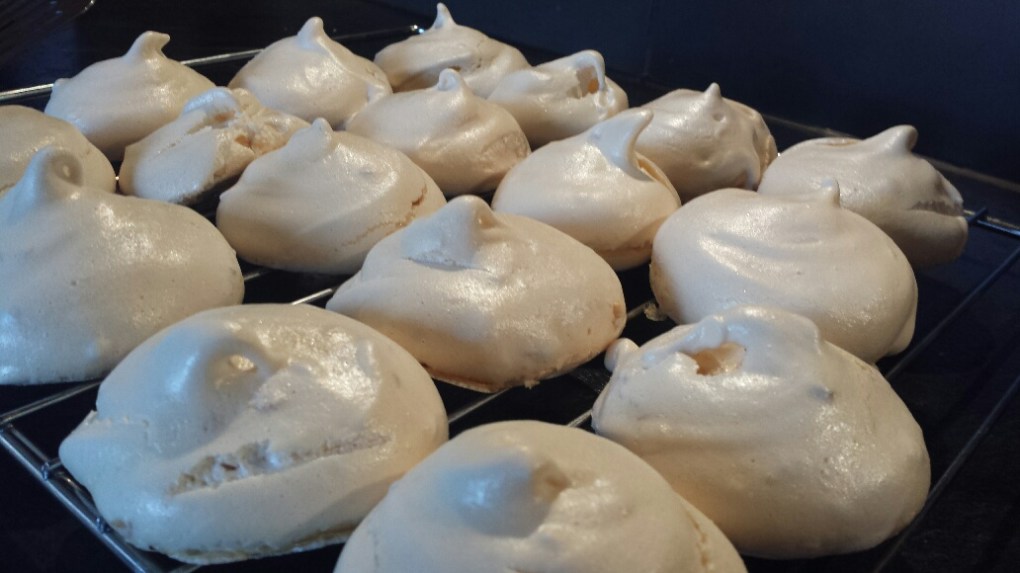
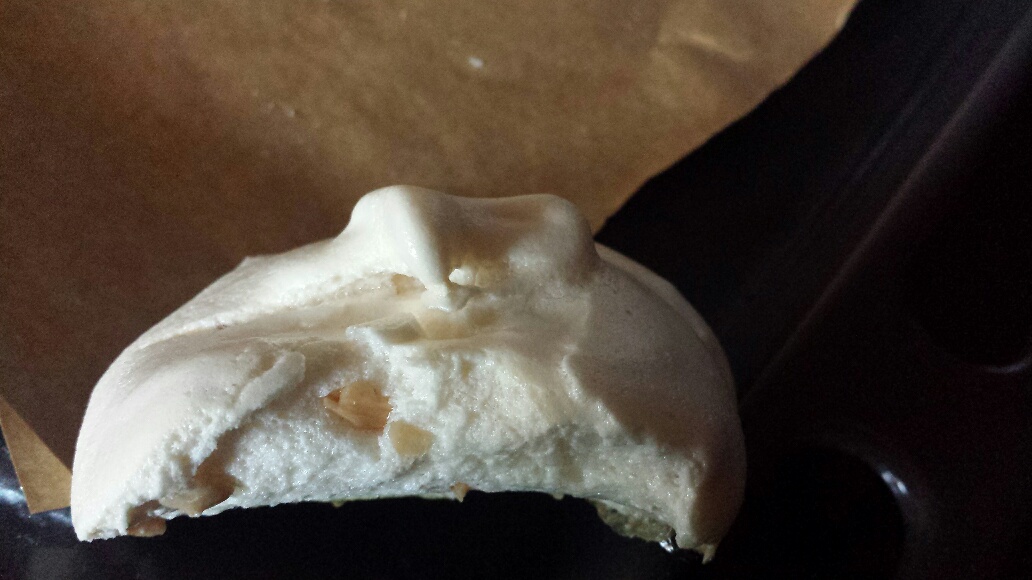
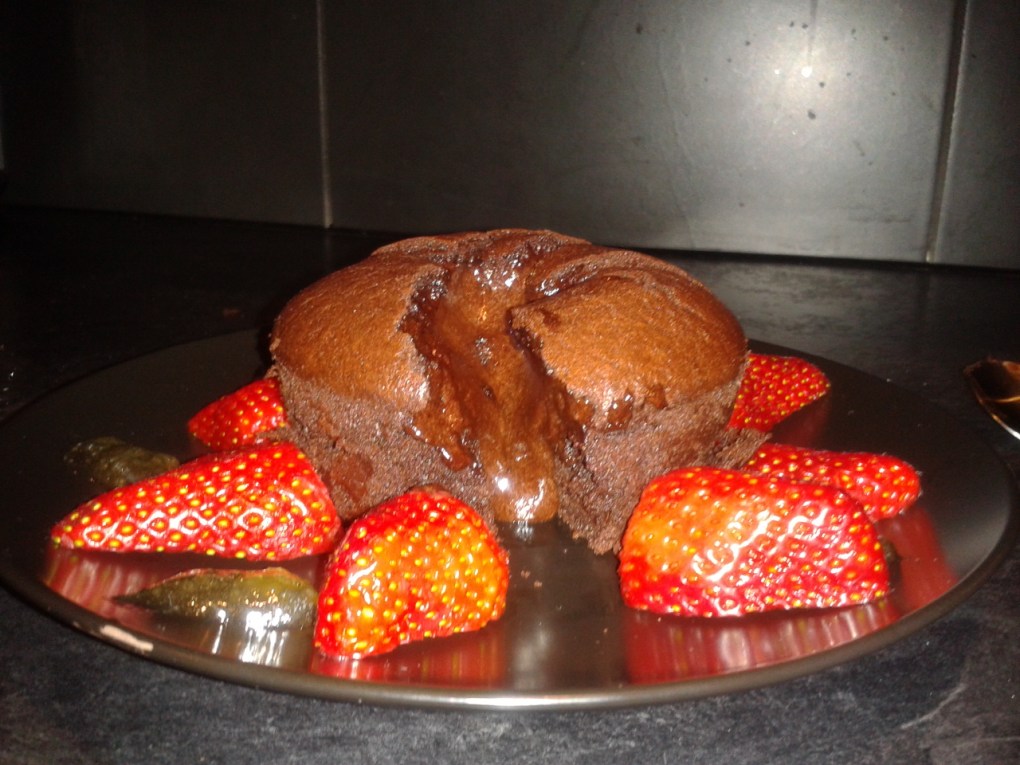
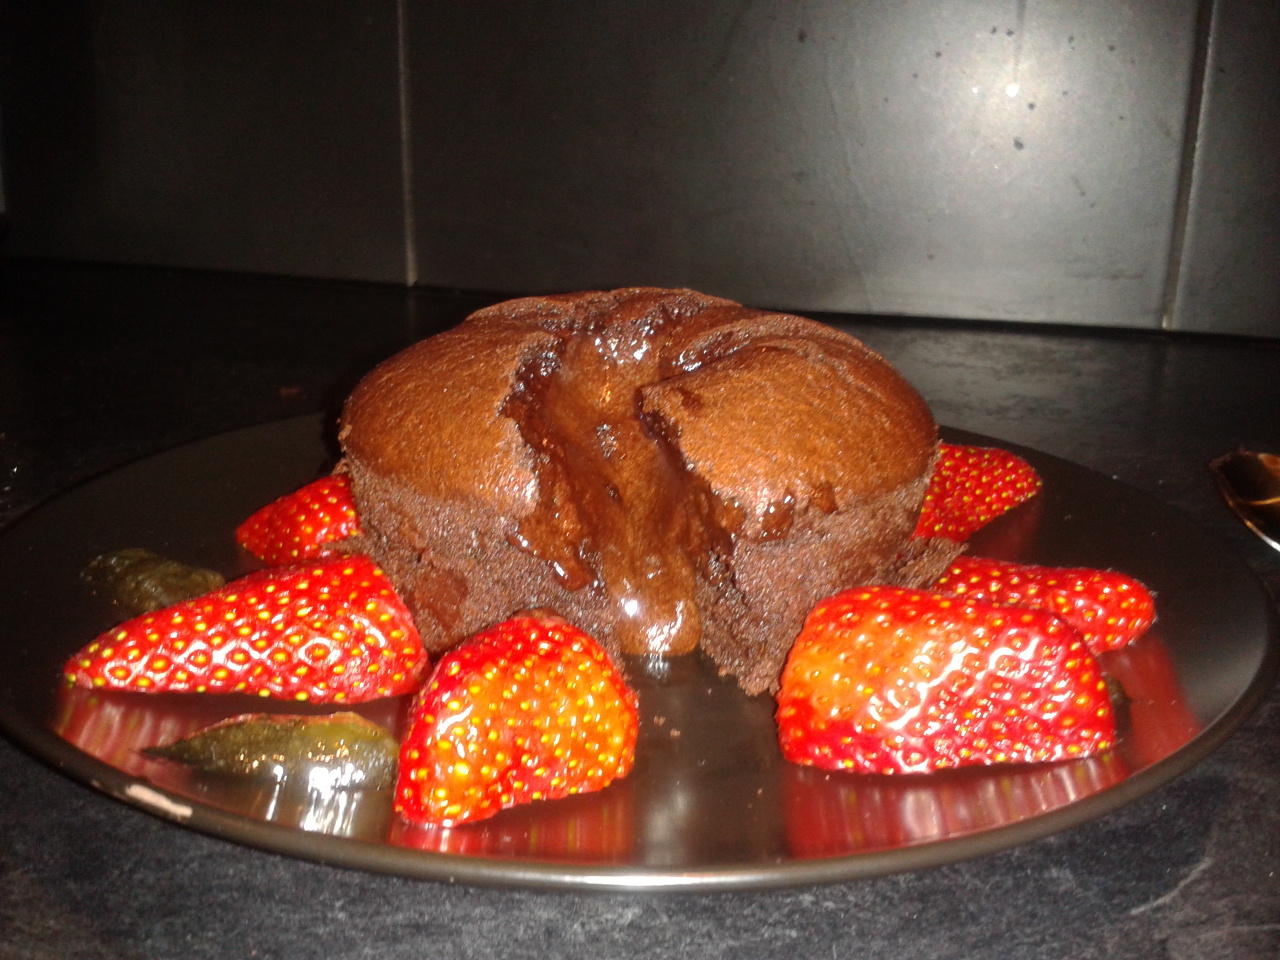
 This was after about 8 mins.
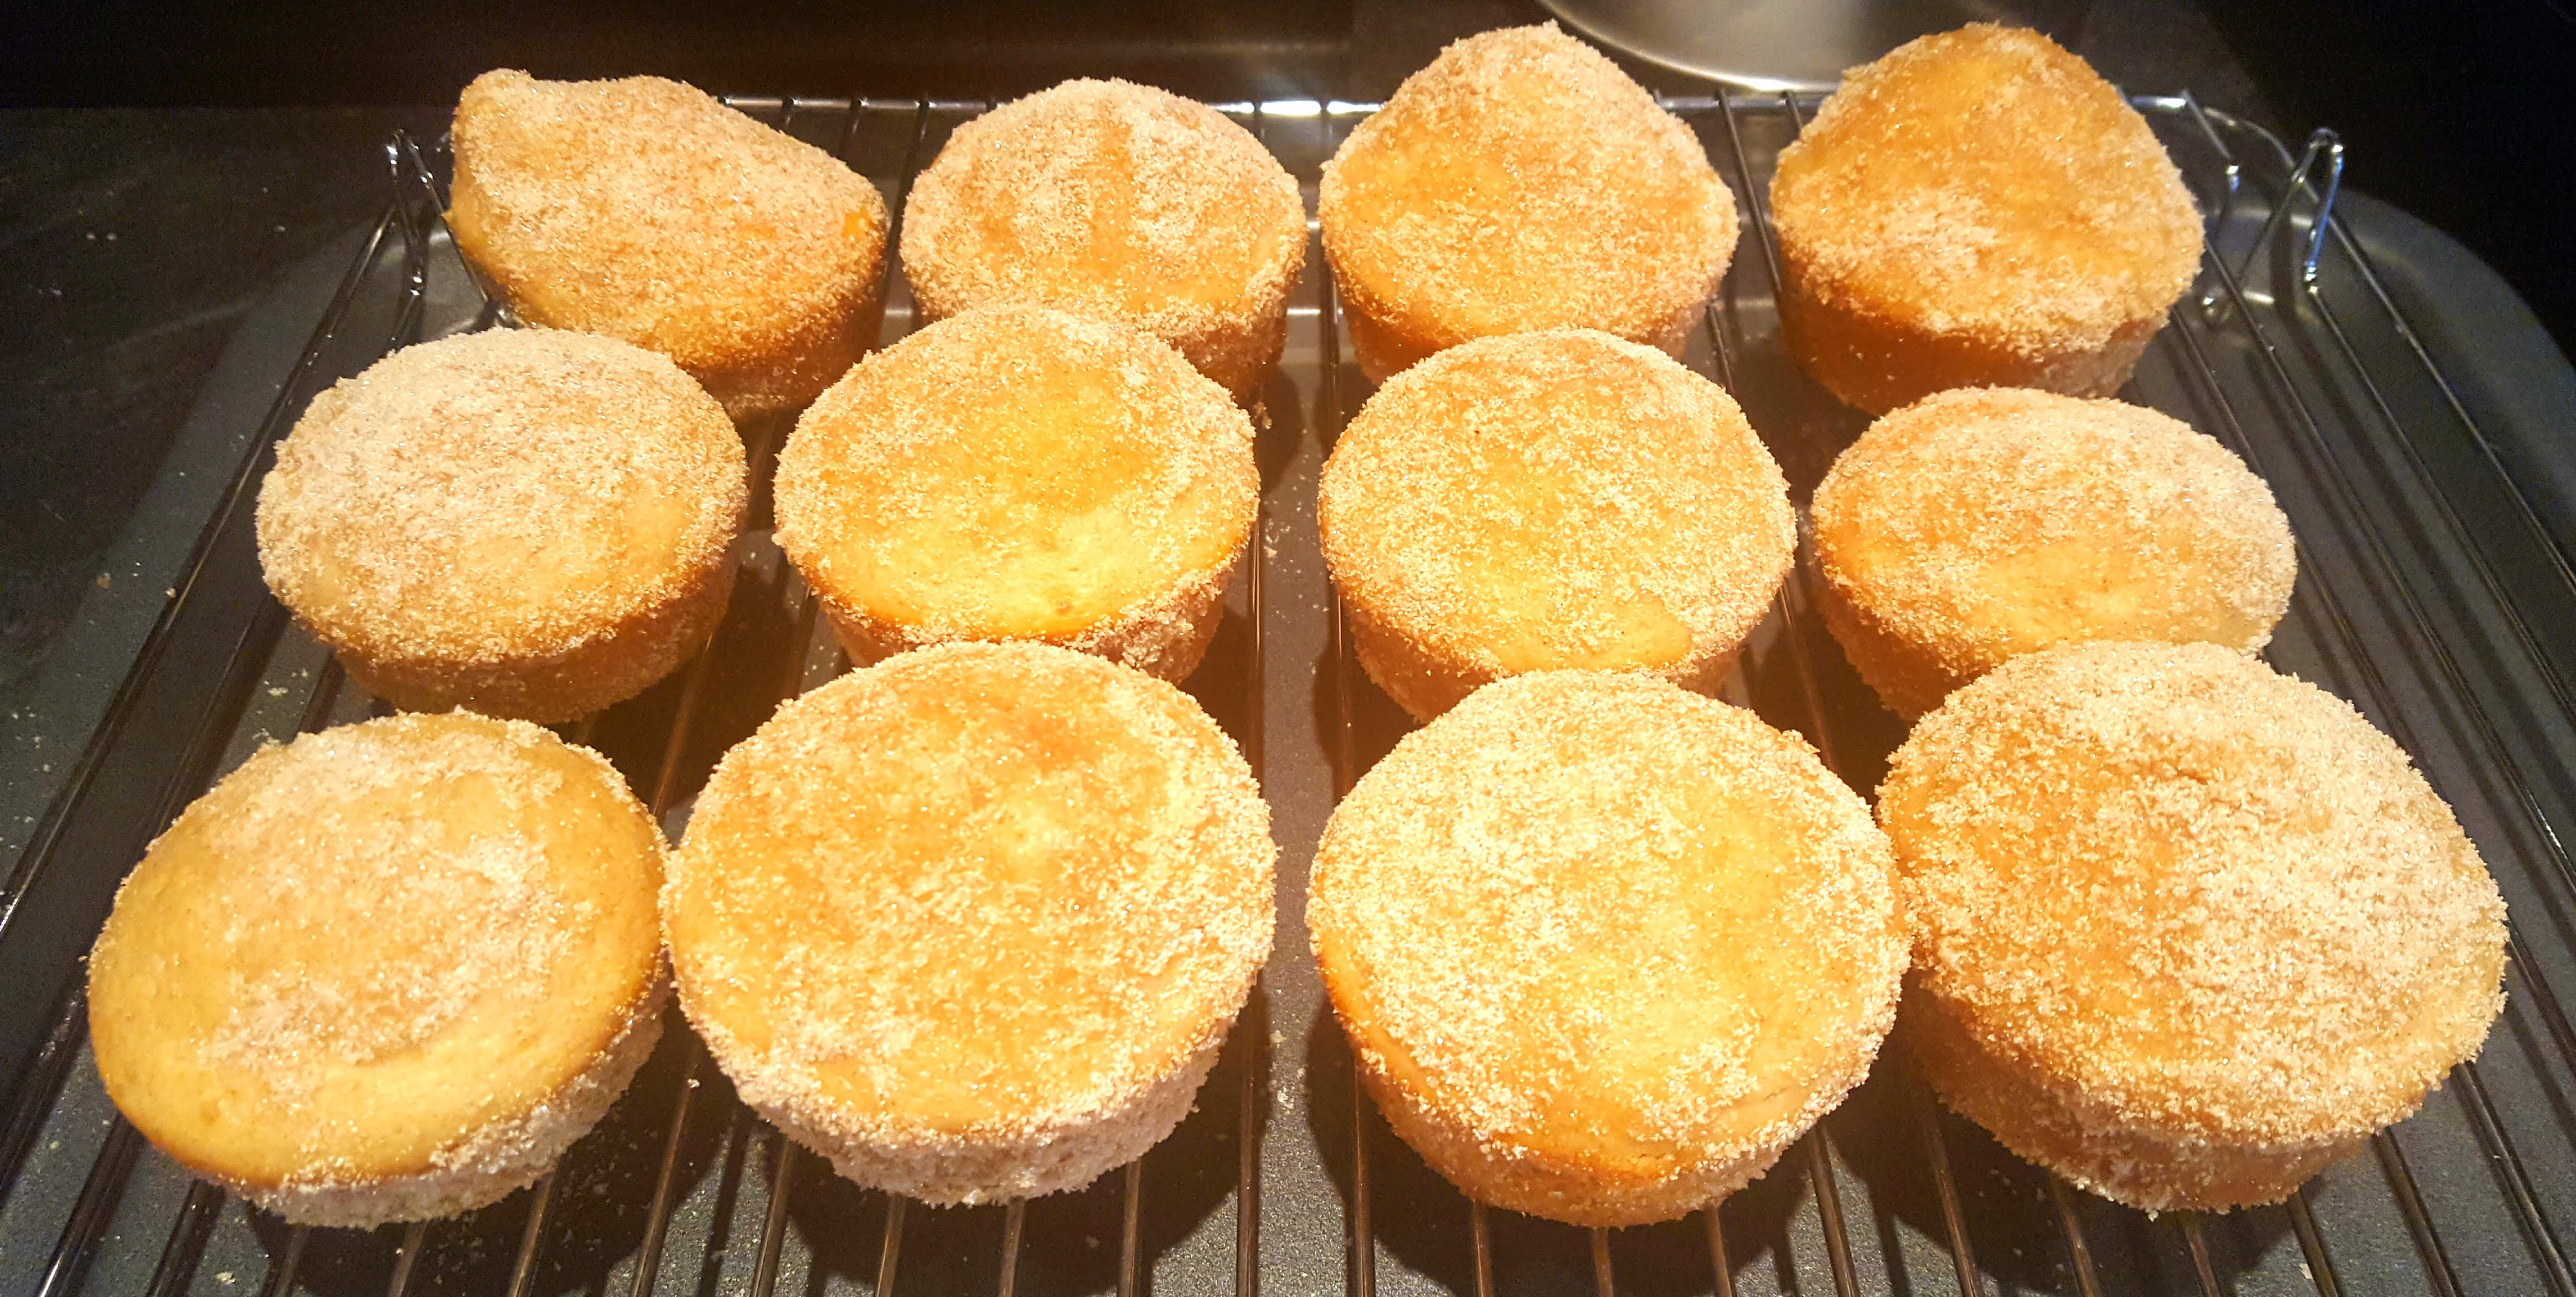
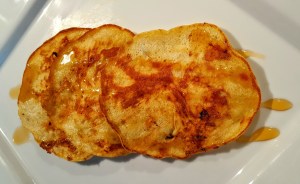
 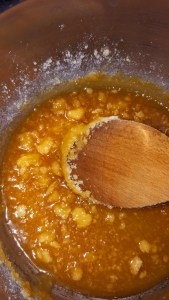 Then 10 mins….
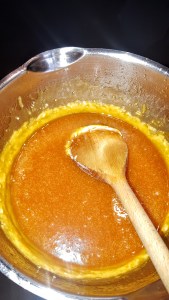


You must be logged in to post a comment.