Chocolate & Salted Caramel Pink Pitaya Creams

Chocolate & Salted Caramel Pink Creams

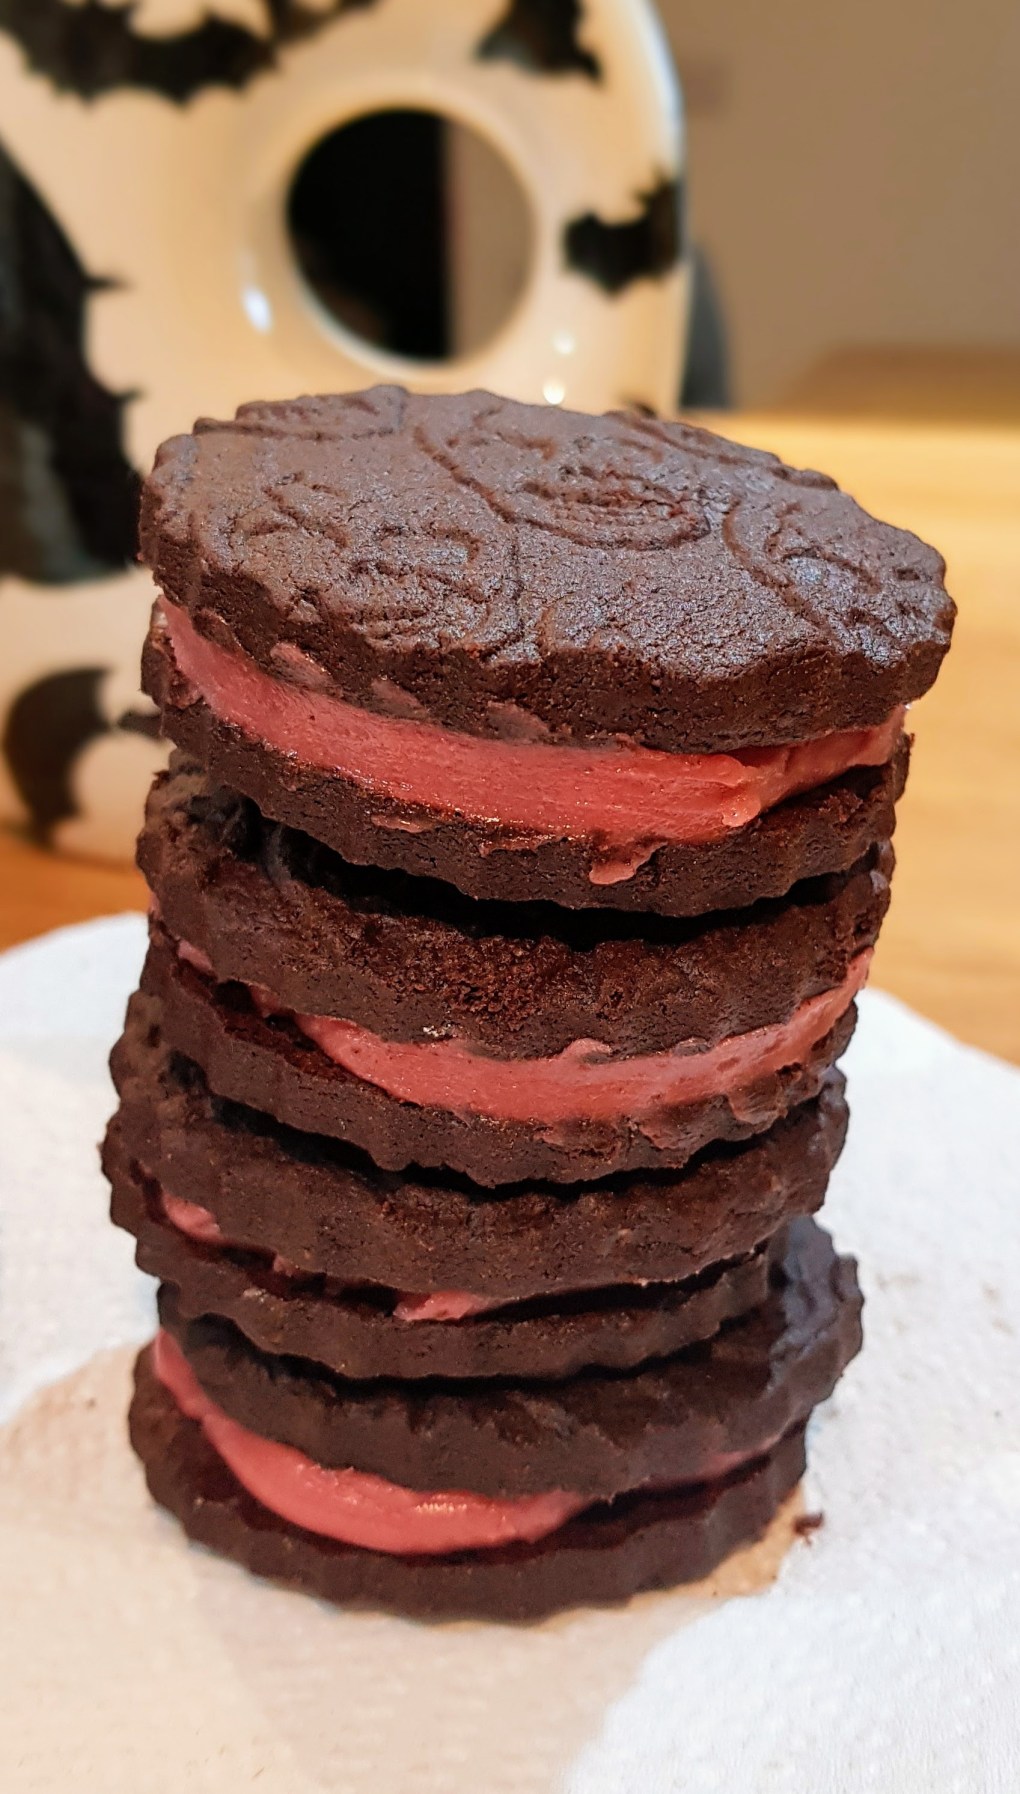
Oh Yum! Do you have a sweet tooth? Do you love Chocolate? Do you love Salted Caramel? Well, you will love these delicious biscuit creams. Perfect with a warm cuppa in the morning, afternoon or evening!

I do love experimenting, I was initially going to try espresso chocolate but decided that might be too many flavours and I’m glad I didn’t as these turned out so delicious. Want the recipe? Here you go. If you try, let me know what you think.


Makes about 8 Biscuits

For the biscuits:-

120g Plain flour

35g Cocoa Powder

35g Powdered Sugar

100g Butter

1 Tsp Vanilla Extract

For the Cream Filling:-

75g Butter

65g Powdered Sugar

1 Tsp Salted Caramel Flavouring

1 Tsp Pink Pitaya Powder

  1. Preheat your oven to 175 deg c. Line a baking tray with baking sheet.
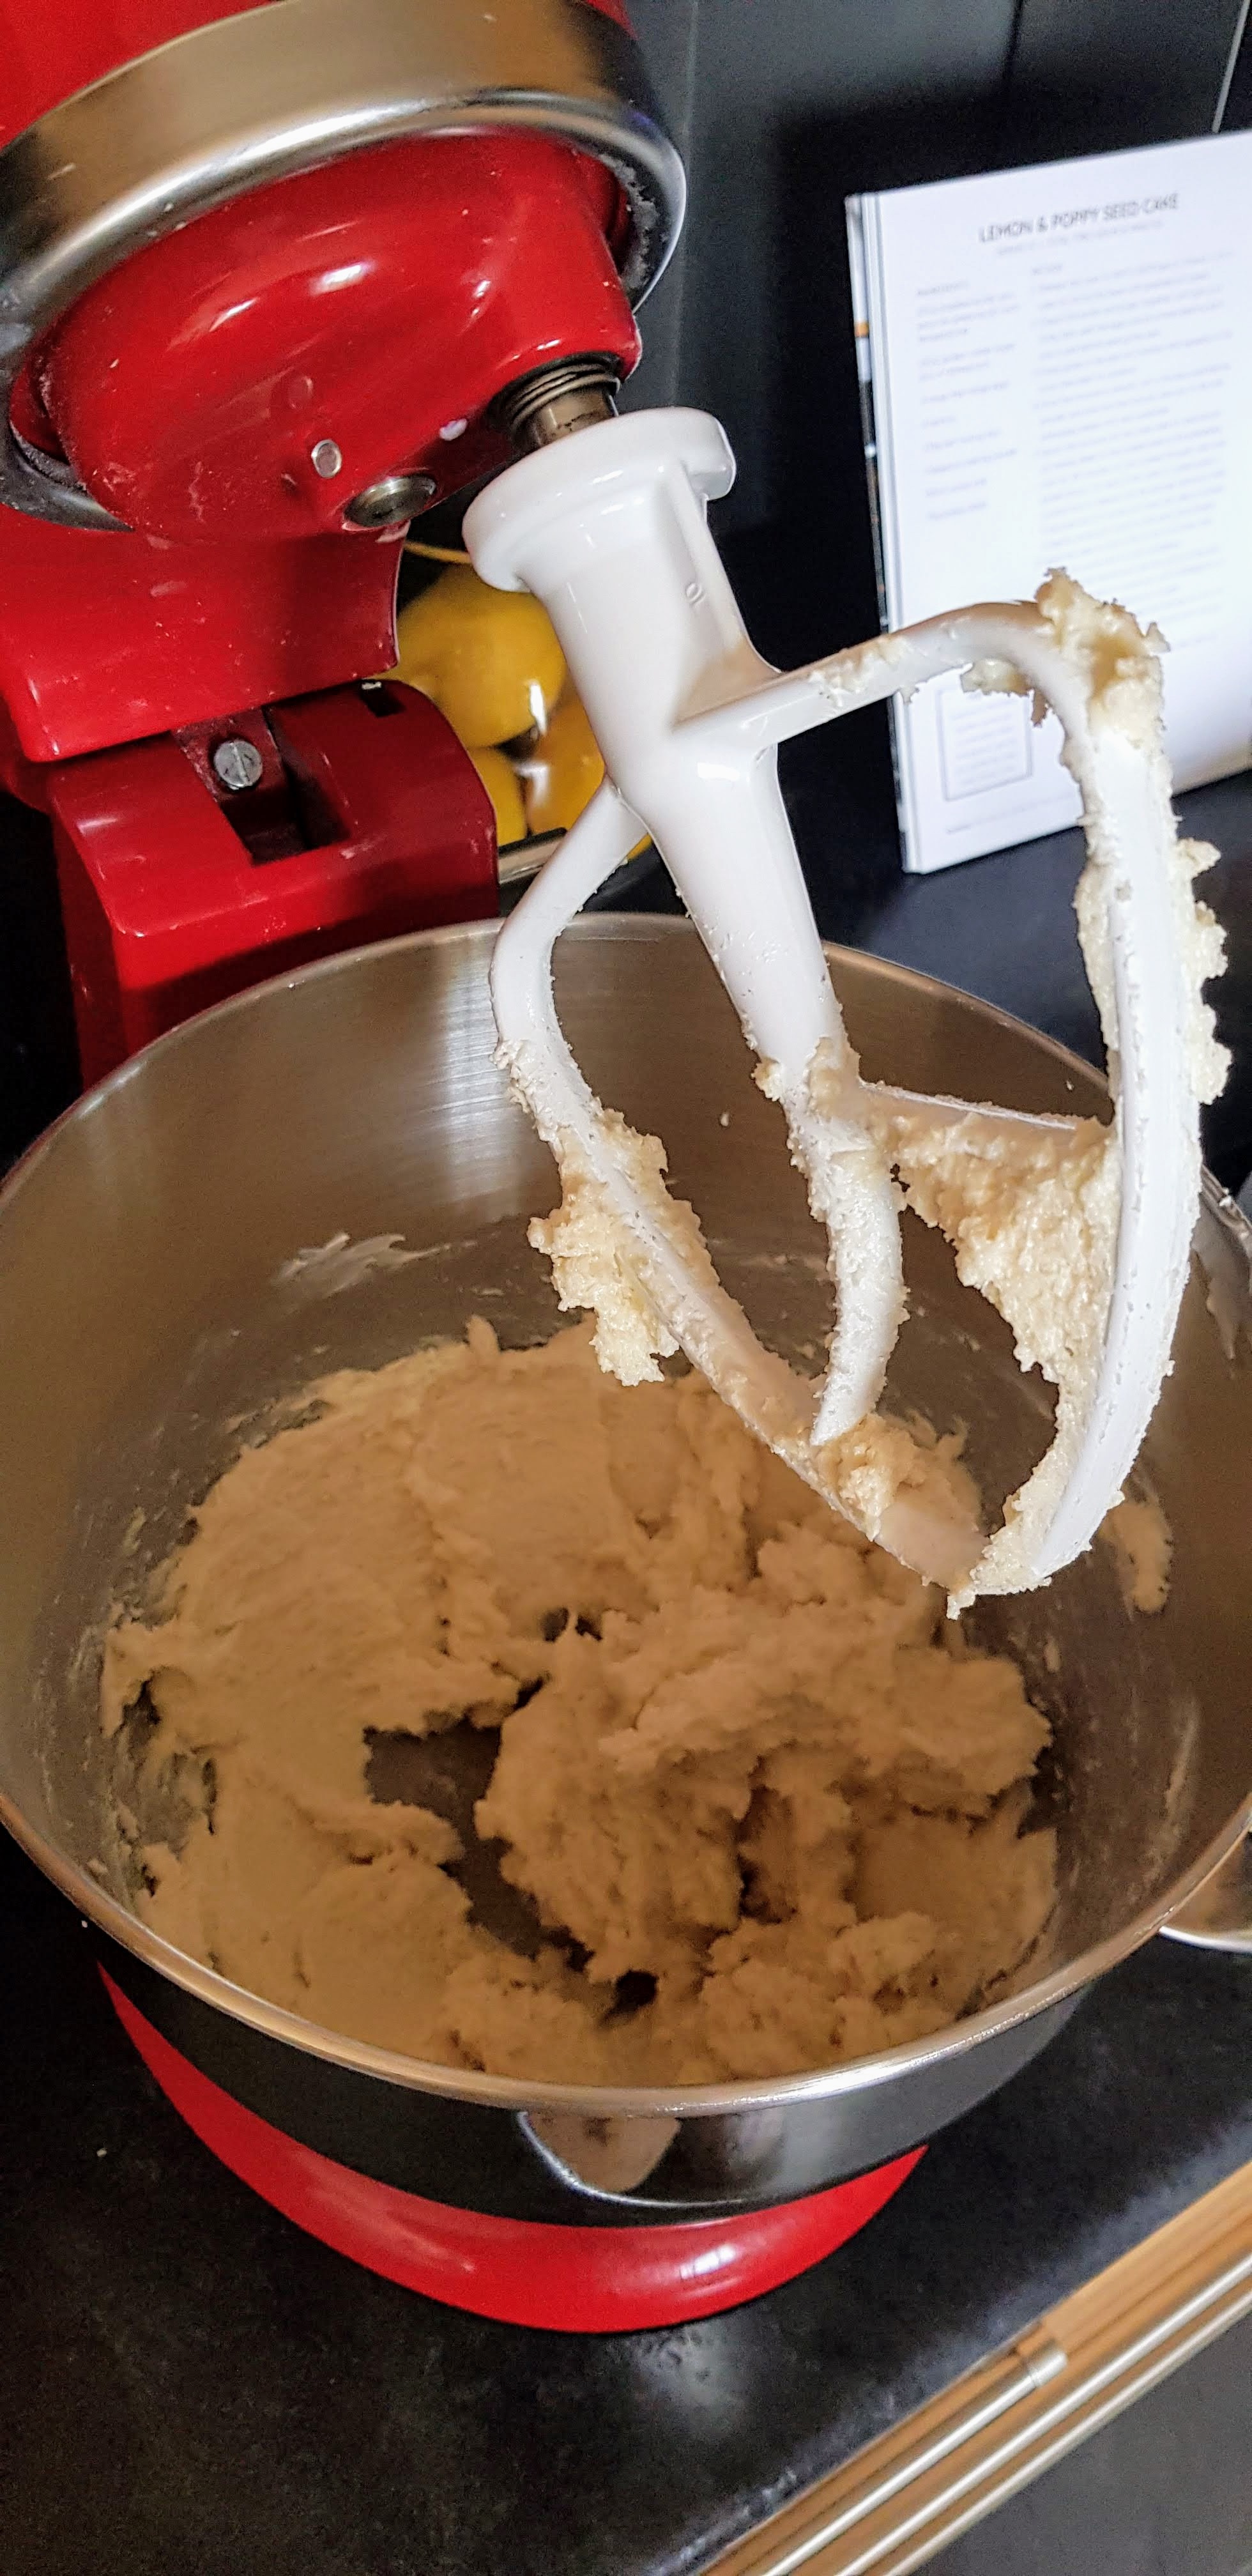
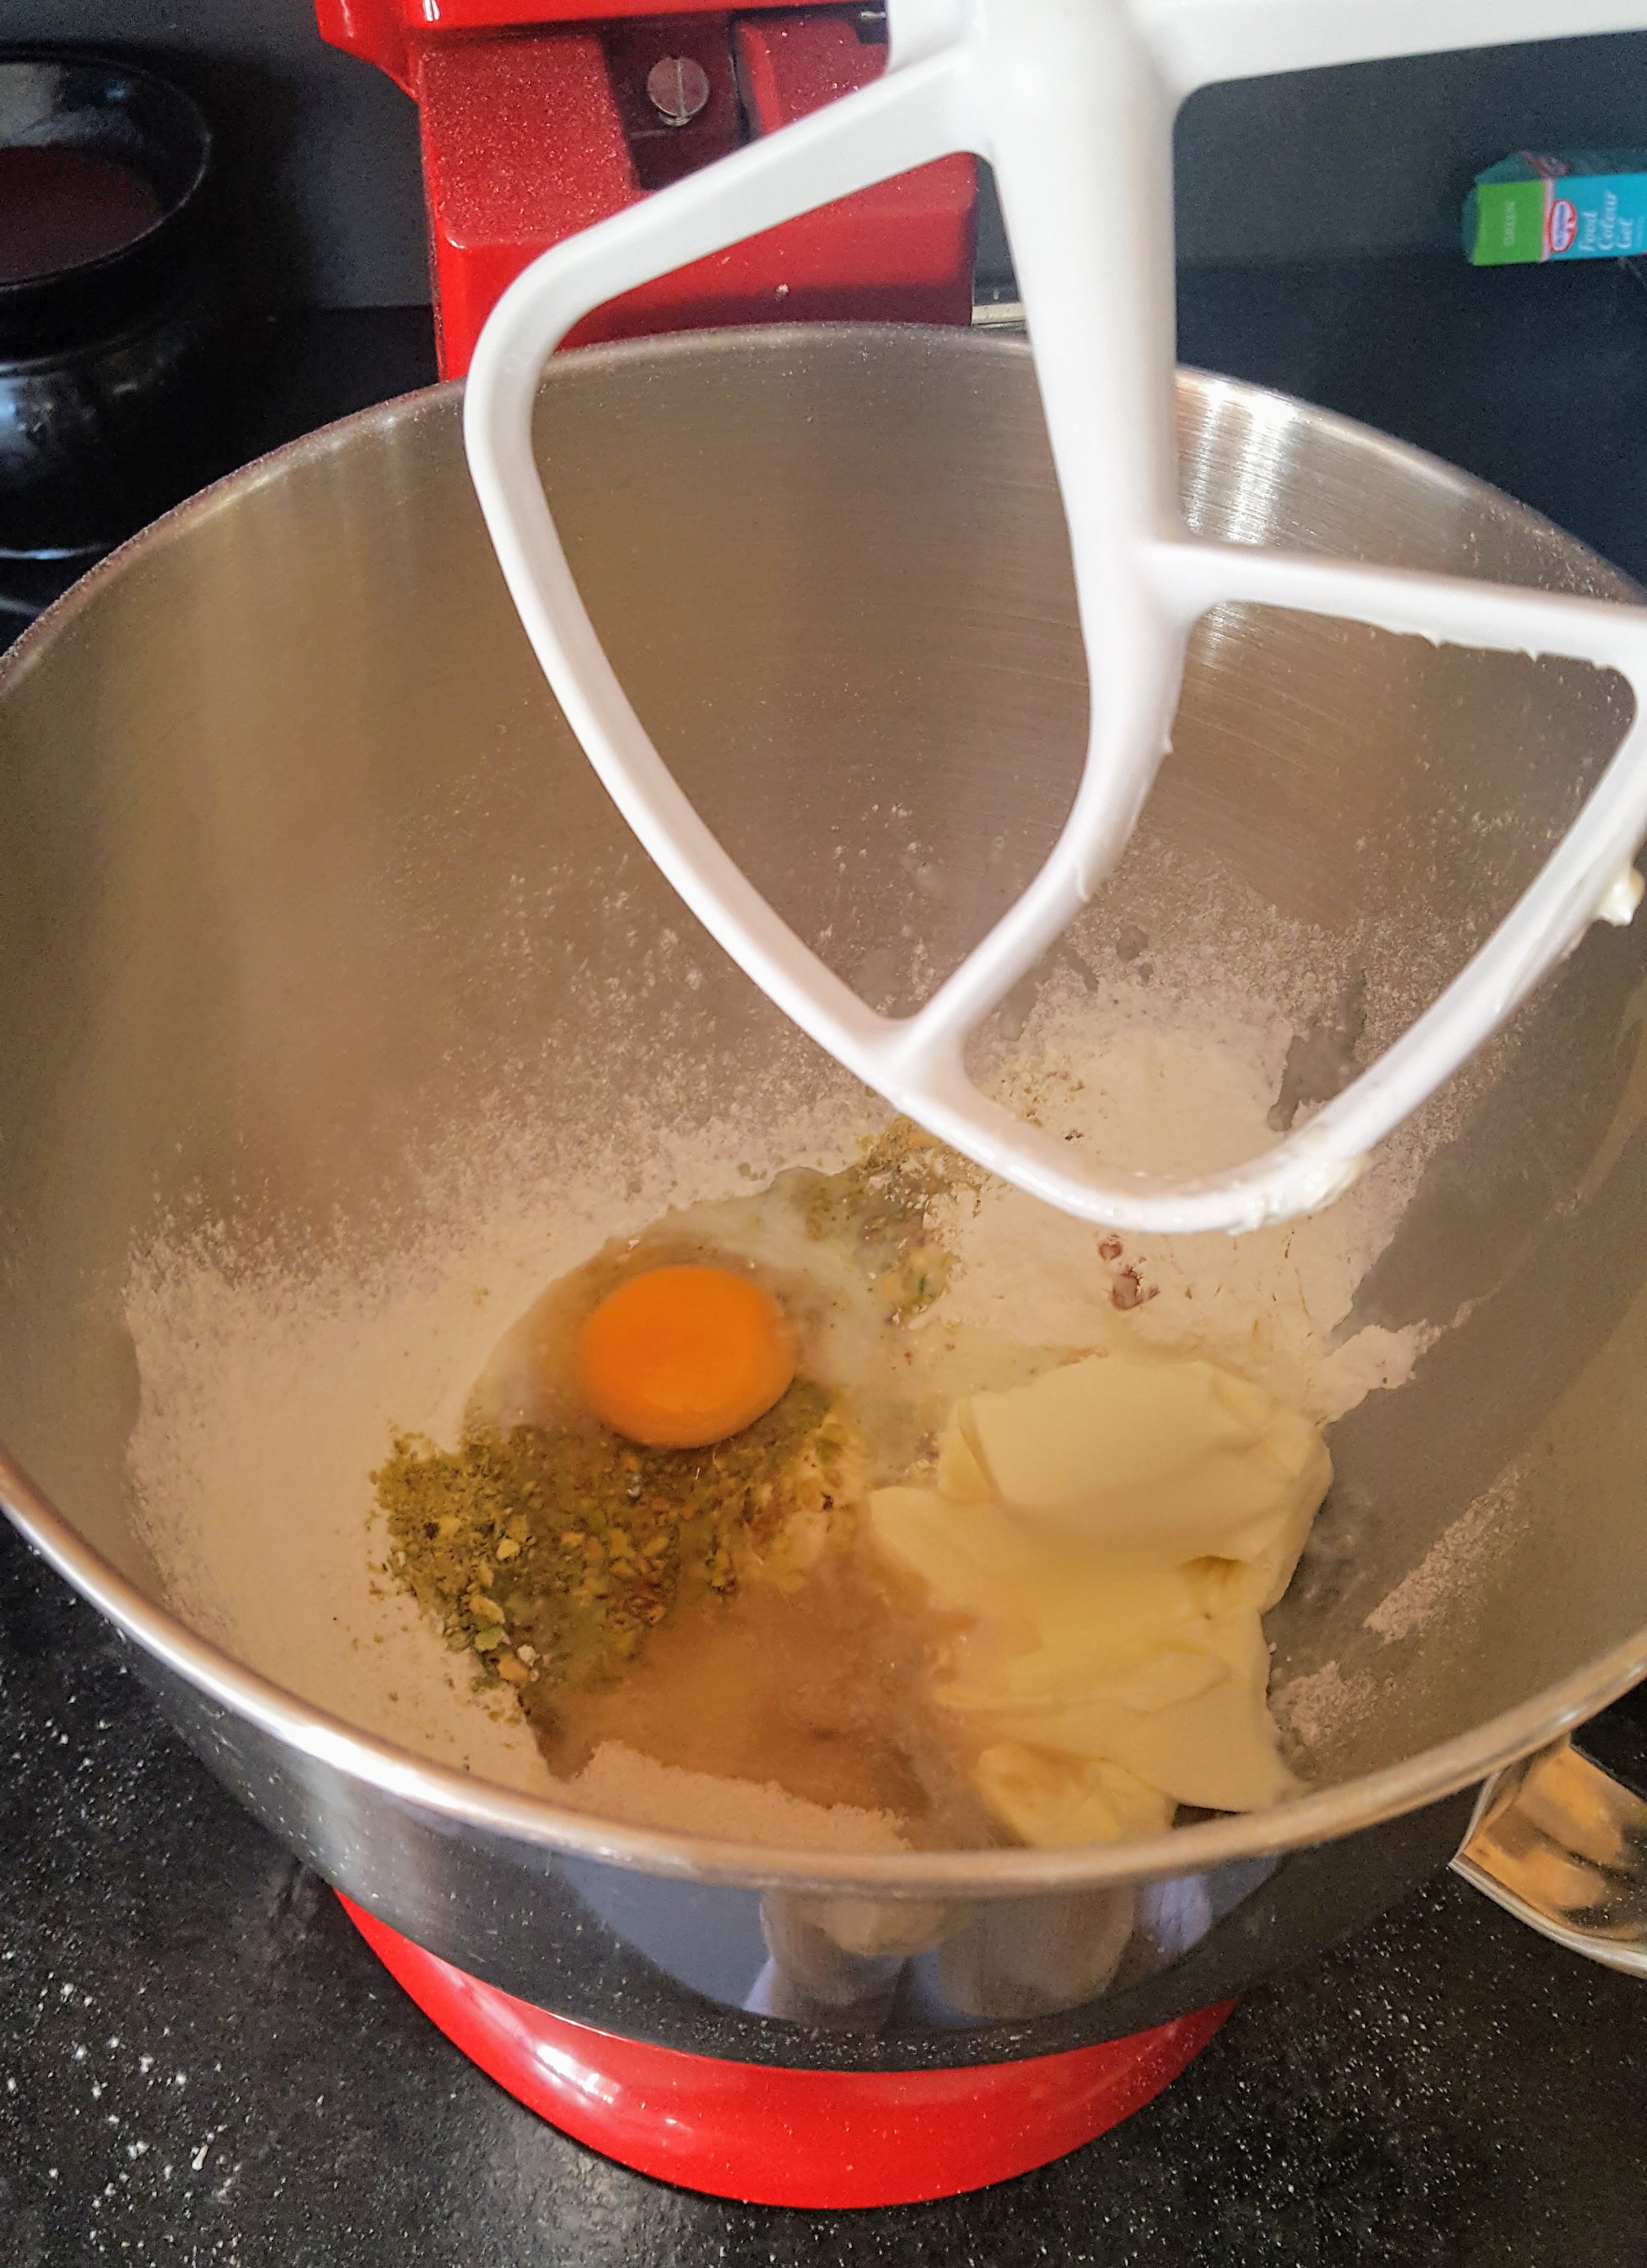
  2. In a mixer, combine all the biscuit ingredients until it starts to come together as a dough (couple of minutes)
  3. Roll out the dough to about 5 mm thick and using a cookie cutter, cut out circles until you’ve used up all the dough. Lay onto the baking sheet and place in the fridge for about 30 minutes.
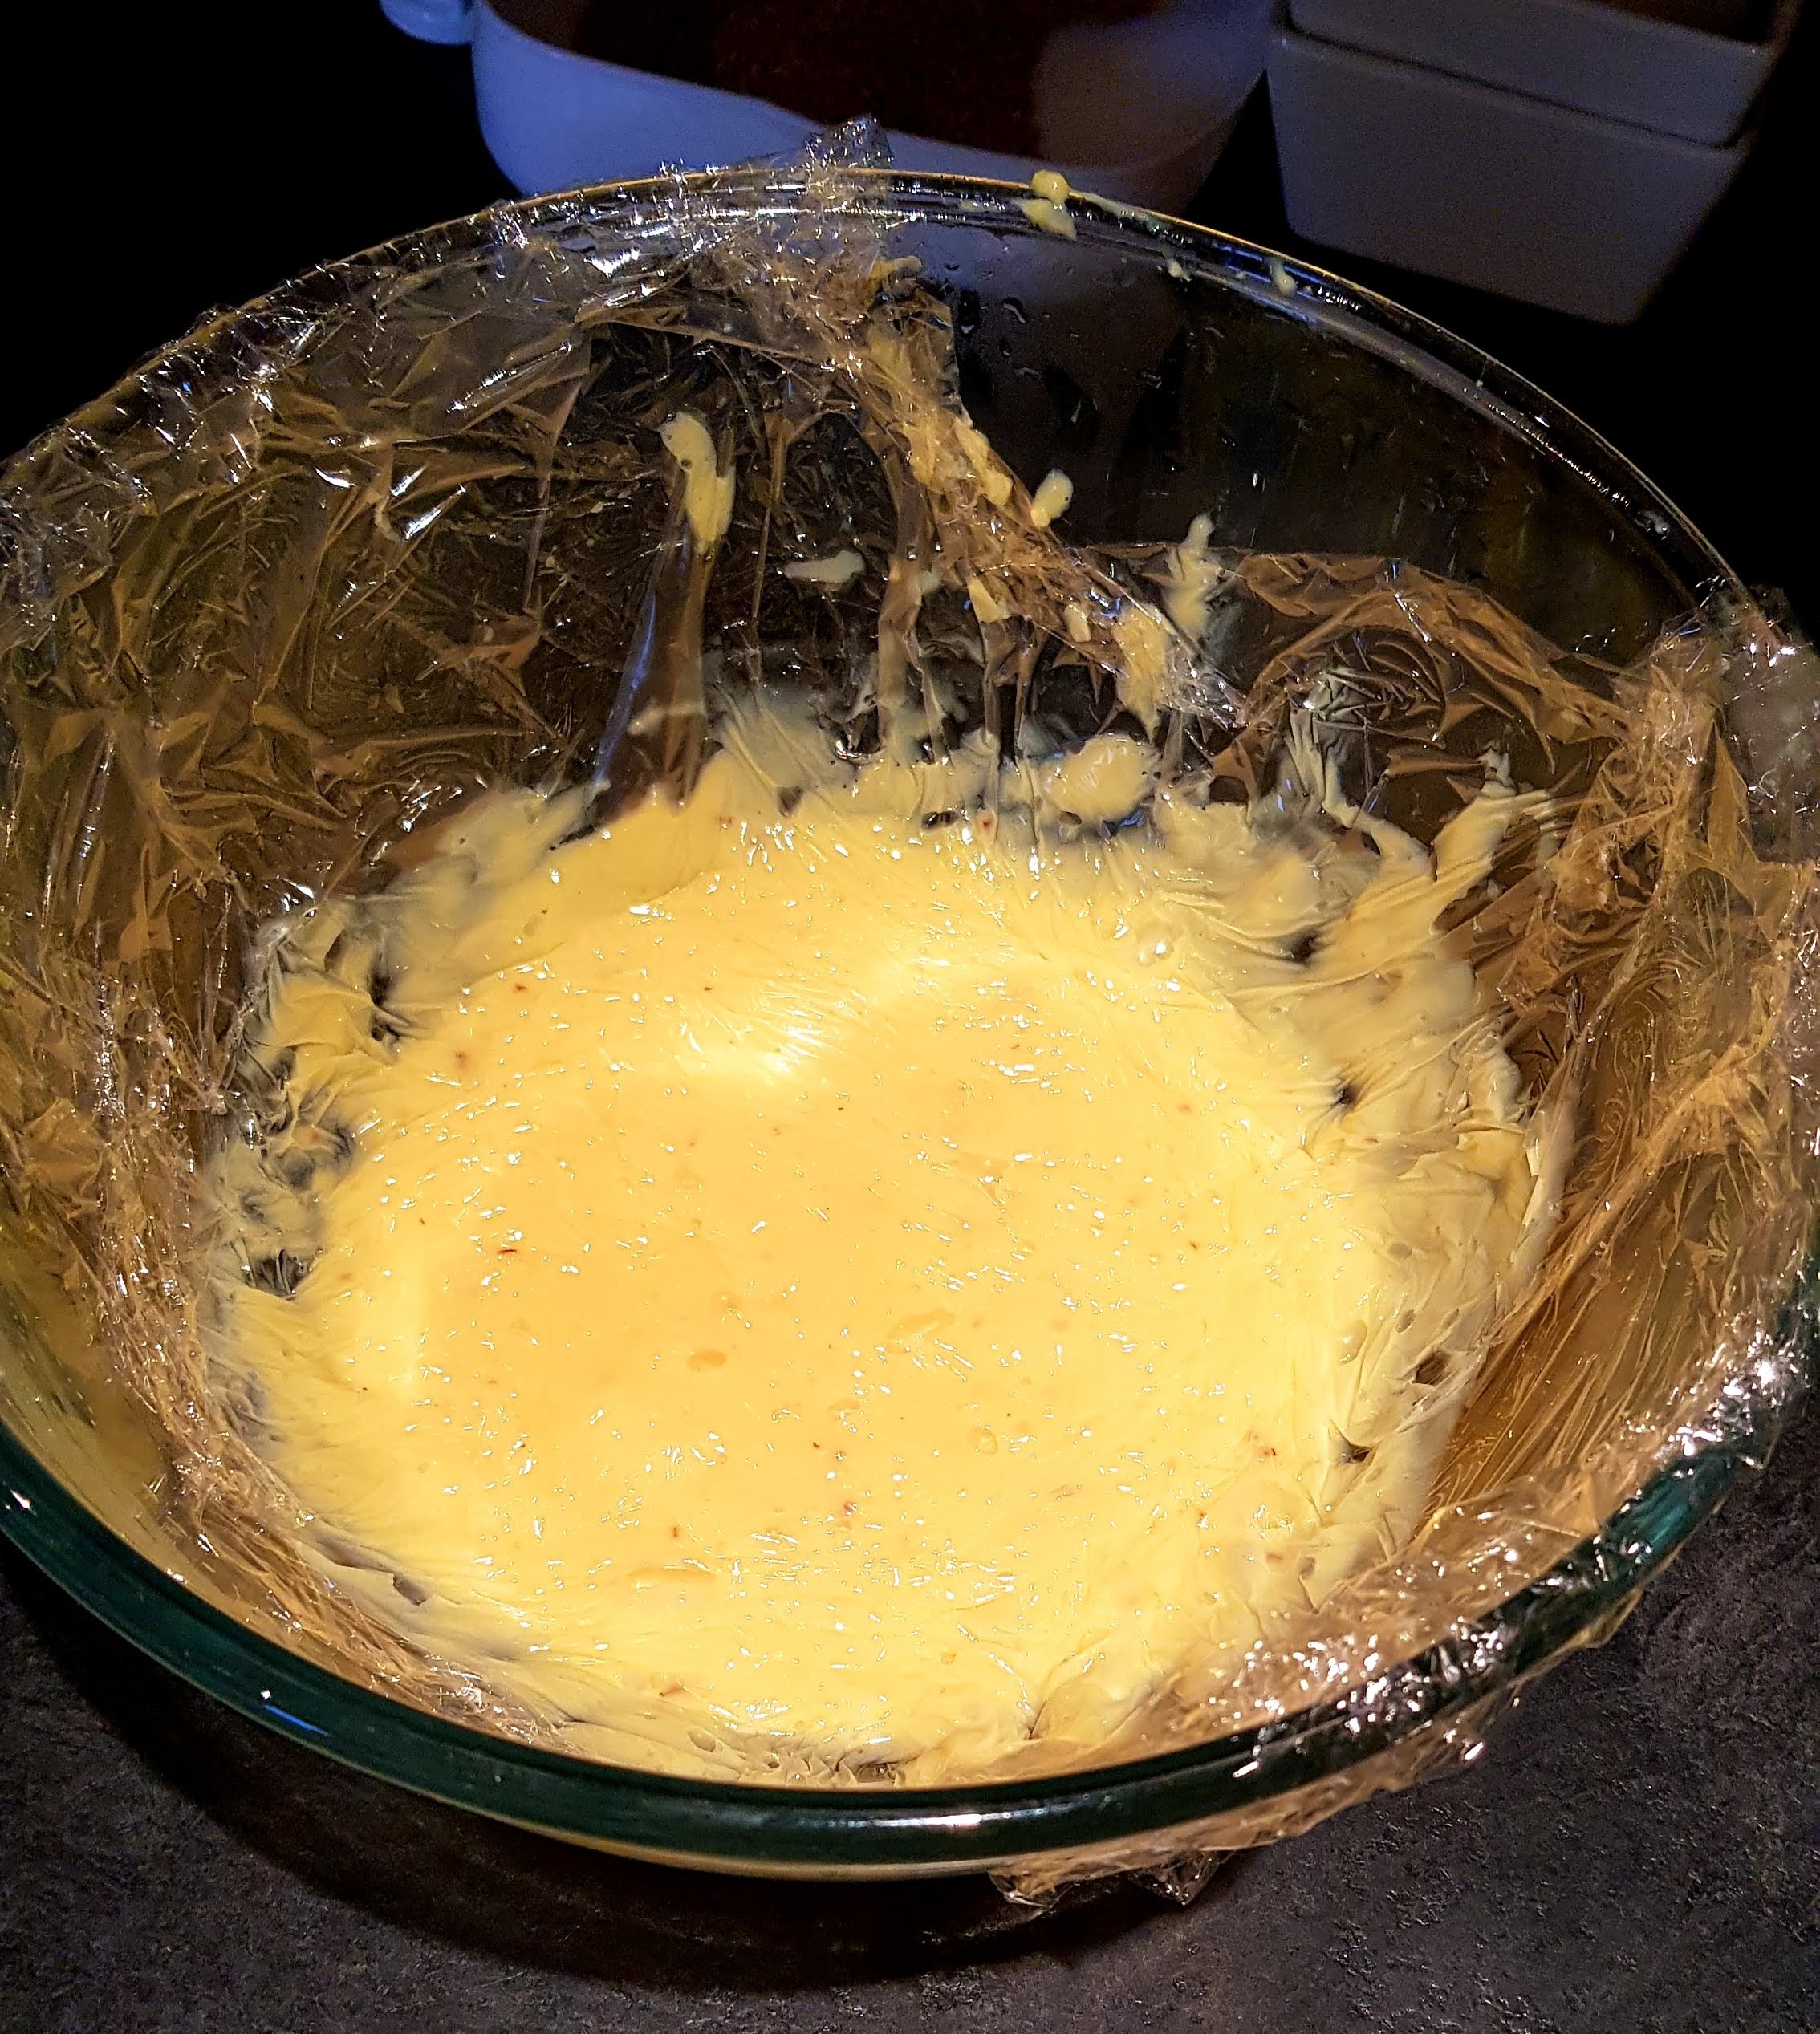
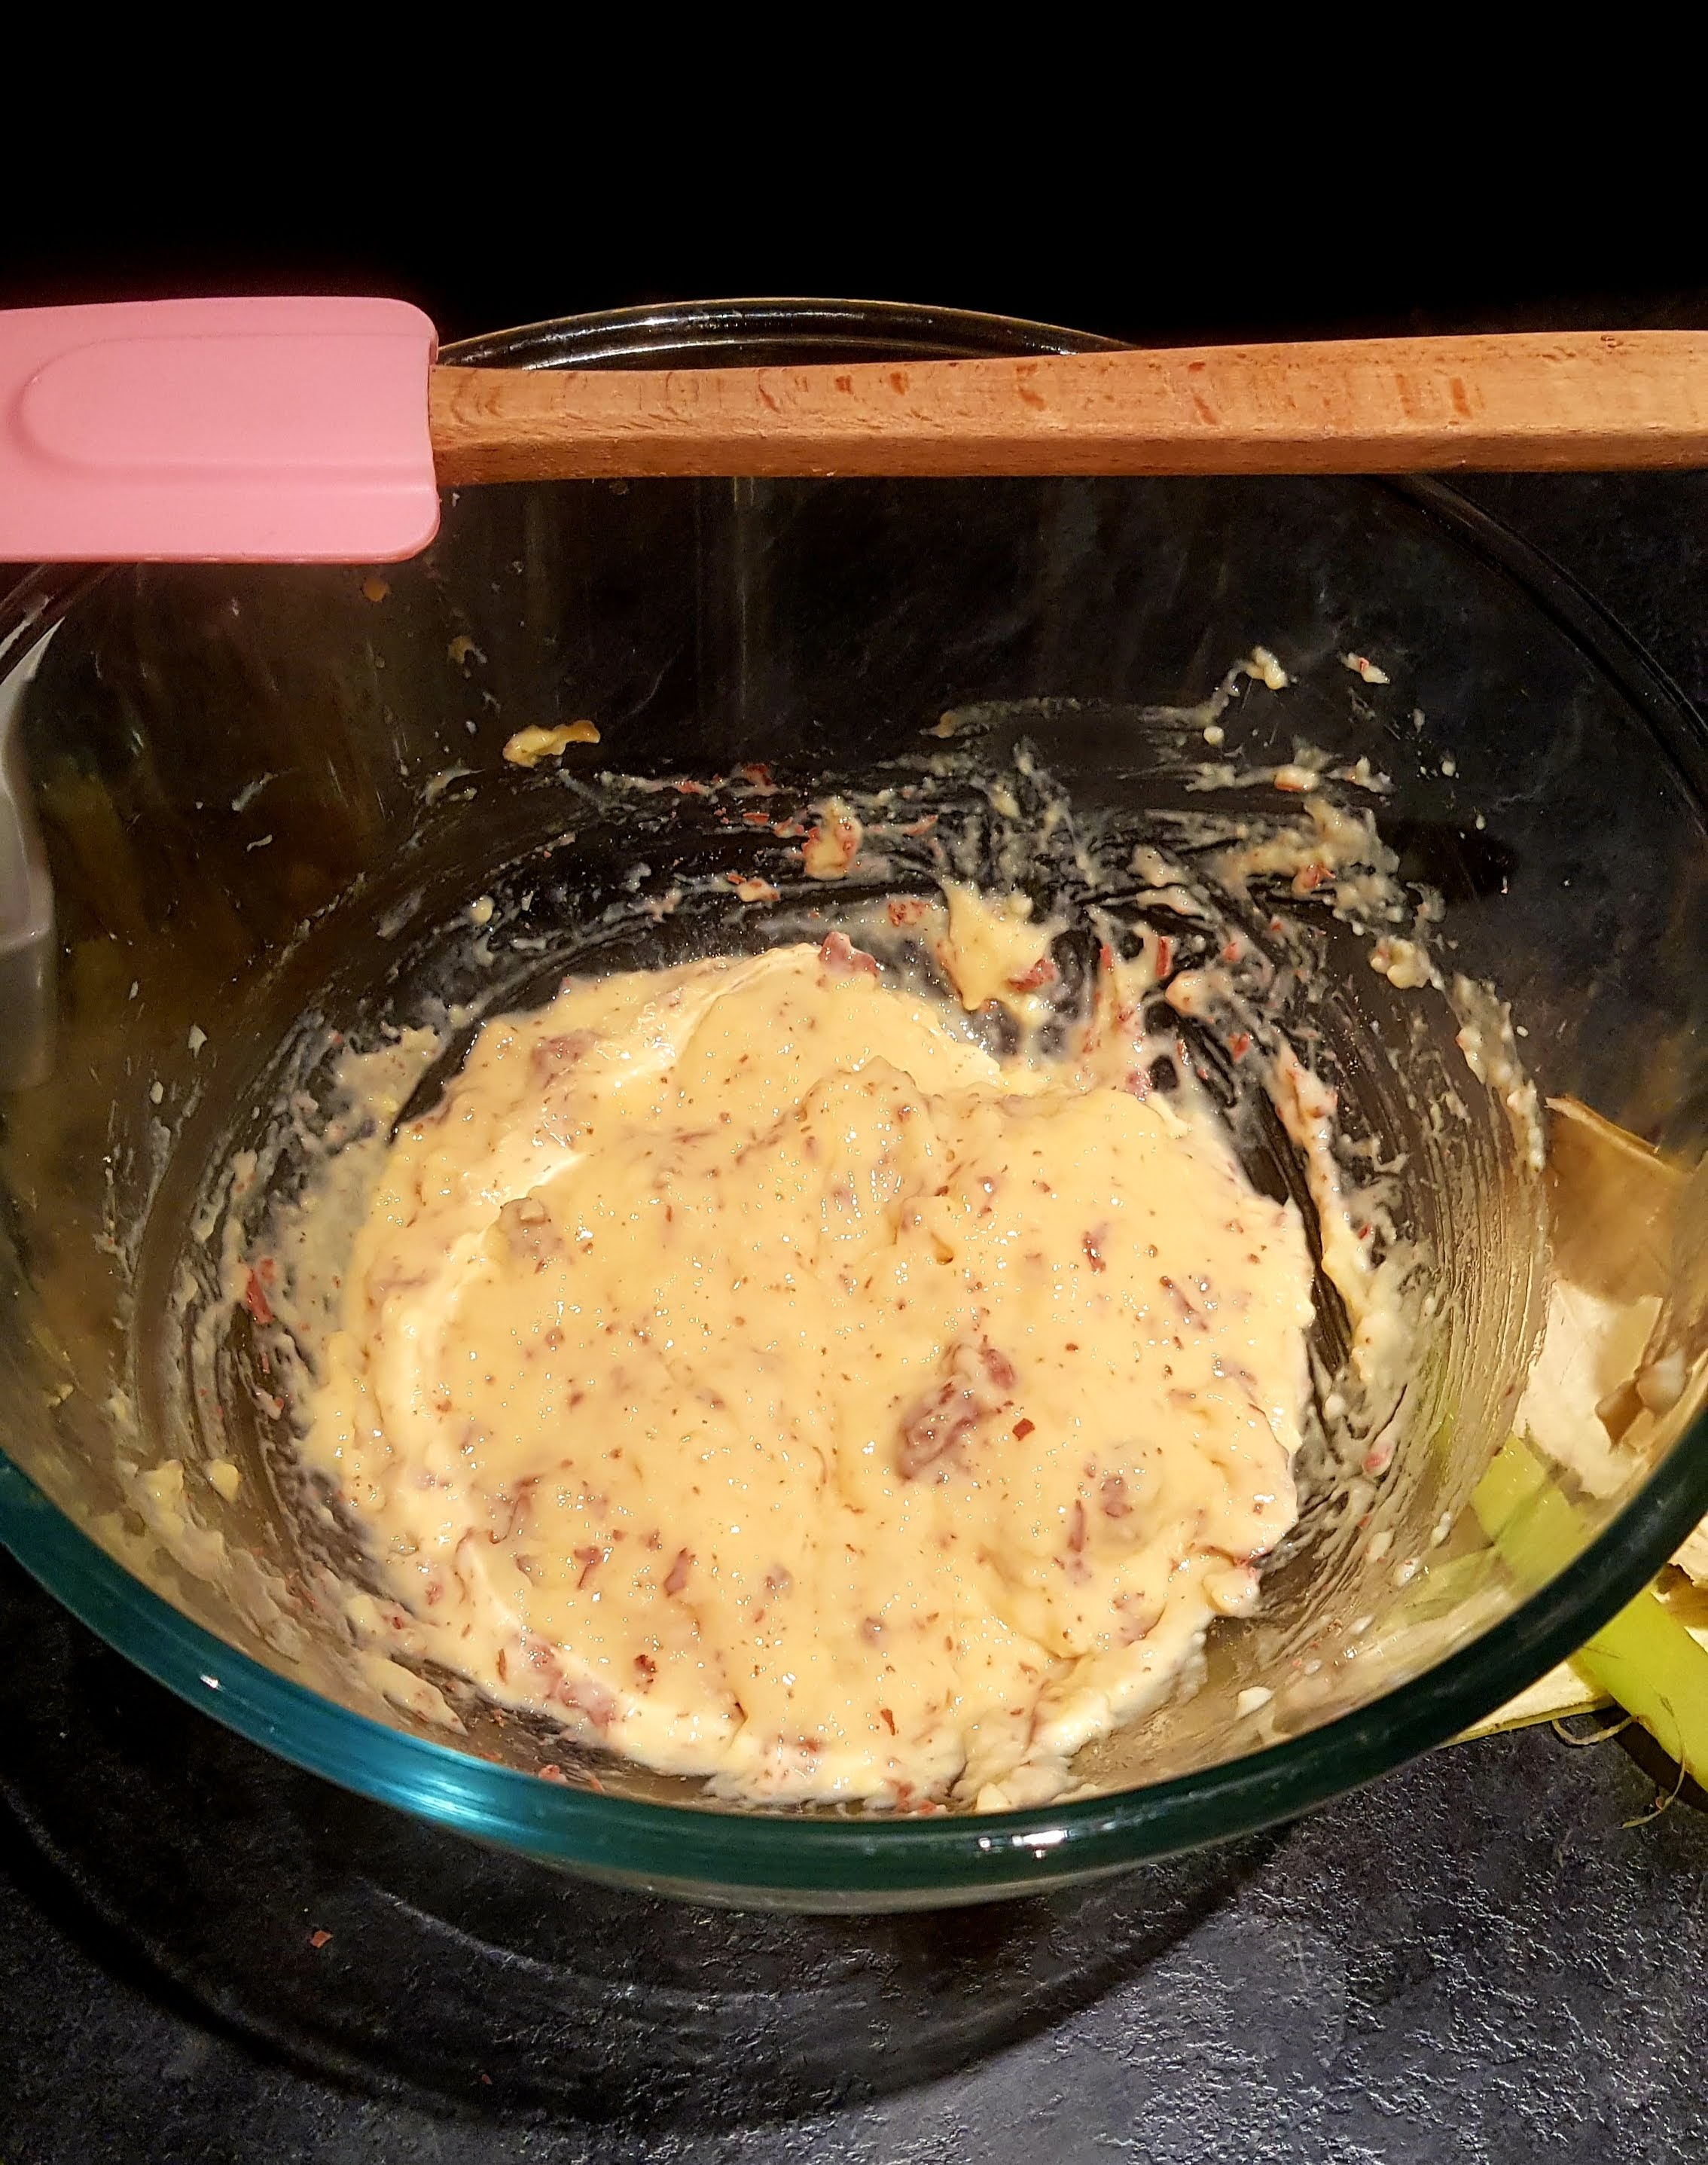
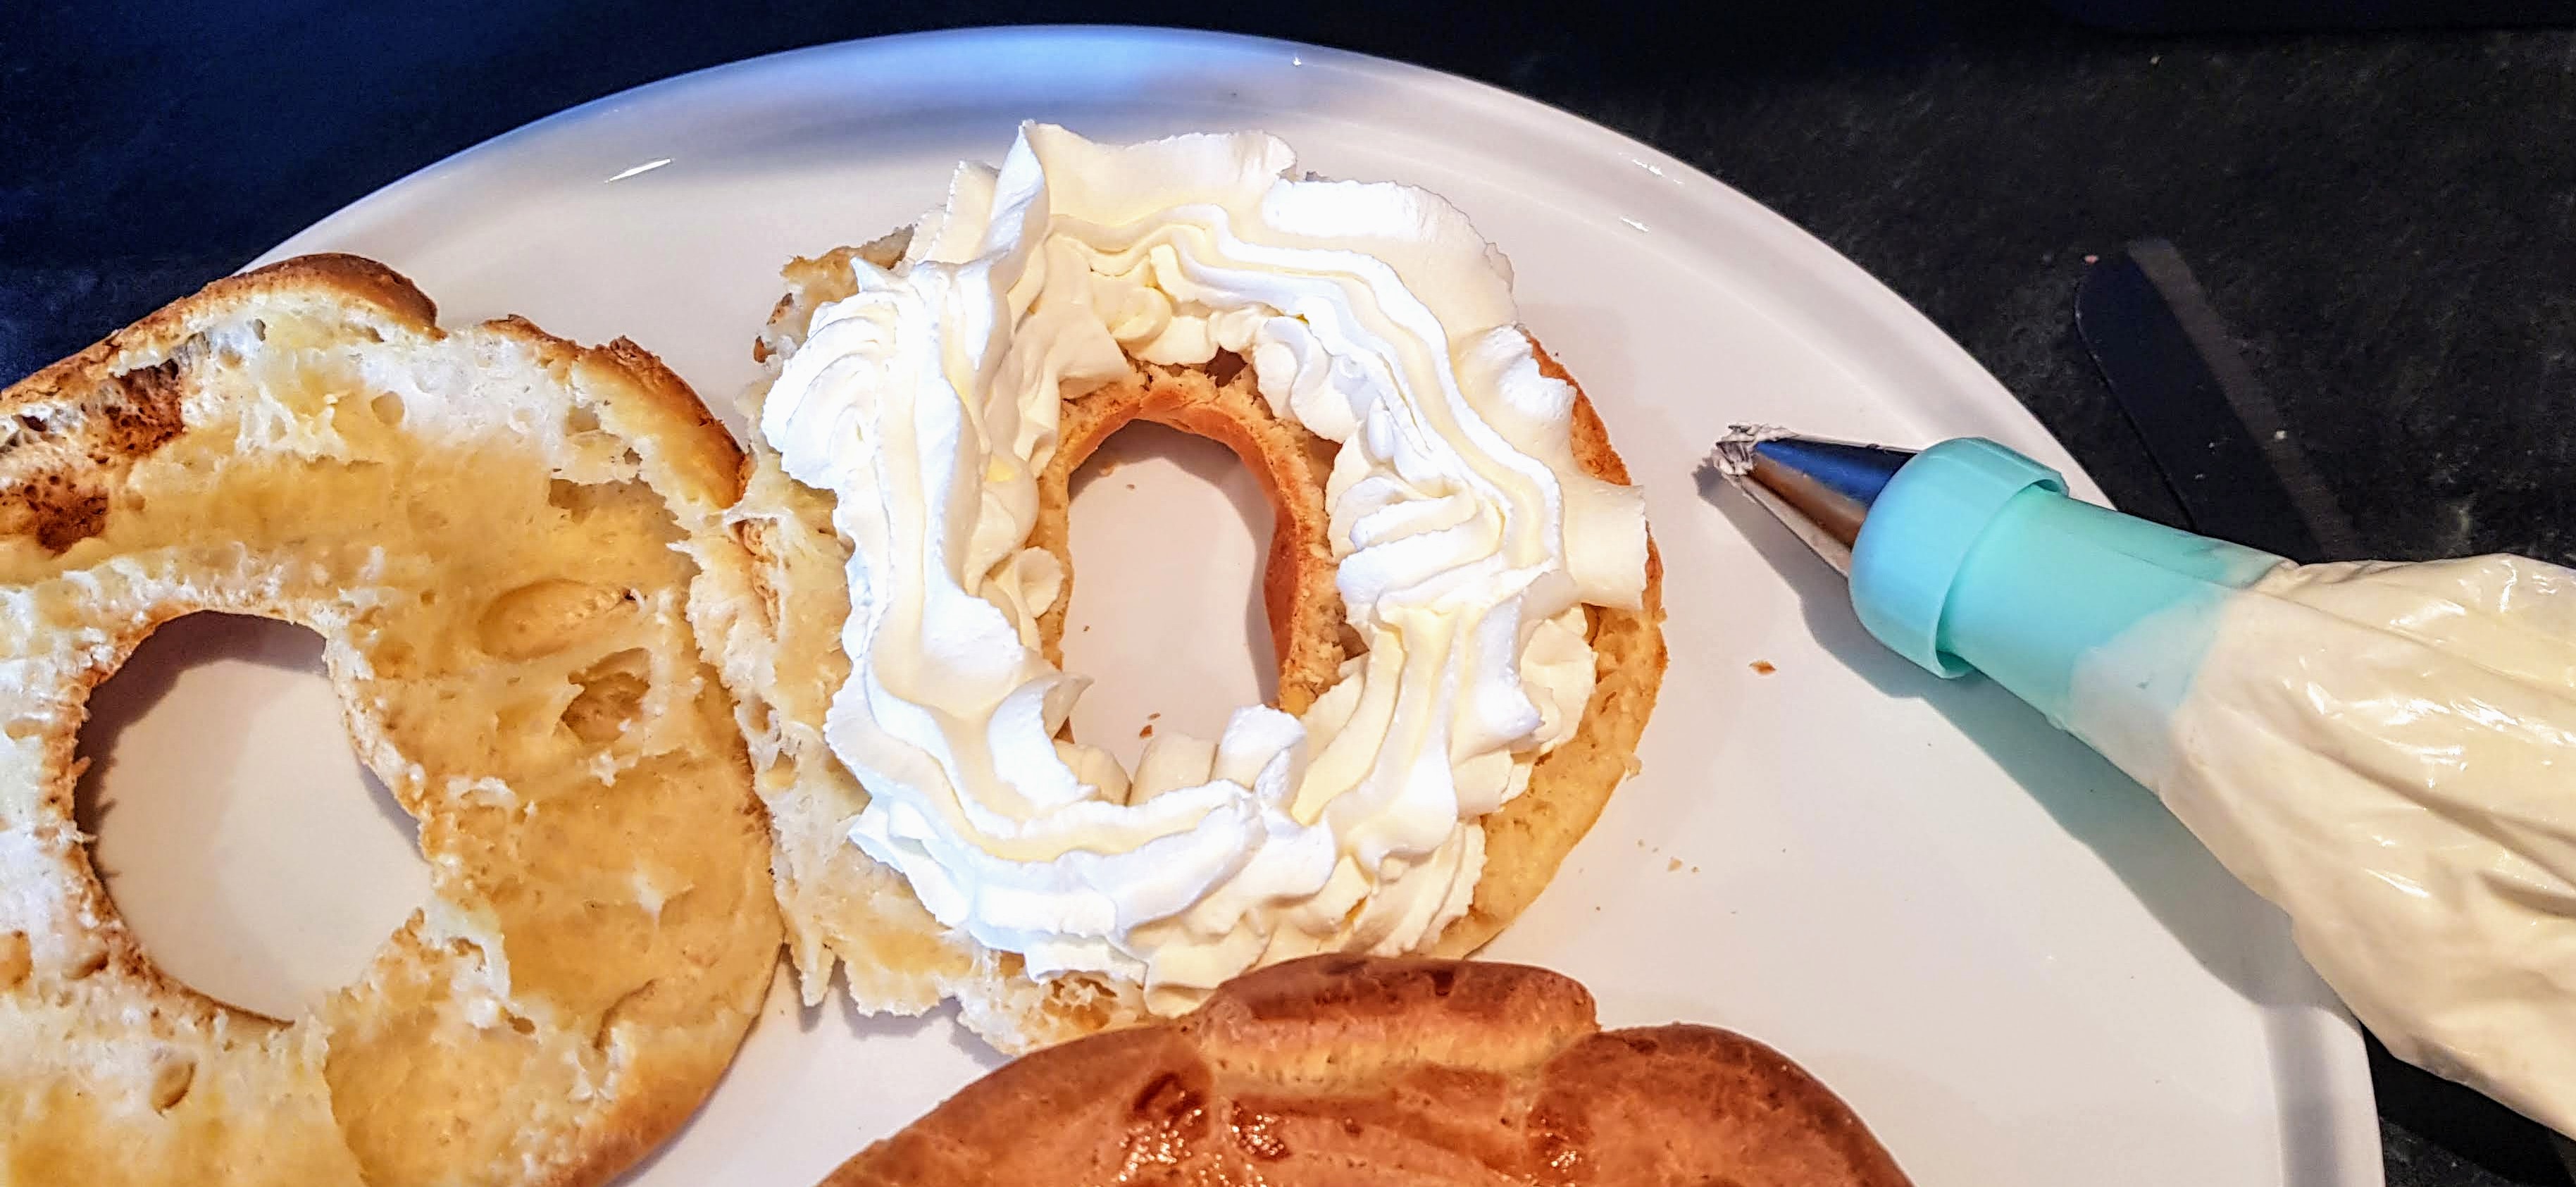
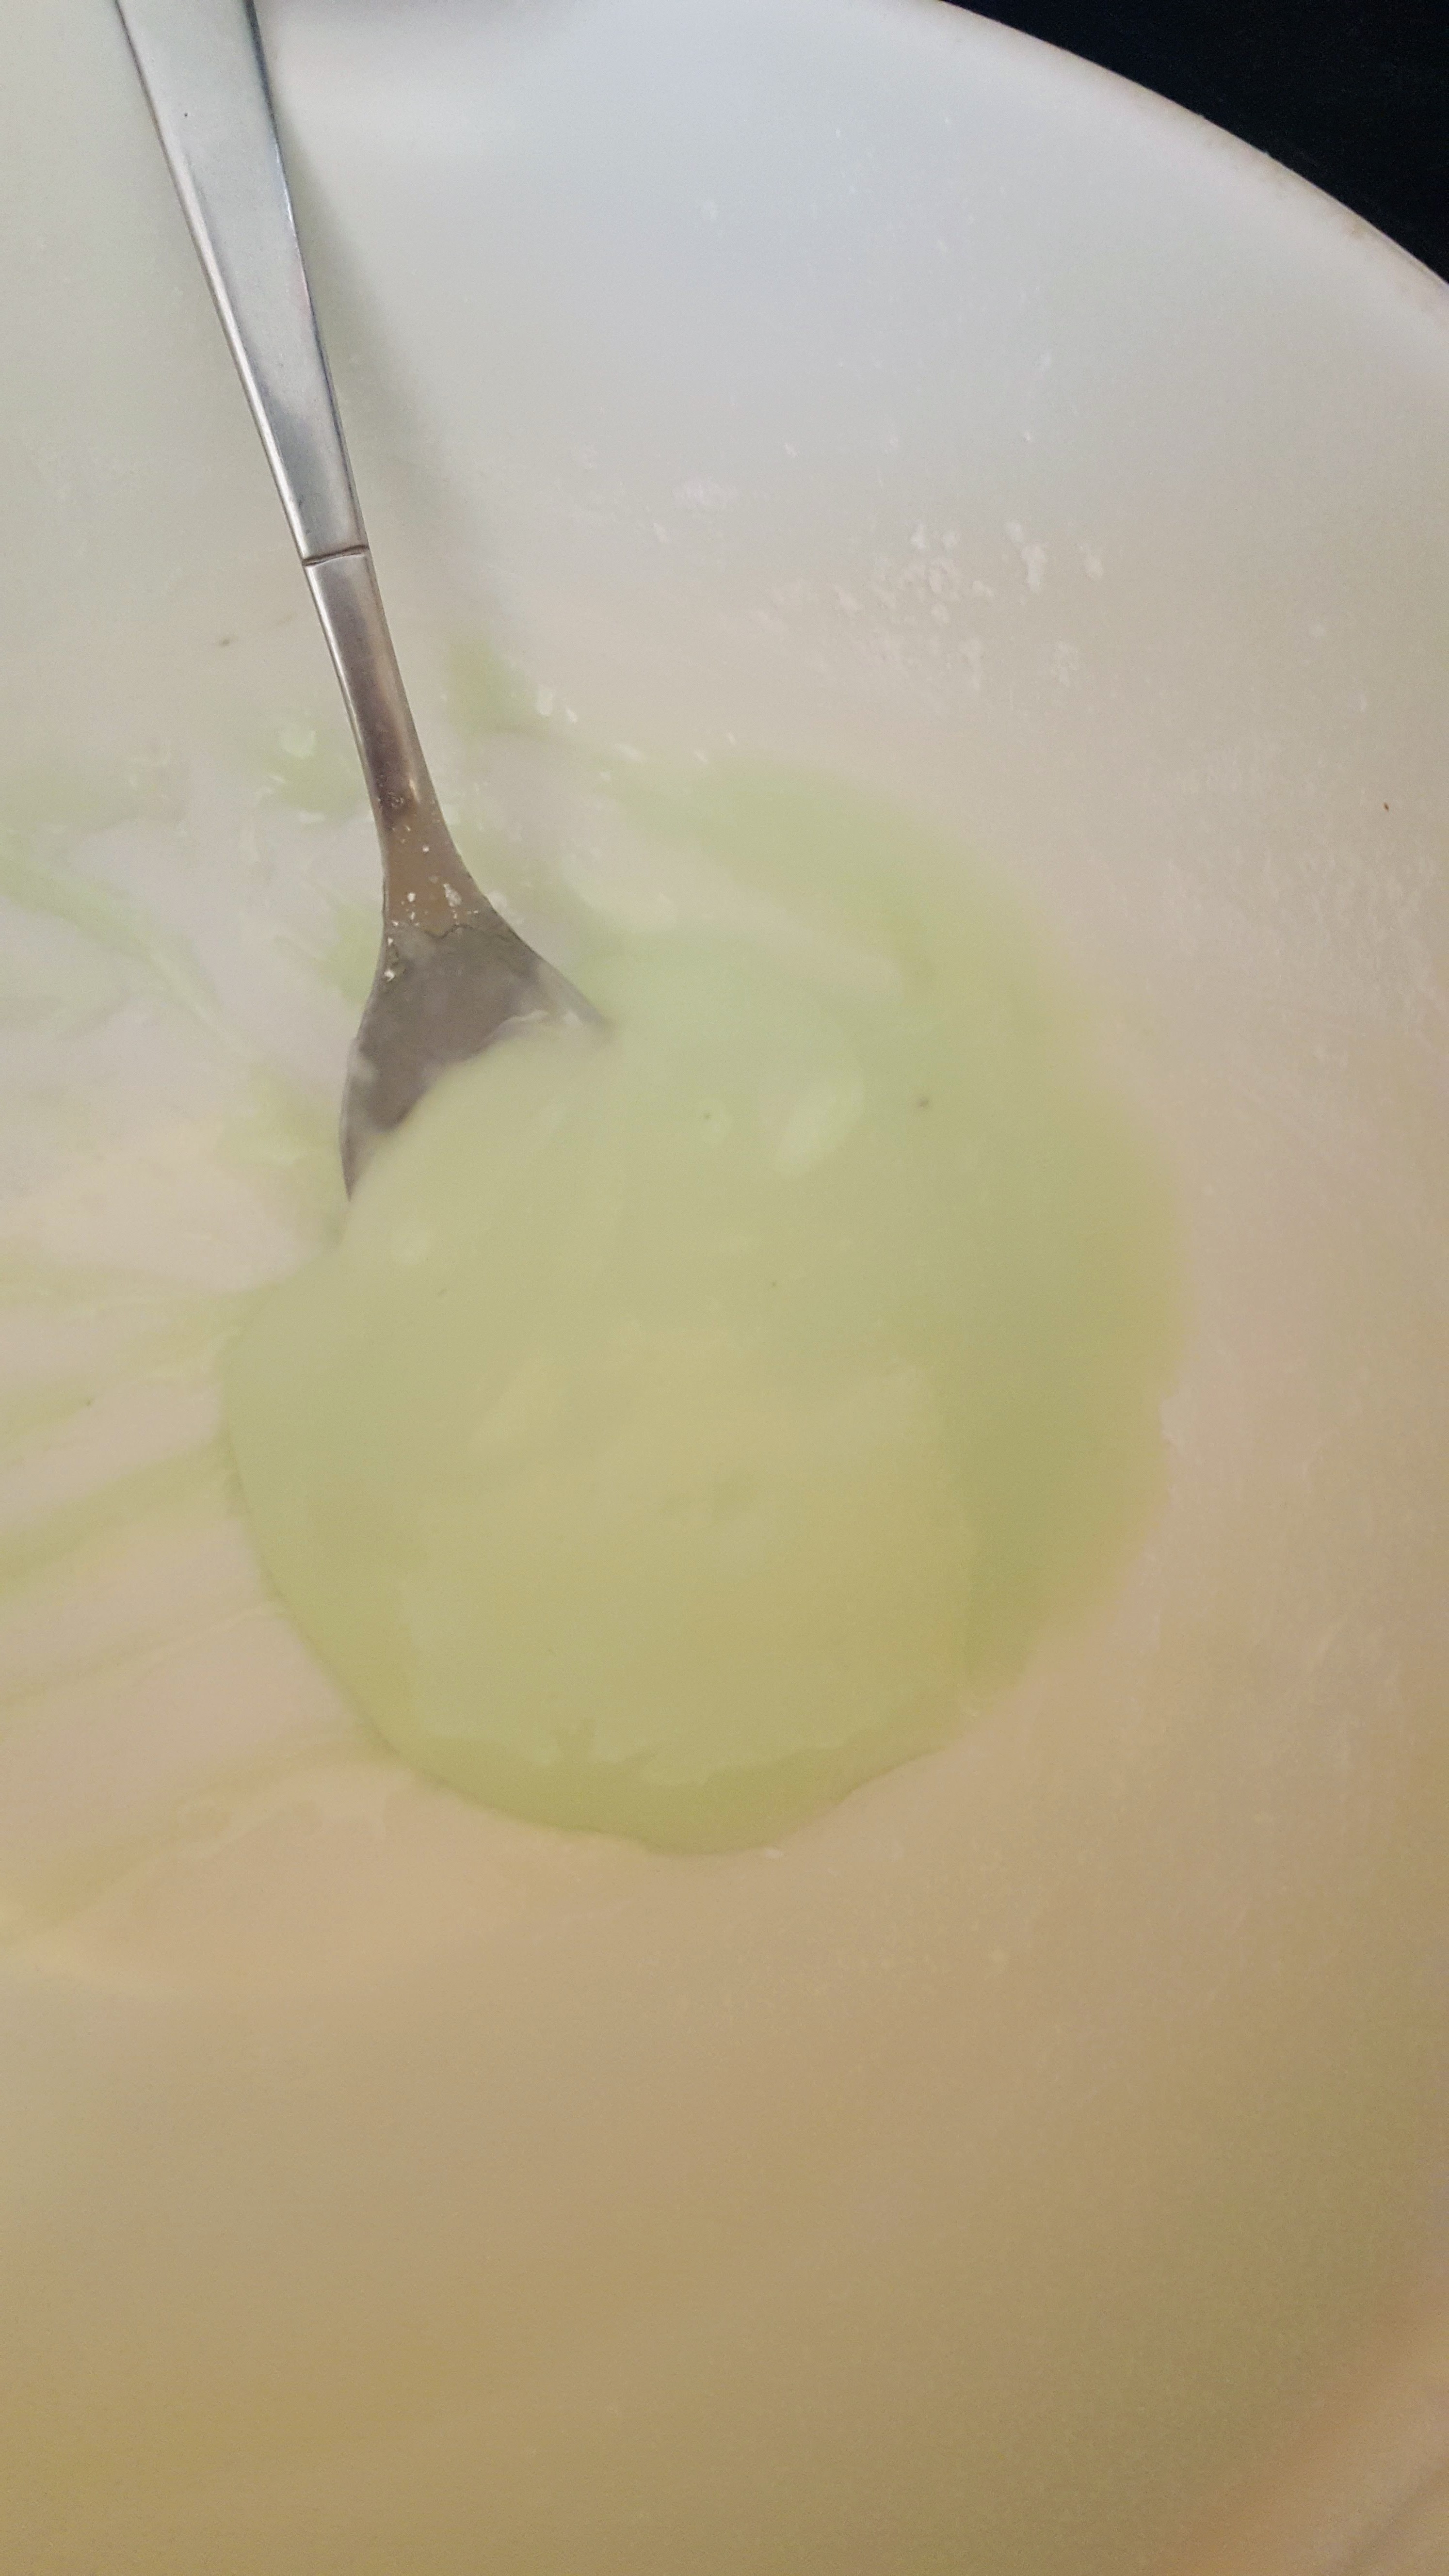
  4. Meanwhile, to make the cream, place butter into the stand mixer and on medium speed whip for about 1-2 minutes. Then add in the sugar, flavouring and pink Pitaya powder, mix on low speed until all combined. You will need to scrape the sides of the bowl to ensure mixture is all incorporated. Decant the cream mixture into a piping bag.
  5. Bake the biscuits in the oven for 15 minutes, remove and allow to cool on a wire rack. Once cooled, pipe the cream filling onto half of the biscuits and top with the remaining half. Enjoy!

I used my skull & bat embossed rolling pins from https://pastrymade.com/ , they have so many designs, you’ll be stuck for choice.


Classic Bruschetta

Bruschetta

I do love Bruschetta, in fact anything Italian, it has to be my 2nd favourite cuisine, next to Scottish Cooking, of course!

This is a classic recipe that never fails to satisfy the taste buds. Bruschetta is an antipasto starter consisting of toasted bread with oil and garlic, topped with tomatoes & basil. It’s light & refreshing, a perfect snack, starter or party food dish.

Serves 10-12

1 Baguette or any crusty bread- sliced diagonally (try Tiger bread, its delicious too)

250g Cherry Tomatoes – sliced into quarters

1-2 Garlic Cloves – crushed

Fresh Basil leaves – chopped or 2 tsp dried basil

30ml Balsamic Vinegar (use a good quality one – you’ll taste the difference)

60ml Extra Virgin Olive Oil (use a good quality one)

1/2 Small red onion – chopped finely

1 Tsp Sea salt

1 Tsp Cracked Rainbow Pepper

  1. Place the diced tomatoes, red onion, garlic, basil, balsamic vinegar & olive oil into a bowl & mix through. Season with salt & pepper. Cover & refrigerate for 1 hour to allow flavours to infuse.
  2. When ready to serve, brush the bread with a little olive oil & garlic, grill lightly under a medium grill heat until lightly toasted.
  3. Spoon mixture onto the bread, sprinkle a little basil & serve. Enjoy!


Italian Chicken Bake

Italian Chicken Bake

A great way to use up left over chicken after your Sunday Roast. This dish is very easy to bake and healthy too.

This simple and tasty bake will keep you full as it has protein (chicken), fiber (veggies), and fat (cheese). The chicken is smothered with cherry tomatoes, onion and peppers keeping the chicken moist. I used Italian herbs and chilli spice for a wee kick. Delicious!

Prep time is only 10 minutes and 40 minutes in total to cook, so a quick meal to bake. Gluten free too.


Serves 3-4

2 Large Chicken Breasts, cooked & shredded

1 Onion, chopped

1 Red Pepper, chopped

1 Garlic Clove, chopped

Spray Oil

2 Tsp Italian Herb Mix

1 x 400g Tin Chopped Tomatoes

10-12 Cherry Tomatoes, halved

1 Tbsp Sugar

1 Tbsp Balsamic Vinegar

1 Tsp Dried Chilli Flakes

125g Mozzarella, grated or sliced

Small handful basil leaves to serve

Salt & Pepper to taste

  1. Preheat oven to 200 deg fan.
  2. In a pan heat the spray oil and fry the onions, pepper and garlic for a few minutes to soften.
  3. Add in the Italian herbs, chilli, tin tomatoes, cherry tomatoes, balsamic vinegar, sugar and season, then simmer for about 20 minutes until sauce has thickened slightly. Stir in the cooked chicken then transfer to a baking dish.
  4. Tear or grate over the mozzarella evenly and bake in the oven for 20 minutes or until the topping is golden and bubbling. Serve with some chopped basil leaves. Plate up with a side of cooked rice, pasta or potatoes.

Italian Chicken Bake with Mozzarella


Banana Custard & Cream Pudding POTs

Banana Custard & Cream Pudding Pots

In our house a Sunday is the only day we have a pudding after dinner and as we were having a filling stew today, I opted for something a little lighter. This was not only super tasty but really light and lower in calories as I used low fat versions. If you love banana’s and custard you will like this. It is also so quick to make, just 10 minutes to prepare with 30 minutes chilling time.


Serves 4

2 Bananas (keep a few slices to serve)

1 x 400g Tin of Low Fat Custard

1 x 150ml Double Light Cream

1 Tsp Vanilla Essence

2 Flake’s

  1. Empty custard into a large mixing bowl and chill in the fridge for 30 minutes.
  2. Mash the bananas with a fork and add to the custard, crumble in 1 1/2 of flake and mix through to combine
  3. Add 1 tsp vanilla essence to the cream and whisk up until thick, gently fold cream into the custard mix.
  4. Spoon custard into serving dishes and top with a couple slices of banana and crumbled flake.
  5. Serve immediately.

Note: If you have custard powder, put 2 tbsp of powder and 2 tbsp of caster sugar into a pan, add a little milk and stir to a paste, add the remaining milk (about 400ml) and bring to a gentle boil, stir continually until custard thickens. Remove from heat, place a piece of cling film over custard to prevent a skin forming and allow to cool then proceed as above.


Potato & Chorizo Bake

Since we are still in lockdown, we fancied something special for lunch today, sun was shining through the window, temperature was rising, so we thought we’d treat ourselves to this lovely little dish. Oh & of course we had a cheeky glass of wine with our meal too, just to help wash it all down.

Serves 2 portions.

3 medium size potatoes – cut into small cubes

1 red onion – diced

80 g Chorizo – sliced

2 eggs

200g tin tomatoes

50g grated cheddar cheese

1 tsp dried chilli flakes

1 tsp paprika

Salt & pepper to taste

Spray oil

1 tbsp butter

  1. Preheat oven to fan 190 deg.
  2. Place cubed potatoes into a pan of salted water and bring to the boil, simmer for about 5 minutes. Drain.
  3. Meanwhile, in a pan brown and cook the chorizo for a few minutes, remove with a slotted spoon.
  4. Add the onion & chilli flakes to the chorizo pan and fry until browned, then add back to the pan the potatoes with tin tomatoes, butter & paprika, stir until combined and cook for a few minutes.
  5. Place mixture into an oven proof dish, make 2 wells and crack the eggs in, season the eggs then sprinkle grated cheese over.
  6. Bake in oven for 10-15 minutes depending on how you like your eggs.
  7. Serve. Yummy!


Upside Down Apple Cake

20200209_184138

I do hate food going to waste so I used up my leftover apples and made an upside down cake and served with custard……OMG! Yummy! Scrummy!

Classic desserts don’t come much better than this. It was an extremely windy and cold day today so this little warming dessert was just a perfect home comfort Sunday dessert.


Makes 2 small individuals (2 x 4-5″ tin) or 1 large (10″ tin)

For the caramelise apples:-

2 Apples (of your choice)

60g unsalted butter

70g Brown Sugar

1/2 tsp ground cinnamon

*

For the cake:

2 eggs

110g unsalted butter

110g Self raising Flour

110g Caster Sugar

1/2 tsp ground cinnamon

1 tbsp milk


  1. Pre heat oven to 180 deg fan
  2. Melt 60g butter with the 70g brown sugar and cinnamon, stir together and put into the bottom of your tin.                                                                              20200209_115558
  3. Peel and slice your apples and place on top of the caramel.                                              20200209_115749
  4. Beat the cake ingredients together in a mixer and pour over the apples.                      20200209_121239
  5. Bake for about 35-40 minutes or until the cake springs back when pressed.
  6. Remove from oven and tin and serve. Yum!


20200209_184124


20200209_184309


Sweet Potato, Butternut Squash & Spinach Curry Burgers

20190211_181138

Oh yum. In my aim to be eating a bit healthier this year, I took my hand to these little nutritious burgers, they were so delicious and very filling too.

Makes about 6

200g butternut Squash – sliced

200g Sweet Potato – sliced

1 medium onion – finely chopped

1 clove garlic – crushed

1 tsp dried chilli flakes

1 tsp ground cumin

1 tsp smoked paprika

1 tsp dried coriander

100g Spinach

Salt & Pepper to taste

  1. Cook the butternut Squash and mash up. (I steamed cooked mine using my steam pot for about 6 minutes)
  2. In a bowl mix the butternut squash, wilted spinach, onion, cumin, paprika, coriander, salt & pepper, chilli flakes & garlic.                                        20190211_153656
  3. Place a cutter onto a sheet of greaseproof paper or plate and fill the cutter with the mixture making individual circles. Approx 2 cm thick.                                                20190211_174658
  4. Heat up the Crisperplate for 2 minutes and cook on Crisp setting for 6 minutes, turn then cook for a further 4 minutes (depending on how well you like them cooked, you can cook for a further 2 minutes for extra brownness) Alternatively, fry in a pan for about 6 mins on medium heat each side with a little oil.                              20190211_180637
  5. Serve. Yummy!
  6. I added some potato wedges to my crisperplate at the same time for a one pan meal.

Egg, Bacon & Spinach Pastry Bites

20180804_095613


OMG!, these were absolutely delicious. I don’t normally eat pastries but I was trying out some new recipes for an event and my first idea didn’t go to well, so I got my thinking cap on and tried out these instead……oh wow! they were so tasty. I was so naughty though as I couldn’t stop my hand from grabbing one then another then another….lol! But we are allowed on occassions……aren’t we?


Makes 12

1 x ready rolled puff pastry

2 tbsp grated gruyere cheese

1 tbsp creme friache

4-6 smoked bacon rashers – chopped into bite size pieces

100g baby spinach

2 large eggs

Salt & pepper to taste


  1. Heat a little spray oil in a pan and cook bacon until slightly brown, remove with slotted spoon and keep to the side.
  2. Place spinach into the bacon and wilt down (will take a few minutes)   20180804_092158
  3. Meanwhile mix the grated cheese with creme friache
  4. Beat the eggs and season well, pour over the wilted spinach and stir until scrambled in pan, remove from heat.                                                                                             20180804_092417
  5. Cut the pastry into 12 small squares about 4″ x 4″ roughly
  6. Place 1 tsp of the cheese mixture on base, then top with bacon and spinach mix, season well.


  7. Wet your finger in water and run your finger along outer edge of pastry square, carefully lift 1 corner and pull over mixture making a diamond like shape, take the opposite corner and pull over the pastry corner you have just moved and seal. Make sure they are sealed well or they will open when cooking.                                                                               20180804_093424
  8. Refrigerate for about 10 minutes as this will help the pastry puff better.
  9. When ready to cook preheat your crisper plate for 2 minutes on dynamic crisp setting and then bake for 7 minutes or until browned. If you don’t have one of these, then you could cook on baking tray at 200 deg for about 16-18 minutes or until golden.


20180804_094540


Stir Fry Spicy Beef Noodles

20180722_183444

Delicious quick Friday night dish, or any night for that matter. I do love a good stir fry. Good thing with this dish, is that you could add any type of spice and it would work.


Serves 2

400g good quality beef – cut into strips

2 tbsp balsamic vinegar

2 tbsp soy sauce

2 tbsp Worcestershire sauce

3/4 spring onions, chopped

1 bag a pre mixed stir fry vegetables

1 bag a fresh egg noodles

2 tsp dried chillies


  1. Marinade the beef strips in the vinegar, soy sauce & worcestershire sauce for about 1/2 hour.
  2. Heat a tsp oil in a pan, add the beef and brown all over then add in the chillies
  3. Add in the noodles and cook for a few minutes adding in the remaining sauce mix.
  4. Then add in the stir fry vegetables, along with the spring onions, cook through for about 5 minutes. Serve. Yummy!

20180722_183444


Patatas Bravas with Chorizo in Red wine sauce

20180712_185955

As you know I recently harvested my tatties (potatoes), so my brain got working on some tattie (potato) recipes. This one is a classic spanish dish, mostly a tapas type dish. I also recently purchased some new Kitchen Aid Skillets (pans), so I was keen to start using them, I have to say they are fabulous, very robust and non stick so I don’t need any oil when cooking…perfect! This dish was a quick 25 minute dinner. I do love quick and easy meals.


Serves 2

6 charlotte potatoes – cut into small chunks

150g chorizo – cut into 1 cm chunks

1 red onion – diced

1 green pepper – diced

2 tsp dried chilli flakes

1 garlic clove – crushed

100ml red wine (I used cabernet sauvignon)

2 tsp dried parsley (fresh is better, but I didn’t have any)

400g tin plum tomatoes (I find you get better flavour from plum than chopped)


  1. Bring to the boil a pan at slightly salted water and boil the potatoes for about 5-6 minutes. Drain and leave to cool slightly.
  2. Heat the chorizo in the pan on medium to high heat and add in the potatoes, cook until slightly browned all over. Remove with a slotted spoon.                                           20180712_183546
  3. Put the onion, peppers and garlic in the pan and saute. Add the red wine and reduce. Then add in the dried chilli flakes and stir through.                            20180712_184423
  4. Add in the tin tomatoes, cutting them up, stir and simmer for about 10 minutes.
  5. Add in the potatoes and chorizo, mix through and cook for a further 5 minutes.   20180712_185946
  6. Serve and sprinkle the parsley on top. Yummy!

20180712_190317


Lemon Poppy Seed Cake

20180617_142142

We have had a rather wet weekend here in Cumbernauld, Glasgow, so nothing better than getting in the kitchen and baking! Wanting to carry on with the summer, I decided that we were going to have an indoors picnic. I’ve been wanting to try this recipe from Jamie Oliver for a while now so today was that day. It was absolutely delicious, so refreshing and light, perfect for my picnic.

20180617_113825


Serves 10-12

250g unsalted butter at room temperature

250g Golden caster sugar + 4 tbsp for syrup

4 large eggs

4 lemons

275g self raising flour

1 tsp baking powder

150ml milk

50g poppy seeds


  1. Preheat the oven to 180 deg. Grease a 23cm cake tin and line bottom with greaseproof paper.
  2. Cream the butter and sugar together until light and fluffy. Add the eggs in 1 at a time, mixing thoroughly before adding each one.                                                  20180617_114236
  3. Grate in the zest of 2 lemons then squeeze in the juice and combine.
  4. Sift in the flour and baking powder and fold gently until combined.
  5. Add in the milk and poppy seeds and mix through.
  6. Pour mixture into the cake tin and bake in the oven for about 45 minutes, or until a knife comes out clean.
  7. Leave in the tin for 5 minutes then remove and place on a wire rack to cool.
  8. Meanwhile, slice very finely the other 2 lemons.
  9. Put 4 tbsps water and 4 tbsp caster sugar into a pan, add the lemons and heat gently on a medium to low heat for about 15 minutes or until the lemons are translucent and you have a lovely syrup.
  10. Spoon the syrup over the top of the cake and serve.


20180617_142156


20180617_131740


20180617_142214


Choux Bun Doughnuts

Looking for something nice to have with a coffee this afternoon, I decided to have a go at Choux Pastry again. The first time I tried they didn’t puff up, so I was so pleased when these came out lovely and airy. Thought I would try doughnut shape instead of the traditional way. Very tricky to eat this way but then again I did make extra large man size ones……lol!     They were absolutely delicious. Perfect for our afternoon coffee.


Makes 4

115g Strong Flour

4 tbsp milk

80ml water

Pinch of salt

Pinch of caster sugar

55g unsalted butter

3 medium eggs

Filling

300ml double cream

100g icing sugar

1 tsp vanilla extract (or any other flavouring you wish)

100g Chocolate (if using on top)


  1. Preheat your oven to 200 deg.
  2. Line a baking tray with parchment paper and flour
  3. Put the water, milk, salt, sugar and butter into a pan and bring to the boil on a medium heat until the butter is melted.
  4. Remove from the heat and sieve in the flour and beat vigorously until it forms a dough then cook on a very low heat for 5 minutes.
  5. Leave to cool slightly. Beat the eggs then add in little at a time beating well between each egg. You want a smooth glossy finished dough.                                                    20180527_122131
  6. Spoon the dough into a piping bag with a star nozzle and pipe 4 rings, approx 4 inch diameter onto the baking tray.                                                                                          20180527_122731
  7. Bake for 15 minutes at 200 deg then turn down to 170 deg for 10 minutes or until they have risen well and golden brown. Remove and allow to cool on a wire rack.       20180527_125438
  8. Meanwhile, pour the cream and vanilla into a bowl and whisk until just slightly thickened, then add the icing sugar and continue to whisk until desired thickness. Spoon into a piping bag with the star nozzle.
  9. Cut the cooked Choux in half and pipe the cream into the middle then place the top on. Dust with some icing sugar. If using chocolate, melt chocolate in a microwave for 2 minutes then spoon on top and refrigerate to harden (about 10 minutes). Serve.

20180527_130633

20180527_132755


Pistachio & Chocolate Chip Cupcakes

20180224_163203

O.M.G!! What can I say………….this little creation is my best yet……absolutely delicious! 10/10 my boyfriend said….lol!

I just love a relaxing saturday afternoon baking, while my boyfriend was watching the Rugby I was listening to my favourite tunes by Imagine Dragons and creating some little afternoon delights.


Makes 12

70g pistachios

140g Golden Caster Sugar

140g Self Raising Flour

140g butter

2 eggs

5 tbsp milk

100g milk or dark chocolate drops (whichever you prefer)

1 tsp vanilla essence

1 tsp almond extract

250g icing sugar

Green food colouring


  1. Preheat oven to 160 deg.
  2. Line a Muffin tin with cases.
  3. Blitz the pistachios in a blender under finely chopped. (keep a little back for decoration)                                                                                 20180224_140031
  4. Mix flour, sugar, butter, eggs, milk, vanilla essence, almond extract and pistachios in an electric mixer until well blended and smooth.                                     20180224_140422
  5. Divide the mixture between the cases and then push some chocolate chips into each one.                                                                             20180224_141340
  6. Bake in the oven for about 23-25 minutes or until a knife comes out clean. Leave to cool on a rack after.                                                20180224_144108
  7. Meanwhile, sift the icing sugar into a bowl and add 1 tbsp at a time of water until you get a thick but still slightly running texture. Then drop 1 or 2 drops of food colour into icing to make a pale green colour.                                                               20180224_142250
  8. Melt some chocolate in the microwave for the decoration. About 1 minute – 1m30secs.
  9. When cakes are cool, top with the icing, then left over pistachios and drizzle with the chocolate. Refrigerate for about 1/2 hr to harden.                                20180224_162744
  10. Then just devour! Oh so Yummy!

20180224_163135


20180224_171700


Chicken & Pasta Bake (with a mexican twist)

20180203_173806

Two exciting things happened today, I used my new pasta toy from Kitchenaid and made fresh pasta for the first time, then I created an amazing bake and baked it using my automatic baked pasta setting on my Hotpoint oven……such a great day in my kitchen today. I love it when new Technology just work!


Serves 2 large portions or 4 smaller portions

150g cooked pasta (see my Fresh pasta Recipe)

2 chicken breasts – cut into bite size pieces

1 yellow and 1 red pepper – cut into slices

1 red onion – cut into wedges

200g Quark

120ml Chicken Stock

1 tsp dried garlic granules

1 tsp smoked paprika

1 tsp cumin

1 tsp dried oregano

Salt & pepper to taste

1 tin chopped tomatoes

Grated Cheddar Cheese – quantity to suit your tastes (We love our cheese here…lol!)


  1. Heat a little oil in a pan on the hob, medium to high heat.
  2. Gently brown the vegetables, chicken, spices and season.
  3. Meanwhile cook your pasta.                                           20180203_155437
  4. Spoon about 2-3 tbsps of the tin tomatoes into a baking dish, then start to layer up the bake. I put pasta on next, then chicken, then vegetables, then rest of tomatoes.
  5. Make up the stock and mix the quark in to make a thick sauce, then pour over the bake in the dish.                     20180203_160435
  6. Set your oven (if you have a Hotpoint Class 9) to Baked Pasta and Cannelloni setting. If not, try 180 deg for approx 25-30 minutes.                 20180203_170123
  7. When you have 15 minutes left, sprinkle on the grated cheese and bake until golden and crisp on top.                                      20180203_172013
  8. Serve. Yummy!

20180203_180741

20180203_18071820180203_180646


Braised Red Cabbage

I was inspired to give this a try after seeing and tasting it at a Kitchen Aid event I attended recently. Beautiful flavour, and perfect for my New Years Day steak pie. So I gave it a trial run…..delicious!    I even went all out and made proper Goose fat roasties. Mmmmm.


Makes enough for 10-12 people

500g red cabbage – sliced

250g onions – chopped

250g cooking apples – peeled, cored and chopped

1/2 garlic clove

1/4 tsp nutmeg

1/4 tsp ground cinnamon

1/4 tsp ground cloves

1 heaped tbsp brown sugar

2 tbsp red wine vinegar

15g butter


  1. Preheat your oven to 150 deg
  2. Shred the cabbage then start to layer your dish, cabbage, seasoning, onions, apple, spices and sugar. Continue to layer up.
  3. Now pour in the red wine vinegar and top with the butter.
  4. Put a lid onto the casserole dish and cook for about 2.5 hours.

This is great as any leftovers you can pop in freezer for a later date or even use through a pie.

20171203_130620


20171203_160745


Scottish Fruit Scone

Oh I do love the Autumn food, warm, comforting, delicious and homemade of course! You will love these traditional Scottish Scones as they come with history:-

Scones originated in Scotland, and Scottish scone recipes are the best in the world. (in my opinion…lol)

The correct Scottish pronunciation is ‘skon’ which rhymes with ‘gone’, and NOT ‘skoan’ which is the English adaptation of the word.

Originally a type of flat ‘cake’, made from oats or barley meal and cooked on an open griddle or in the oven, scones have been popular in Scotland for centuries.

Typically you just have them with butter, and loads of…yummy! However, should you wish to indulge you can of course have your favourite flavour of jam too.  My preference is butter, always!

20171103_120728_001

Makes 8 individual scones

120g of Self Raising Flour

60g Melted Butter

60g Rolled Oats – (Scotts of course)

40g Caster Sugar

2 tsp baking powder

1/2 tsp salt

50g sultanas

1 egg beaten

50ml milk


  1. Combine flour, sugar, baking powder, oats, salt, sultanas in a bowl and make a well in the middle.                                                                                                                             20171103_111011
  2. Beat the egg until frothy then add in the melted butter and milk, mix  20171103_111015
  3. Add the wet mixture to the dry mixture and mix thoroughly until you get a dough like ball, its shouldn’t be sticky, so if it is add a little more flour.
  4. Empty onto a floured surface, roll into a ball then flatten with your hand until about 1/2 inch thick, place onto a greased backing tray and score into eight pieces.   20171103_111939
  5. Brush with a little milk to add glaze.
  6. Bake in a preheated oven for 15 minutes at 220 deg. I baked on convection bake setting to give it a lovely golden crust.           20171103_113252  20171103_113646
  7. Remove and allow to cool on a rack.
  8. Best bit…………………………add lashings of butter and devour!!!!

20171103_114837


Crispy Parmesan Potato Slices with egg


20171030_230157
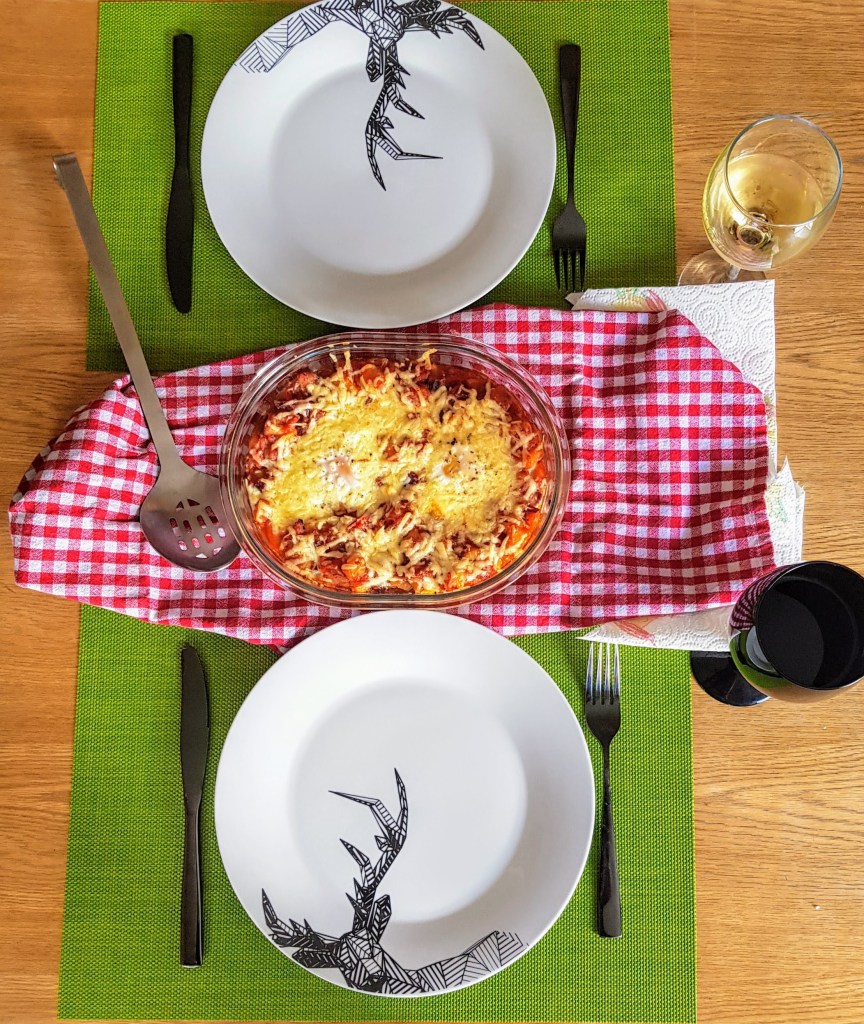
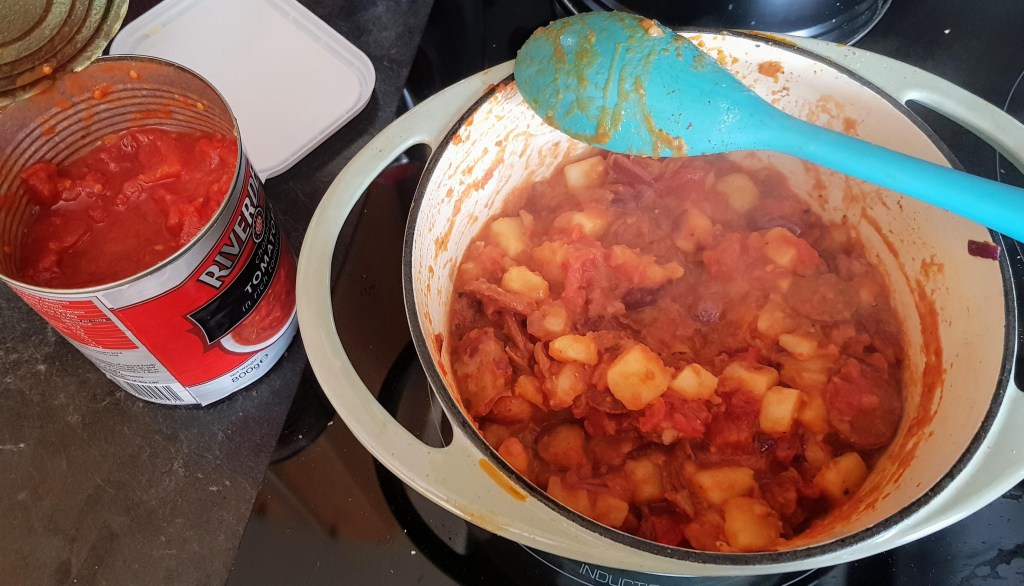
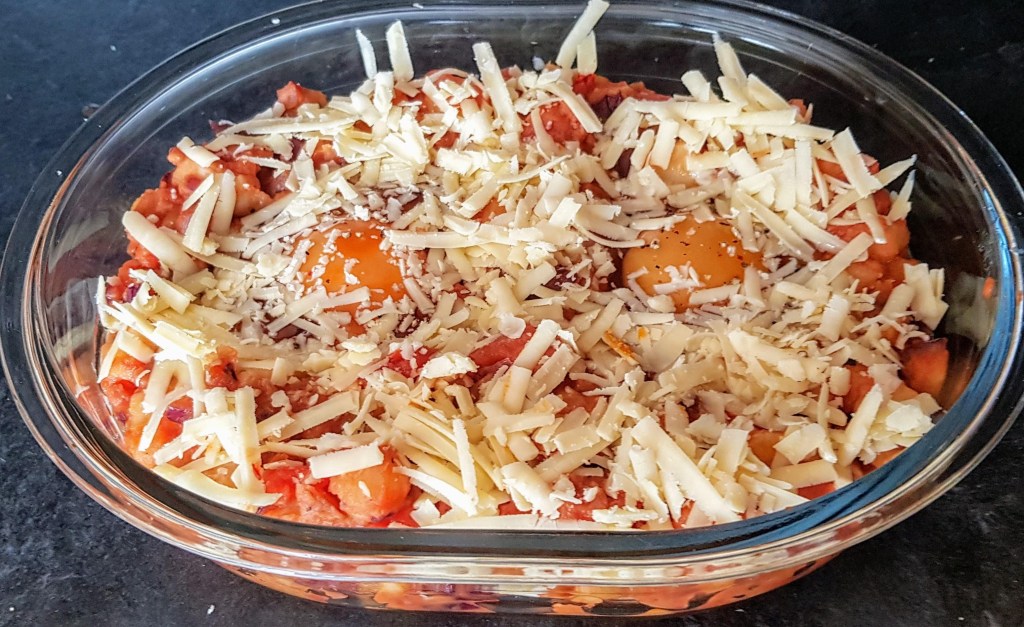
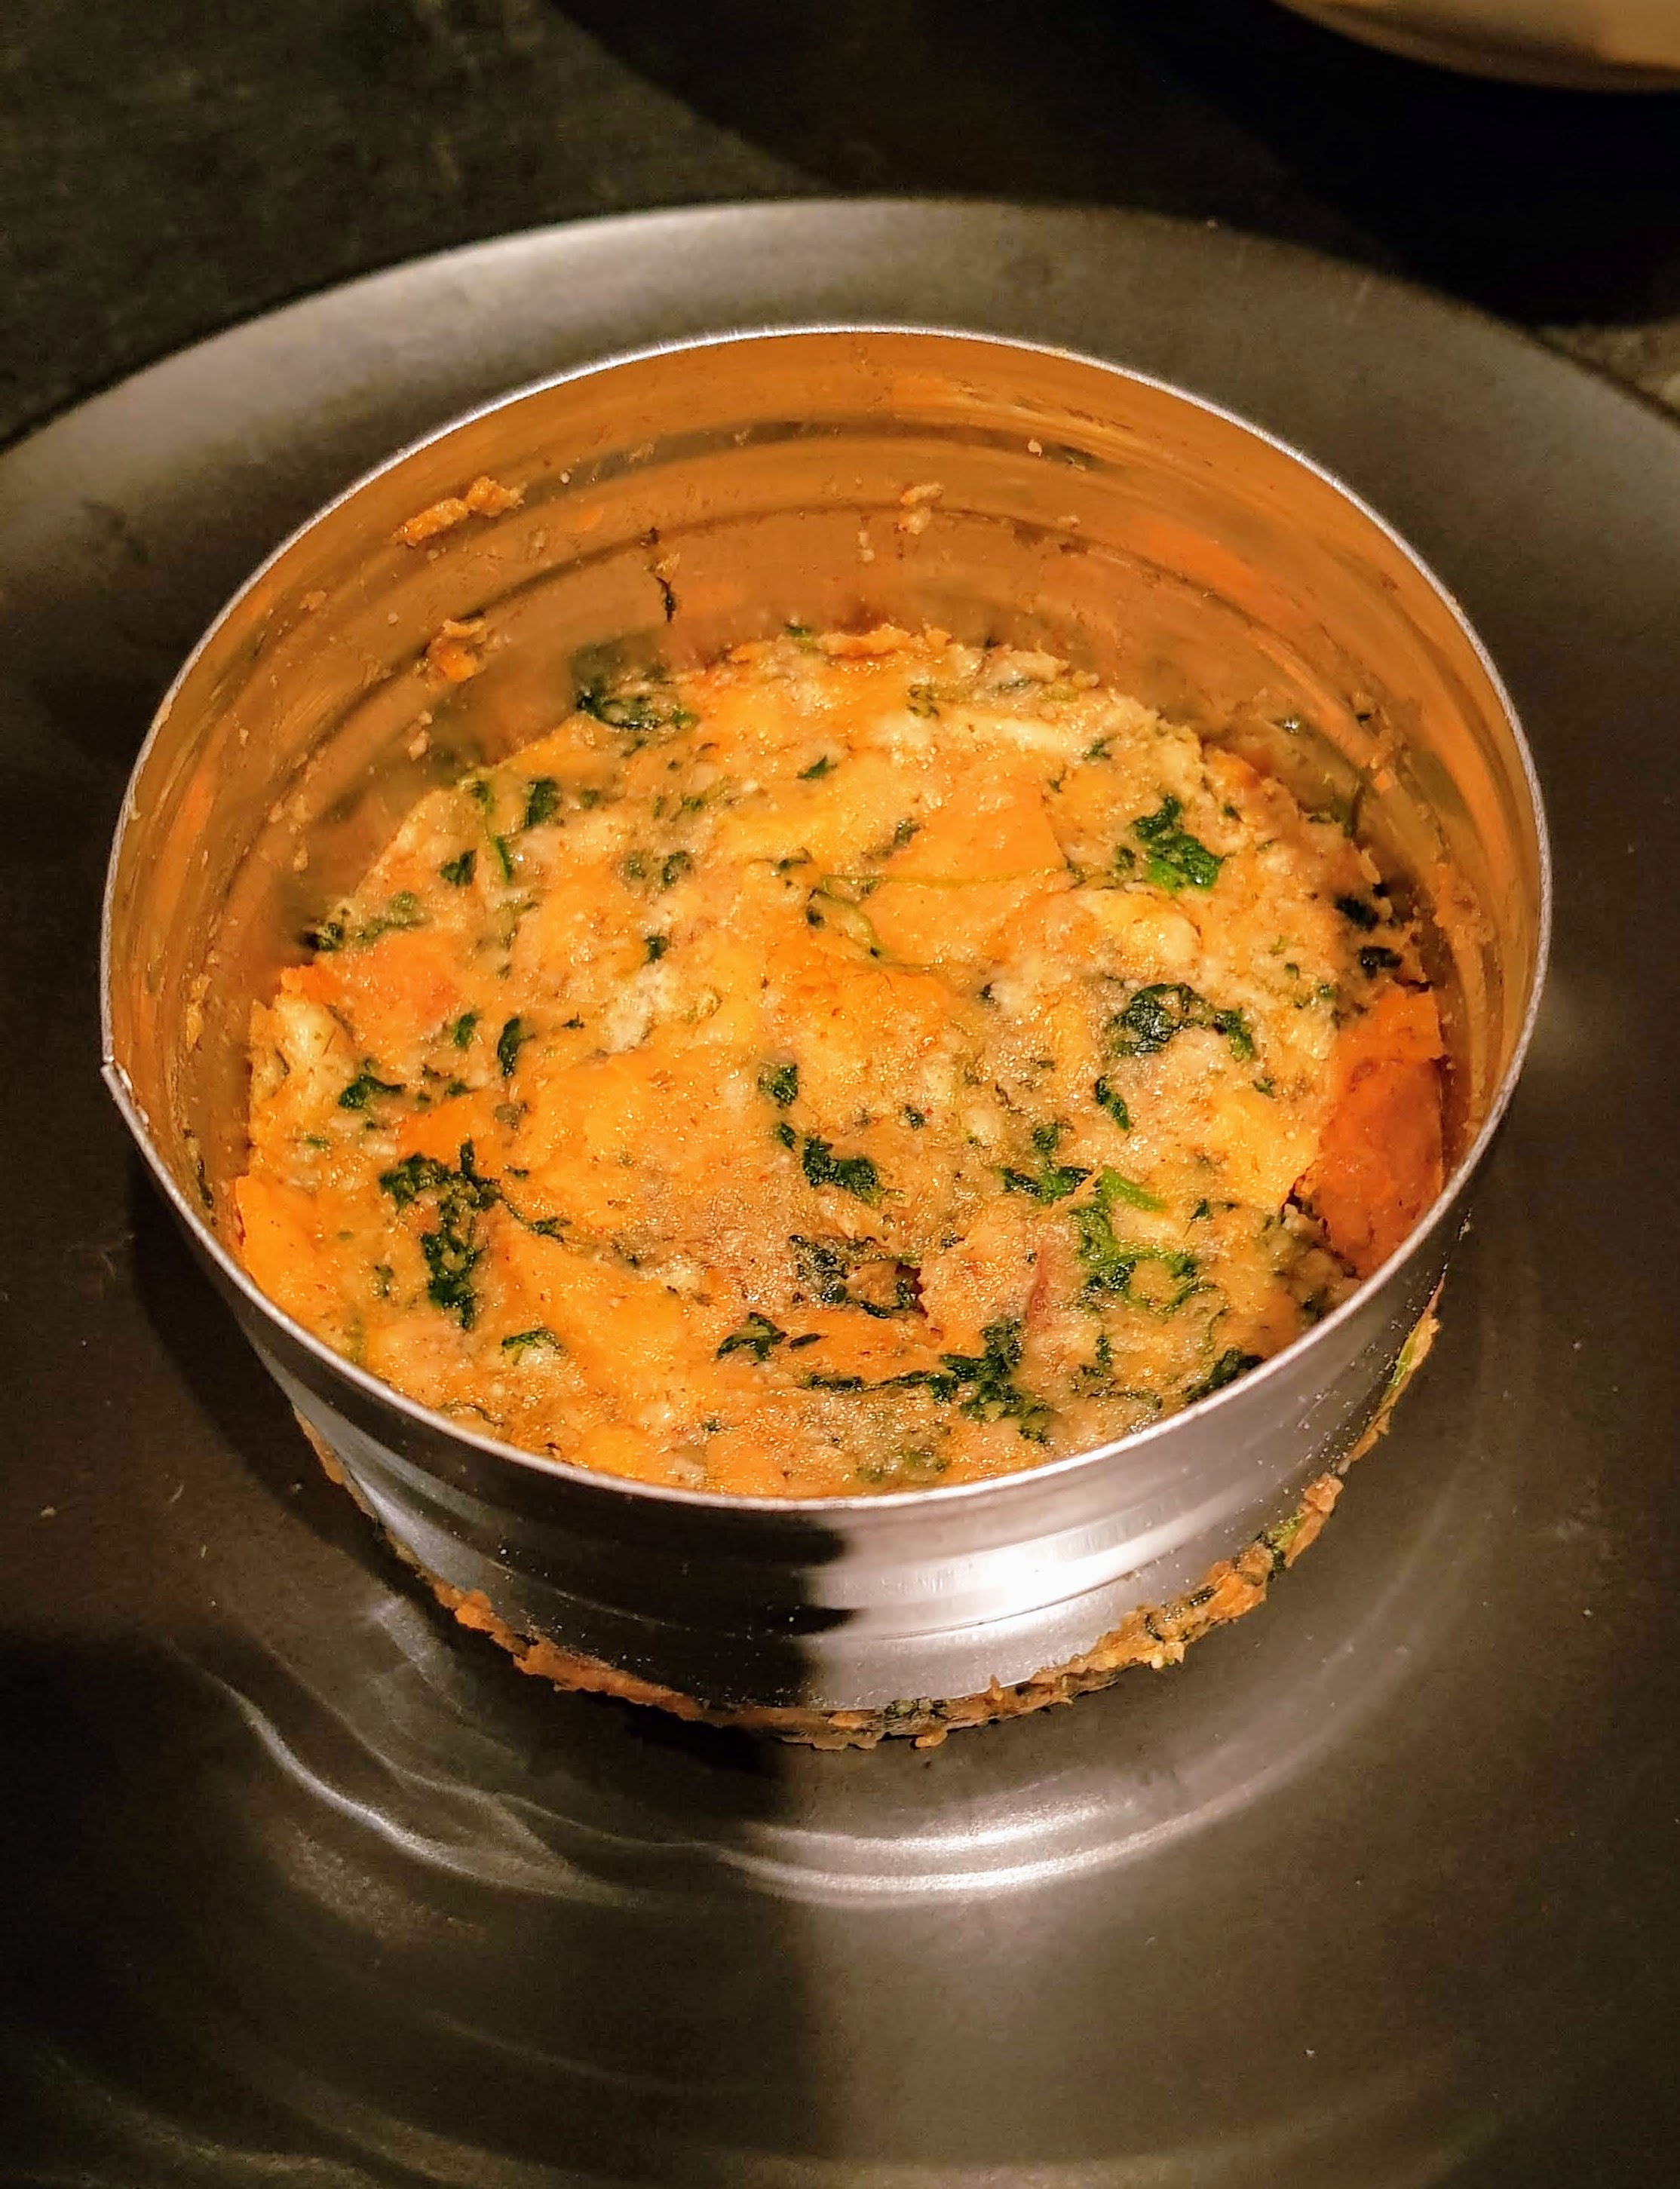
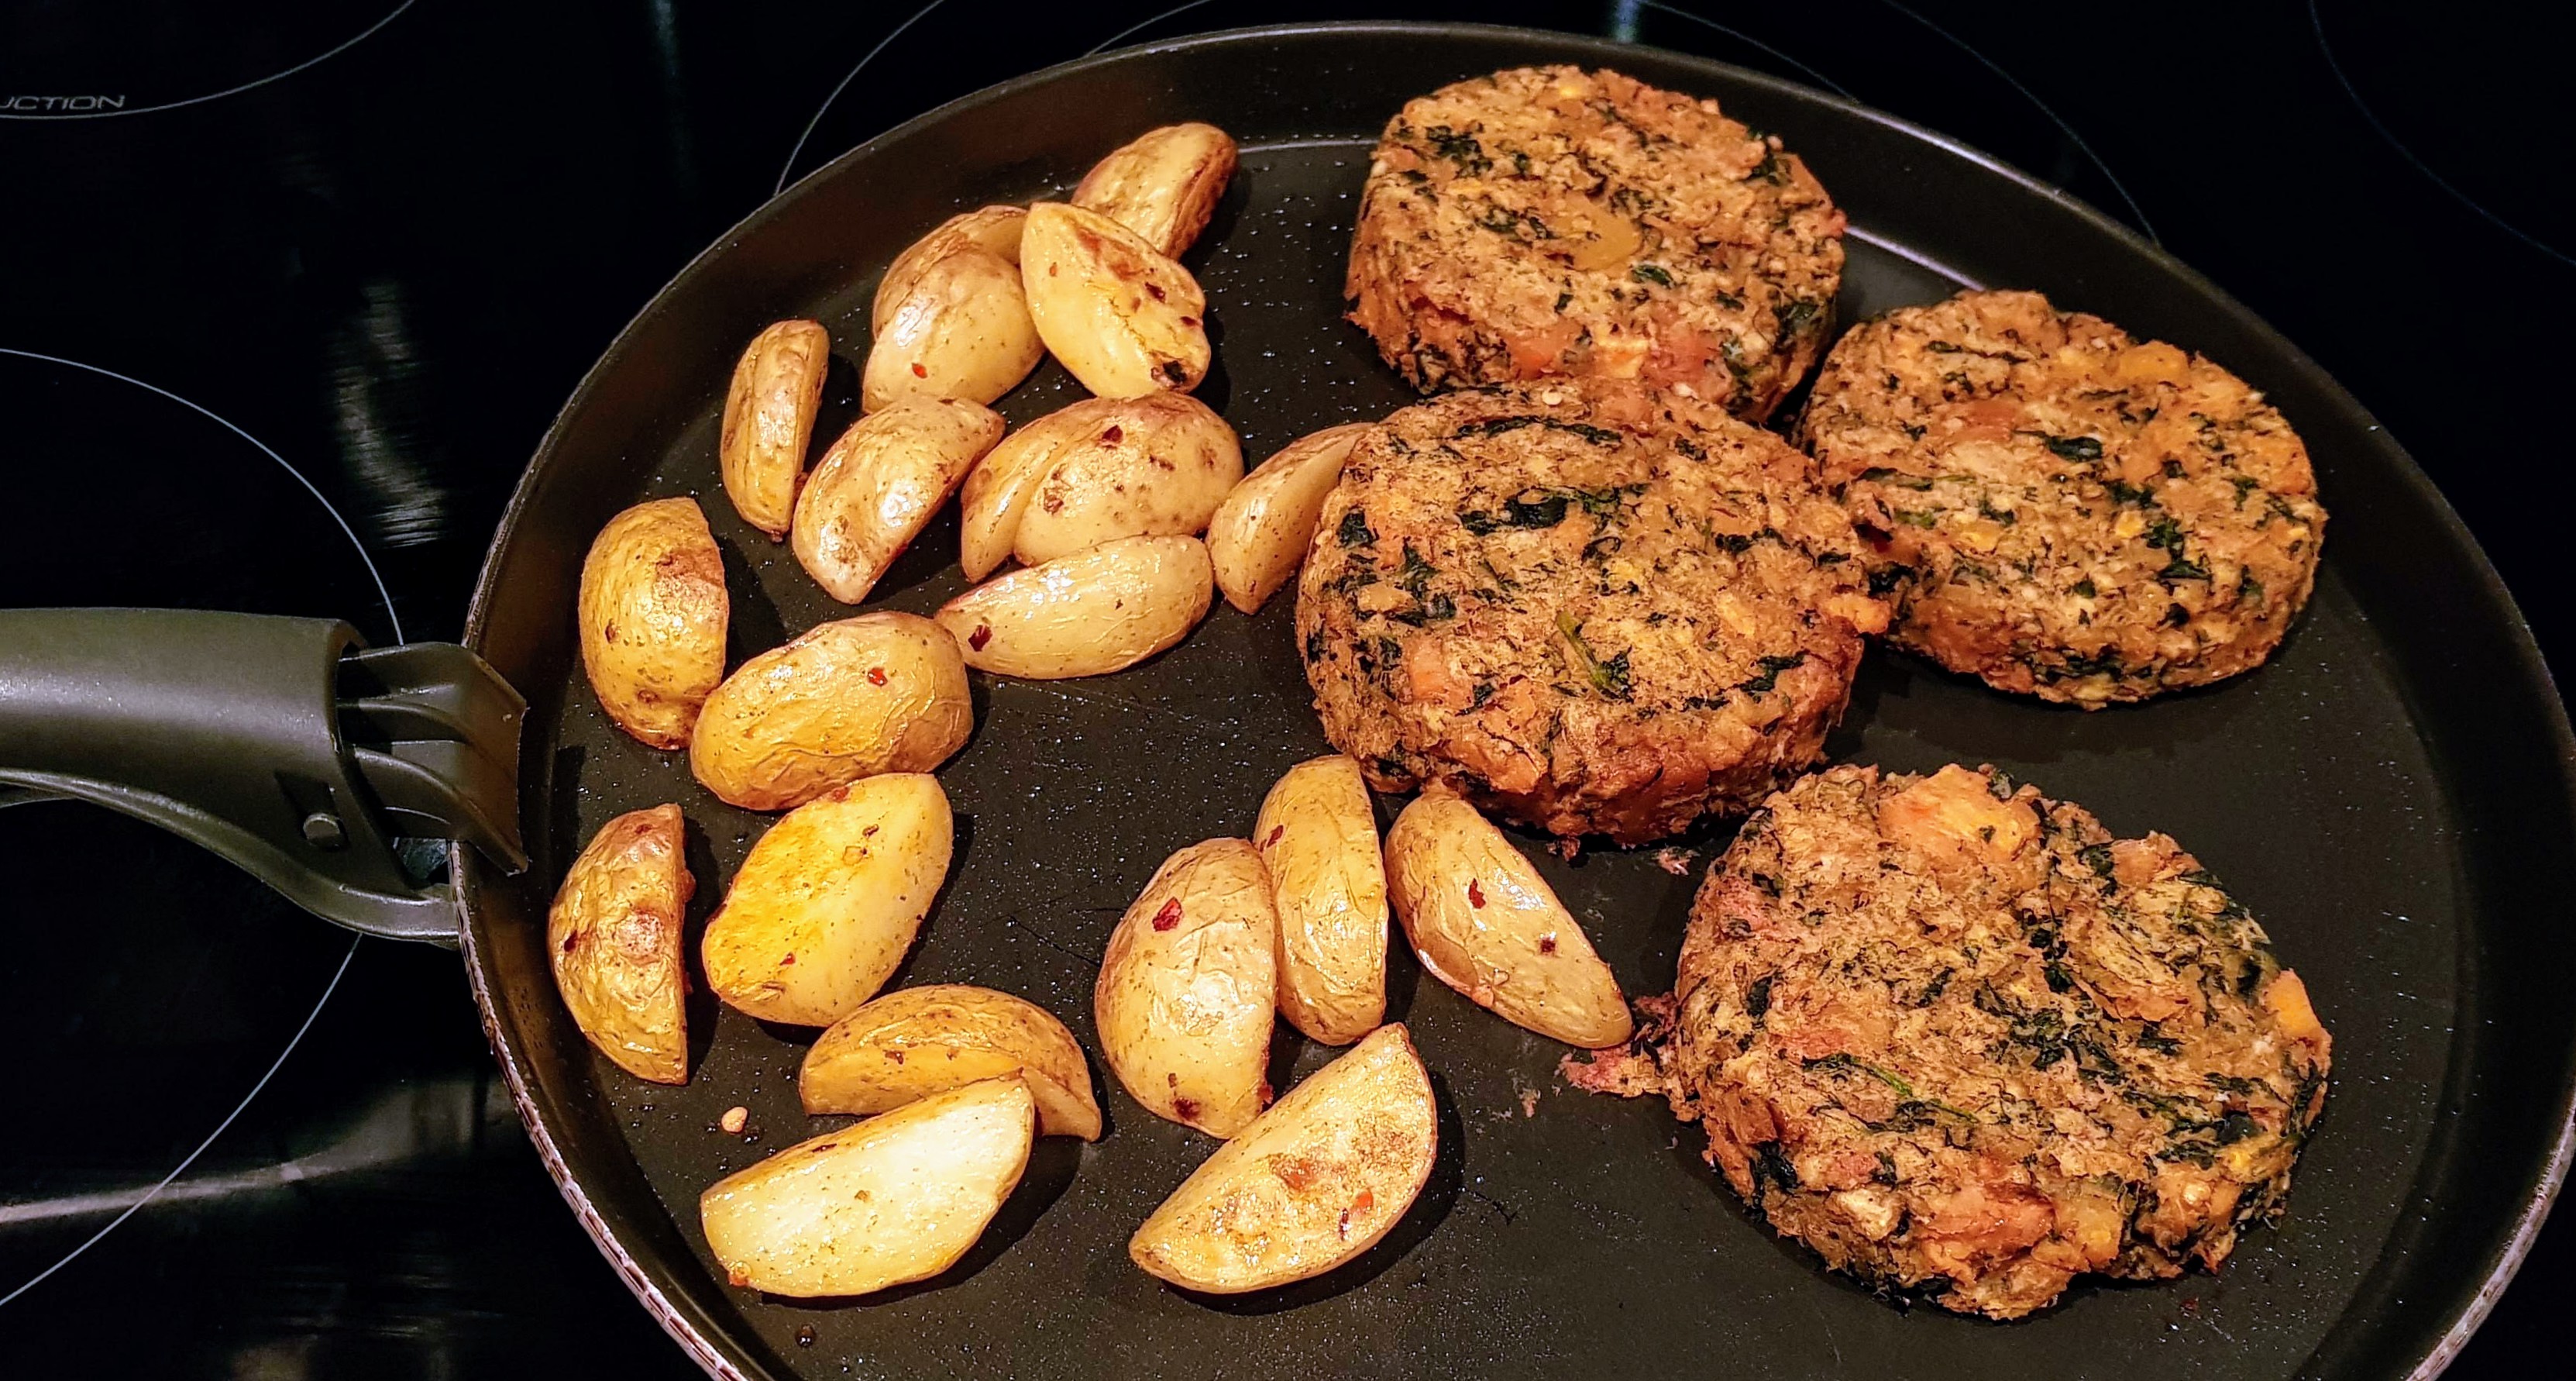
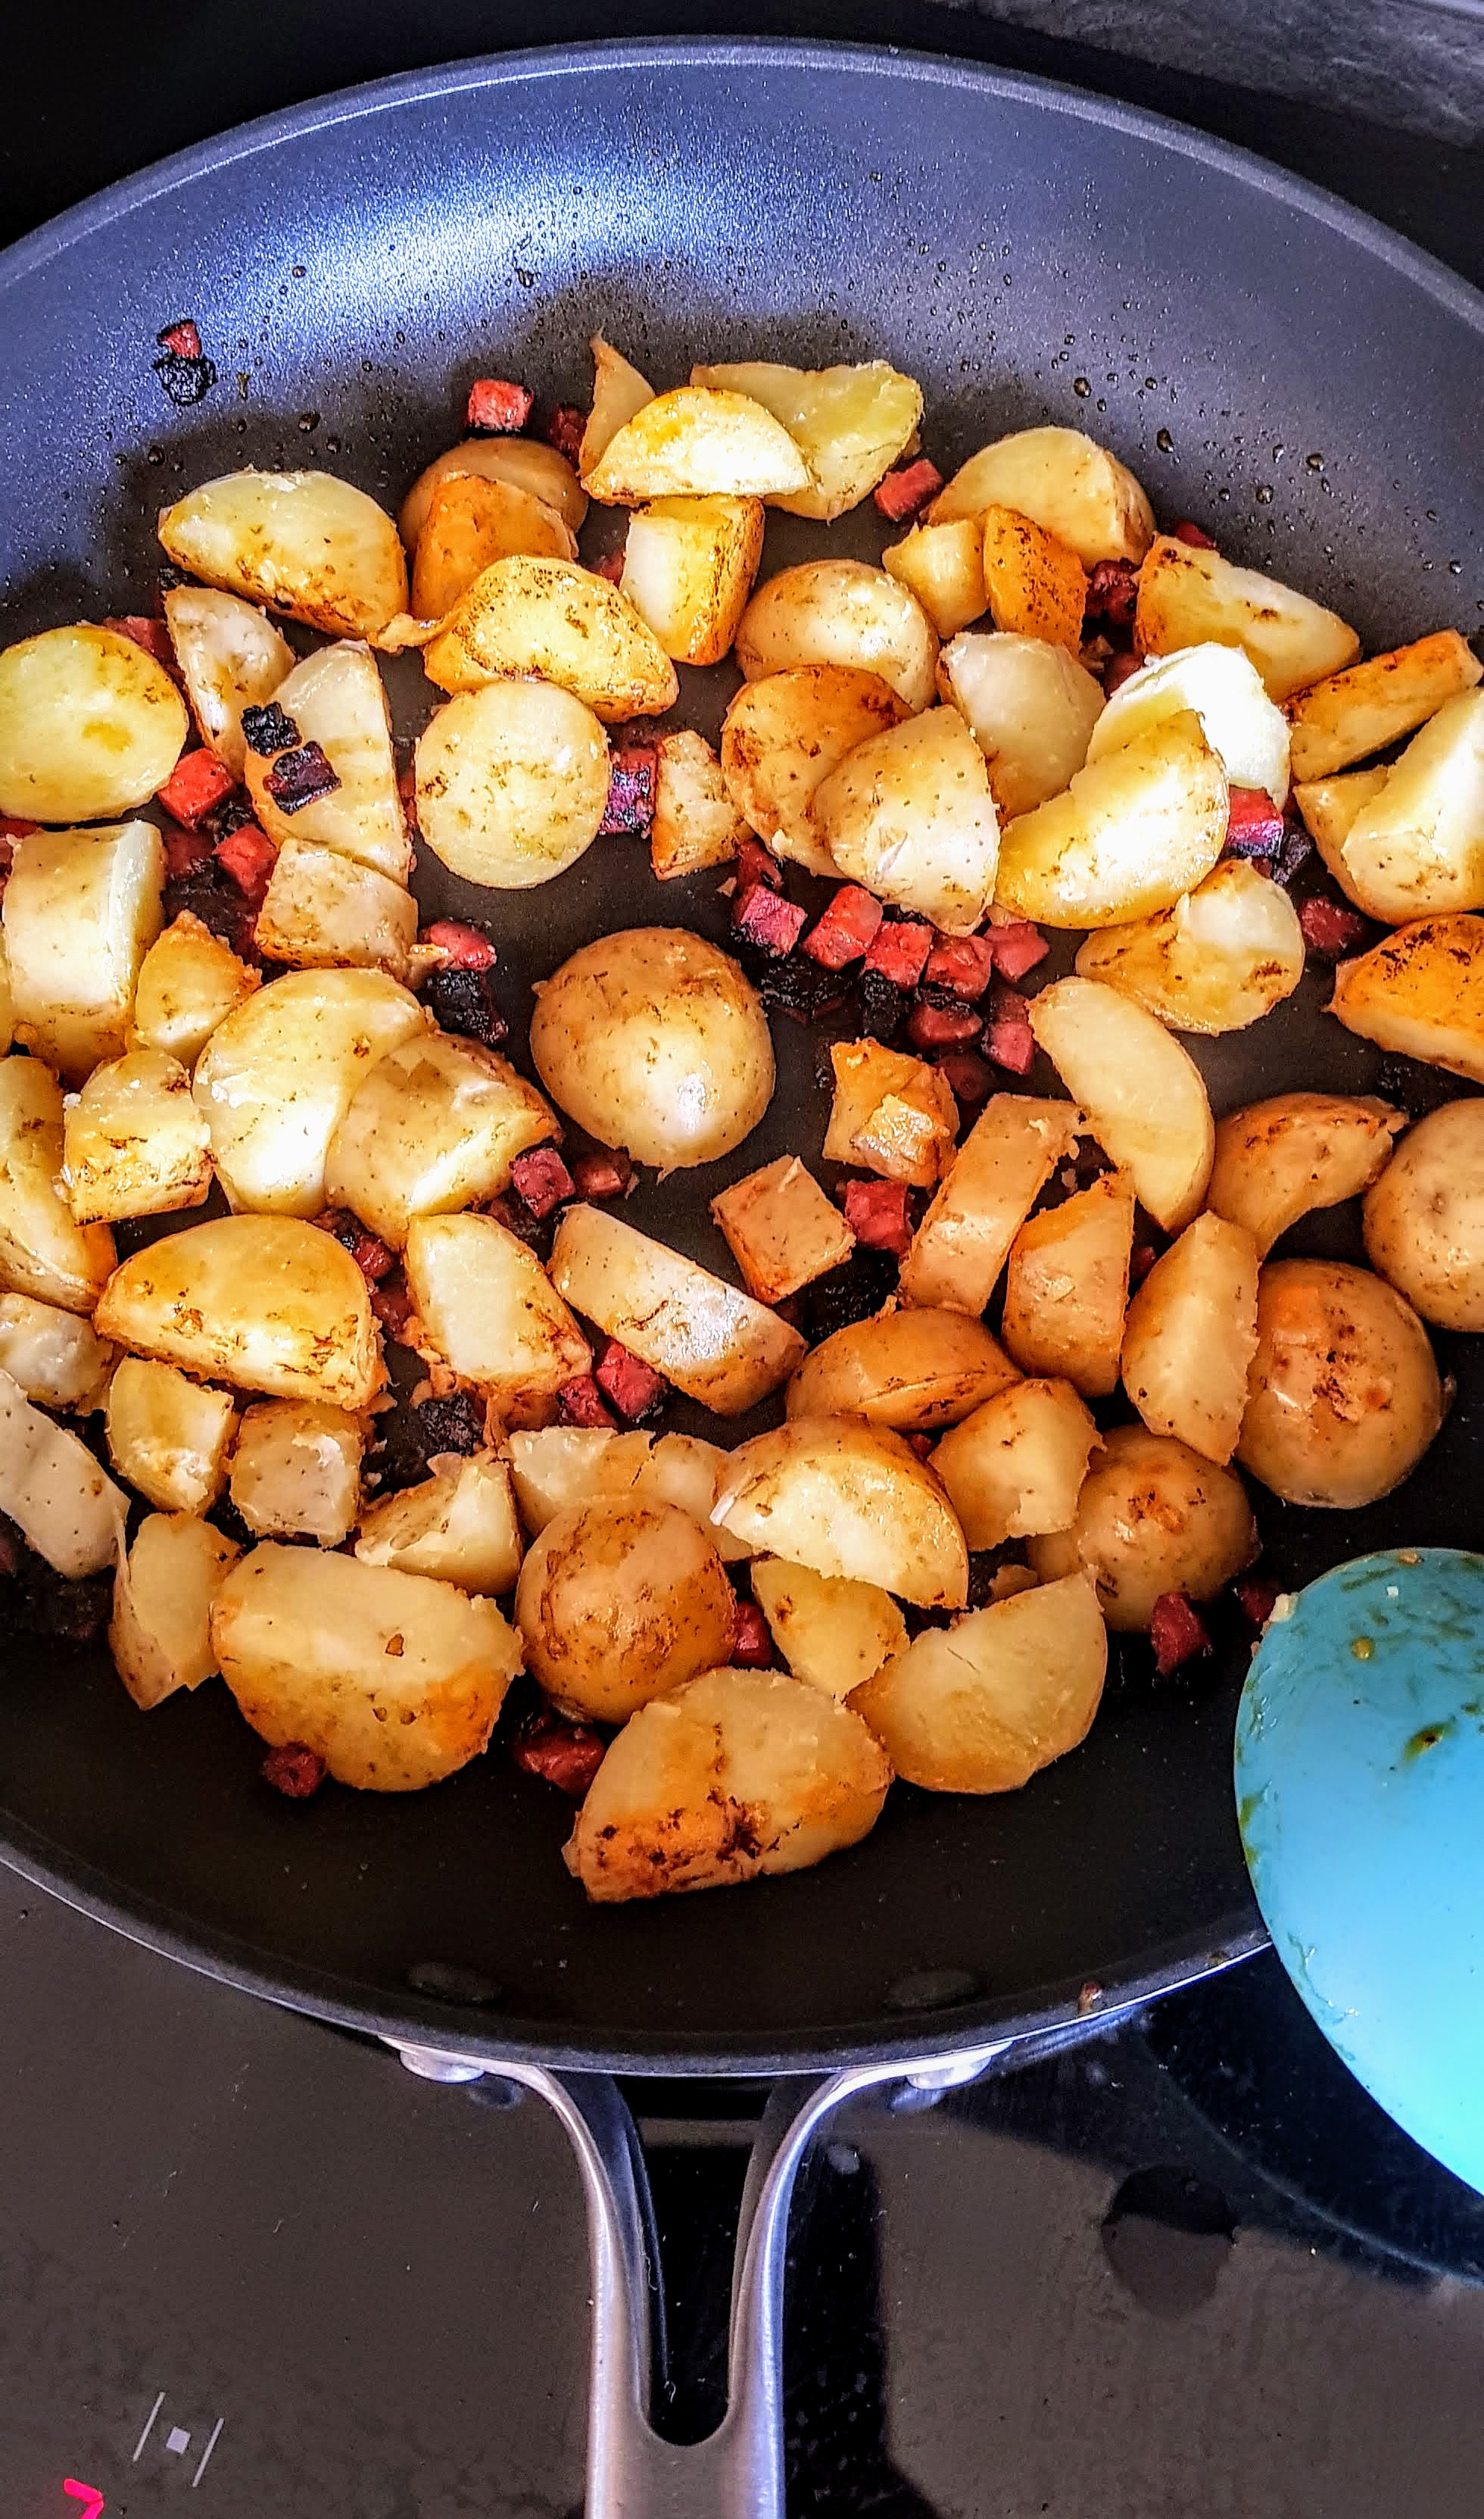
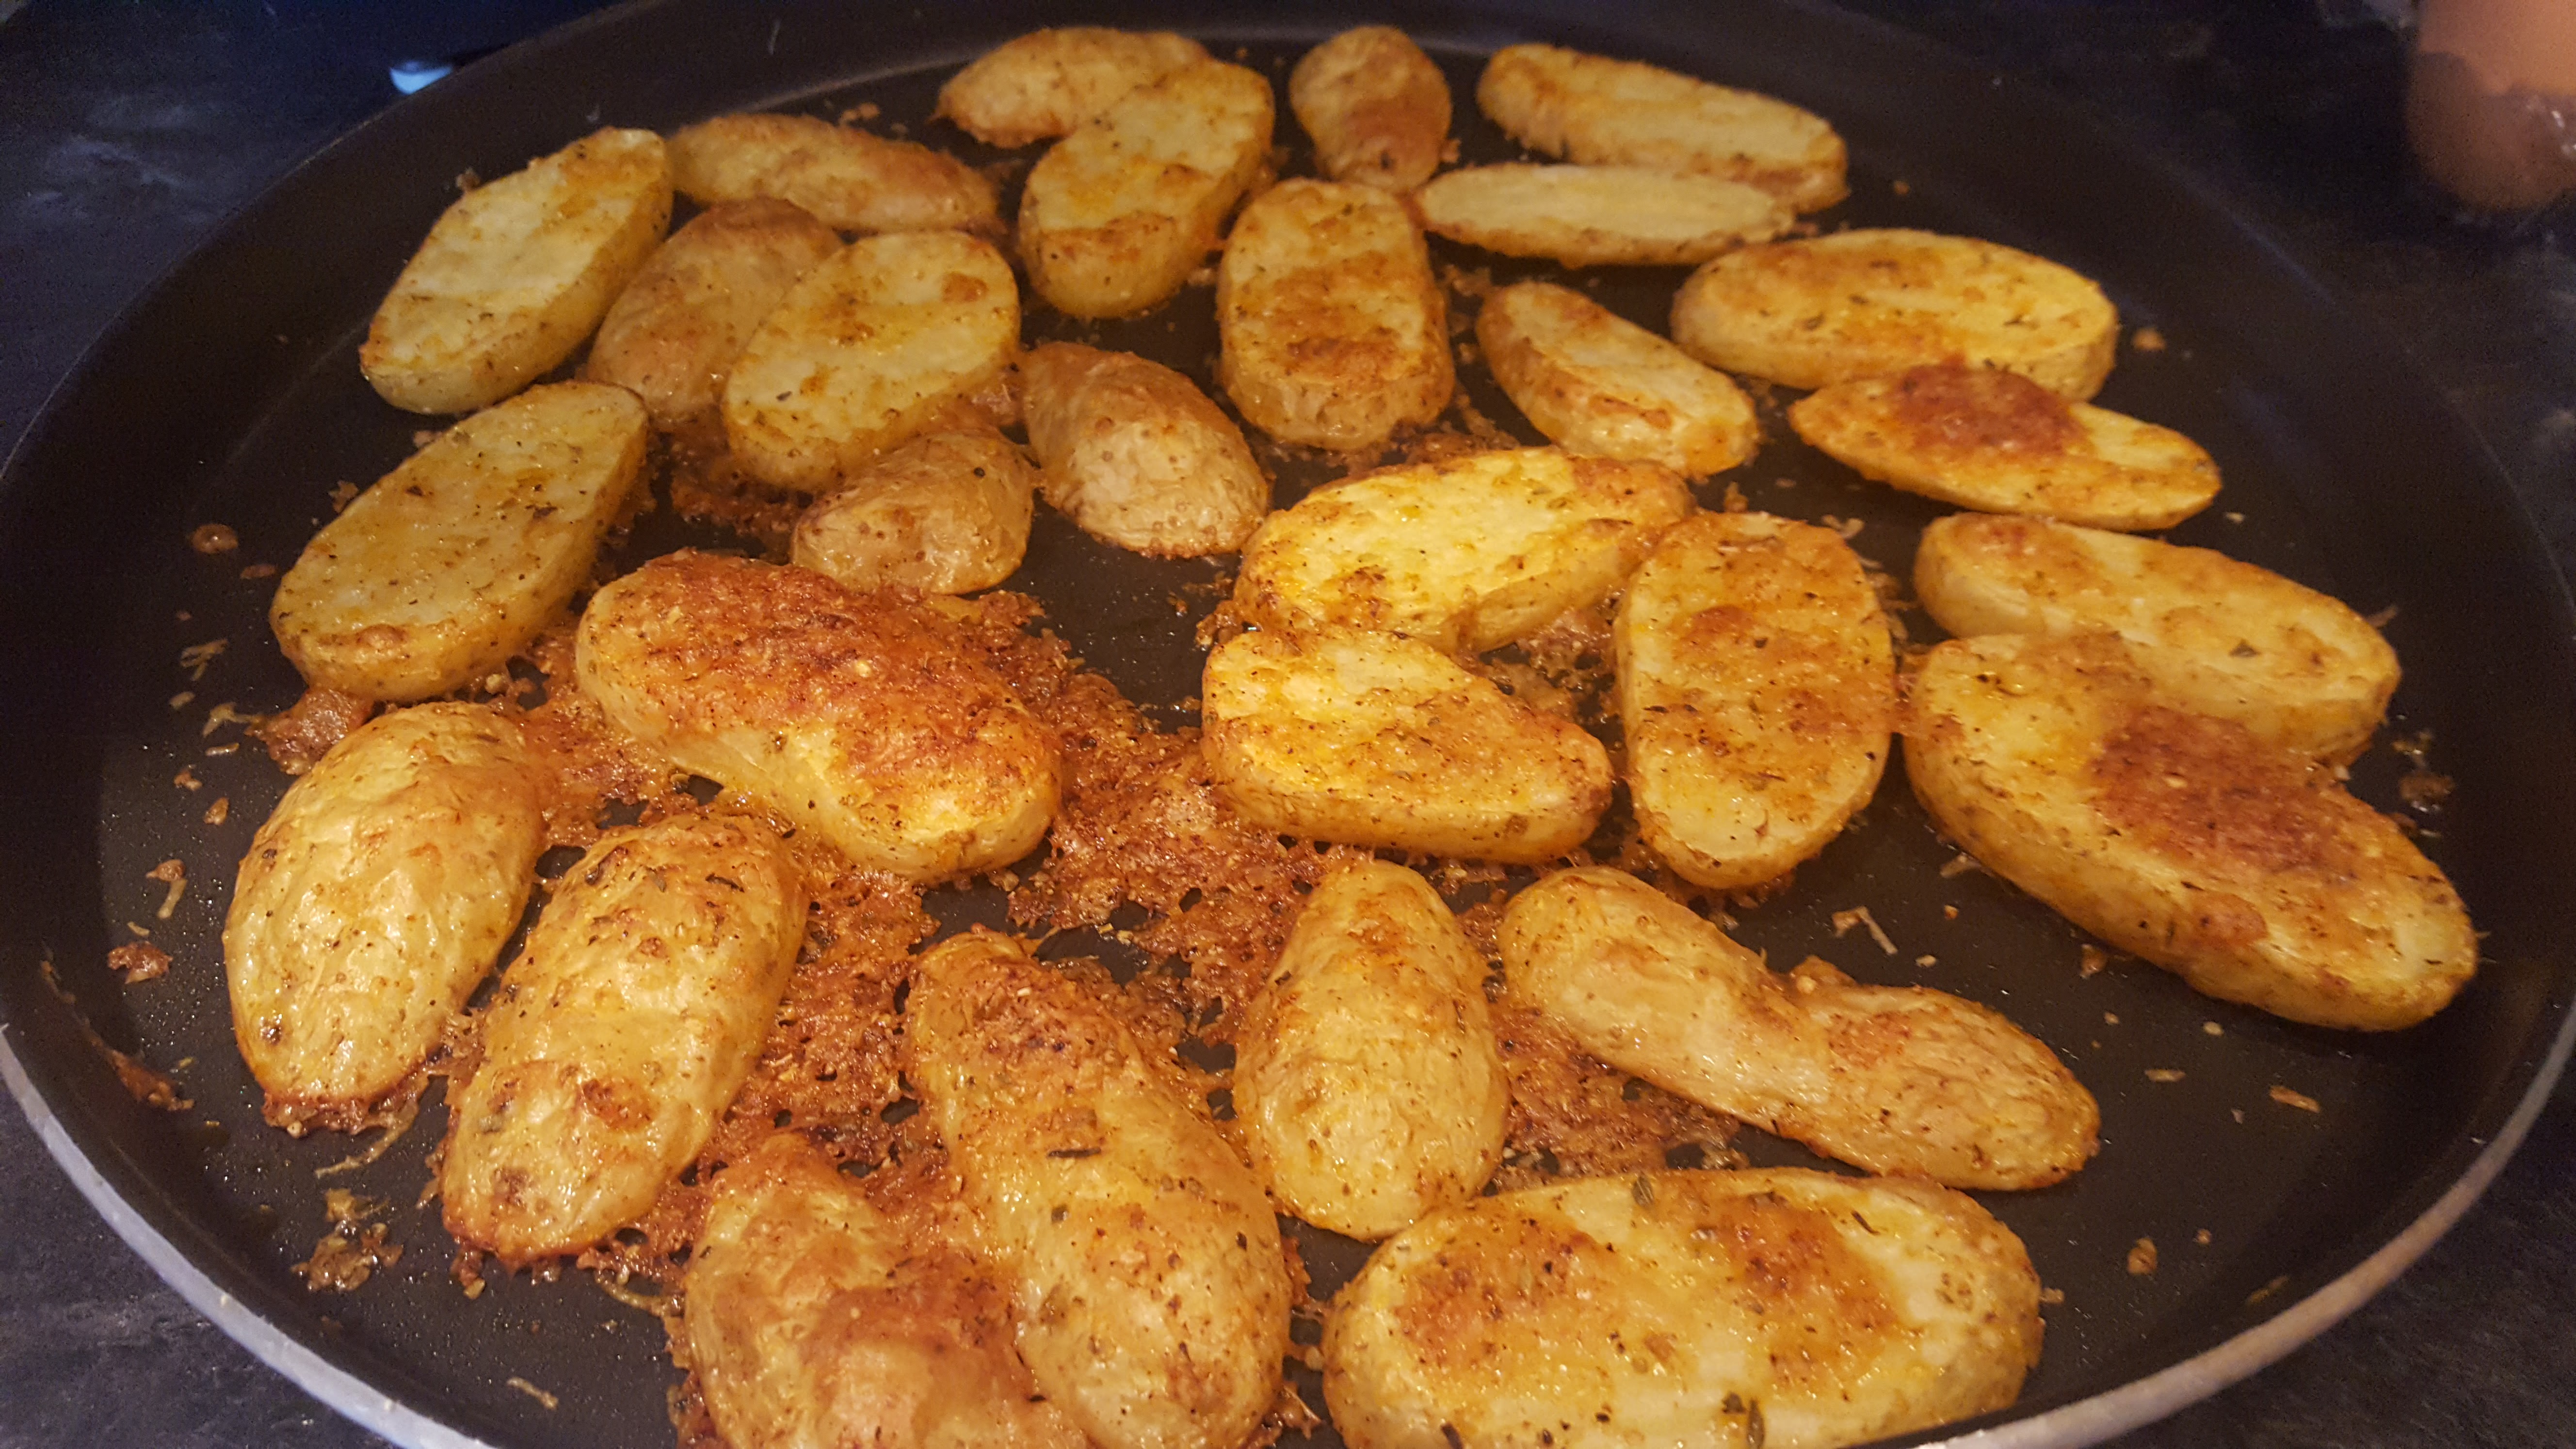
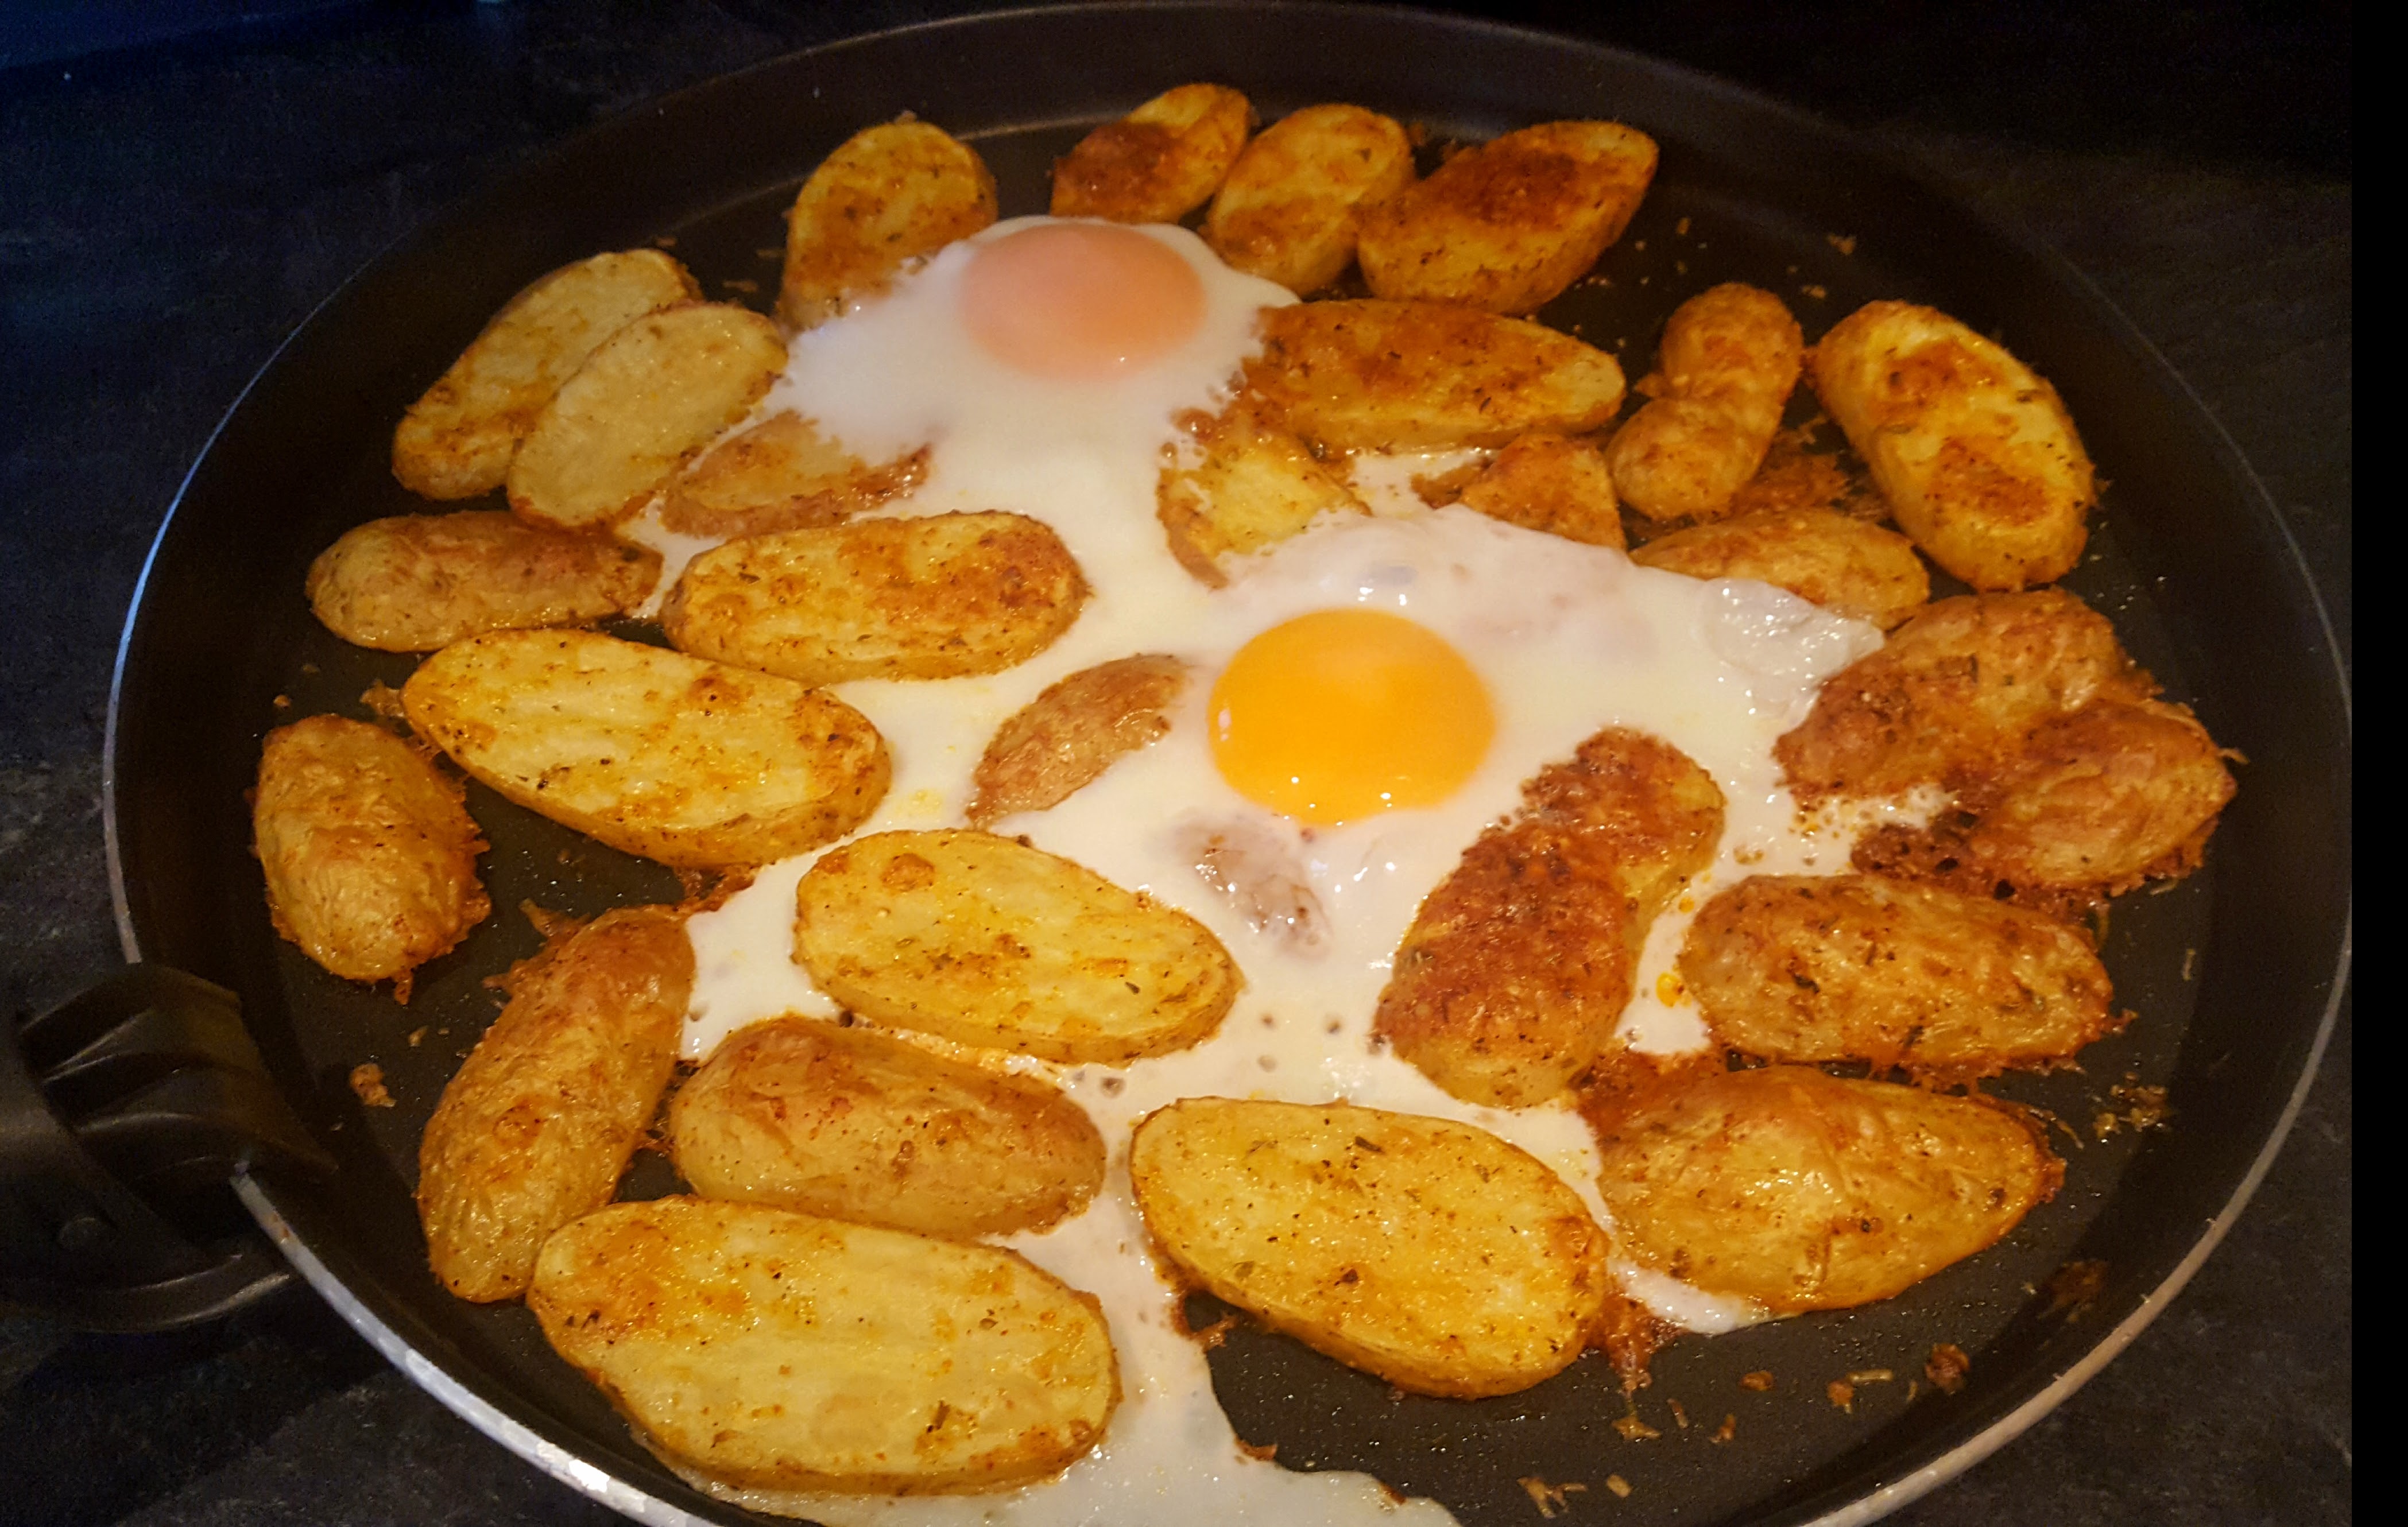
Having some left over potatoes, I wanted something filling for lunch so decided on these little tasty bites. Again using my crisper plate they were ready on only 12 minutes. Quick lunch. Tasty lunch. I added a couple of eggs too for protein.
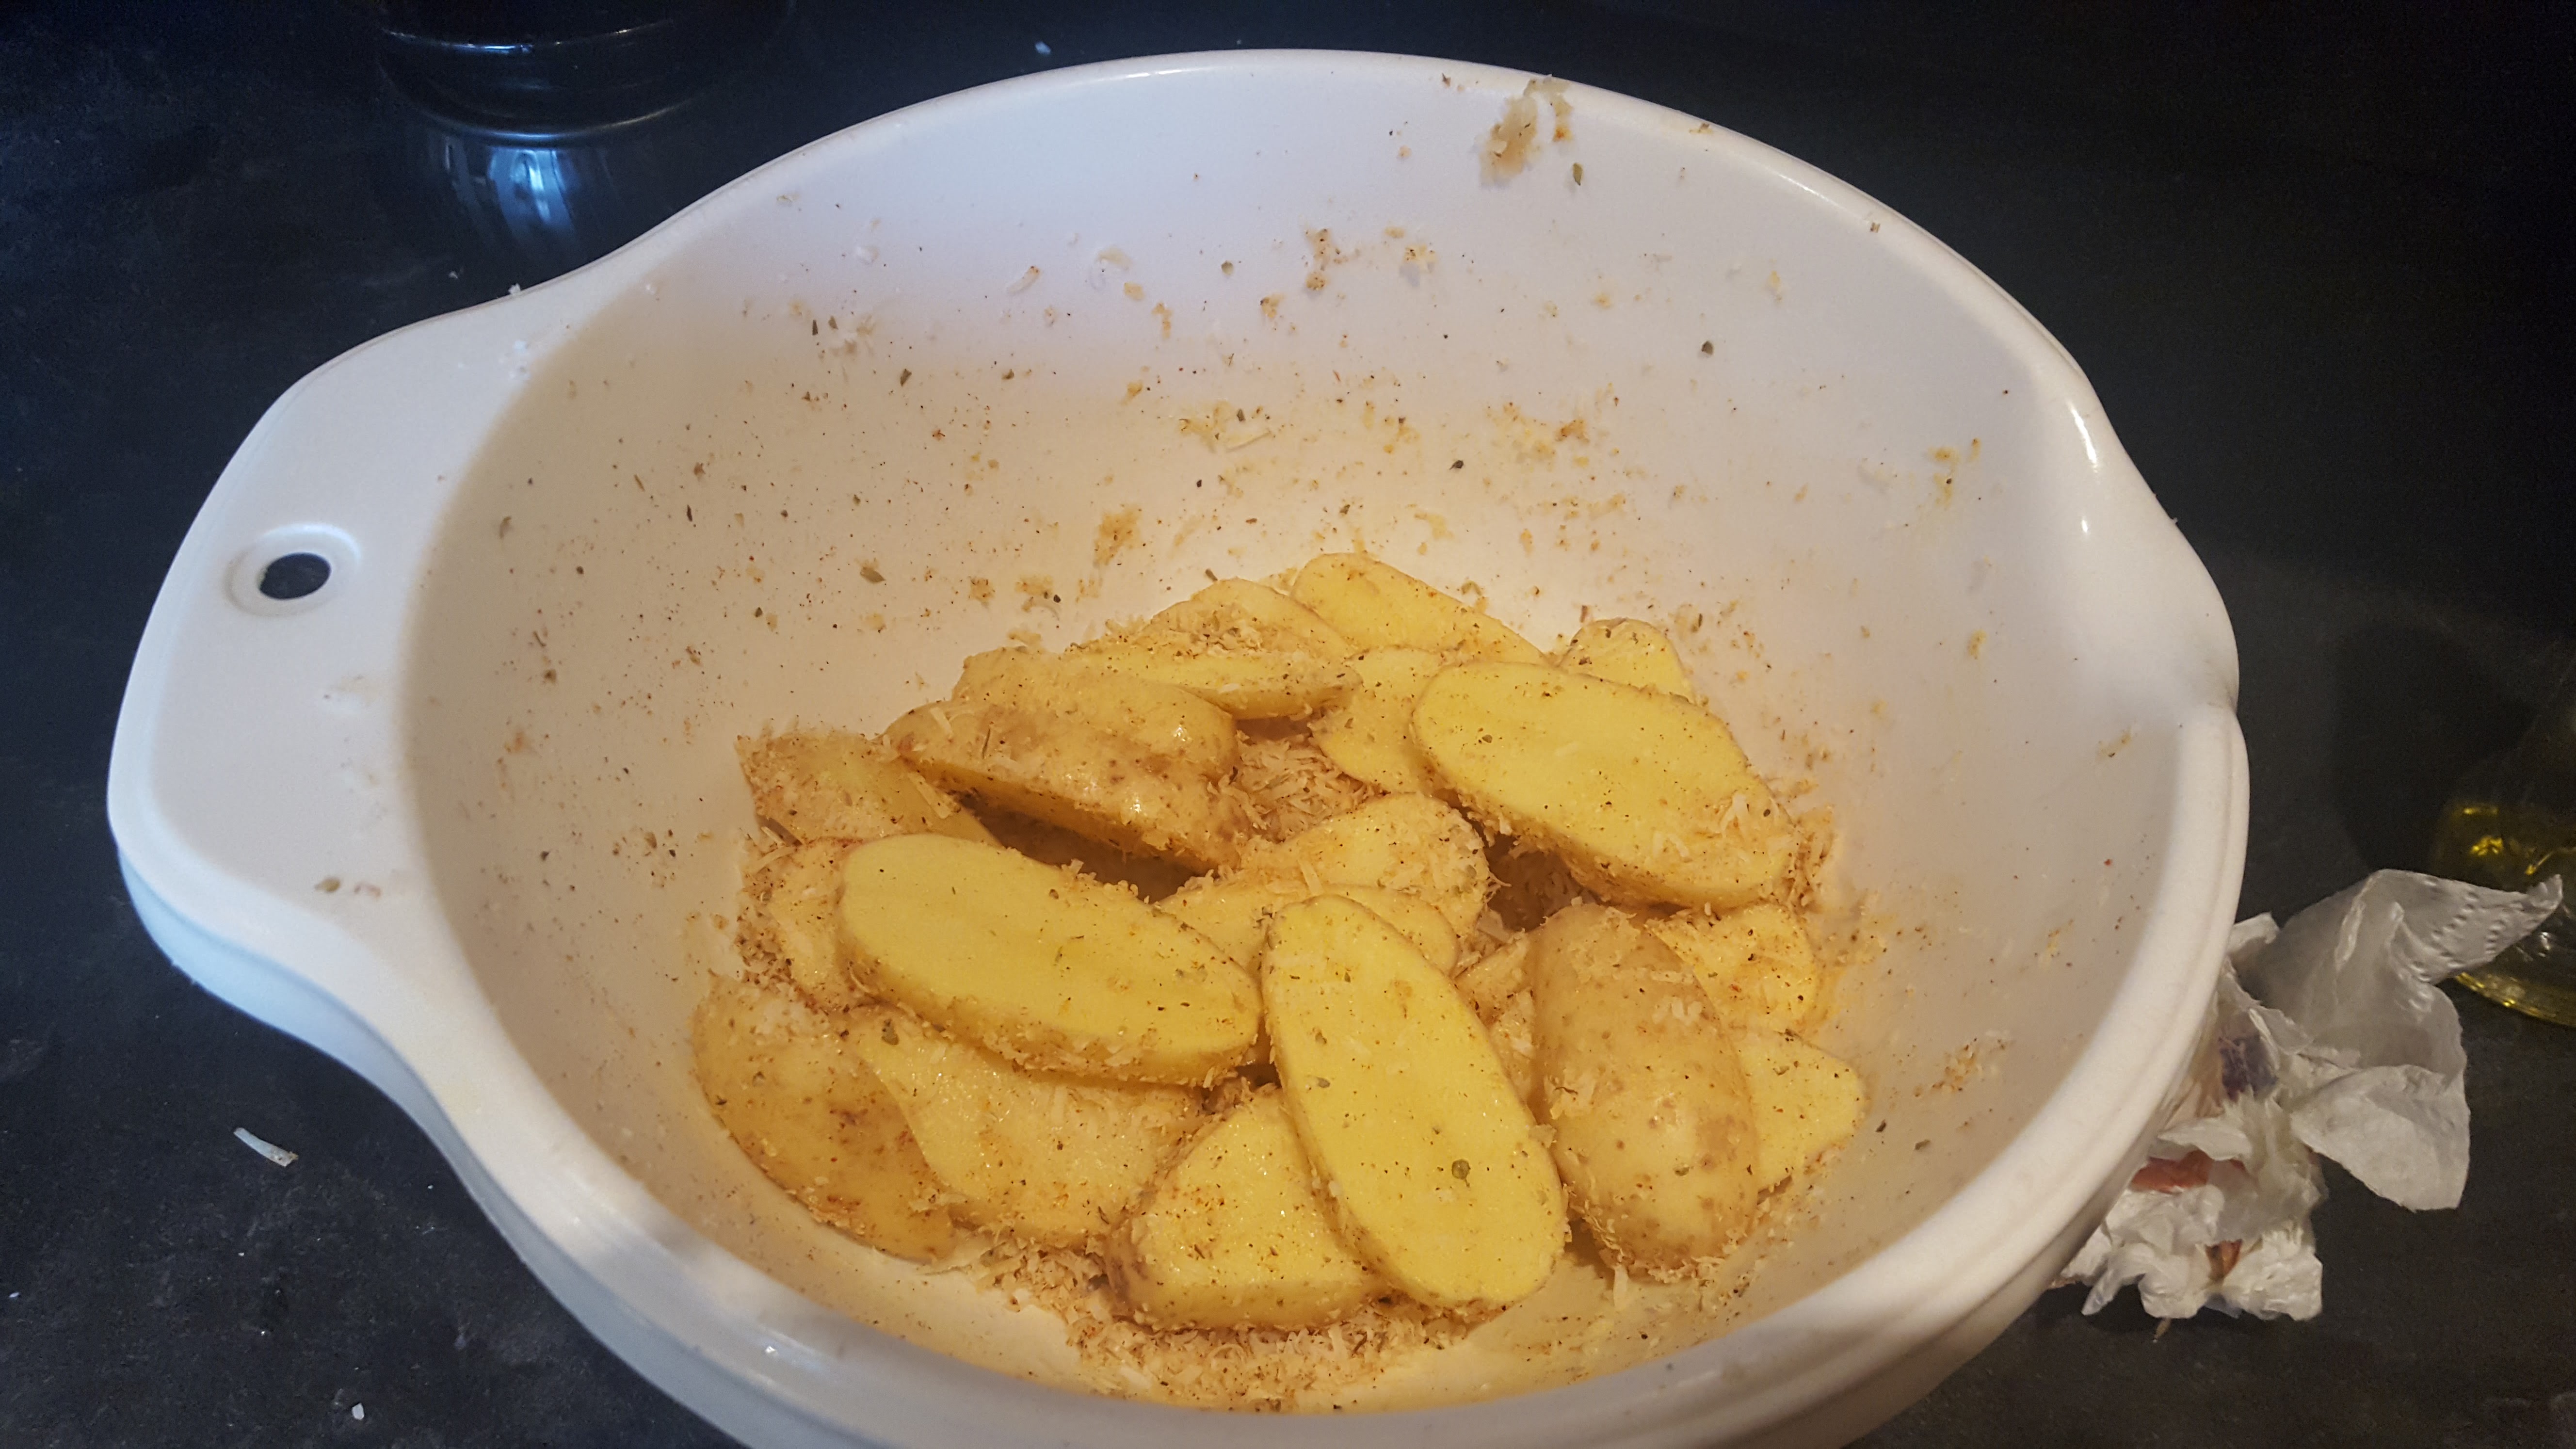
300g charlotte potatoes

50g parmesan cheese – hard

1/2 tsp garlic powder

1/2 tsp oregano dried

1/2 tsp smoked paprika

1/2 tsp salt

1/2 tsp pepper

2 tbsp olive oil


  1. Firstly grated the parmesan into a bowl, add in the oregano, paprika, salt, pepper and garlic powder and mix
  2. Wash and slice the potatoes, I cut approx 1cm thick or just under. Pat dry with kitchen paper and toss in the olive oil to coat.
  3. Put the potatoes into the parmesan mix to thoroughly coat  20171030_123003
  4. Preheat the crisper plate on dynamic crisp setting for 3 minutes, remove and empty the potates onto the plate
  5. Bake on crisper setting for 12 minutes. If adding in the eggs….remove plate with 2 minutes left on clock and crack in the eggs. Cook further. If you like runner eggs, add in at 1.30 mins left.                                            20171030_124326 20171030_230348
  6. Remove and serve…..yummy!

20171030_124257


Avocado Love on Toast

20170204_101918

I just love playing with my food….lol! I was feeling in a creative mood this morning so rather than smashing the avocado (as I normally do) I thought it’s time to try the Avocado Rose bowl design that has been going about for a while now. Not only did I master that, since it’s February, the month of Love, a wee love heart appeared also.

Here’s how to do it.

1/2 Avocado

Little oil and a sharp knife

  1. Firstly rub your knife and your work surface with a little oil, this helps the knife glide smoothly through the avocado.                                                                                                                                                             20170204_102141
  2. Slowly slice the avocado as thinly as you can.                                                                                                                           20170204_102118
  3. Wet your fingers slightly, then slowly fan out the avocado slices to make a long line or u shape.                                                                                               20170204_102057
  4. Gently start to roll up into your rose bowl design or in fact any design you want to.

20170204_102021

20170204_101954

I then placed on a piece of toast with a poached egg inside and devoured!


Chicken, Leek & Bacon Filo Pie

13009899_810400505728151_1833944718_o

A Healthier and Lighter way for a truly scrumptious pie. Love this combination and love the fewer calories using filo. We do love our pie Sunday’s.


Makes 2 pies

2 Chicken Breasts – cubed

1 Leek – sliced finely

4 lean smoked bacon – sliced

300ml milk

1 Chicken Stock cube

2 tbsp flour

1 tbsp nutmeg

15g butter

Salt & pepper


  1. Brown chicken in a medium heat pan, the remove from pan
  2. In the same pan brown the bacon and remove from pan
  3. Saute the leeks in the same pan and remove
  4. Melt butter in the pan and gently stir in the flour to a smooth paste
  5. Crumble the chicken stock cube into the milk and the slowly add to the pan little at a time stirring until thickened.
  6. Add the chicken, leeks, and bacon, season and add nutmeg then simmer for 15 mins.
  7. Brush the filo sheets with melted butter or a little olive oil.
  8. Spoon the chicken mixture into an oven dish equally then scrunch each filo sheet and add to top of mixture in dish. 13035461_810332299068305_2123061196_o  13035443_810333409068194_63101620_o
  9. Bake in an oven 180 deg for 20-25 mins until golden brown.
  10. Serve with some veg or potatoes….Yummy!

I always know I’ve made a perfect pie when my partner leaves nothing on the plate..lol.!

13035681_810400232394845_1738702915_o           13036404_810404535727748_1827338318_o


Toffee Apple Custard Tarts

20160416_180210

I was inspired to try these by a local baker I met this week, I have to say I didn’t quite get the custard as I would have liked but they did taste absolutely divine.

Makes 6-8

For the filling:
3 large free range eggs, plus 2 large free range egg yolks, lightly beaten
1 pint of single cream (2 cups)
2 ounces caster sugar (a scant 1/4 cup)
1/2 tsp vanilla extract
1 1/2 whole nutmegs, grated
1 tsp of softened butter

For the toffee sauce:

150g caster sugar

75ml pot double cream

25g butter

Base:-

3-4 sheets Filo Pastry

1/2 Lady Red Apple – sliced very thinly


  1. Place the cream and vanilla into a saucepan and bring it up to a simmer.
  2. Whisk the beaten eggs and sugar together in a large heatproof jug.
  3. Slowly pour the hot cream over the beaten eggs, whisking continuously.
  4. Whisk in half of the nutmeg.
  5. Carefully pour the whisked mixture into the pastry case and scatter the rest of the nutmeg over top.
  6. Bake for 10 minutes, then place the sliced apple on top carefully, place back in the oven for a further 20 mins or until the filling is golden brown, firm in the centre and slightly puffed.
  7. Meanwhile, cut the filo pastry into squares, size to fit your muffin tin. Lightly grease your tin.
  8. Brush the filo with melted butter and place 3 squares on top of each other to form a star shape, carefully press into muffin tin. 20160416_151009
  9. Now to make the toffee, tip the sugar into a heavy-based frying pan, stir in 4 tbsp water, then place over a medium heat until the sugar has dissolved.
  10. Turn up the heat and bubble for 4-5 mins until you have caramel.
  11. Take off the heat, then carefully stir in the cream and butter.  20160416_150921
  12. Once oven has finished, remove and spread the toffee over the top and allow to cool for about 1 hour. Serve! Yummy!

20160416_151718


Coconut and Banana Upside Down Cake

upcake1.NEF   DSC_0020.NEF

Makes 1 x 8 inch cake tin

I cheated slightly with this and used ready made cake mix.

200g Betty Crocker Vanilla Cake Mix

2 eggs

2 tbsp olive oil

1/4 cup sour cream – approx 75ml

1/4 cup water – 75ml

2 large bananas – sliced

100g shredded coconut

1/2 cup brown sugar

2 tbsp butter

1 tbsp lemon juice


  1. Preheat oven to 180 deg, grease the baking tin with spray oil.
  2. With an electric mixer, beat cake mix, eggs, oil, water, and sour cream on low until combined. Beat on high for 2 minutes
  3. Place banana slices evenly on bottom of tin.
  4. upcake.NEF
  5. In a small saucepan melt butter. Add brown sugar and lemon juice and heat until dissolved. (approx 40 secs) Pour the brown sugar mixture into the cake tin over the bananas. Sprinkle coconut over brown sugar sauce.
  6. upcake3
  7. Pour over the cake mixture and spread evenly.
  8. Bake in oven for approx 40 mins. (If you have a Hotpoint Luce oven, use the dessert setting to bake).
  9. upcake4
  10. Let it cool for 5 mins then serve with some ice cream, custard or even just some whipped cream. YUMMY!!