Caramelised Red Onion

Caramalised Red Onion

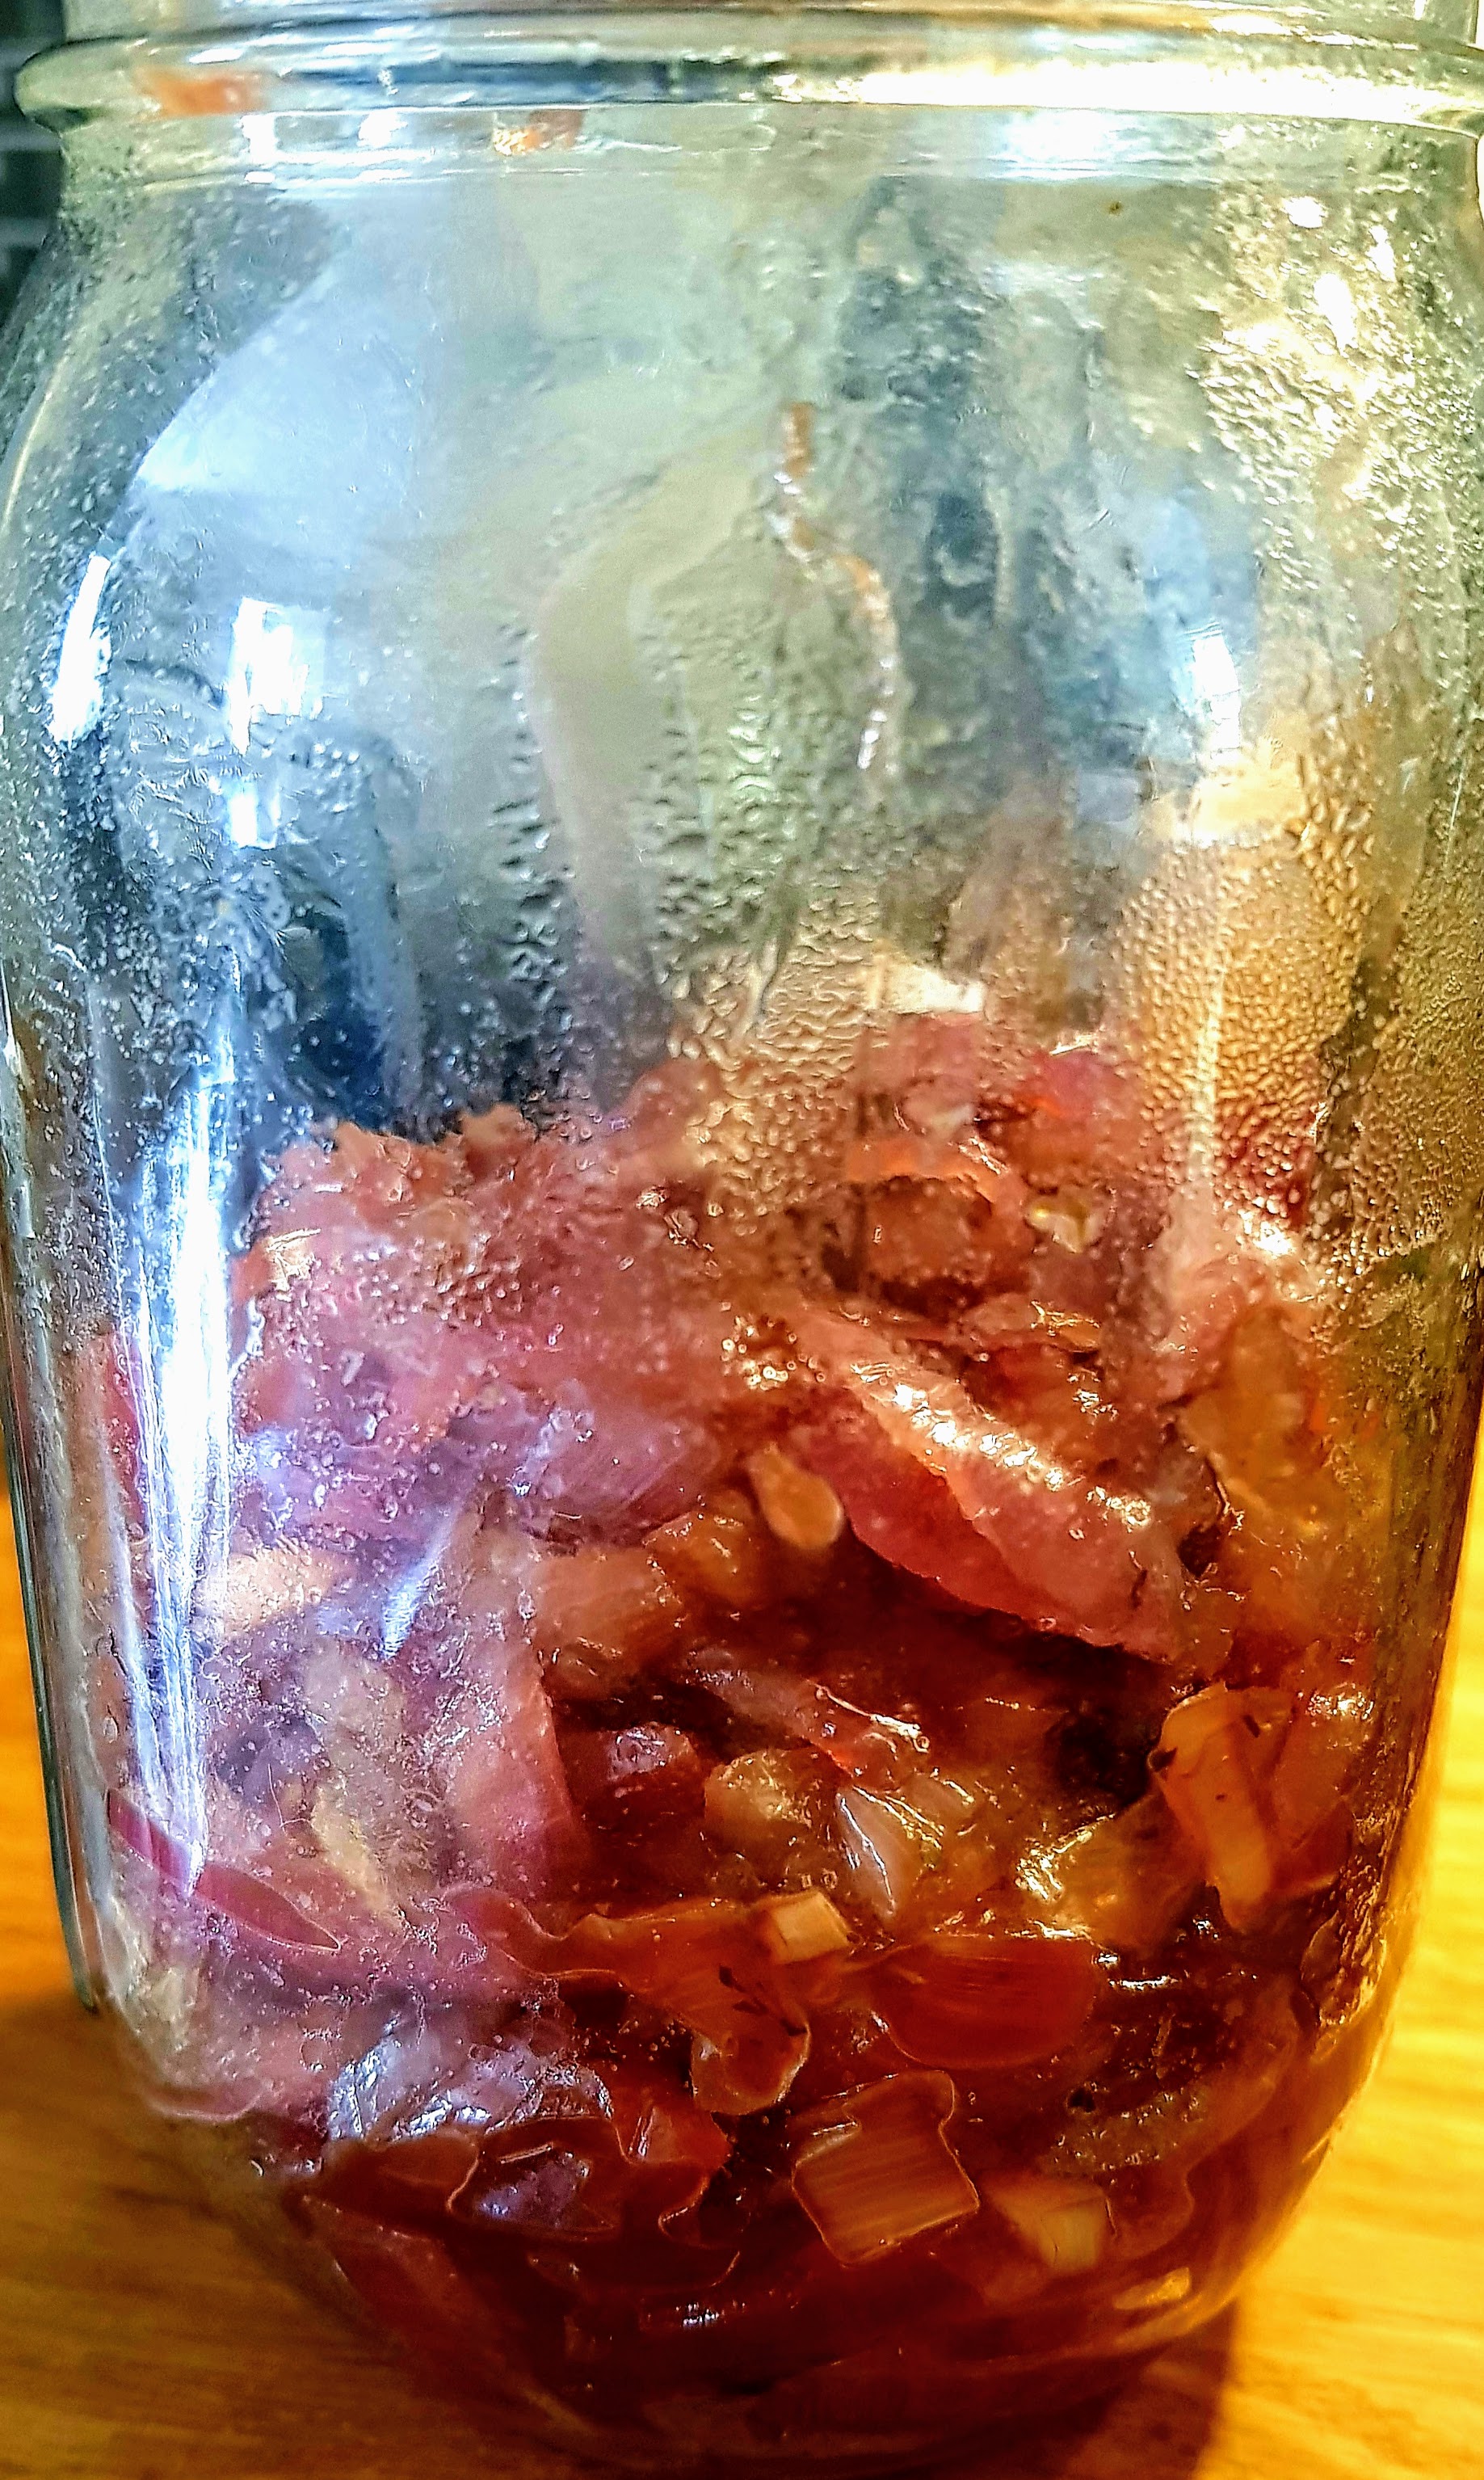
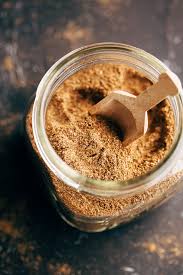
With successfully grown my own red onions this year, I decided to jar up some homemade caramelised red onion. Also a good way to get ahead when preparing some dishes or snacks as this recipe can be made in bulk and then frozen or kept in an air tight container for about 1 week.

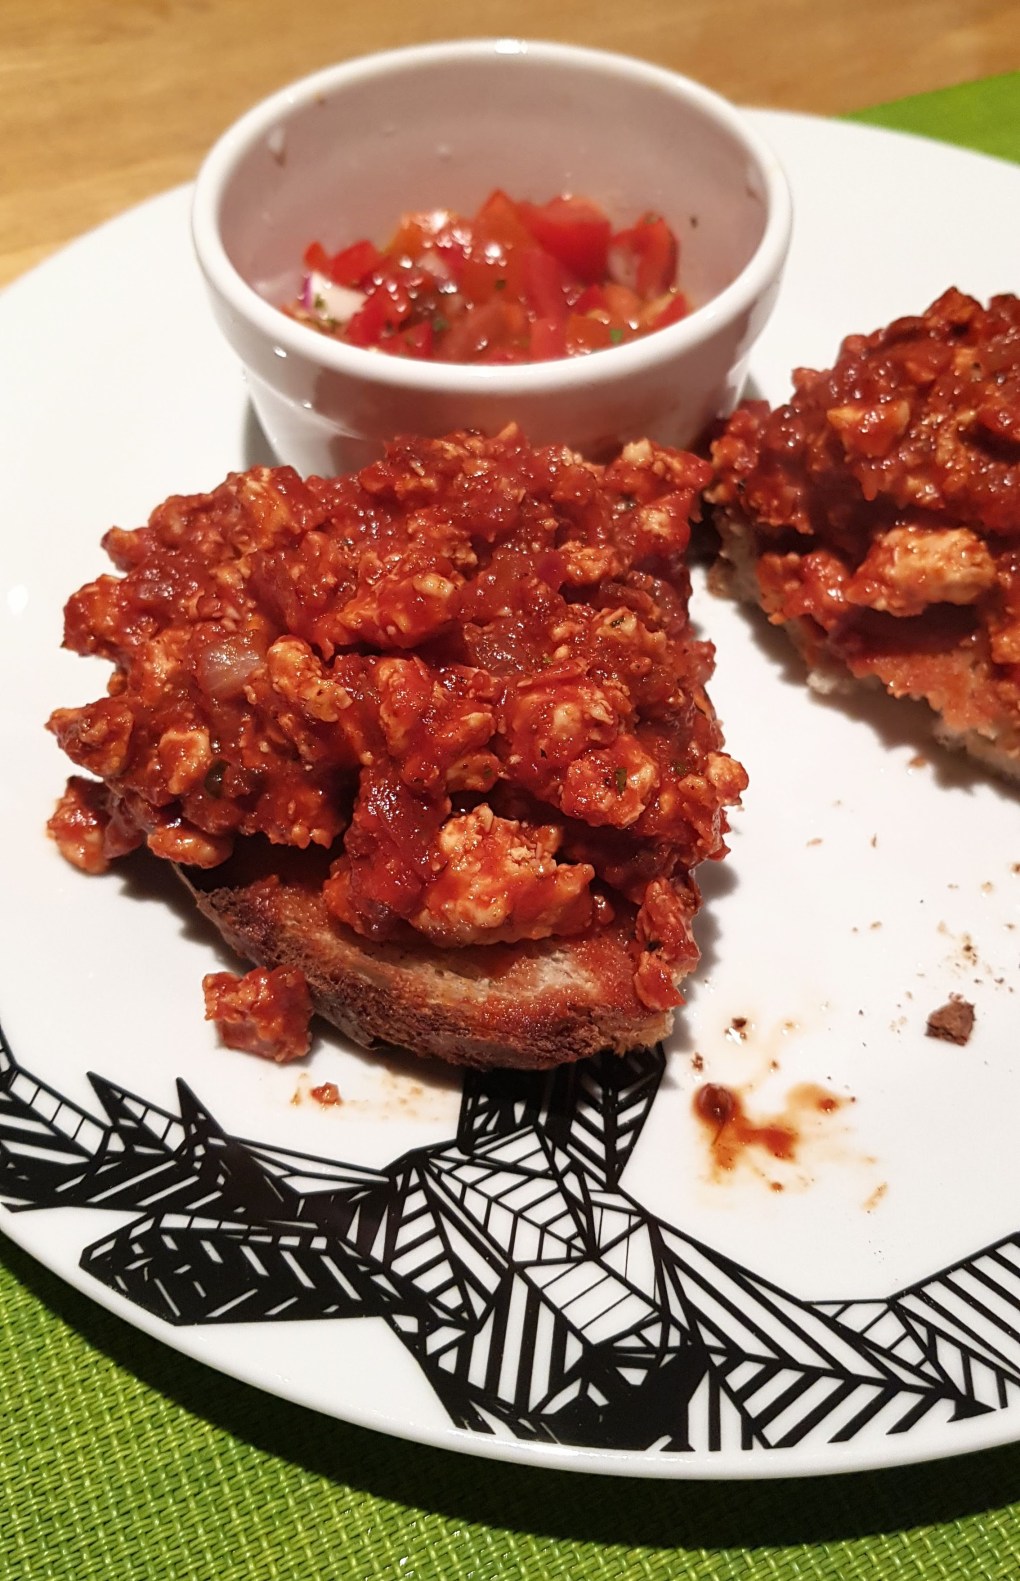
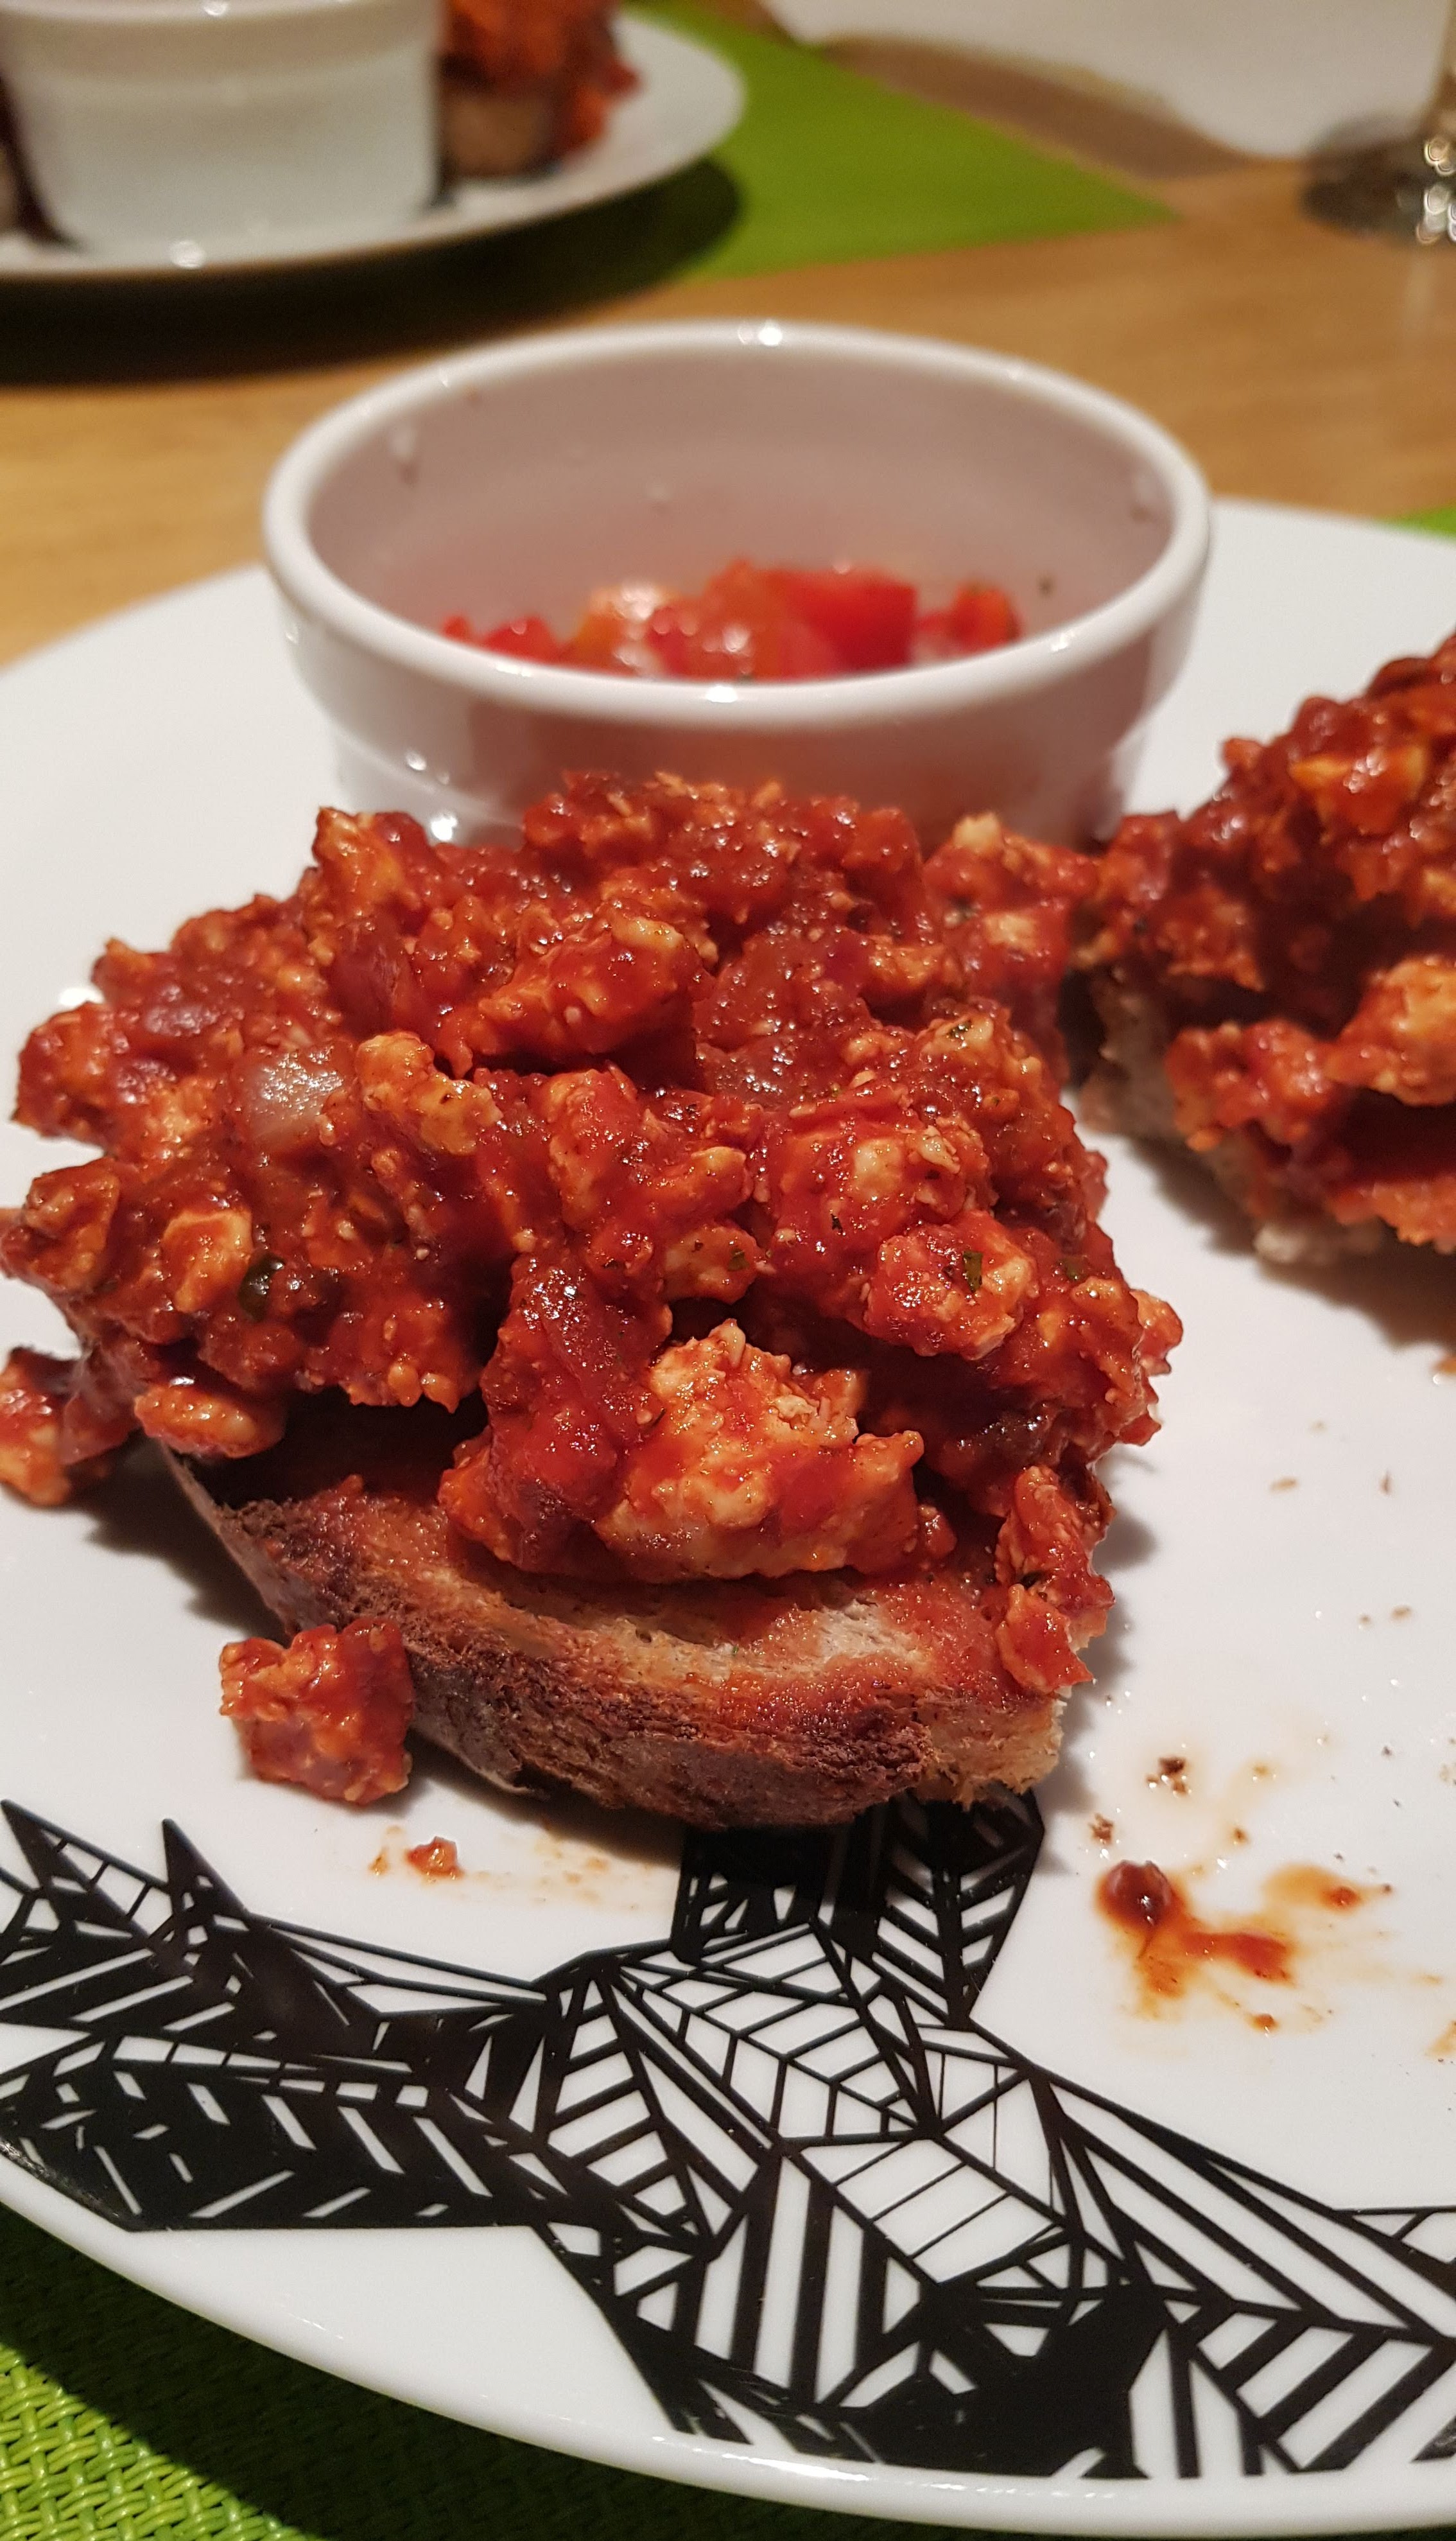
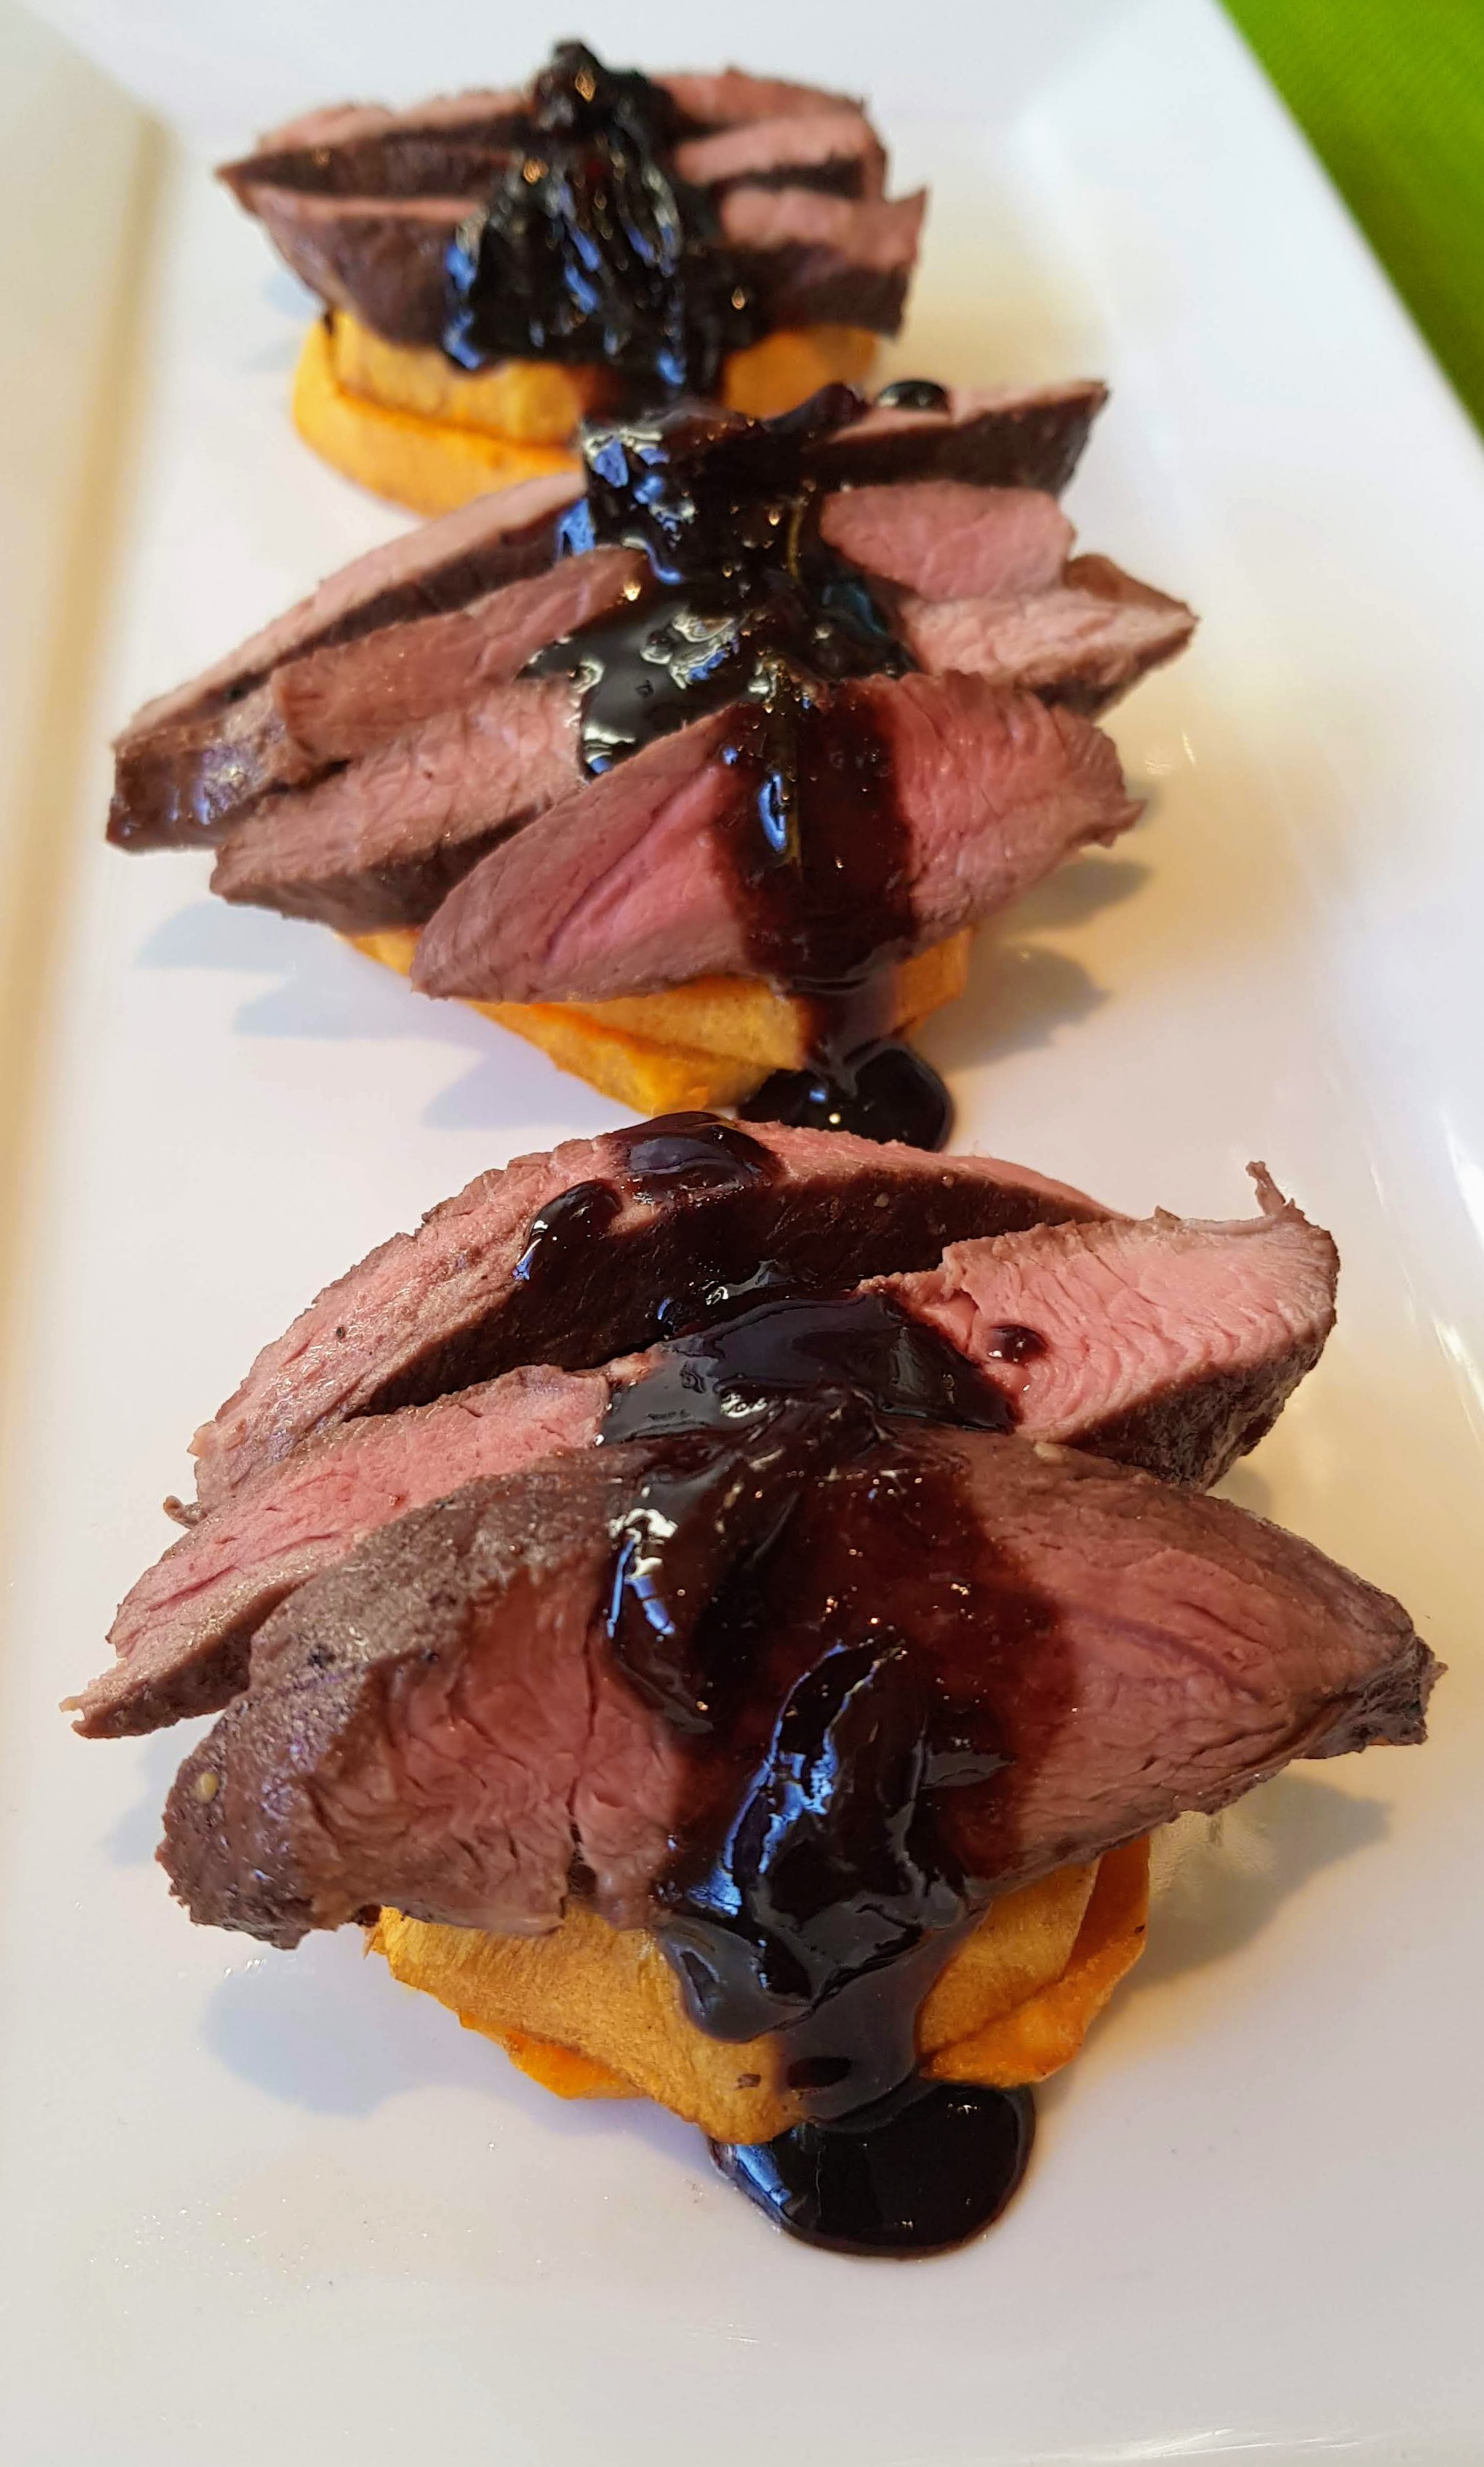
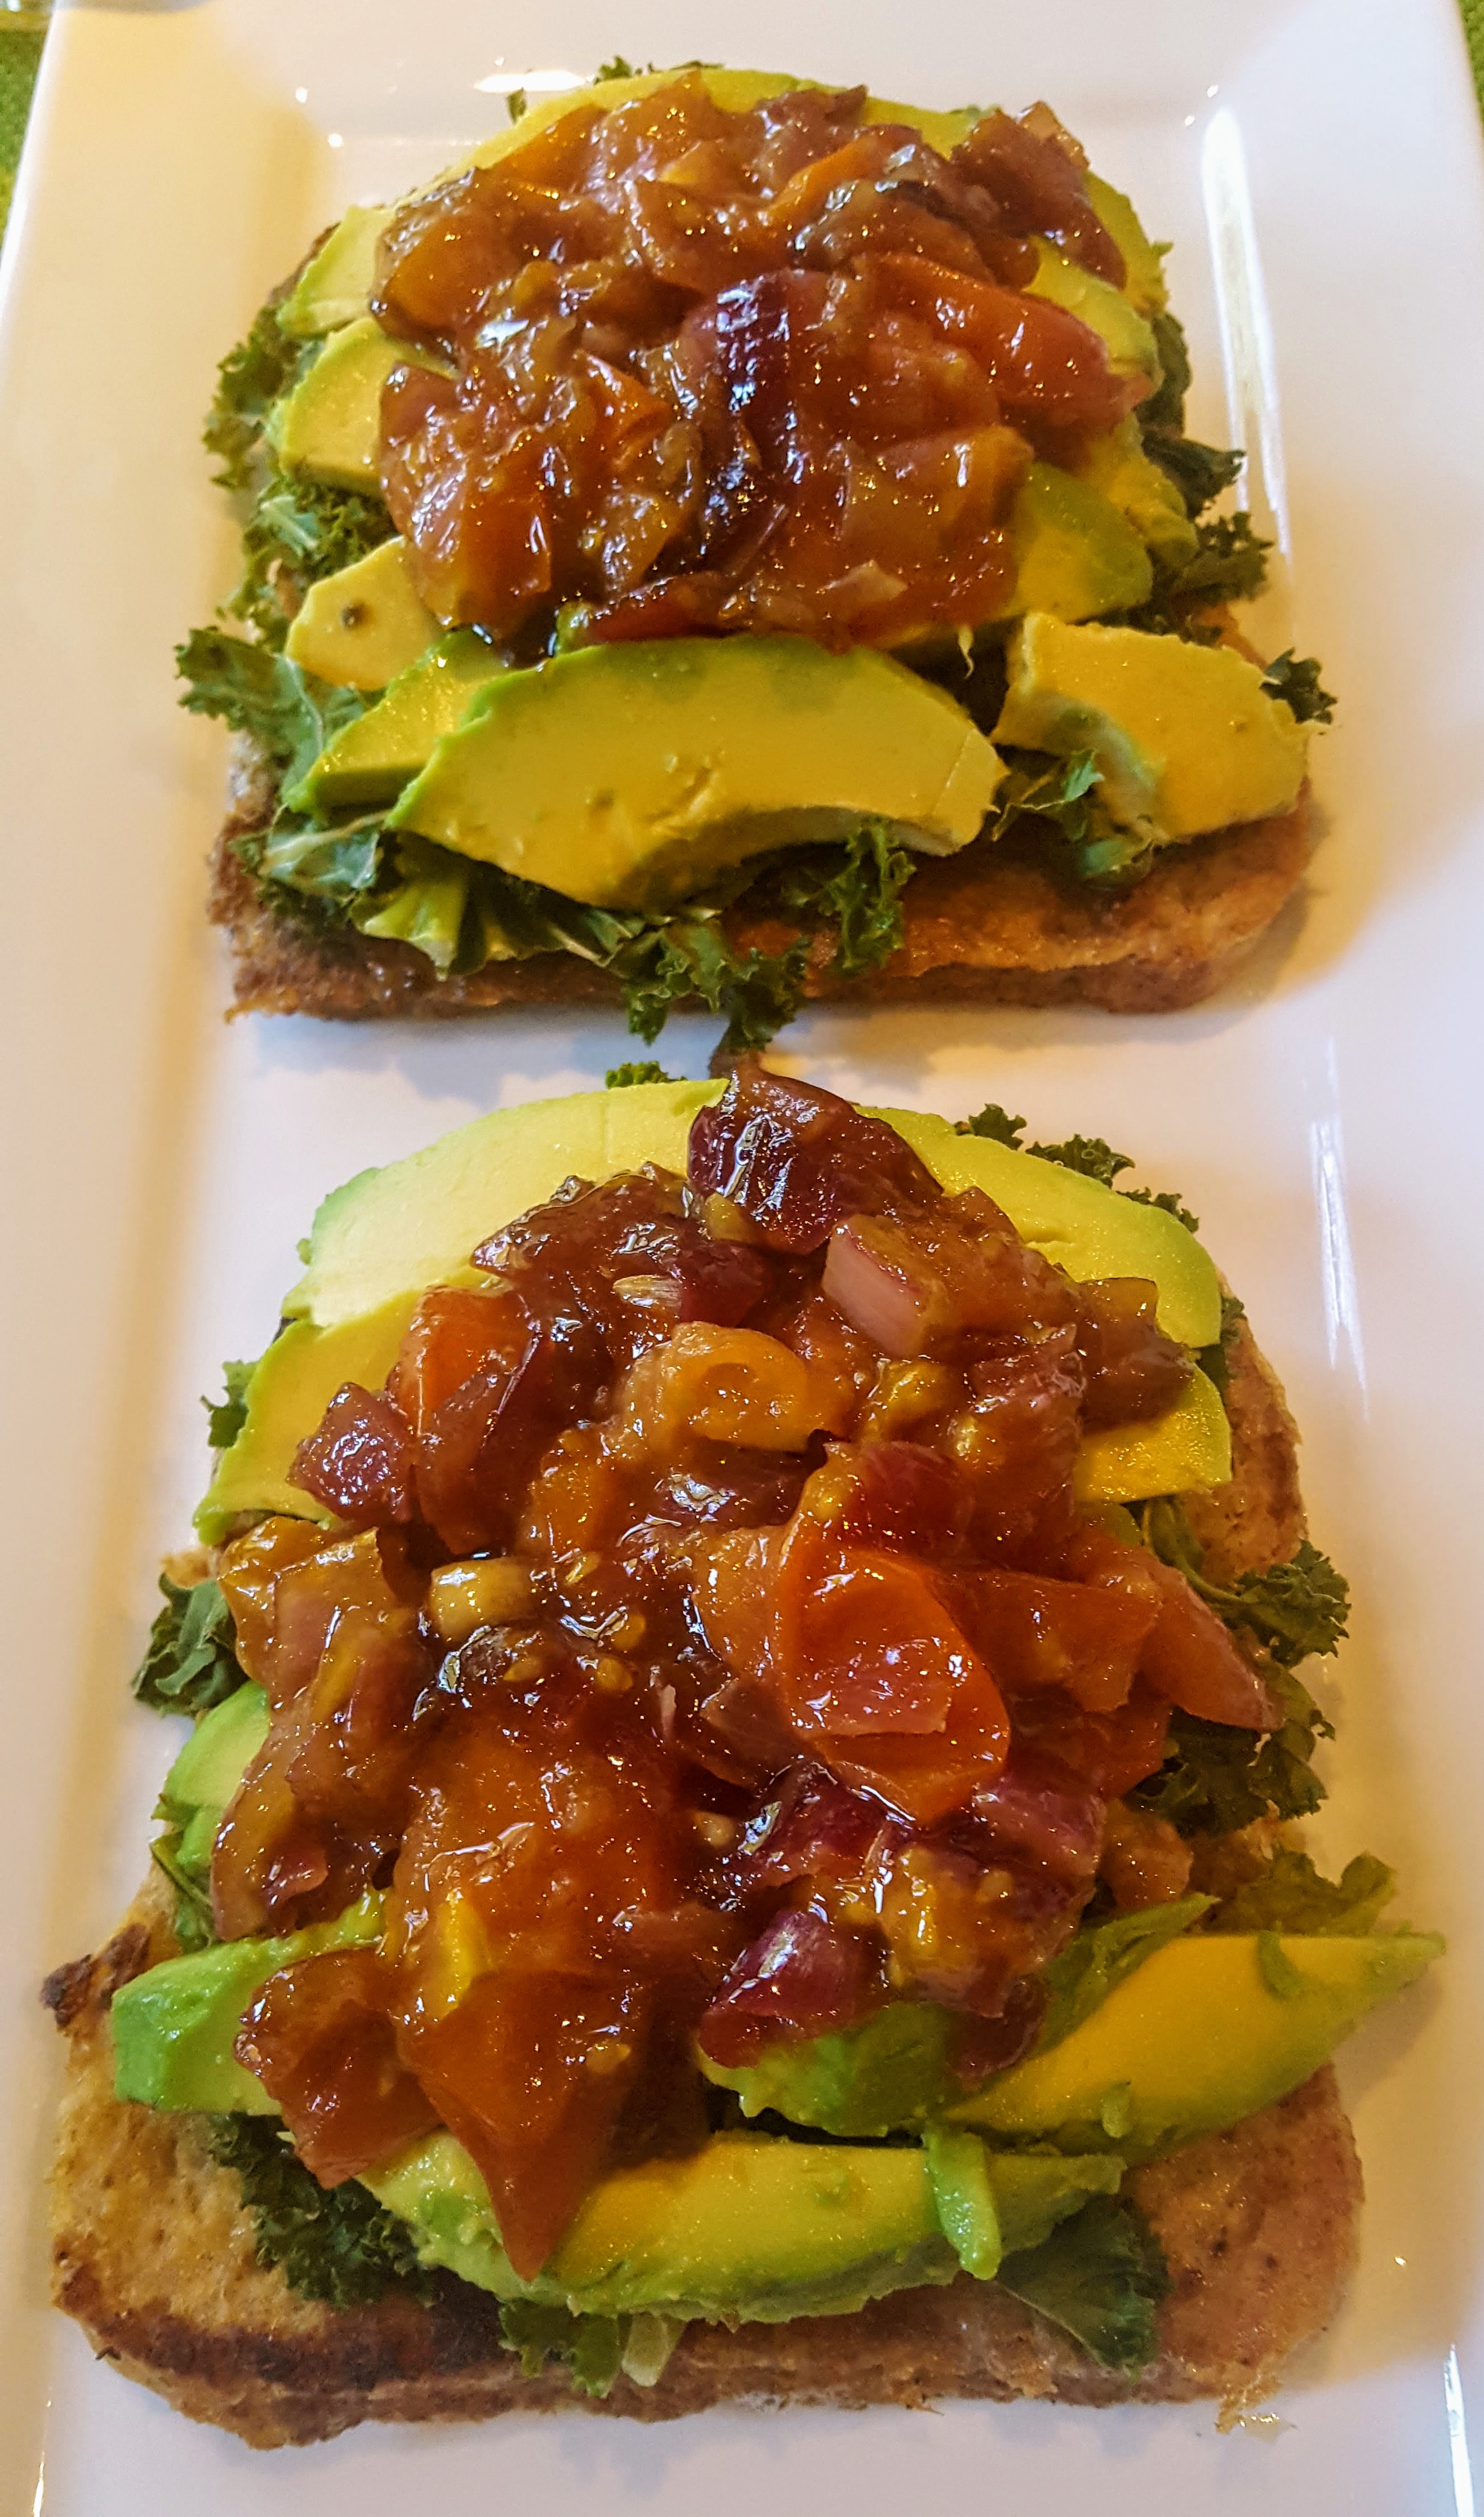
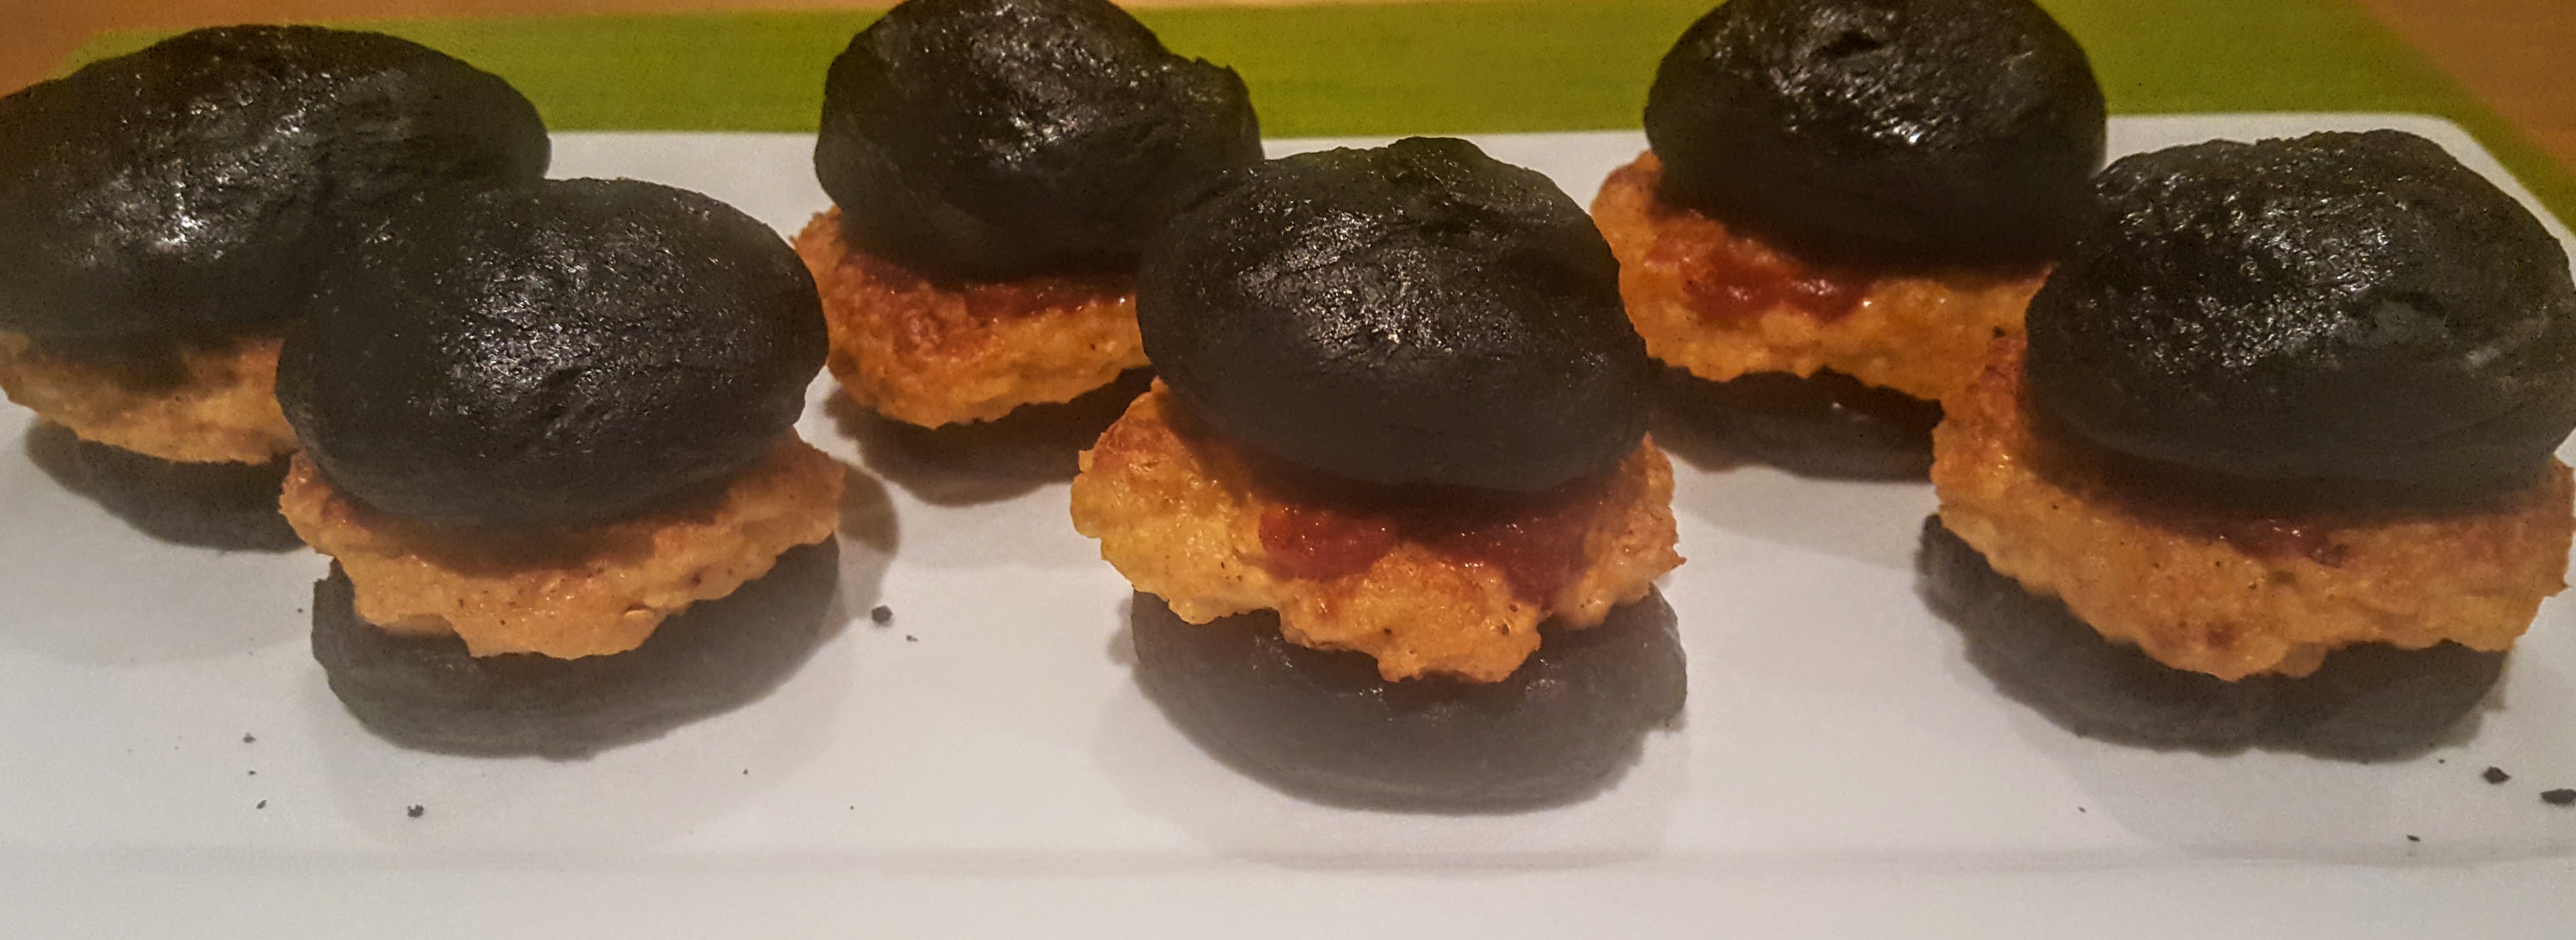
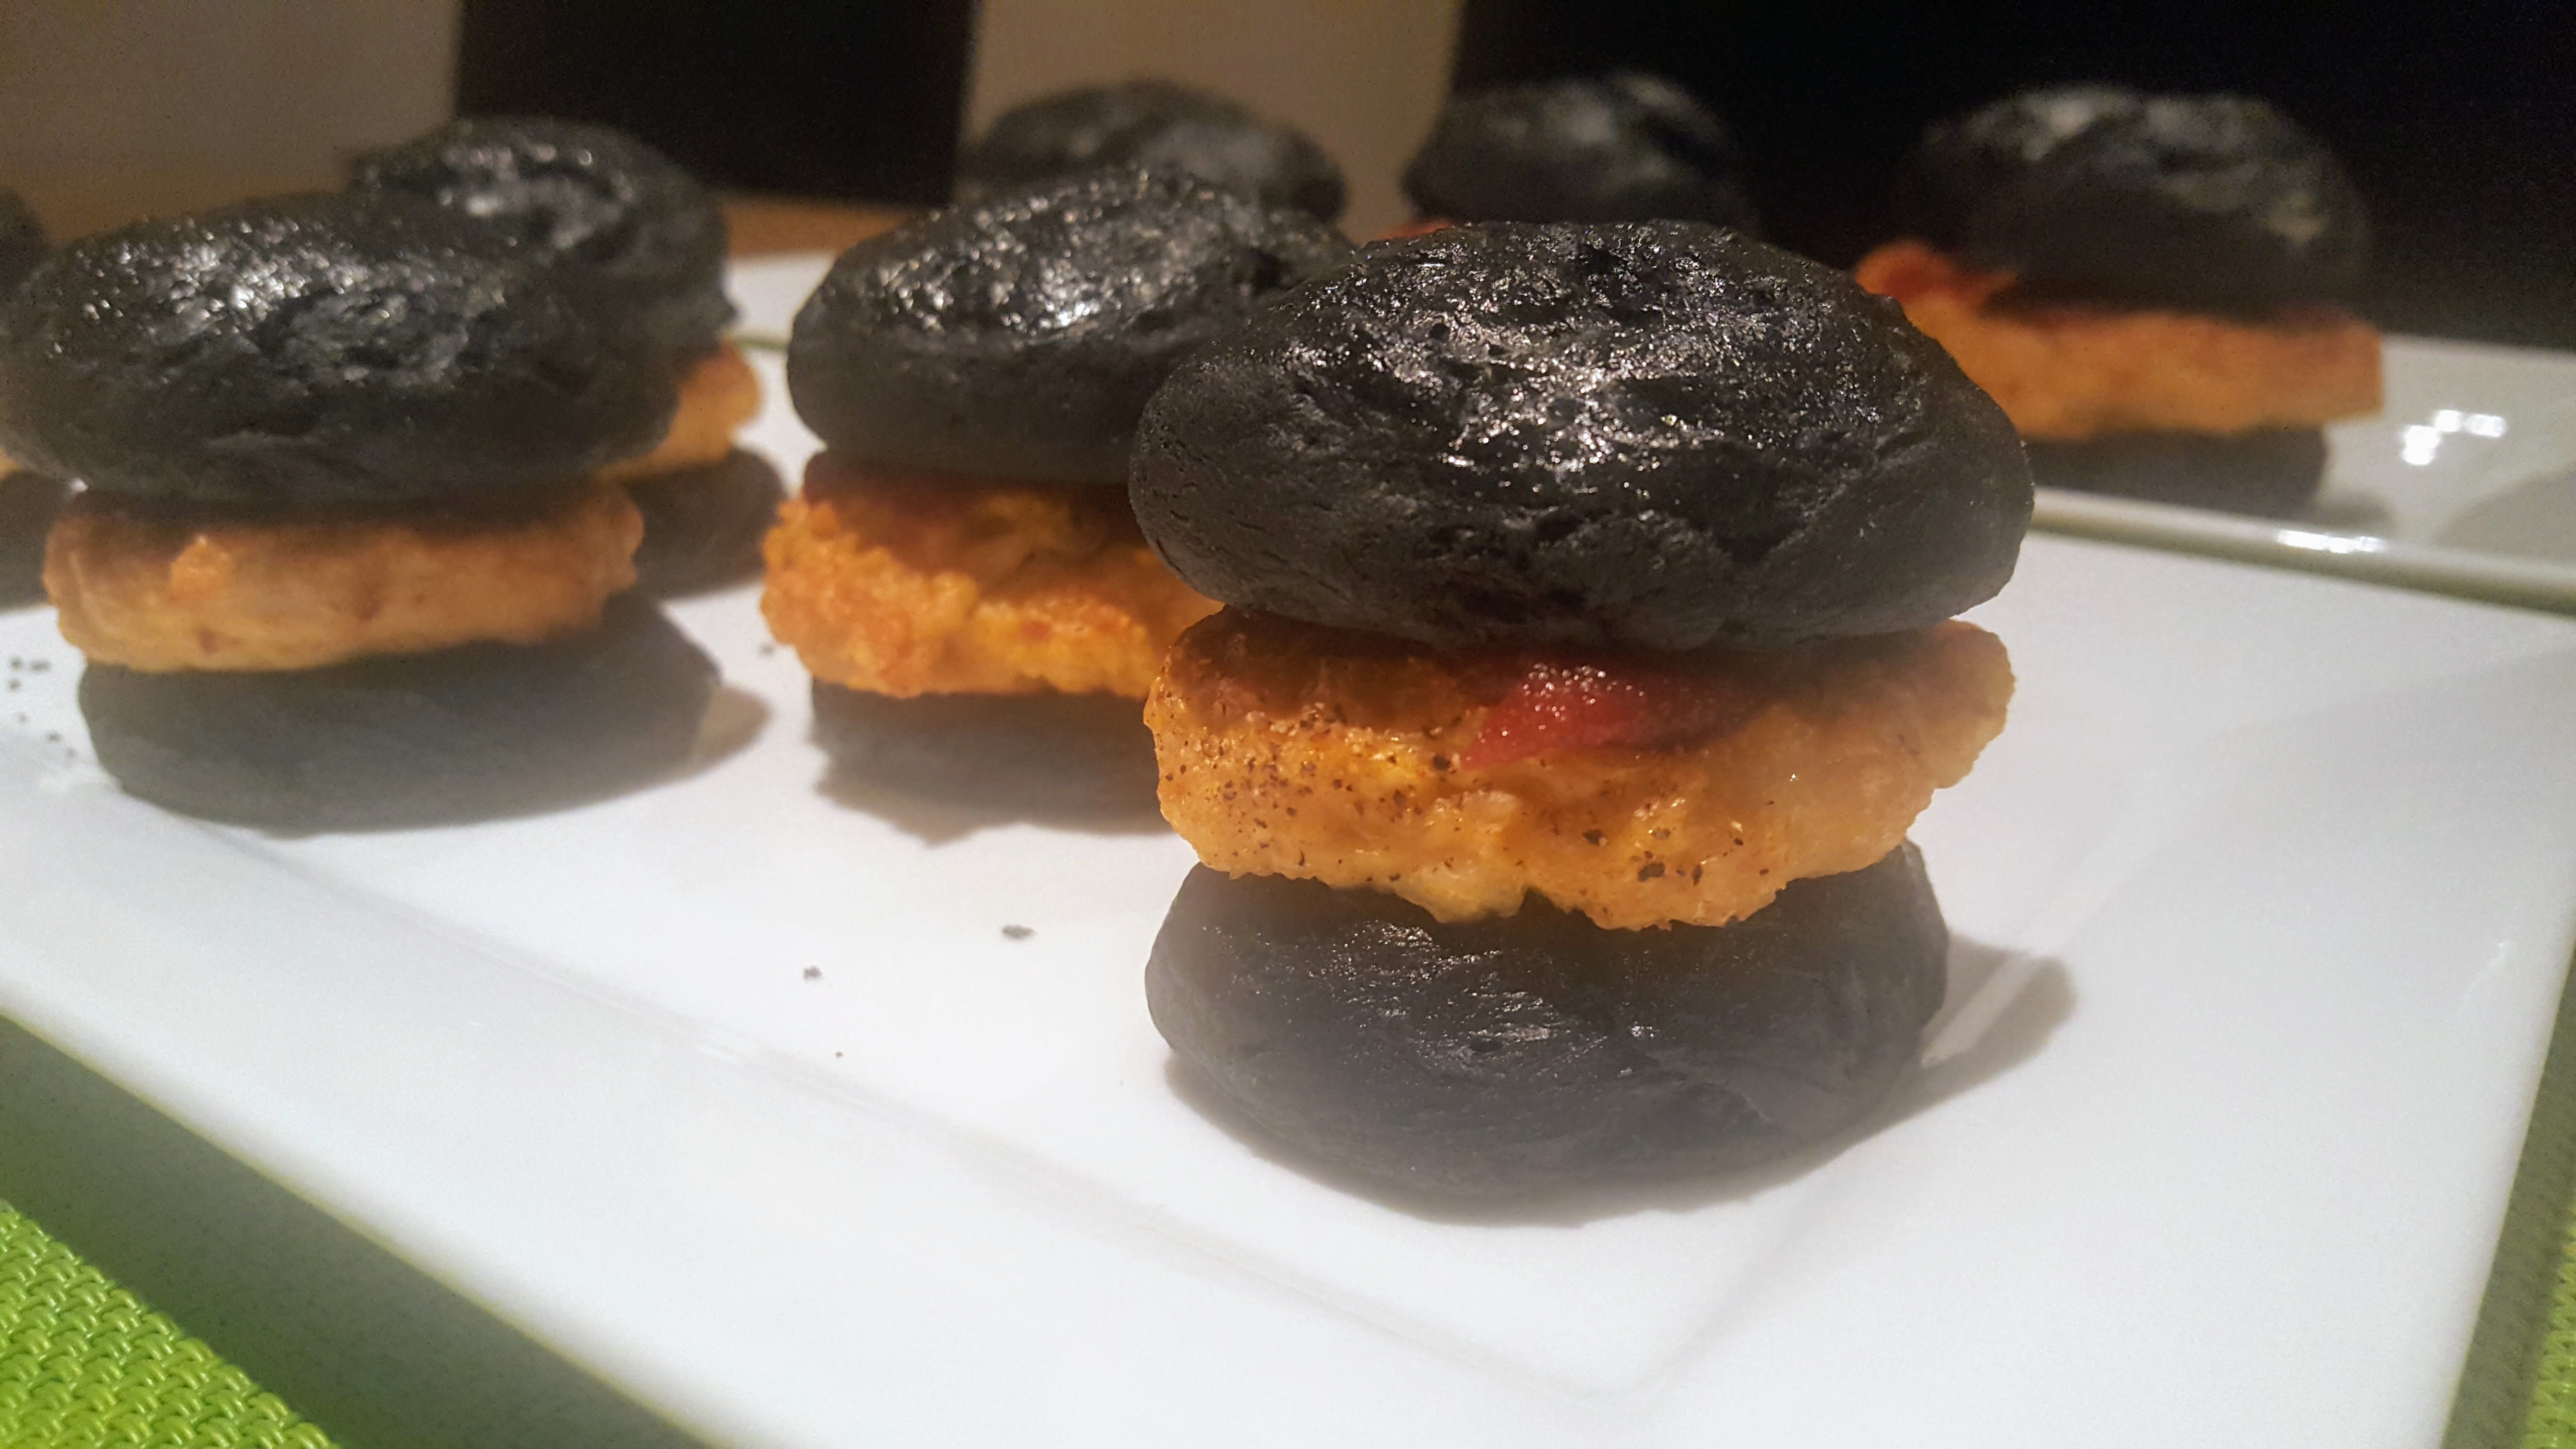
These are wonderful with goats cheese on a pizza or in a quiche or simply used to top burgers, whichever way you decided to use them they will add so much flavour to an array of dishes.

Serves 4

1 Tbsp Olive Oil

2 Large Red Onions, finely sliced

1 Tbsp Soft Brown Sugar

4 Tbsp Balsamic Vinegar

1/2 tsp dried chilli (optional)

1 Tsp Mixed Herbs (optional)

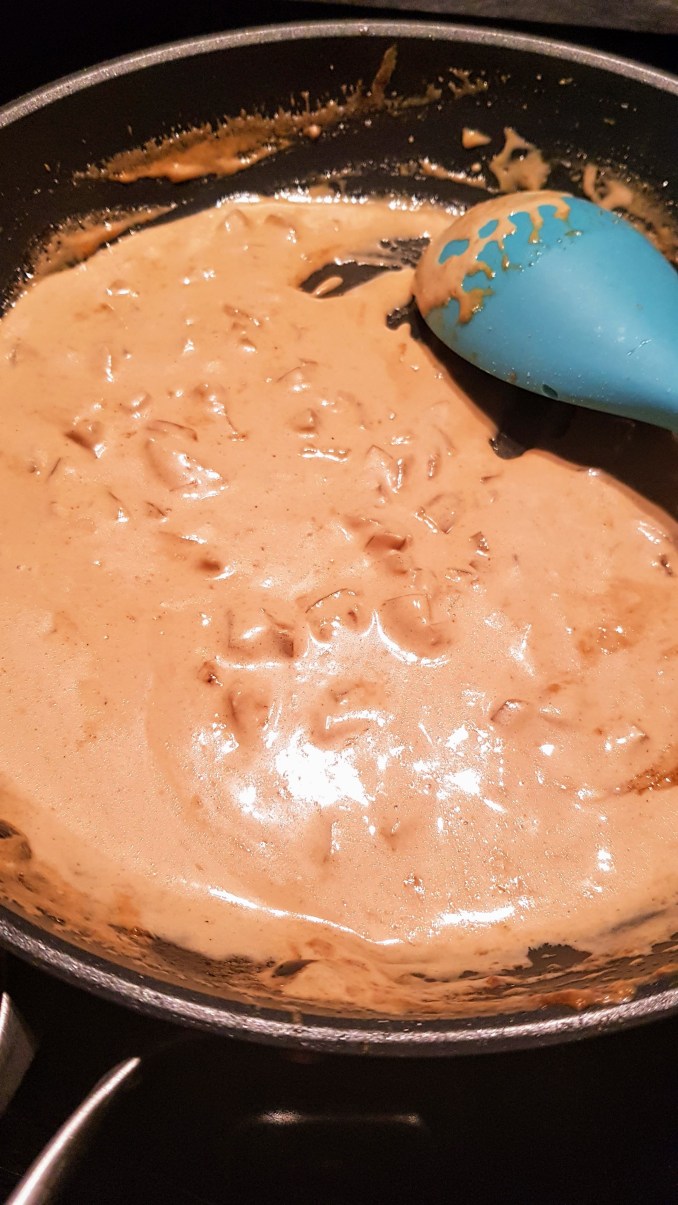
  1. Heat the oil in a fry pan on medium heat and add the onions and herbs & chilli if using. Cover and cook for around 15-20 minutes, stirring occasionally until soft.
  2. Remove the lid, reduce heat to a low heat and stir through the sugar and salt. Add the balsamic vinegar and 2 tbsp water then cook for a further 5-10 minutes until the liquid has almost disappeared.
  3. Set aside to cool, then place in a container or sealed bags to freeze or store. If freezing, defrost overnight in the fridge then heat through in a pan for a few minutes. (add a splash of water if needed)
red onion on brown wooden table
Red Onions


Chipotle Chicken & Smoky Salsa

Chipotle Chicken on Toasted Sourdough Bread

Oh yum, this was delicious, chipotle is a smoky & spicy flavour from Mexico. A chipotle pepper is a dry, smoked jalapeno pepper. They are most commonly made from red jalapenos. However, you can also use ripe green jalapenos as well. Chipotle peppers are added to any dish that could use a smoky flavor with a little heat. For this recipe I used a Chipotle paste. A quick and easy full of flavour dinner.

Serves 2

2 Chicken Breasts

1 tbsp oil

1 Medium White Onion, diced

1 tsp Smoked Paprika

1 tsp Cumin

1 tbsp of Chipotle Paste

1 tbsp Balsamic Vinegar

100ml Passata

1 tbsp Brown Sugar

4 slices of Sourdough Bread or you can serve with Tortilla’s

For the Salsa:-

8-10 Cherry tomatoes – quartered

1 tbsp balsamic vinegar

1 tsp chipotle paste

1/2 red onion – finely diced

chopped coriander

Freshly squeezed Lime & Lemon Juice

Seasoning to taste.

  1. Using a Blender/Food processor, whiz up the chicken breast into a mince like consistancey
  2. Heat the oil in a fry pan and brown the onion and minced chicken, breaking up the chicken as you cook
  3. Add in the cumin, paprika, chipotle paste, vinegar, passata and sugar and mix through until chicken is coated.
  4. Cook for about 10-15 minutes
  5. To make the salsa, place everything in a bowl and mix together, set aside.
  6. Toast your Sourdough bread, remove chicken from heat and serve on top of bread. Serve with Salsa.

White Cheese Sauce

White Cheese Sauce

A Simple basic recipe for White Cheese Sauce that can be used for Pasta Dishes, Fish Dishes, Vegetable Gratin dishes and so much more. The great thing is that it just takes 5 minutes to make, super simple and super quick.

Makes enough for 4 portions

500ml Milk

4 tbsp Plain Flour

70g Butter

150g Mature Cheddar Cheese (almost any grated cheese works like Gruyere to Emmental)

Rainbow pepper to taste

  1. Place milk, butter and flour into a large pan and heat on medium to heat. Start to Whisk and continue to whisk fast until the sauce starts to bubble and thicken, continue to whisk for a few minutes until your desired consistency (I like it quite thick so about 3 mins).
  2. Add the grated cheese to the mixture and whisk through until the cheese melts.
  3. Season with some pepper and serve.
White Cheese Sauce

Homemade Butter

Homemade Butter

Since watching James Martin on his Saturday morning show making his own butter, I have longed to try this. Just like JM himself I am a fan of butter, loads of it too. It looked easy enough to do and it was, I urge you if you have ever fancied trying this, you must do. My next batch I will add some flavours to try, thinking herbs & chilli.

Step by Step process:-

1 x 500ml double cream – good quality (makes 250g Butter)

General rule is whatever quantity of cream, you get 1/2 amount butter.

  1. In a Mixer pour the double cream & whisk on medium to high speed until it resembles a whipped cream.
Step 1 – Whipped Cream

2. Keeping whisking, it will look like you’ve over whipped, but keep going……..

Over whipped cream

3. & keep whisking, soon enough you will see the butterfat start to separate from the butter milk. (sorry forgot to mention, cover top of your bowl with a splash guard or if you don’t have one a Tea Towel, as you can see if tends to splash everywhere)

4. Now that it has separated, drain the buttermilk through a sieve and keep to use later in another recipe.

5. Return the butter back to the bowl and you want to add about 200ml ice cold water and mix for about 20 secs, then drain again. This is to ensure to rinse away any buttermilk. Do this process 2 or 3 times until water becomes clear.

6. Using a spatula remove the butter from the whisk and put into a muslin or clean tea towel and squeeze, just to make sure you have removed all liquid. Place onto a sheet of greaseproof (baking) paper and using the paper as a guide roll up into a stick of butter…..yay! You’ve made butter! You can now store in your fridge. This will keep for up to 3 days. If you add salt, it will keep a little longer, about 2 weeks in fridge.

Ready to use Butter

Spinach Leaf Creamy Pesto

Since in Lockdown I’ve had the chance to build & plant my first proper Vegetable Beds and today was my first harvest of my Radishes….yummy! There is nothing better than homegrown fresh food. The obvious choice is a salad as radishes are just so refreshing and add that bit of crunch. Did you know you can eat the leaves also? Chop them up add to potatoes or pasta or make a pesto!

Left Over Radish leaves – 2 handfuls approx

1 Garlic Clove

1 tbsp pistachios

30g Grated Cheese (Parmesan)

2 tbsp olive oil – good quality one for best flavour

2 tbsp creme fraiche

Salt & pepper

  1. Thoroughly wash the green leaves and put into a blender or food processor along with the rest of the ingredients and blitz until smooth, if too thick add a little more olive oil.

I used mine to make a lovely radish & avocado salad for lunch. I will probably use the rest for some pasta later on in week. Cover and store in fridge for max 3 days.


Cauliflower Pakora

20200203_174951

Oh yum! I still had some pakora batter left so decided to try these little bites….super good and tasty.


Pakora Batter

150g gram flour

200ml water

1/2 tsp chilli

1/2 tsp cumin

1/2 tsp gram masala

1/2 tsp Turmeric

2 cloves garlic or 2 tsp ground garlic

small handful coriander (chopped finely)

Pinch salt

1. Put all dry ingredients into a bowl and mix together, make a well in the middle and gently add water little at a time while stirring, continue to add water until you get a smooth batter, it shouldn’t be too thick or too runny. Set aside.


1 x Cauliflower, cut into small florets.

I steamed my cauliflower using my steam pot for about 6 minutes, but if you don’t have this, you can cook in a pan of salted water on a gentle heat for about 20 minutes then drain.

Dip into the pakora batter and fry gently at 180 deg in rapseed oil for a few minutes until golden. Remove and place onto some kitchen paper to absorb any excess oil.

Serve. Yummy!

I served with my Pakora Sauce:-

Pakora sauce

50g tomato ketchup

2g Mint leaves (finely chopped)

100g Natural Yoghurt

Pinch salt and chilli

50ml milk

  1. Mix together until smooth.

Beetroot Hummus

img-20191112-wa0002

In a bid to eat a bit healthier, this little dip was perfect as I love Beetroot and always looking for different ways to use it. I saw this from The Veg Space, a great website if you love vegetables, some great ideas too.

The great thing is you can freeze hummus, so I made a big batch and split into smaller portions for later.


Makes approx 600g

3 Large cooked Beetroots, diced

1 can 400g Chickpeas

2 garlic cloves, crushed

Juice & zest of 2 Lemons

4 tbsp tahini

2 tsp smoked paprika

Salt & Pepper


  1. Drain the chickpeas and keep the juice.
  2. Put the chickpeas, beetroot, lemon juice & zest, tahini, paprika, garlic and seasoning into a blender or food processor and blitz to a smooth paste.
  3. Gradually add about 1-2 tbsps of the chickpea juice until you get the consistency you want.

Serve as you please. Makes a great dip.

Healthy too at just 71 calories per 50g.

img-20191112-wa0006


Quick Chow Mein

20190622_184504.jpg

This is really quick and east to pull together and tasty too. Quicker than phoning out for a chinese takeaway…lol.


Serves 2 portions.

100ml oyster sauce

1 tbsp soy sauce

1 clove garlic minced

2 tsp fresh grated ginger

1 tsp of Hot sauce or Sriracha

300g Rice Noodles or any kind of thin noodles

4-5 Spring onions, chopped

2 tbsp olive oil

2 Pak Choi – chopped

200-300g Beansprouts


  1. In a small bowl, whisk together oyster sauce, soy sauce, garlic, ginger and Hot Sauce and set aside.                                                                                                          20190622_175627
  2. Heat 1 tablespoon oil in a large wok over medium high heat. Add noodles and cook, stirring constantly, until golden brown and crispy, about 3-4 minutes, set aside.
  3. Heat remaining 1 tablespoon oil in the wok. Stir in pak choi until just wilted, about 1 minute.
  4. Stir in noodles and oyster sauce mixture until well combined, about 2 minutes. Stir in bean sprouts and spring onions.
  5. Serve. Yum.

20190622_185237


Chickpea Flatbreads with Roasted Tomato & Walnut Sauce

20190414_140945

Oh yum, this little Sunday lunch dish was super tasty and healthy too. Original recipe was adapted from Love & Lemons. I was trying to use up what I had in my fridge so roasted tomato sauce it was to go with. Topped with some fresh scottish mackerel this was so tasty and flavoursome.


For the Flatbreads:-

Serves 2

200g Gram Flour

1 tsp sea salt

1 tsp garlic powder

2 tsp Dried Parsley

2 tsp Dried Coriander

1 tsp Ground cumin

1/2 tsp Chilli powder or crushed chilli

2 tsps Lemon juice

6 tsps extra virgin olive oil

300ml water


  1. In a large bowl, mix everything together, chickpea flour, salt, garlic powder, dried herbs, cumin, lemon juice, olive oil and water. Allow to sit for about 30 minutes.                                                                                                          20190414_131455
  2. Preheat a pan on the hob to a high heat with a little oil, pour half the mixture into the pan and cook for a few minutes until you see the mixture starting to rise. Flip over and cook for a further few minutes until slightly browned.
  3. Serve with roasted tomato sauce, top with strips of cucumber and some smoked mackerel. Yummy!

20190414_135808

20190414_140908


For the Roasted Tomato & Walnut Sauce

12-15 cherry tomatoes – halved

1 tsp ground garlic powder

2 tsps powdered sugar

2 tsps sea salt

1/4 tsp chilli flakes

2 tbsps Walnut Oil

1 tsp balsamic vinegar


  1. Roast the tomatoes under the grill or in a pan until soft and slightly browned.
  2. Place all other ingredients into a food processor, add the roasted tomatoes and blitz until you get a smooth puree.


20190414_140908-1


Whisky Cream Sauce

20190222_200056

Perfect Little Sauce for my Haggis Scotch Eggs. I always used to buy Whisky sauce ready made, but tonight I decided to give it a try & I’m so glad I did, so easy and so delicious.

Ingredients

1 shallot – finely chopped

1 knob of butter

15ml of Whisky

125ml beef stock

100ml double cream

1 tsp mace

Salt & white pepper to taste

1 tsp parsley to serve (optional)


  1. Melt butter in a pan, medium heat
  2. Add onions and sweat down
  3. Pour in the Whisky then add the beef stock, reduce to a simmer and let the liquid reduce to about 1/3.
  4. Add in the double cream and season with mace, salt & pepper
  5. Warm through and serve.

20190222_193834

20190222_200105


Sous Vide Venison with a Balsamic Wine Jus on a Sweet potato fondant

20190128_144601

Sous Vide, Sous Vide, Sous Vide……..oh yes, definitely my favourite method of cooking. This Venison was so succulent and juicy, the flavour was absolutely delicious.


Makes 2 servings

2 large venison steaks

Salt & Pepper to taste

For the Sweet Potato:-

1-2 large sweet potatoes

1 tbsp butter

1 tbsp oil

Few sprigs of rosemary

Salt & Pepper

For the Balsamic Jus:-

1 tbsp butter

2 shallots – thinly sliced

1 tbsp balsamic vinegar

125ml Merlot Red wine

Few sprigs of Rosemary

1 heaped tsp redcurrant jelly


  1. Season the Venison Steaks with Salt & pepper. Vacuum pack.                              20190128_122857
  2. Heat a large pan of water to about 58-60 deg C, immerse venison into the water and cook for about 1 hour.
  3. Meanwhile, slice the sweet potatoes and place into a food bag, coat with 1 tbsp oil, salt & pepper and rosemary, ensure fully coated. Preheat Crisperplate (if you have one, if not roast in oven for about 30-40 minutes depending on thickness.) Place sweet potato onto crisperplate with butter and cook for 8 minutes, remove, turn over and cook for a further 3 minutes (depending on thickness).                                                 20190128_144109
  4. Remove Venison from the vacuum bag, heat 1 tbsp oil in a pan on high heat and seal the meat about 1 minutes each side, remove and allow to rest for a few minutes.
  5. Meanwhile, place 1 knob of butter into the same pan you seared the venison and melt, add in the shallots and soften. Add in the redcurrant jelly and rosemary and caramelise, pour in the wine and balsamic vinegar bring to a high boil and reduce for a few minutes until sauce thickens slightly.                                                    20190128_144056
  6. Slice up the venison, place on top of the sweet potato and serve with the sauce……Yummy!


20190128_144548


Sous Vide Duck Breast & Vegetables with a Blue Cheese Sauce

20190128_153446

I’m really liking experimenting with Sous Vide Cooking, Sous vide meaning under vacuum. There are many benefits to this method, here are some:-

Consistency. Because you cook your food to a precise temperature for a precise amount of time, you can expect very consistent results.

Taste. Food cooks in its juices. This ensures that the food is moist, juicy and tender.

Waste reduction. Traditionally prepared food dries out and results in waste. For example, on average, traditionally cooked steak loses up to 40% of its volume due to drying out. Steak cooked via precision cooking, loses none of its volume.

Flexibility. Traditional cooking can require your constant attention. Precision cooking brings food to an exact temperature and holds it. There is no worry about overcooking.


Serves 2

For the Duck:-

2 x Duck Breasts

Salt & Pepper to taste

1 tbsp oil for searing

For the Vegetables:-

Handful of Cherry tomatoes

Few basil leaves

Couple sprigs of Rosemary

100-150g Mangetout

For the Blue Cheese Sauce:-

100ml Creme Friache

50g Blue Cheese (I used Roquefort)

1 tbsp butter


  1. Season the duck breasts and score the skin. Vacuum pack.                                          20190128_122845
  2. Heat a large pan of water to between 58-60 deg C, place vacuum pack into the pan making sure its full immersed in the water, put on lid and cook for about 2 hours.                                                                                                          20190128_134121 20190128_125958
  3. Meanwhile vacuum pack all the vegetable ingredients and immerse this in the water at same temperature for about 45 minutes.                                                20190128_152907
  4. Just before serving, melt the butter in a pan on medium heat, reduce to a low heat and gently heat through the creme friache (do not boil), crumble in the blue cheese and mix through until warm.
  5. Remove the duck breast from vacuum bag. Heat a little oil to high in a pan and sear the meat for about 1-2 minutes on skin side or until slightly crispy and 1 minute on other side, remove and allow to rest for a few minutes. Slice and serve on top of the vegetables with the sauce. Yummy!


20190128_153504


Creamy Whisky Sauce for Haggis

whiskeycreamsauce

This little sauce is perfect with Haggis.

Makes enough for 4

2 shallots
A knob of butter
A splash of oil
15ml of Speyside Whisky (chefs feel that a Speyside Whisky works best to accompany haggis)
125ml of beef stock
100ml of double cream
Mace
Salt and ground white pepper, to taste
Chervil

1. Finely dice the shallots and sweat them in the butter and oil, using a small saucepan.

2. Add the whisky to your pan (watch out, this will produce a flame!)

3. Whilst it’s flaming, add in the beef stock.

4. Set to a good simmer and let the liquid reduce by a third before you add in the cream.

5. Season with ground pepper and a small amount of salt and mace.

6. Finish with some finely chopped chervil. (you can also use parsley or chives)

haggisneepstatties-served


Avocado, Spinach & Pea Mash – served with steamed teriyaki salmon

20190122_181637

My healthier eating continues this month. I got some lovely bits of Scottish Salmon recently so came up with this idea of a healthier mash using whatever I had in my fridge. It was delicious. Best bit, it only took 6 minutes to cook and put together.


Makes enough mash for 2-3 people

80g baby spinach

1 avocado

50g garden peas – cooked

juice of 1 lemon

1 tsp Sea Salt

Garlic clove – minced

1 tsp coriander – dried

1 tsp olive oil

(optional if you like spice, add in 1 tsp chilli flakes)


  1. Place everything into a blender and mix until just combined.
  2. Serve. Simple as that!

I steam cooked some salmon that I marinated in Teriyaki Sauce overnight. Yum!

20190122_181709

20190122_181912


Basic Roux For White Sauce

Gumbo-20

Roux (pronounced “roo”) is one of the basic thickening agents in cooking. Used primarily for bulk up sauces and soups but you can also use this for White Sauces, great for pasta’s which is what I made.

You can add in any flavours or extra ingredients you like which makes it a really good base recipe.

It is usually equal amounts of butter and flour by weight.


40g Plain Flour

40g Butter

250ml or about 1/2 pint of milk (for a thick sauce) more if you want thinner


  1. Firstly melt the butter in a pan on a medium to high heat
  2. The sieve the flour into the pan and whisk together until you get a smooth like paste
  3. Cook for about 2 minutes to get the taste of flour away
  4. Gradually add in the milk, little at a time, whisking continuously until you get a thickened sauce with no lumps.

This is your basic white sauce recipe or you can then add your flavours:-


For mine I added, salt, pepper to taste. Then I added 40g of smoked scamorza cheese as I wanted a lovely smokey cheese sauce for my pasta dish. You can of course add in any cheese or any herbs, spices etc.


Balsamic Honey Glaze Chicken with Basil Infused Pasta

20180817_192102

Fresh Pasta is just the best, but I always make far too much, I really need to learn my portion sizes…lol. Today I came across a recipe for balsamic chicken so I decided to try it out but add a little honey to it for the glaze and flavour, it was delicious.

For the pasta: (makes 4 servings)

275g ‘OO’ Grade Pasta Flour

3 large eggs

1 tbsp dried basil


  1. Sift the flour & put basil into the large bowl on Kitchen Aid mixer or work surface.
  2. Make a well in the middle. Crack one egg in and whisk gently.
  3. Gently with your hands start to incorporate the flour starting at the bottom, once it starts to come together crack the 2nd egg, then the 3rd until it becomes sticky.
  4. Using the dough hook on the mixer, knead together until you get a smooth like dough. Remove, cover with cling film and leave for about 1 hour.
  5. Attach the pasta attachment, cut the pasta dough into 4 sections.
  6. Flatten dough with hand then feed through the pasta maker, No. 1 x 5, No. 3 x 2, No. 5/6 x 1
  7. Change attachment to fettuccine and feed through. Hang until ready to cook.
  8. Heat a large pan of slightly salted water and cook for about 3-4 minutes. Strain

For the Balsamic Honey Chicken:-

2 Chicken Breasts (1 per person)

2 tbsp balsamic vinegar

2 tbsp worcestershire sauce

2 tbsp honey

1 tsp rainbow pepper

1 tsp garlic powder

1 tsp ginger powder

1 tbsp olive oil


  1. Place chicken breast in a dish. Combine all the marinade ingredients in a seperate dish then pour over the chicken. Marinade in the fridge for at least 2 hours.       20180817_165345
  2. Pre heat your grill to medium heat and gently grill the chicken on the wire shelf for about 16-17 minutes turning halfway through. Tip:- place a tray of cold water underneath to catch any drips but this also adds a little steam to help keep the chicken moist. (I have a chicken breast setting on my oven which I used, this automatically controls the temperature).                                                              20180817_184552   20180817_185950
  3. Meanwhile cut some baby tomatoes in half (I used vittoria tomatoes), and place in the dish with remaining marinade sauce and mix. Place in the oven with the chicken beasts and next shelf down (underneath).                                        20180817_185110
  4. Remove chicken from grill and slice lengthways, tip into the drained pasta along with the tomatoes and sauce and combine. Serve. Yummy!

20180817_191457  20180817_192052


Steamed Chicken Meatballs with Peanuts on Spinach

20180311_143349_001

So delicious! If you love peanut butter, you will love this.

With my new Hotpoint oven came a Steam pot so I’ve been trying to experiment with steam cooking, not only is it more nutritious but also so much more healthier. First, since food is cooked by direct contact between steam as well as the movement of the hot vapor through the food, no fat is needed to conduct the heat.  This makes steaming a lower-calorie, low fat cooking method.  Food stays moist, too, since it is being bathed in water vapor.  Also, since water soluble nutrients (namely Vitamins C and B) don’t leach out into vapor, steaming preserves up to 50% more nutrients than other moist heat cooking methods.

Just because steaming is a healthy way to cook doesn’t mean it has to be bland. There are many ways of adding extra flavor to steamed food during the cooking process. You can bring extra flavor to your food by adding all sorts of complementary herbs and spices to your cooking liquid. Further up the flavor by substituting stock, fruit juice or wine for water. The additional flavors will permeate the food as the steam cooks them.


Makes 9

2 Chicken Breasts

1 shallot

1 tsp garlic granules or 1 garlic clove

1 leek

40g whole peanuts

1 tsp salt & pepper

350ml chicken stock

1 tbsp peanut butter

spinach

1 tsp peanut oil


  1. Slice the Leek, using a bit with the green on
  2. Peel and slice the shallots
  3. Shell and peel peanuts (if not predone), blitz in a blender until fine  20180311_113325
  4. Cut the chicken into small pieces and season
  5. Add chicken, leek, shallots, garlic and seasoning to the peanuts in blender and blitz together.                                                                                                                                                20180311_113736
  6. With your hands roll into meatballs and place on a greased baking tray, then refrigerate for about 1 hour.                                                                             20180311_114223
  7. Pour the chicken stock into the steam pot and then place the meatballs onto the grid and place in pot, cover with lid. Set steam time to 10 minutes.
  8. 2 minutes before ready place the spinach in the pot also.


  9. When ready remove the chicken stock from the pot and place in a pan on hob. Reduce by half and then emulsify 1 tbsp peanut butter and 1 tsp peanut oil until sauce thickens. (about 1-2 minutes)                                                                           20180311_143128
  10. Serve meatballs on the bed a spinach and pour sauce over. Yummy!


20180311_143403

20180311_143846


French Toast with Kale, Avocado and Tomato Balsamic Jam

20180225_111959

I just love Sunday Brunch time, no alarm, lay in, relaxing morning and a fantastic big breakfast that will keep me going until my Sunday dinner. I couldn’t decide between sweet or savoury this morning, so why not both?? This was an absolute treat and so glad I had some fresh tomatoes as this jam just nailed the dish.


Makes 2 portions

For the Jam

10 cherry tomatoes – 1/4

1 tbsp balsamic vinegar

1 tbsp brown sugar

1 tbsp butter

Sprayoil

1 red onion – finely chopped

For the French Toast

2 slices of bread (I used wholemeal)

1 tbsp butter for frying

2 eggs

Salt & pepper to taste


1 large handful of kale – I steamed cooked mine for 4 minutes, perfect.

1/2 Avocado – sliced


  1. To make the jam:- Heat 1 tbsp butter and some spray oil in a fry pan
  2. Saute the onion on medium heat until tender about 5 minutes
  3. Add brown sugar, stir and cook for a further 3 minutes
  4. Add the tomatoes and balsamic vinegar and cook for a further 5 minutes, remove with a slotted spoon and keep warm
  5. To make the French Toast:- Heat 1 tbsp butter in a fry pan.
  6. Whisk the eggs and season with salt & pepper
  7. Place the slices of bread in the egg mixture and allow to soak for a minute, then place into the hot pan and fry on each side for about 3-4 minutes or until golden brown and crispy.
  8. Steam cook your kale.
  9. Place kale onto toast, then avocado slices then top with the jam.
  10. Serve…….so Yummy!

20180225_111940


Black Brioche Buns with Chilli Chicken Burgers

20171204_183415

So my experimenting with Black Food continues……………another successful outcome! Don’t you just love it when a plan comes together nicely.


Makes approx 12 Mini Buns

250g Strong White Flour

1 tsp salt

2tbsp activated charcoal powder

25g caster sugar

7g sachet yeast

70ml warm milk

2 large eggs

125g unsalted butter at room temperature

1 egg for wash with 1 tsp charcoal powder


Method for Brioche buns:-

  1. Sift the flour into a large bowl and add the charcoal powder. Add the salt and sugar. Mix together.                                                                                       20171204_121110
  2. Mix the eggs with the warm milk and add the yeast, allow to stand for approx 5 minutes until it starts to go frothy.                                                                20171204_121114
  3. Add the milk/yeast mixture to the flour and mix on level 2 of your stand mixer for about 2-3 mins.  Then turn up to level 4 (medium speed) and mix for about 10 mins or until you get a glossy elastic dough.
  4. Add the softened butter and mix for a further 5 mins. If the dough is too soft and sticky just add some more flour 1 tbsp at a time.                                           20171204_123112
  5. Lightly oil a large bowl and tip the dough into it.                                                                20171204_123218
  6. If your oven has a rising programme, turn on and leave to rise for about 2-2.5hrs, if not cover with oiled clingfilm and leave in a warm place.
  7. Punch down the dough and place onto a worktop, divide the dough into small sections about 22-25g sizes.
  8. Take into your palm and using your other hand roll to make a small ball. Place onto a baking tray with parchment paper, leaving enough space in between to allow expansion. Prove again for a further 2 hrs or until doubled in size.
  9. Mix the beaten egg with 1 tsp charcoal powder for the wash, lightly brush the wash over the buns.
  10. Preheat an oven to 180 deg and bake for about 15 minutes.


Chilli Chicken Burgers

2 Chicken Breasts

1 tbsp paprika

1 tbsp chilli flakes

1 tsp salt and pepper to taste

handful of breadcrumbs

1 egg


  1. Place the chicken into a food processor and pulse until broken up – you don’t want it to fine.                                                                                                              20171204_125031
  2. Add in all other ingredients and pulse to mix through
  3. Divide into equal portions to fit the burgers and place on a baking tray, place in fridge for at least 30mins -1 hr.                                                                        20171204_125711
  4. When ready preheat the Crisper plate for 2 mins and place the chicken burgers on, using dynamic crisp setting cook for about 10 mins until browned and cooked. If you don’t have a Crisperplate either cook on hob using fry pan or grill under medium heat.                                                                                                20171204_182851
  5. Once the brioche buns are ready allow to cook then slice in half and start to assemble your burger.
  6. Top with some Smoked Beetroot Sauce from the Foraging Fox

20171204_181858

YUMMY!…….YUMMY!

20171204_183424_001


Perfect Rotisserie Chicken Rub

20170904_220117

My new oven has a Rotisserie in it and I have to admit I have never cooked my chicken any other way now, rotisserie cooking keeps your meat so succulent and the skin…well what can I say…crispy…crispy…crispy…..so Yummy!

This is my favourite rub:-

  • 2 tbs sea salt
  • 2 tbs smoked paprika
  • 3 tsp onion powder
  • 1½ tsp garlic powder
  • 3 tsp thyme
  • 1½ tsp black pepper
  • 3 tsp white pepper
  • 1½ tsp cayenne pepper
  • 1 tsp crushed dry rosemary

Just put everything into a jar and mix. Store in a cupboard.

When ready, simply rub about 2-3 tbsp into chicken and under skin and cook…..Yummy!

images (2)

20170904_215804

20170609_170836


Crunchy Peanut Butter Chicken

20170720_222914


If your anything like me……I Love peanut butter, so when I saw this recipe being executed on TV I just had to try it. I have adjusted the ingredients slightly to suit our tastes and I have to admit it’s bloody lovely!   This will soon be a staple recipe in my household I think.

You can serve it with some rice for a dinner, or even just on a toasted open baguette (which we done) or even as a filling in a wrap for lunch, its very versatile.


Makes enough for 4 people

For the Chicken Thighs and marinade:-

500g chicken thighs cut into strips

2 tbsp soy sauce

1 tsp cornflour

1 tbsp peanut oil

For the Sauce:-

1 tbsp balsamic vinegar (good quality one)

80g peanut butter – crunchy

1 tsp soy sauce

2 tbsp sesame oil

1 tsp sichuan peppercorns – toasted and ground (you can use rainbow peppercorns too)

2 tbsp peanut oil

2 red chillies – chopped finely or 2 tsp dried chillies

4 spring onions – finely chopped

2 garlic cloves – crushed

1 inch root ginger, finely chopped


  1. For the marinade for chicken thighs – Mix the soy sauce, peanut oil and cornflour in a bowl, add the chicken and ensure coated evenly, allow to stand at room temperature for at least 1/2 hour.
  2. Meanwhile for the sauce, combine together balsamic vinegar, peanut butter, soy sauce, sesame oil and peppercorns until smooth. 20170720_205056
  3. Heat a wok or large fry pan over a medium to high heat, add the peanut oil to heat through until pan is coated, then add in the chillies, ginger and garlic cook for about 1 minute.
  4. Add in the marinated chicken and cook until chicken is browned all over. Add in the spring onions and the sauce mixture coating all the chicken pieces, cook for a further 2 minutes.     20170720_205102
  5. Serve with your choice of accompaniment.

20170720_210255


Homemade Pizza Sauce


This is my go to Pizza Sauce, ever since I started cooking I always look for healthier options to shop bought products and this is definitely one of them. Not only are your homemade options healthier but so much more tastier.

Makes enough for 2 large pizzas

250g of fresh tomatoes or 1 can 400g of chopped tin tomatoes. (I would urge you to try fresh it makes such a difference to the flavour.

4 garlic cloves – minced

2 teaspoons balsamic vinegar

salt & fresh cracked pepper

1 tbsp Olive oil


  1. First place the fresh tomatoes into a pan of boiling water to loose the skins (about 10 mins). Remove skins before placing into processor.
  2. Combine all of the ingredients into a food processor and blitz until smooth. Tasting through and adding more pepper or oil as required. If you prefer a really thick sauce, drain some of the tomato juice before putting into the blender.
  3. The sauce can be used straight away or chilled in the fridge up to 1 week.


20170702_151546

20170702_154009


Peanut Butter Hummus

PB-Hummus2

Oh yummy…yummy…yummy!  In a bid to try and eat a bit healthier, I decided to make some peanut butter hummus for my saturday night munchies, I got the original recipe from Nigella but tweeked it slightly.

Makes enough for a medium tub – about 400g

1 can chick peas drained

1 clove garlic – peeled

2 tbsp olive oil

3 tbsp peanut butter

2 tbsp lemon juice

1 tsp sea salt flakes

1 tsp ground cumin

3 tbsp greek yoghurt

1 tsp smoked paprika to serve


  1. Place everything (except paprika) into a food processor and blitz until smooth.  If its too thick still add more yoghurt.
  2. Sprinkle paprika before serving. Tuck in with some fresh carrots or some healthy crackers.

20170610_173512


Beetroot Hummus

20170530_183228

Having some leftover beetroot and chickpeas in cupboard, it was an easy choice tonight to whip up a wee healthy snack after my gym session.

Makes a good size container – about 12 servings (depending on your serving size of course)


4 fresh beetroot – cooked and chopped

1 can 400g chickpeas – drained

2 tbsp tahini

1 tbsp extra virgin olive oil

2 garlic cloves – finely chopped

1 freshly squeezed lemon juice

pinch salt

2 tsp cumin


  1. Put everything into a food processor and whip together until blended well.

Serve with some lovely crispbreads, crackers, carrot, celery the list goes on what this goes with.


Spinach Pesto

20170318_133429

I had some Garlic Bread left over from dinner last night, so I wanted to try something different with it rather than just heating it up. I just love spinach, so why not? It turned out absolutely delicious….if I do say so myself. lol!

Makes 1 small pot – about 1 cup

2 cups of fresh spinach leaves or 6 rounds of frozen spinach

1/2 cup of fresh flat leaf parsley. (you could use basil also)

1/4 cup of walnuts or pine nuts

1/4 cup of parmesan cheese – freshly grated

2 garlic cloves

juice of 1 lemon

1 tsp sea salt

1 tsp black pepper

2 tbsp olive oil


  1. Put everything into a food processor and blitz until blended together.

20170318_125449

Serve up. I had mine on bread but you could use this as a base for pizza, in salads, so much more. Will keep in fridge covered for up to 3 days.


20170318_133341


20170318_125710


Satay Stir Fry Sauce

20170213_182039

Another one of my must makes this year is Satay Sauce, and yay…I’ve done it! So simple and healthier than shop bought versions. I went for a mild version tonight, but I also think that adding a little chilli or tobasco could work just as good if you wanted a little kick to it.


Makes enough for 2 portions of stir fry.

3 tbsp Peanut butter – I used Whole Earth Crunchy as I like the bit of crunch, but you can use smooth and any brand you wish.                                                                                                                                                                                                 1_pb-crunchy

2 tbsp Soy sauce

1 tbsp Light Brown sugar

1 tsp garlic powder

1 tsp sesame oil

1 tsp peanut oil

2 tbsp lime juice


  1. Put everything in a microwave jug with 2 tbsp water and microwave for 1 minute. Stir and add to your stir fry.

As easy as that!   Yummy!


Italian Dressing

basic-italian-salad-dressing

My favourite go to dressing for…well…just about everything. This, in my opinion is better than shop bought ones…….well I will say that but I’m serious. lol!

6 tablespoons olive oil

2 tablespoons white wine vinegar

2 tablespoons chopped fresh parsley

1 tablespoon fresh lemon juice

2 garlic cloves, chopped

1 teaspoon dried basil, crumbled

1/2 teaspoon dried crushed red pepper

Pinch of dried oregano

  1. Combine all ingredients in small bowl and whisk to blend. Season to taste with salt and pepper. (Can be prepared 1 day ahead. Cover and refrigerate.)

20170110_145802


Smokey Tomato Salsa

20161008_130928

This is so yummy and goes with just about anything I think.

Makes 4 servings

Chopped pancetta

Handful of cherry tomatoes – halved

1 onion – chopped finely

1 clove Garlic

1 tbsp sugar

1 tbsp tomato paste

Salt & pepper

  1. Heat 1 tbsp oil in a pan – high heat, add the onion and the pancetta, cook until onion is softened down
  2. Add in the cherry tomatoes, garlic, tomato paste, salt & pepper and sugar, mix through, cook for about  5-7 mins. Any liquid should thicken.