Baked Doughnuts

20200501_151351

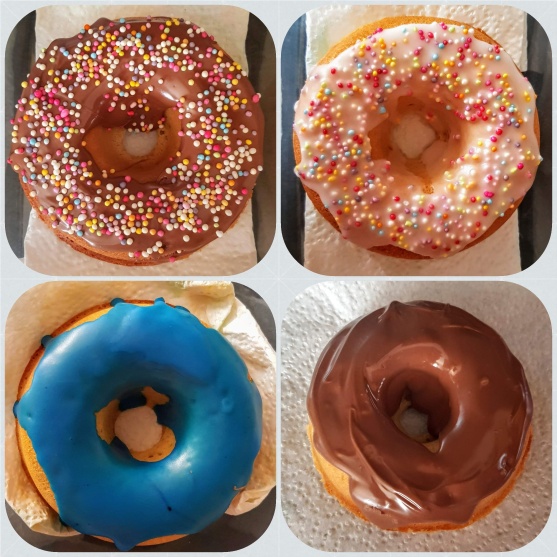
Any doughnuts I’ve made I normally fry but I decided to give the baked kind a go. I bought a doughnut tray ages ago and forgot all about it until I was clearing out my cupboards…lol! Having loads of colours in my baking drawer I went for it and got my creative flare going. I’ve loads more ideas now, so watch this space on my designs coming soon.


Makes 8-10 – Large size doughnuts

90g Butter, Softened

130ml milk at room temperature

1 Dried Yeast Sachet

1 egg

Pinch of salt

40g Sugar

1 tsp vanilla essence

270 plain flour


  1. Melt some butter and glaze the doughnut pan. Preheat oven to 160 deg fan.
  2. Pour milk into a mixing bowl & add the yeast, salt, egg, sugar, vanilla and flour and mix until combined into a smooth dough. Add the butter and mix for 4-5 minutes.
  3. Cover and allow to rest at room temperature for 10-15 minutes.
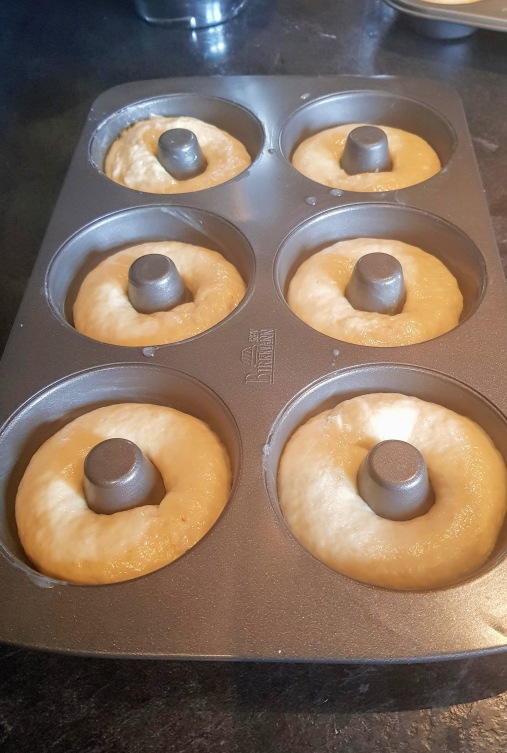
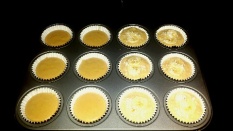
  4. Using a piping bag, pipe the dough evenly into your moulds, smooth down with a little water on your fingertip. Cover the tray and allow to rise at room temperature for about 45 minutes.
  5. Bake in centre of oven for about 15-20 minutes.
  6. Remove doughnuts carefully from tray and allow to cool on a wire tray.
  7. Meanwhile for the toppings:-  Mix some icing sugar together and add your choosen food colouring, Not too thin, you want it quite thick. If using chocolate, melt your chocolate accordingly. (In a microwave for 30 secs, then stir, then 30 secs and stir until melted.)
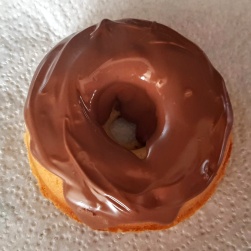
  8. Once doughnuts have cooled, simply pour over the icing and decorate with any sprinkles, nuts etc if you have them. Allow icing and chocolate to harden before devouring.
  9. YUMMY!!!!!!! Perfect with a cuppa.


Creamed Sweetcorn &Chicken Wontons


20171211_174254


I was so excited last week as I received my Pasta Maker Attachment for my Kitchen Aid Mixer. I decided to give Wonton wrappers a go…….well what can I say, I just love this little gadget, so easy to use and perfect wraps. I decided to cook them 2 ways, 1 boiled and 1 oven baked for a crispy texture.

Unfortunately I didn’t cut them big enough for actual wonton shapes so wonton rolls/parcels it was……lol. (lesson learned)


Serves 2

For the Dough

150g plain flour

1 egg beaten

pinch salt

1 tbsp oil

2 tbsp hot water

For the Filling

1 tbsp oil

3 spring onions – chopped

250g chicken – minced

2cm ginger – finely chopped

1 clove garlic – finely chopped

2 heaped tbsp creamed corn

1 tbsp sweet chilli sauce

1 tbsp soy sauce or kepcup manis (if you can get it)

1 tbsp toasted sesame seeds

1 tsp dried chillies


  1. Using the flat beater on your mixer, mix together flour, salt, hot water, oil and egg for about 2 minutes, change to the dough hook and knead until you get a soft silky dough, approx 8-10 minutes. Wrap in clingfilm and refrigerate for about 30mins-1 hour.                                                                                                                                                                                           20171211_123915
  2. Remove from fridge and with floured hands knead for 30 secs. Cut into slices about 2cm thick.
  3. Attached the pasta attachment and flour, firstly put dough through on level 1 then pull through and fold then put through on level 2 twice, now turn to level 4 and turn through twice again, then finally turn to level 6 and turn through 2 or 3 times until the dough is almost see through. & repeat.                                                                                                                    20171211_174254
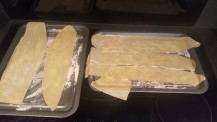
  4. Lay dough sheets onto a lightly floured surface and cut into rectangles                                                          20171211_141554
  5. Meanwhile, heat oil in a fry pan and gently fry the spring onions, garlic, ginger and chicken mince until browned. (if you have breast just use a processor to blitz into mince)                                                                                                                        20171211_143043  20171211_142024
  6. Place chicken mix into the mixing bowl, then add creamed sweetcorn, sauces, chilli, sesame seeds and salt & pepper, mix for a minute until combined.
  7. Lay dough sheets out and take 1-2 tsp of mixture and place in centre, lightly moisten the edges with water to help seal and pull up the edges to make a wonton, make sure it is tight and no air, if you’ve cut the dough too small (like me..lol) just roll them up and pinch the sides (almost like a spring roll type parcel). Repeat     20171211_145905
  8. To boil….bring a pan to boiling point reduce by 1 and place each wonton in to cook for about 3-5 minutes depending on size.                                                                20171211_180433
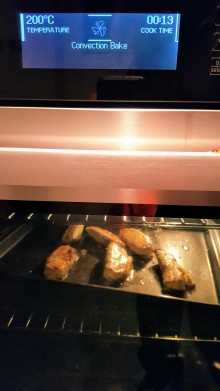
  9. To Bake….preheat oven to 200 deg, place on a lightly greased baking tray and bake for about 12-15 minutes.                                                                                              20171211_180450
  10. I served with sweet chilli sauce (shop bought)……….oh so yummy!


Homemade Chapati’s

20170111_190459

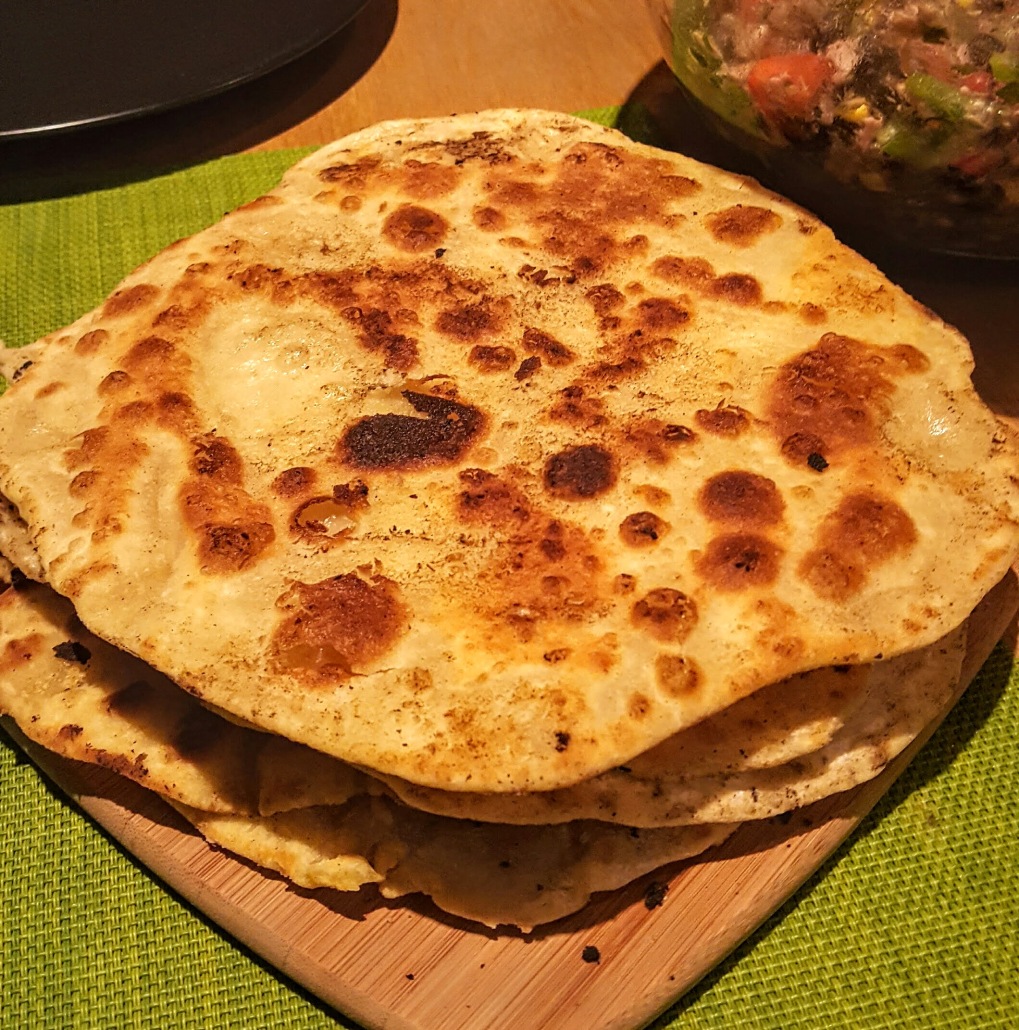
I do amaze myself sometimes, first try at chapti’s and they turned out perfect first time! Again as I have said in a previous post this year, I’m going to try all those things I said I would and didn’t in 2016 and this is one of them.

Makes 6

300g plain flour (plus extra for dusting)

1 tsp salt

50g butter melted

180ml milk

oil for cooking

  1. First melt the butter with the milk either in a pan on a hob or in a microwave for about 1 minute
  2. Sift flour into a bowl add salt then add the milk and butter, mix until you get a soft smooth dough, if its too sticky just add more flour.
  3. Roll into a ball and wrap in cling film for about 1 hour at room temperature.20170111_155547
  4. When ready, tear into about 6 balls (about the size of a tennis ball) 20170111_174103
  5. Flour your work surface and roll out each ball into a circle or best you can circle shape about 2-3mm thick.
  6. Preheat some oil in a fry pan to a medium to high heat then drop in the bread.
  7. Cook on each side for about 1 minute, you shouldn’t need more than that if you have the right temperature.

    Remove and allow to cool slightly before serving.

If you want more of a wrap just turn the temperature down so it cooks slowly and softly, same time on each side.

So much more healthier than shop bought ones or ones from your local take out and I personally think tastier too. Was definitely a hit with my partner.

20170111_190424

20170111_190231


Friday Night Takeaway – Homemade Pizza

2016-03-11 19.53.47

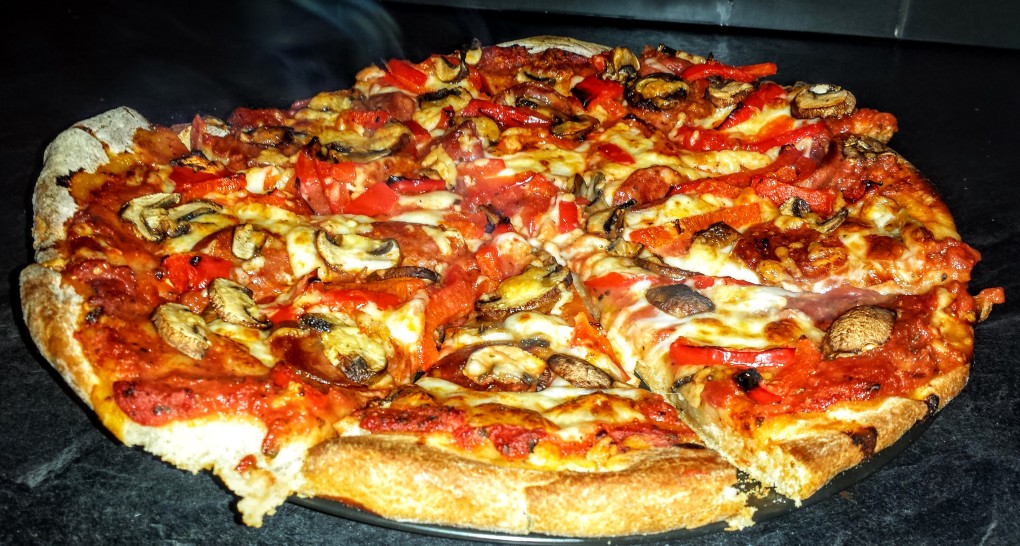
I love pizza……….and always make my own, that way I can make it a bit healthier and not feel guilty eating it. Here are two different toppings we done this weekend. I also used my pizza stone to crisp the bottom of my pizza.
Makes 2 large pizza bases

For the Pizza Base:-

200g White Flour

200g Wholemeal Flour

7g yeast sachet

300ml warm water

1 tbsp golden caster sugar

1 tsp salt

Olive oil

Pepper to taste

  1. Sift the flours into a bowl along with the salt. Make a well in the middle.
  2. Add the yeast to the warm water and sugar, stir and let sit for 10 mins.
  3. Meanwhile pre-heat oven to 220 deg or Pizza setting, if you have one.
  4. If you have a pizza stone, preheat.
  5. Little at a time add the yeast water to the flour and mix in until you get  dough like mixture.
  6. Put a little olive oil on your worktop and knead the dough for about 10 mins, stretching all the time until elastic like.
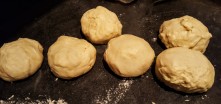
  7. Prove the dough for about 1 hour or until double in size. Cut dough into 2 parts and wrap in cling film, refrigerate for about 1/2hr or overnight. (I find doing this make the dough easier to roll out)
  8. Roll out to desired thickness and size. Prick with a fork so it doesn’t rise too much and cook gently at 220 deg for 5-10 mins.
  9. Base now ready for toppings.


Tomato sauce topping:-

1 400g chopped tin tomatoes

1 garlic clove – chopped

1 handful of basil

salt and pepper

20160311_190207

  1. Gently cook the garlic and basil with salt n pepper. Add in the tin tomatoes and heat through for about 15 mins. Ready to serve.


Toppings:

You can of course use any toppings of your choice, this is what I used:-

1 Choice:- Chorizo, Red Pepper, Grilled Chicken pieces, mozzarella, red onion grated cheddar cheese for top.

2 Choice:- Chorizo, Red pepper, mozzarella, mushrooms, grated cheddar for top.

20160311_190157

20160311_193132     20160311_192923


Maple Syrup and Chocolate Muffins

20160124_144457_resized

This was my 2nd batch of today, after a night out last night we wanted some Home Comfort Food, so off to the kitchen I went and decided on a quick Muffin Recipe. After looking at what I had in cupboards my Maple Syrup and Chocolate combo were just the ticket to tackle our munchie (hungry) feeling!

Makes 6 Muffins

125g Self Raising Flour

50g Softened Butter

1 egg beaten

50g Caster Sugar

40g soft light brown sugar

1 tbsp semi skimmed milk

2 tbsp Maple Syrup

FOR THE TOPPINGS

1 handful (20-30g chocolate drops)

1 Cup (50g Icing Sugar)

1 tbsp Semi Skimmed Milk

1/2 tsp Vanilla Extract


  1. Preheat oven to 180 deg. Line a muffin tine with paper cases.
  2. Beat the butter until soft, gradually add in Brown sugar and caster sugar until combined and fluffy.
  3. Beat the egg in a separate bowl, Slowly add in the eggs to the sugar mix, add in the Maple Syrup and mix.
  4. Sift the flour into the sugar mix in 3 batches, adding a little of the tbsp of milk after each batch until combined.
  5. Spoon the mixture into the muffin cases and bake in the oven for about 20 mins.
  6. 20160124_142015_resized
  7. Meanwhile, mix the Icing sugar, milk and vanilla extract together until you get a fine paste like solution.
  8. 5 minutes before the muffins are ready, remove from oven and press the chocolate drops on top of the muffins, bake for the remainder, allowing chocolate to slightly melt in.
  9. 20160124_144347_resized
  10. Remove from oven and using the icing sugar mix drizzle over the muffins……you can be creative here if you want!
  11. 20160124_144434_resized
  12. Allow to cool for 10 mins……….and then devour….YUMMY!

20160124_144741_resized


Check out my banana and Coconut Muffins here also.

https://cookingwithluce.wordpress.com/2016/01/24/banana-and-coconut-muffins/


BEWARE!……your kitchen WILL get messy! lol!

20160124_144221_resized

Nutrition Facts
Maple Syrup and Chocolate Muffins

Servings Per Recipe: 6

Amount Per Serving

Calories: 257

  • Total Fat: 8 g
  •     Saturated Fat: 4.6 g
  •     Trans Fat: 0.3 g
  • Cholesterol: 45.4 mg
  • Sodium: 79.2 mg
  • Total Carbs: 42 g
  •     Dietary Fiber: 1 g
  •     Sugars: 19.6 g
  • Protein: 5 g


Banana and Coconut Muffins

20160124_144741_resized

Today I woke up late after one of my friends 30th Birthday Party last night, surprisingly I felt really good and awake, after a shower and breakfast I suddenly got the urge to bake after my boyfriend saying he had the munchies…lol! So off I went into the kitchen, music on and feeling creative. Looking in my cupboards I came up with 2 different muffin recipes….so here goes the first one:-

Makes 6 muffins

125g Plain Flour

1 tbsp baking powder

1 tsp cinnamon powder

50g caster sugar

40g desiccated coconut

1 really ripe banana

90ml semi skimmed milk

1 egg beaten

50g butter melted

1 tsp vanilla extract


  1. Preheat oven to 180deg. Line a muffin tin with paper cases.
  2. Sift the flour, cinnamon and pinch of salt into a mixing bowl. Stir in the sugar a 45g of coconut (leave a tbsp amount for after). Make a well in the middle.
  3. Peel banana and mash 3/4 of it into a paste. Put 1/4 to side. Put banana paste into well of flour mix.
  4. Lightly whisk milk, beaten egg, vanilla and melted butter together, pour into well of flour mix.
  5. Mix all ingredients together but do not over mix.
  6. Spoon mixture evenly into the 6 muffin cases.   20160124_144317_resized
  7. Slice the remaining banana and place one or two slices on top and sprinkle remaining coconut over.
  8. Place in oven and bake for about 20-25 mins until knife comes out clean. Leave to cool.

20160124_142015_resized

20160124_144347_resized 20160124_144409_resized20160124_144700_resized

Then eat to your hearts content! YUMMY!


Also check out my other Muffin recipe:- Maple Syrup and Chocolate!

https://cookingwithluce.wordpress.com/2016/01/24/maple-syrup-and-chocolate-muffins/


BEWARE!! your kitchen WILL get messy! lol!

20160124_144221_resized

Nutrition Facts
Banana and Coconut Muffins

Servings Per Recipe: 6

Amount Per Serving

Calories: 204

  • Total Fat: 8.1 g
  •     Saturated Fat: 4.7 g
  •     Trans Fat: 0.3 g
  • Cholesterol: 45.5 mg
  • Sodium: 87.8 mg
  • Total Carbs: 30.4 g
  •     Dietary Fiber: 3.1 g
  •     Sugars: 11.8 g
  • Protein: 4.5 g