


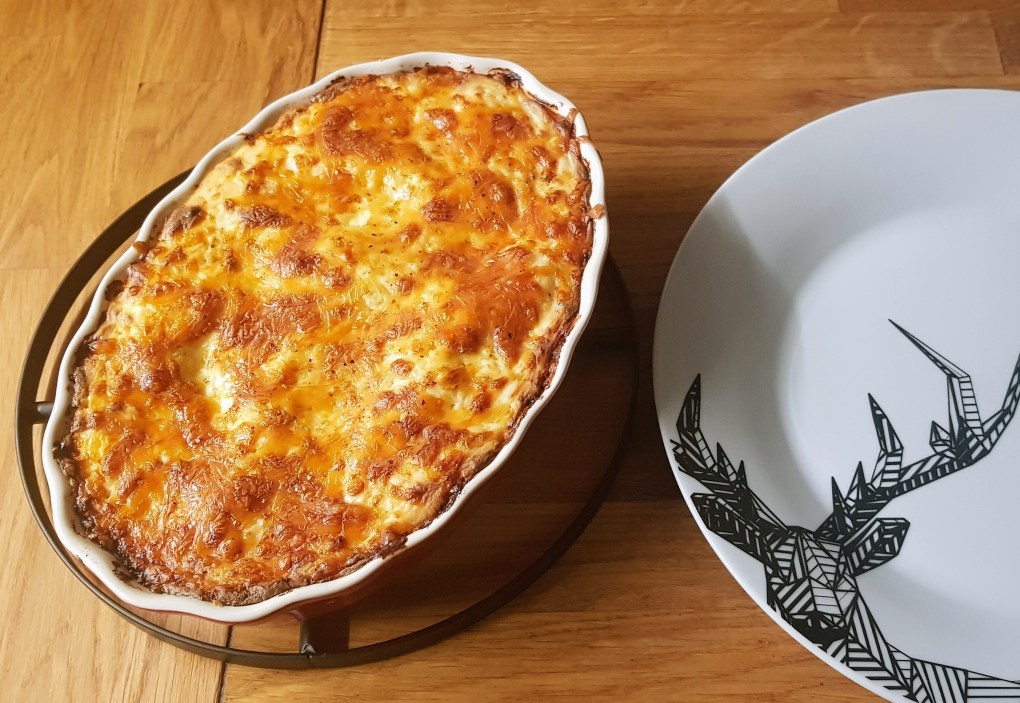
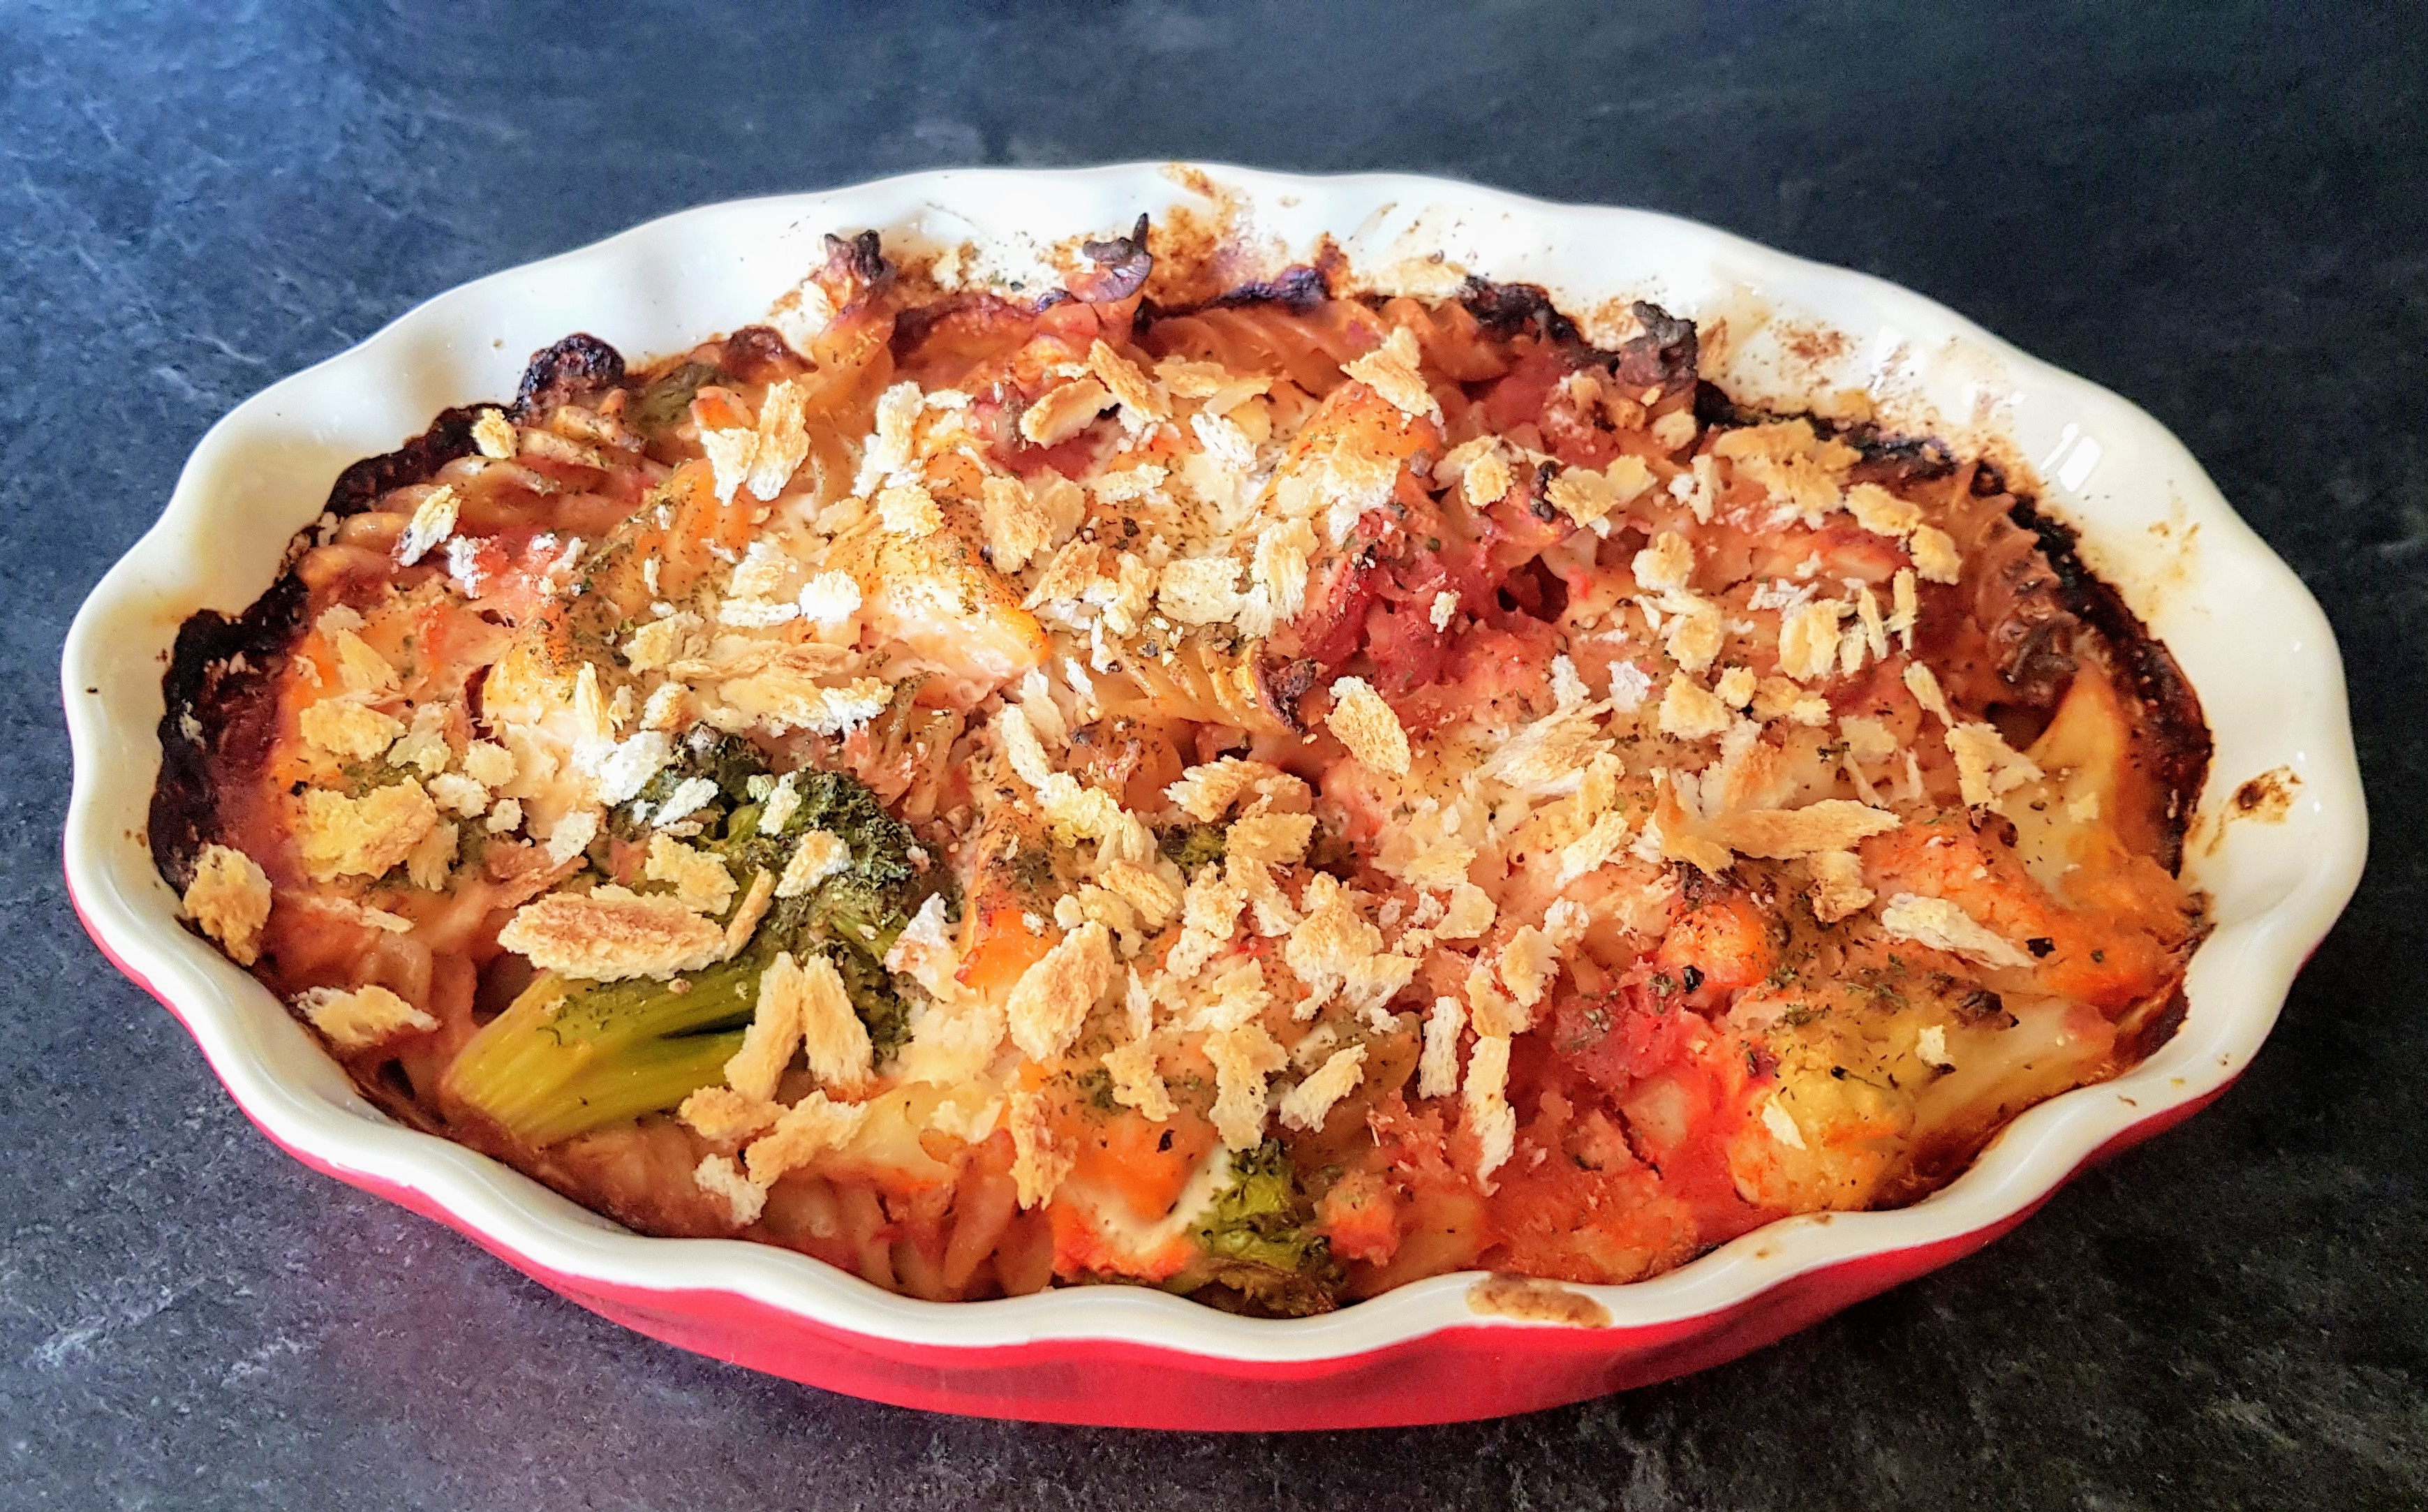
My lovely neighbour came across with some fresh Kale the other day from her garden, so I decided to give a Chicken & Kale Lasagne a go, and this was delicious, full of flavour, nutritious and filling all at the same time. Another great wee recipe that the family can share.
Kale contains fiber, antioxidants, calcium, vitamins C and K, iron, and a wide range of other nutrients that can help prevent various health problems. Antioxidants help the body remove unwanted toxins that result from natural processes and environmental pressures. It’s low in calories, low in fat, high on protein and potassium too, so a good all rounder vegetable to add to you diet.
Recipe makes 2 portions
For the Filling:-
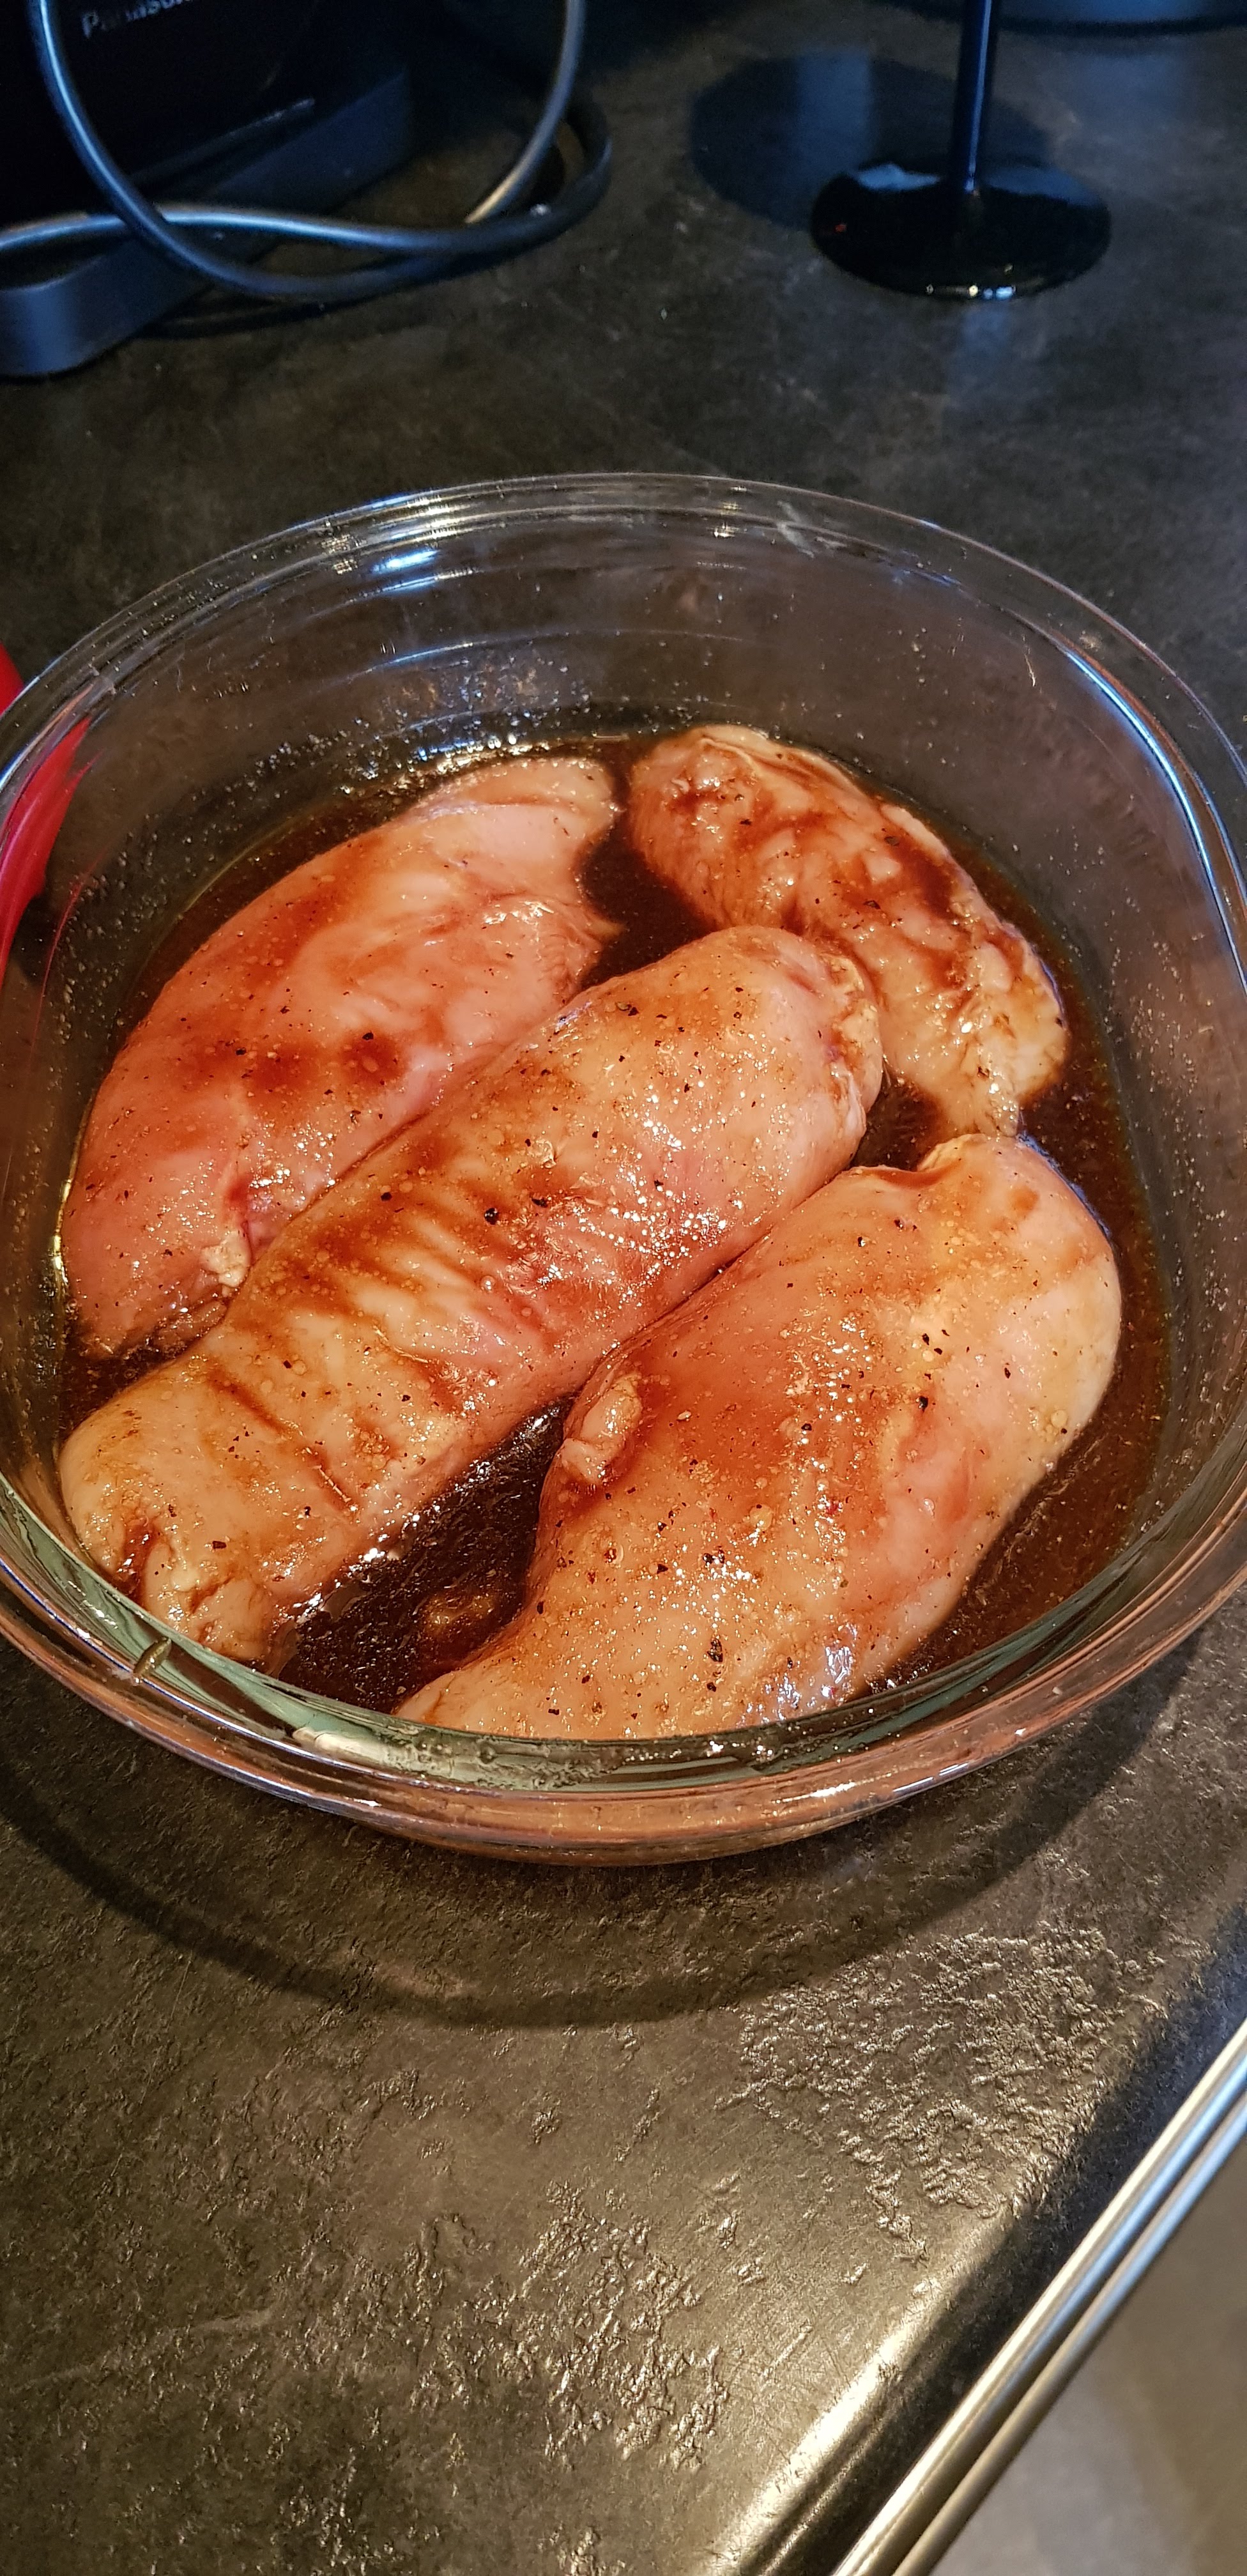
2 Chicken Breasts
1 Bunch of kale
1 Carrot, grated
1 Leek, thinly sliced
1 Clove garlic, crushed
1/4 Tsp Nutmeg
1/2 Tsp Smoked Paprika
200g Chicken Stock
Salt & Pepper to season
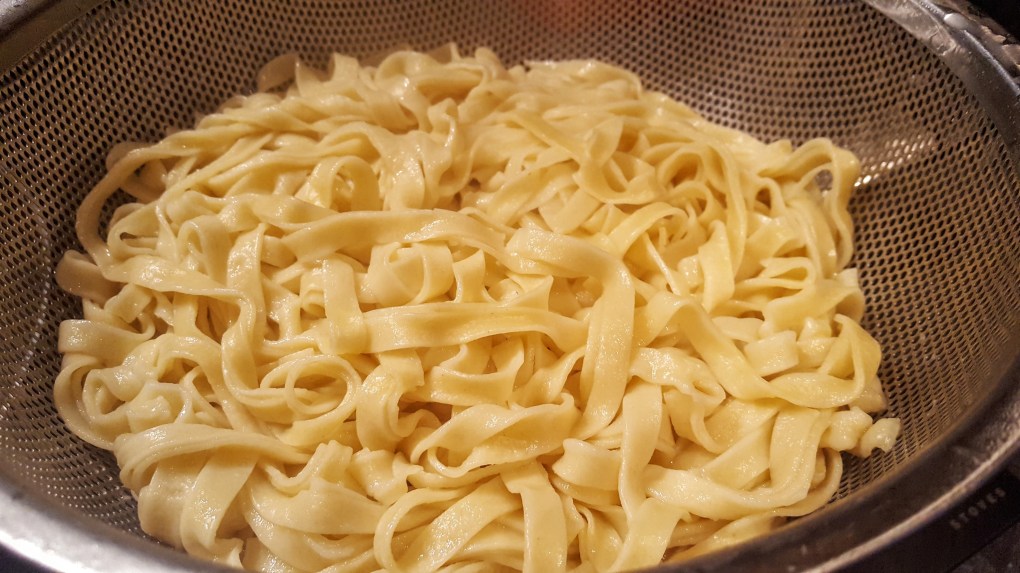
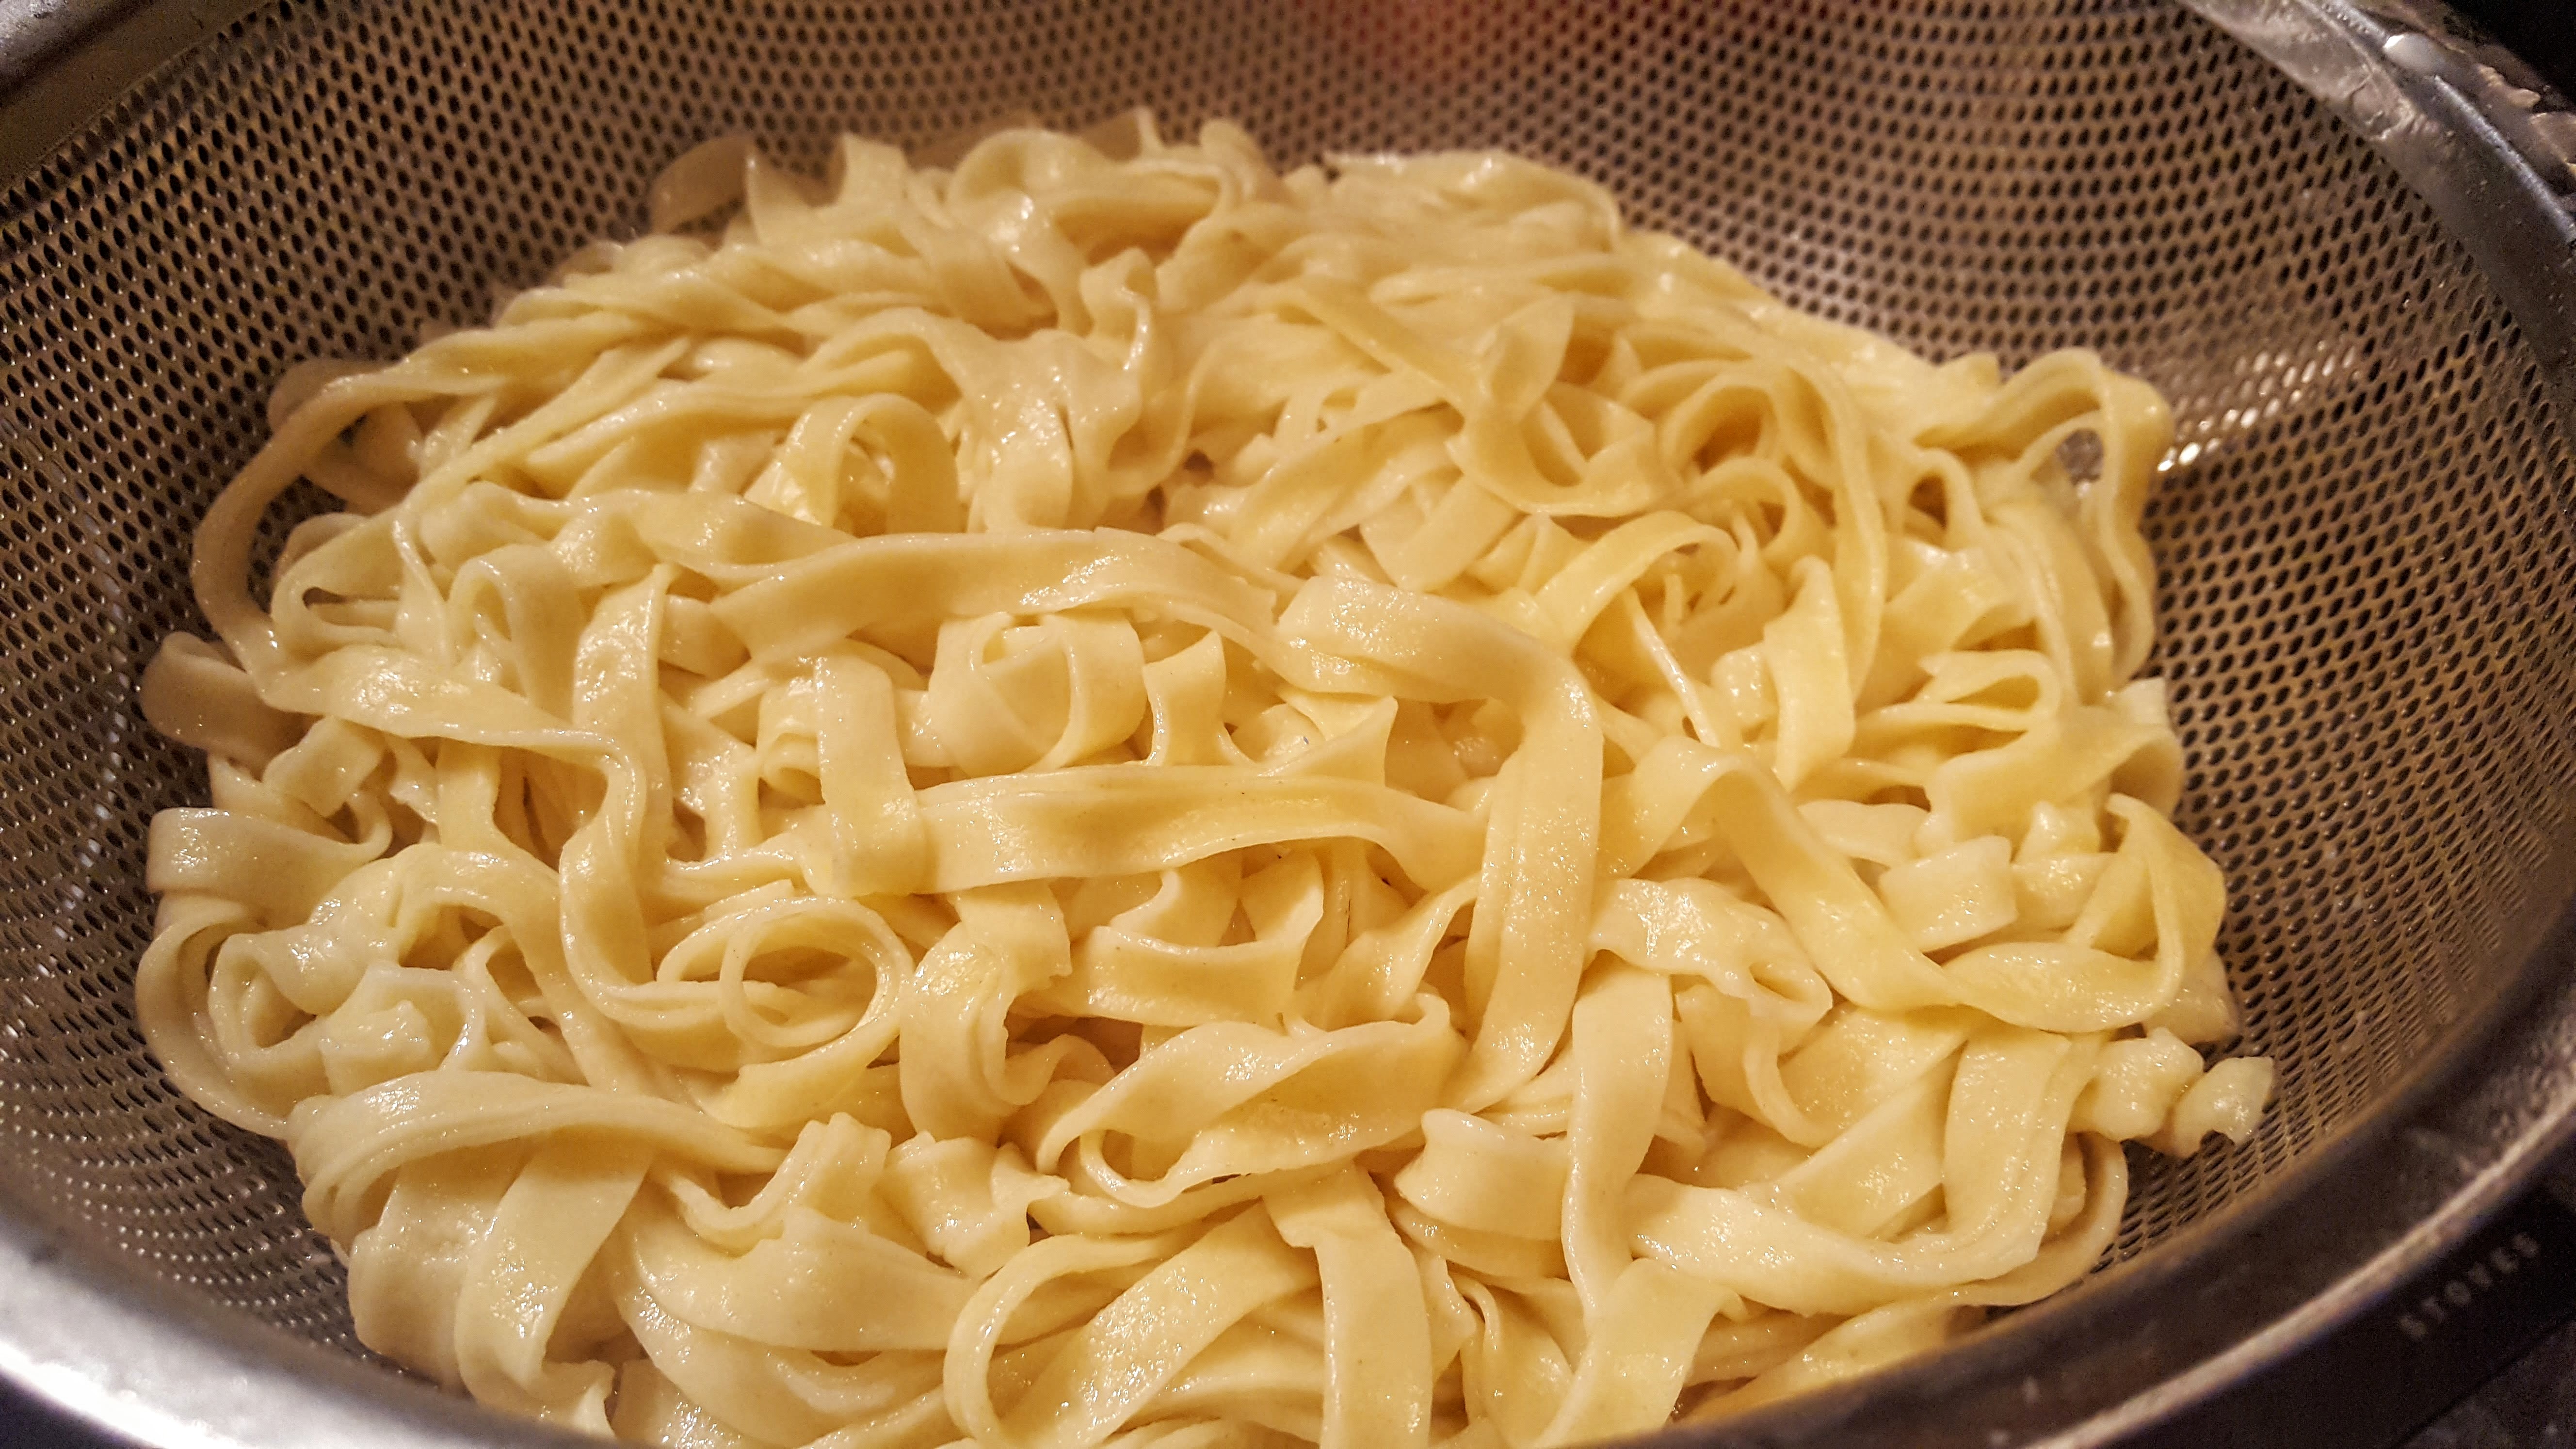
Lasagne Sheets
For the Sauce (or you can use a Bechamel instead if you prefer):-
300ml Creme Fraiche
150g Grated Cheese (of your choice, I used a mild cheddar) plus 50g optional for topping
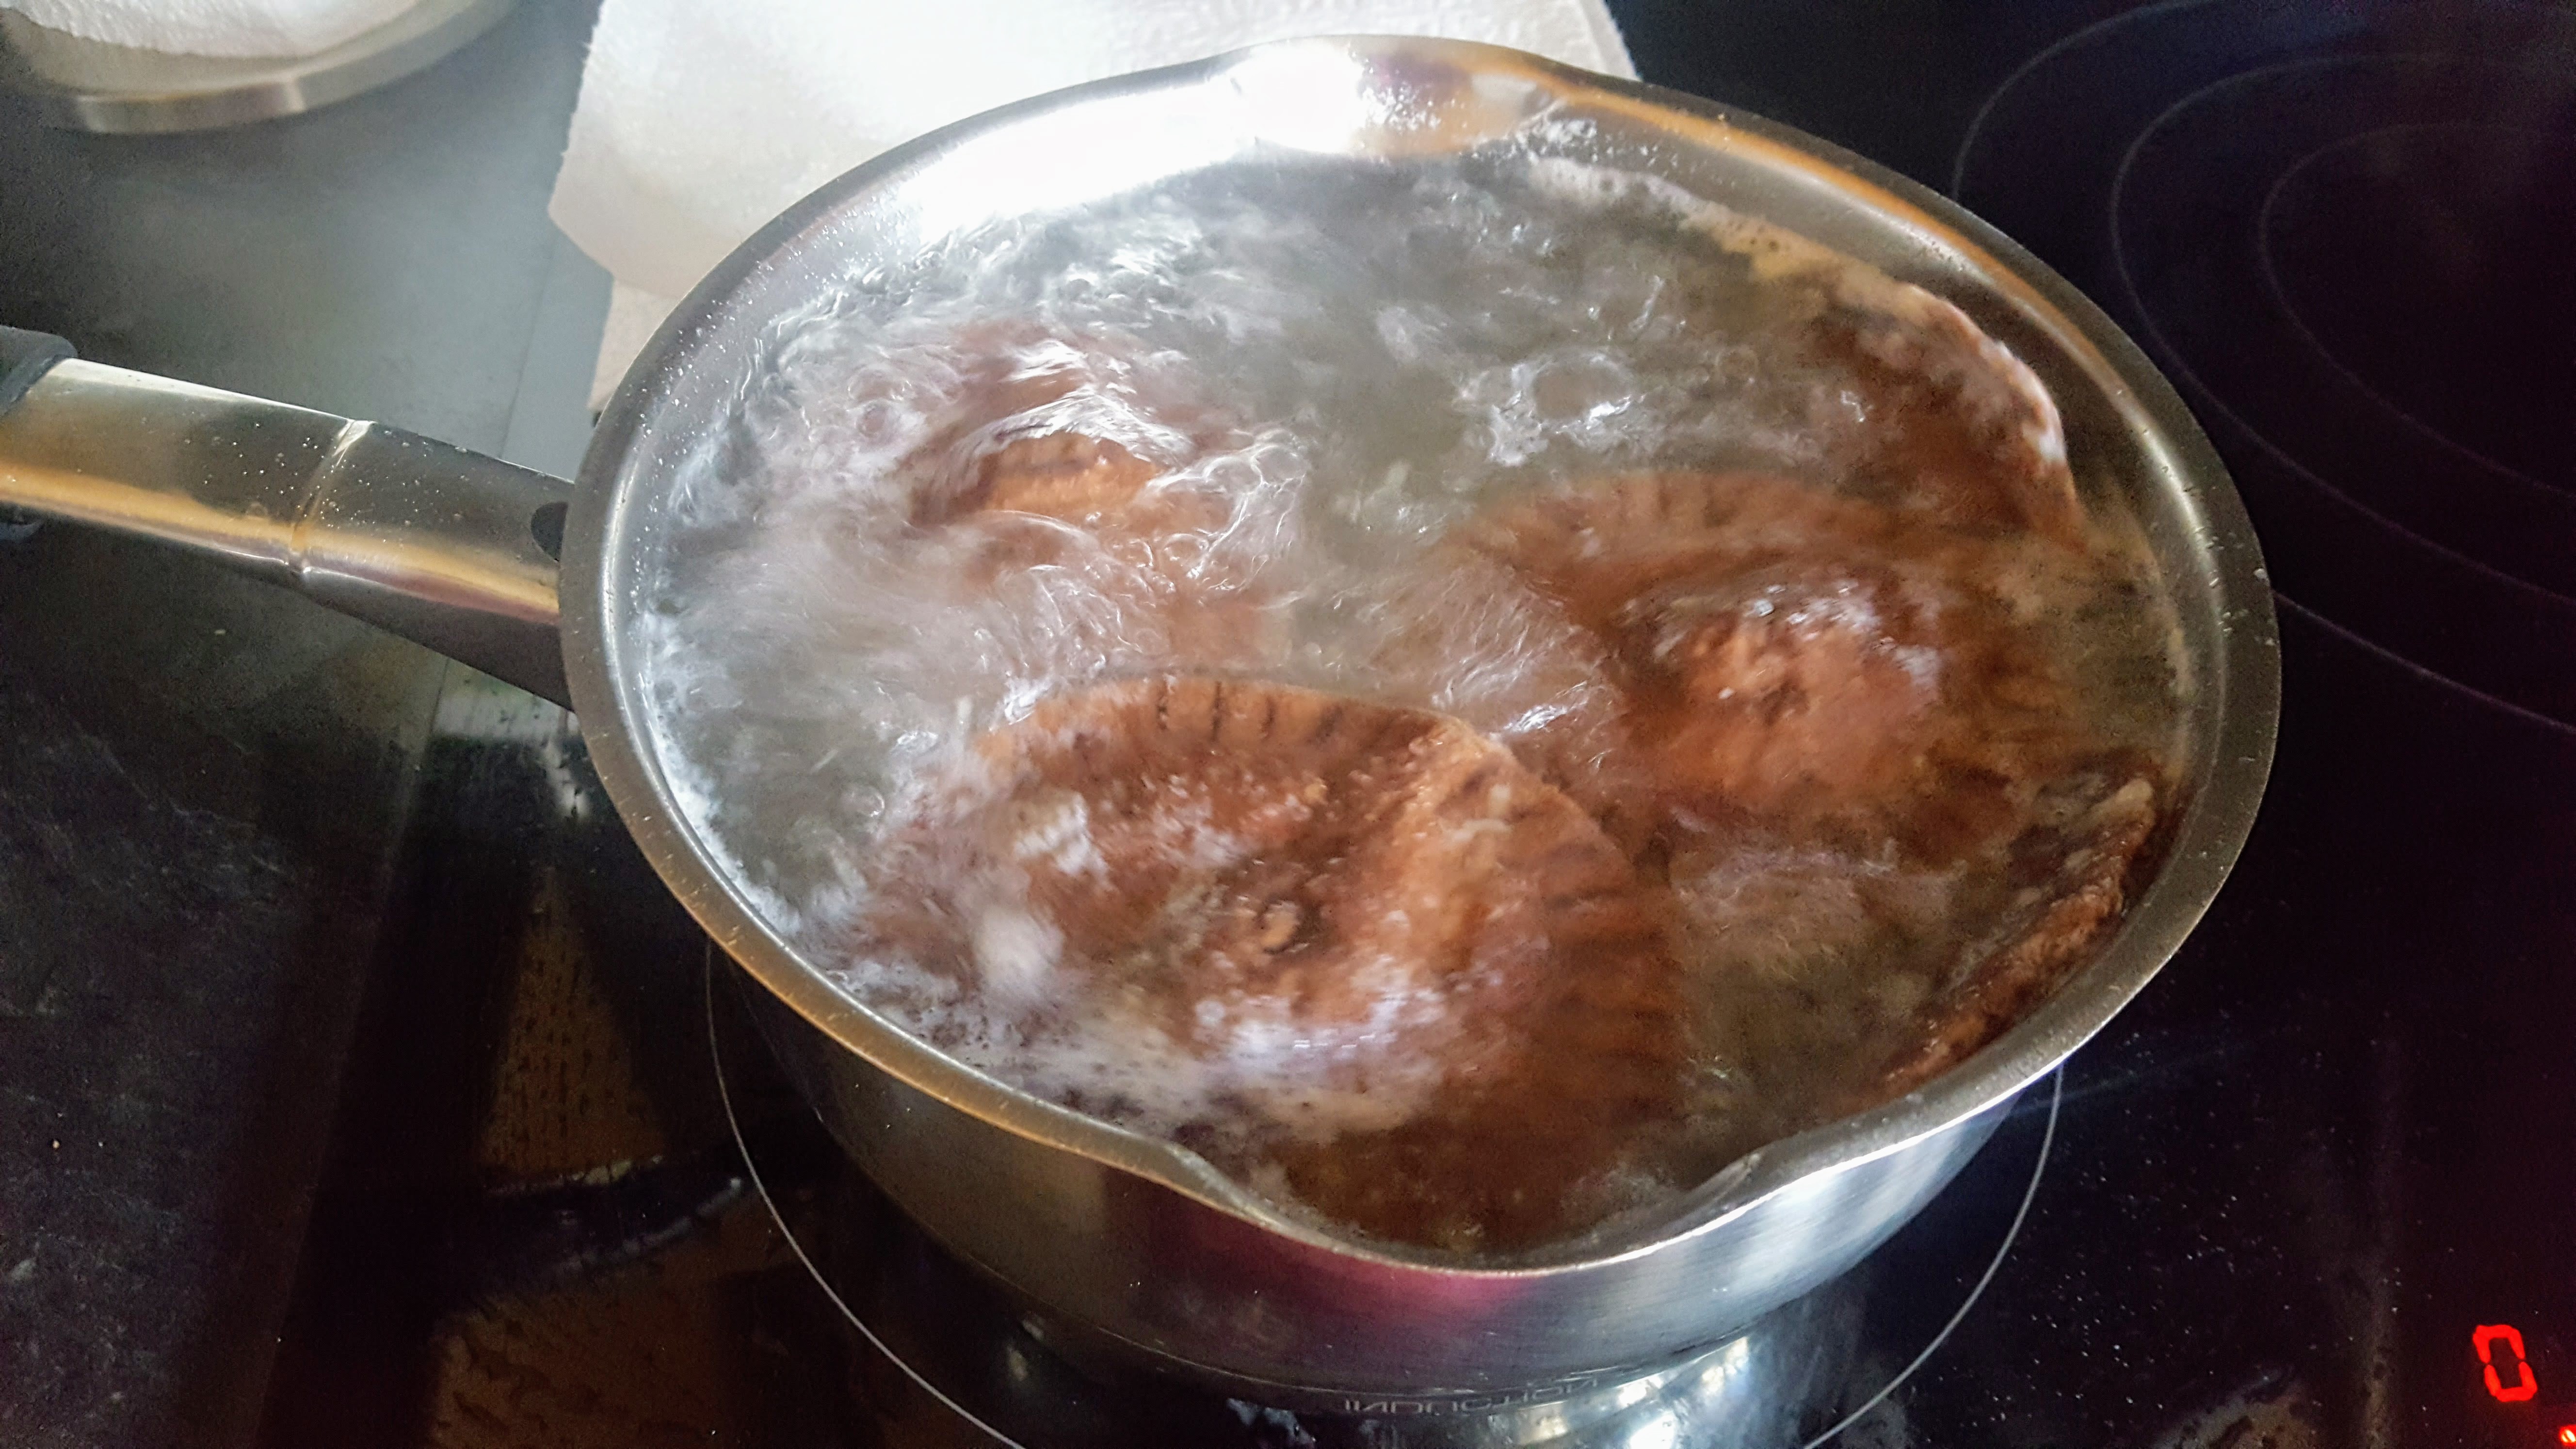
- Season chicken breasts and place in a pan with the chicken stock, bring to the boil then simmer for about 45 mins – 1 hour, then shred with 2 forks. Most of the stock should have evaporated.
- Pre-heat your oven to 180 deg.
- Blanch the kale in boiling water for about 1 minute, drain and slice into fine pieces.
- Add to the pan the leeks, kale & carrot along with seasoning, garlic & nutmeg, stir through until mixed and warmed, a few minutes.
- Meanwhile, in a separate pan mix on a low heat the creme fraiche & cheese to make a smooth sauce. Do not allow to boil or the creme fraiche will curdle.
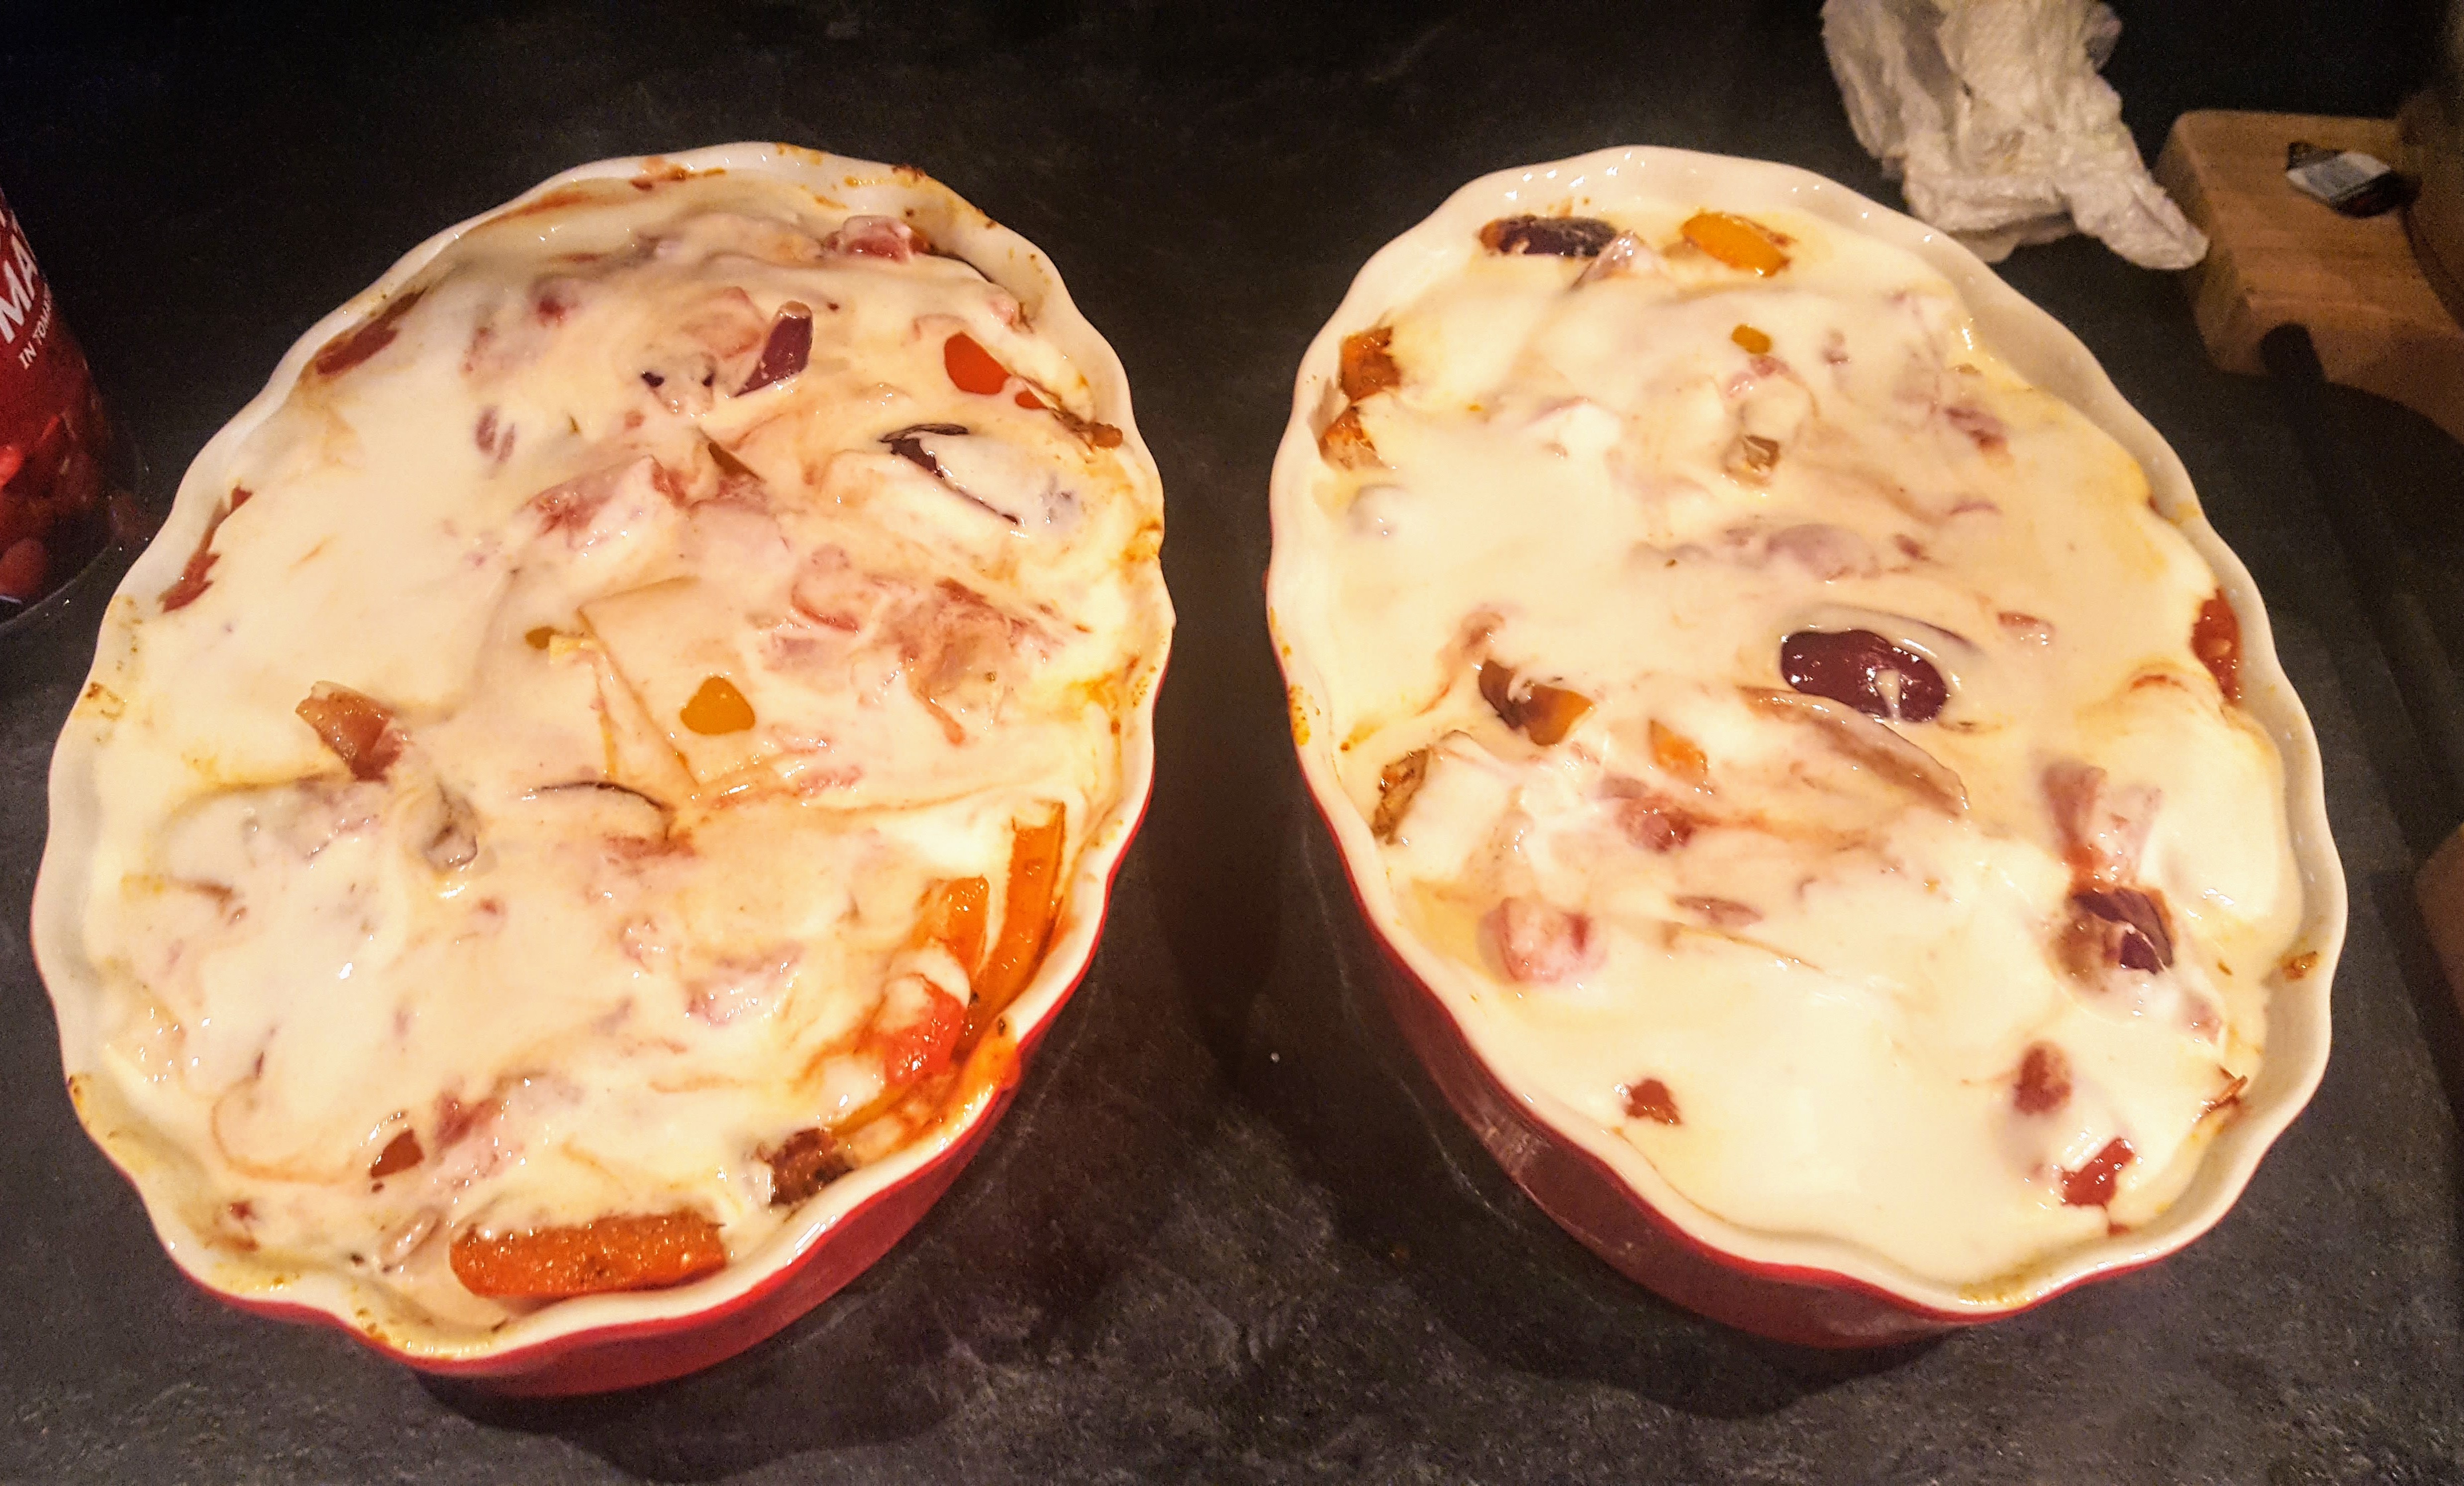
- In an oven proof dish, layer your lasagne, chicken filling first then lasagne sheets, then more filling, then lasagne sheets. Pour over your sauce mix evenly and finish with extra cheese and little sprinkle of smoked paprika. Bake in an oven for 45 minutes or until topping is browned and bubbling.
- Serve & Enjoy.


You must be logged in to post a comment.