Oh you are going to love this one! A cheeky little casserole dish that is full of flavour and great for the whole family. This is definitely a dish for my comfort food list.
Serves 4
500g Minced Scottish beef
1 Yellow onion, finely chopped
1 Tsp minced garlic
1/2 Tsp Cayenne pepper
Salt & Black pepper
2 Tsp flour
100ml Beef stock
150g Grated cheese
Handful of Frozen peas
4 Slices of smoked bacon, cut into bite size pieces
10-12 Small Hash Brown Waffles cut in half or quartered
Preheat oven to 210 deg.
In a fry pan add a little oil and fry the onions & bacon with the garlic, add the beef, season with salt & pepper and cook through until browned, add in the cayenne pepper and flour and stir then pour in the beef stock, bring to the boil and simmer for 2 minutes.
Fold in the peas and half of the grated cheese, transfer to an oven proof dish then top with the remaining cheese and hash browns. Bake in the oven for about 25-30 minutes until golden brown. Enjoy!
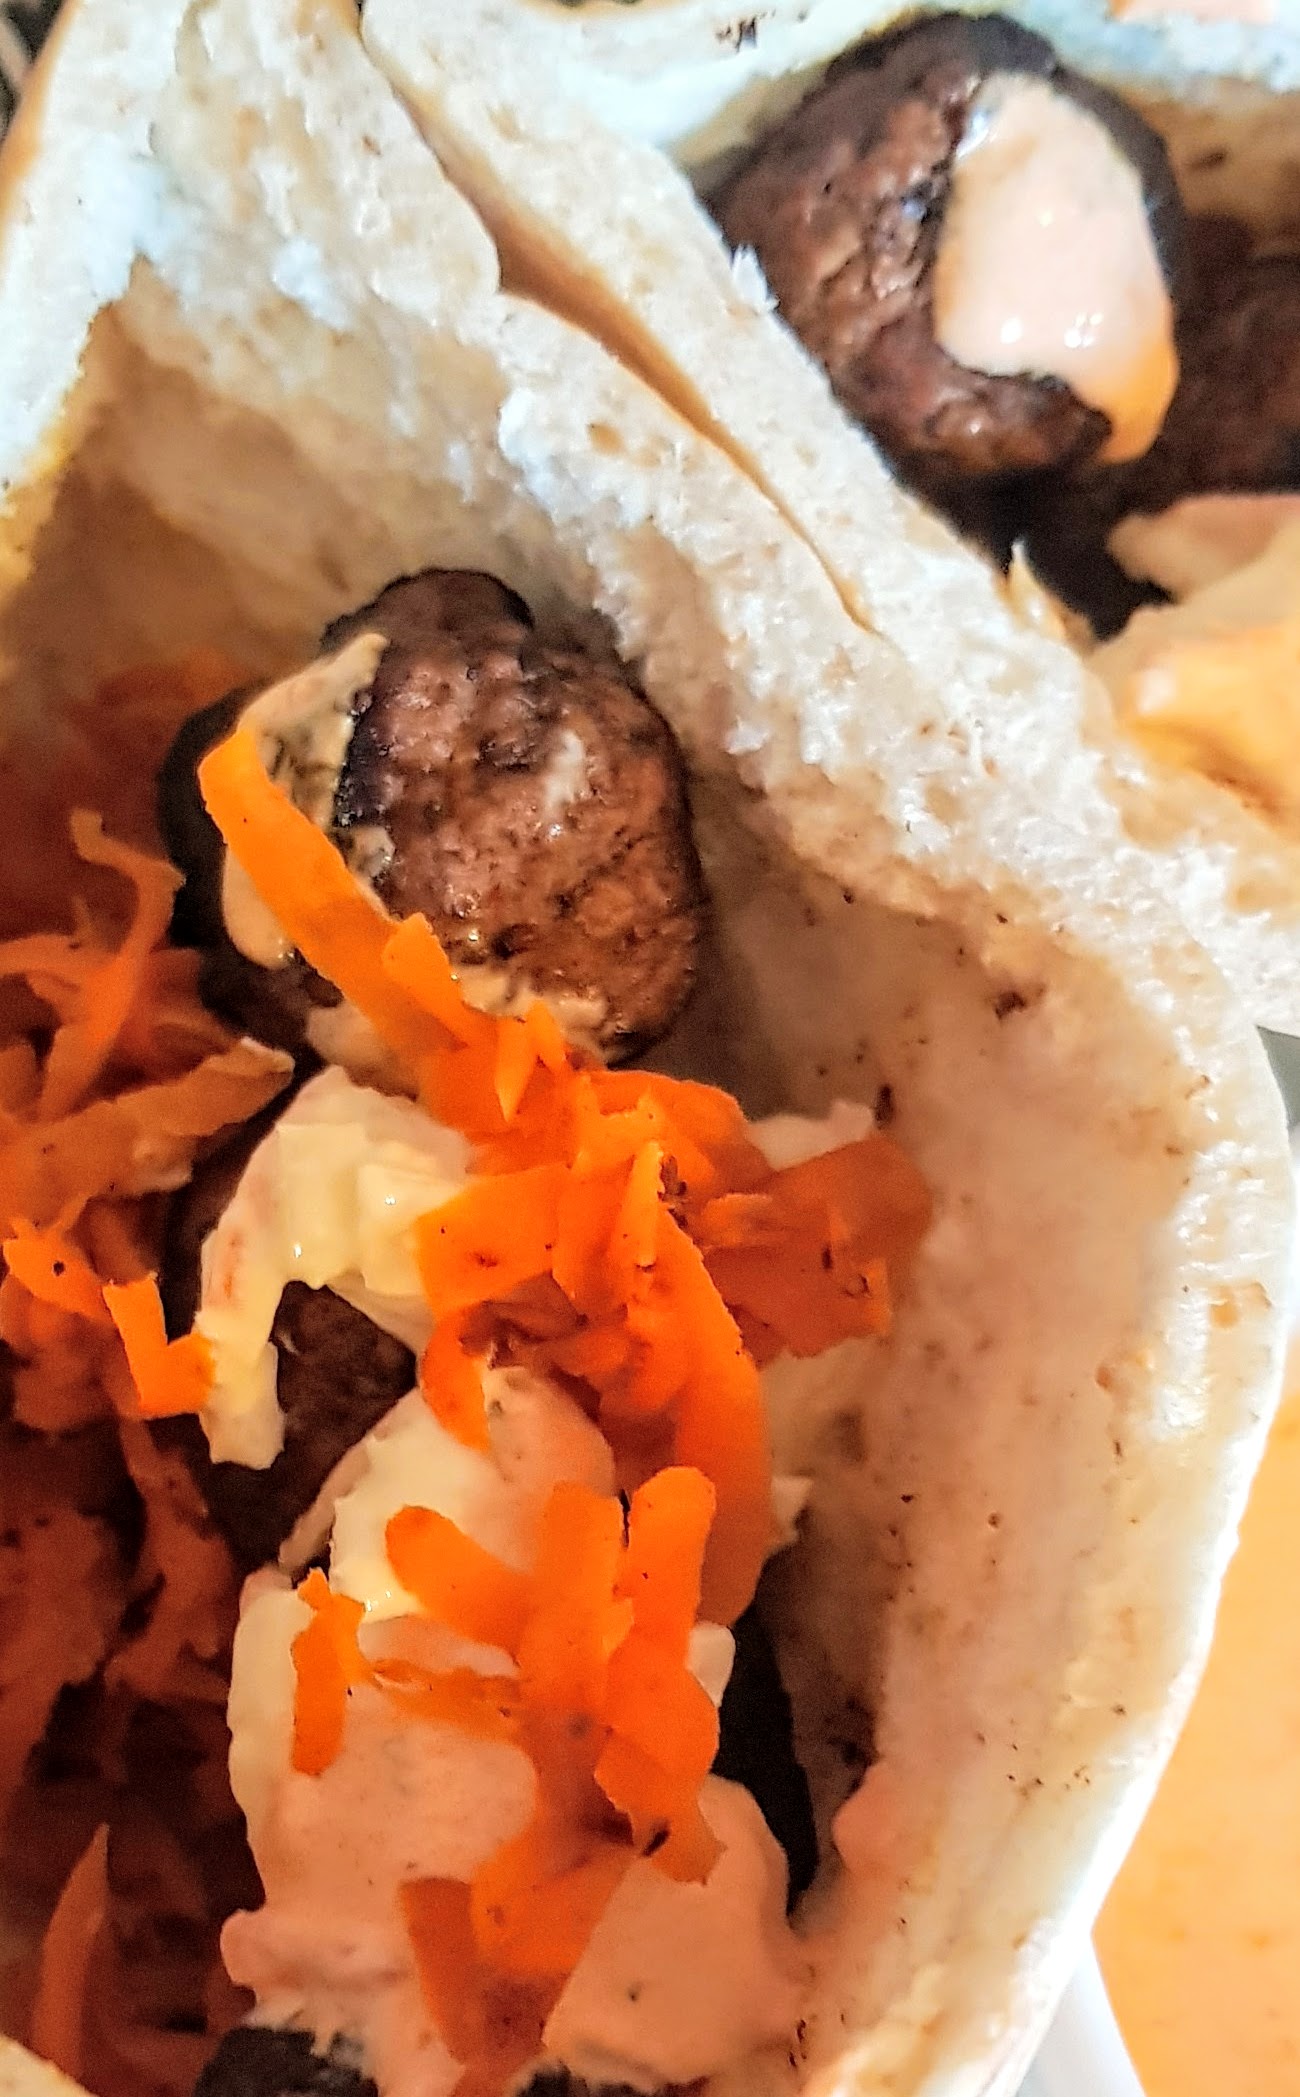
This is a super simple dish that’s full of flavour. Great for the whole family, simply make the meatballs and the carrot slaw and let the family dive in and fill their pits as much as they like. Yum!
Serves 4
500g Minced Scottish Beef
2 Tsp Paprika
1 Tsp Ground Coriander
2 Tsp Harissa Paste (I use the Rose Harissa)
150g Natural Greek Yogurt
Salt & Pepper to taste
2-3 Large carrots – peeled and cut into thin strips or grated
1/2 Tsp fresh ginger
Handful Fresh coriander, chopped
4 Pitas, halved
In a bowl combine the minced beef, paprika, ground coriander, salt & pepper and roll into small 1″ balls. Heat a little oil in a fry pan and cook the meatballs until browned and cooked through, about 8-10 minutes.
Combine the yogurt and harissa in a bowl and set aside
Heat a little oil in a separate pan, fry on medium heat the carrots and ginger until carrots are slightly crispy, may need to do this in batches. Once crispy add in the chopped fresh coriander and mix
Warm up your pitas then stuff them with the meatballs then the harissa sauce and top with the carrot slaw. Enjoy!
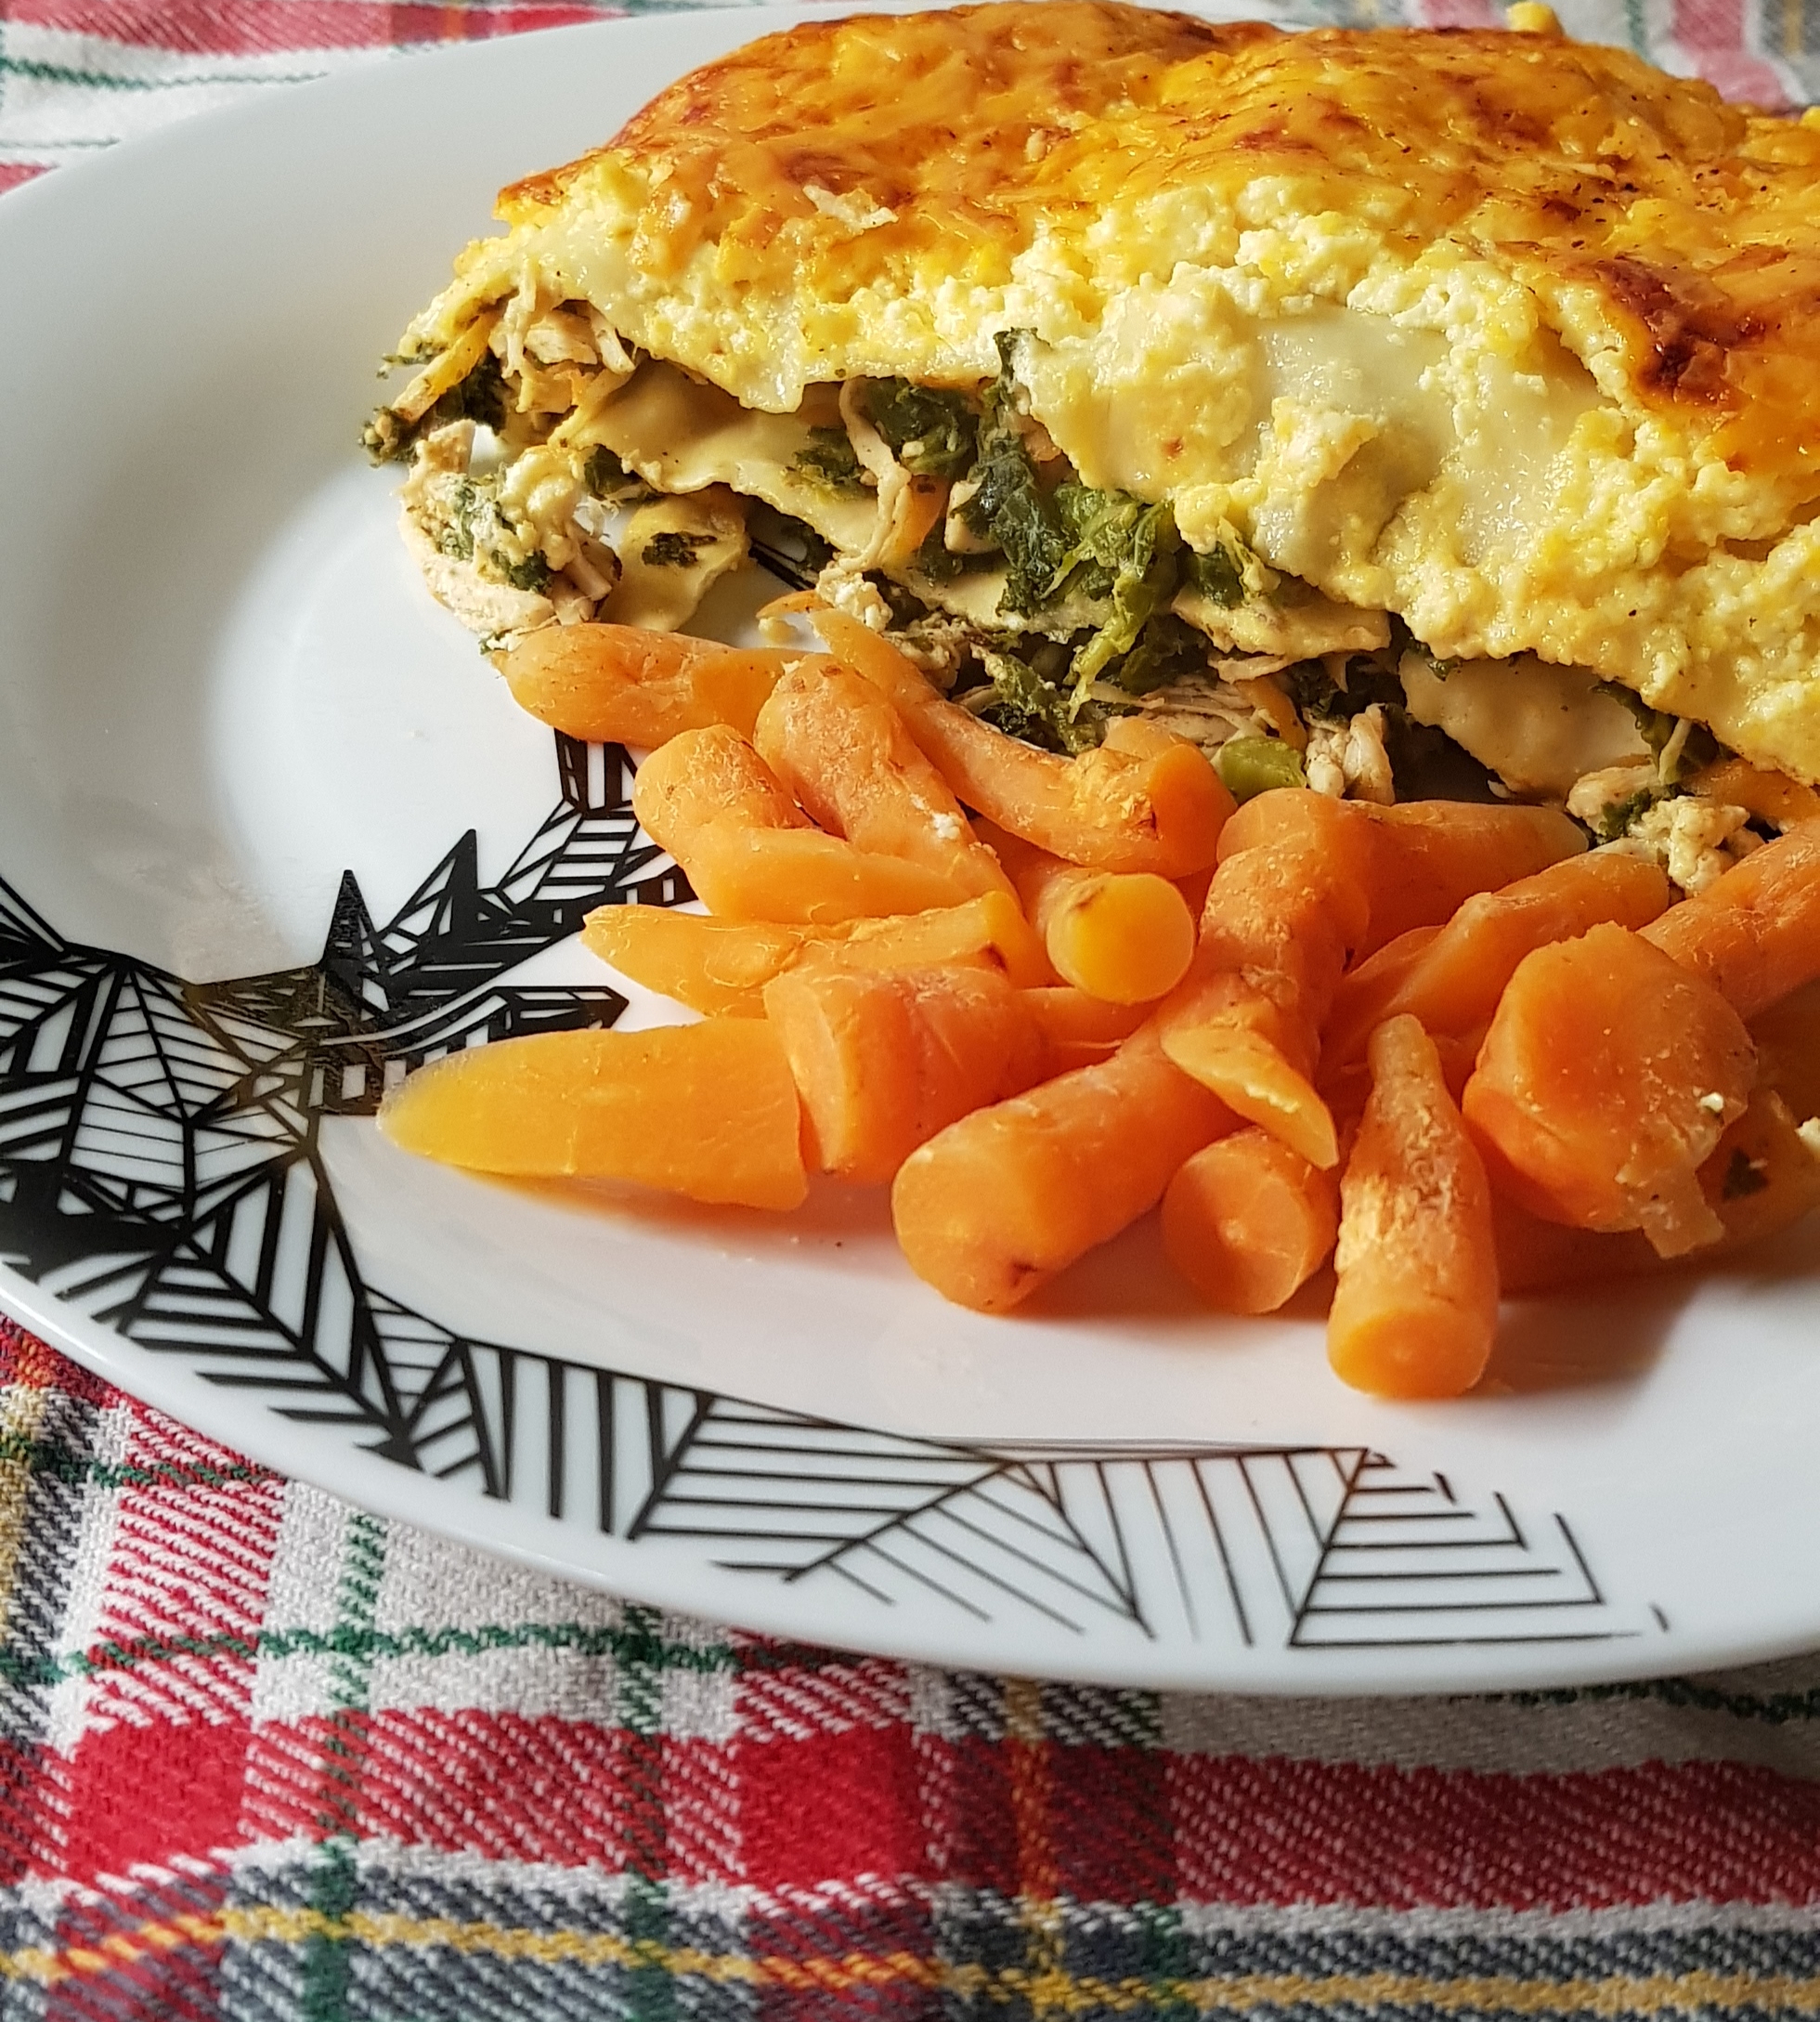
My lovely neighbour came across with some fresh Kale the other day from her garden, so I decided to give a Chicken & Kale Lasagne a go, and this was delicious, full of flavour, nutritious and filling all at the same time. Another great wee recipe that the family can share.
Kale contains fiber, antioxidants, calcium, vitamins C and K, iron, and a wide range of other nutrients that can help prevent various health problems. Antioxidants help the body remove unwanted toxins that result from natural processes and environmental pressures. It’s low in calories, low in fat, high on protein and potassium too, so a good all rounder vegetable to add to you diet.
Recipe makes 2 portions
For the Filling:-
2 Chicken Breasts
1 Bunch of kale
1 Carrot, grated
1 Leek, thinly sliced
1 Clove garlic, crushed
1/4 Tsp Nutmeg
1/2 Tsp Smoked Paprika
200g Chicken Stock
Salt & Pepper to season
Lasagne Sheets
For the Sauce (or you can use a Bechamel instead if you prefer):-
300ml Creme Fraiche
150g Grated Cheese (of your choice, I used a mild cheddar) plus 50g optional for topping
Season chicken breasts and place in a pan with the chicken stock, bring to the boil then simmer for about 45 mins – 1 hour, then shred with 2 forks. Most of the stock should have evaporated.
Pre-heat your oven to 180 deg.
Blanch the kale in boiling water for about 1 minute, drain and slice into fine pieces.
Add to the pan the leeks, kale & carrot along with seasoning, garlic & nutmeg, stir through until mixed and warmed, a few minutes.
Meanwhile, in a separate pan mix on a low heat the creme fraiche & cheese to make a smooth sauce. Do not allow to boil or the creme fraiche will curdle.
In an oven proof dish, layer your lasagne, chicken filling first then lasagne sheets, then more filling, then lasagne sheets. Pour over your sauce mix evenly and finish with extra cheese and little sprinkle of smoked paprika. Bake in an oven for 45 minutes or until topping is browned and bubbling.
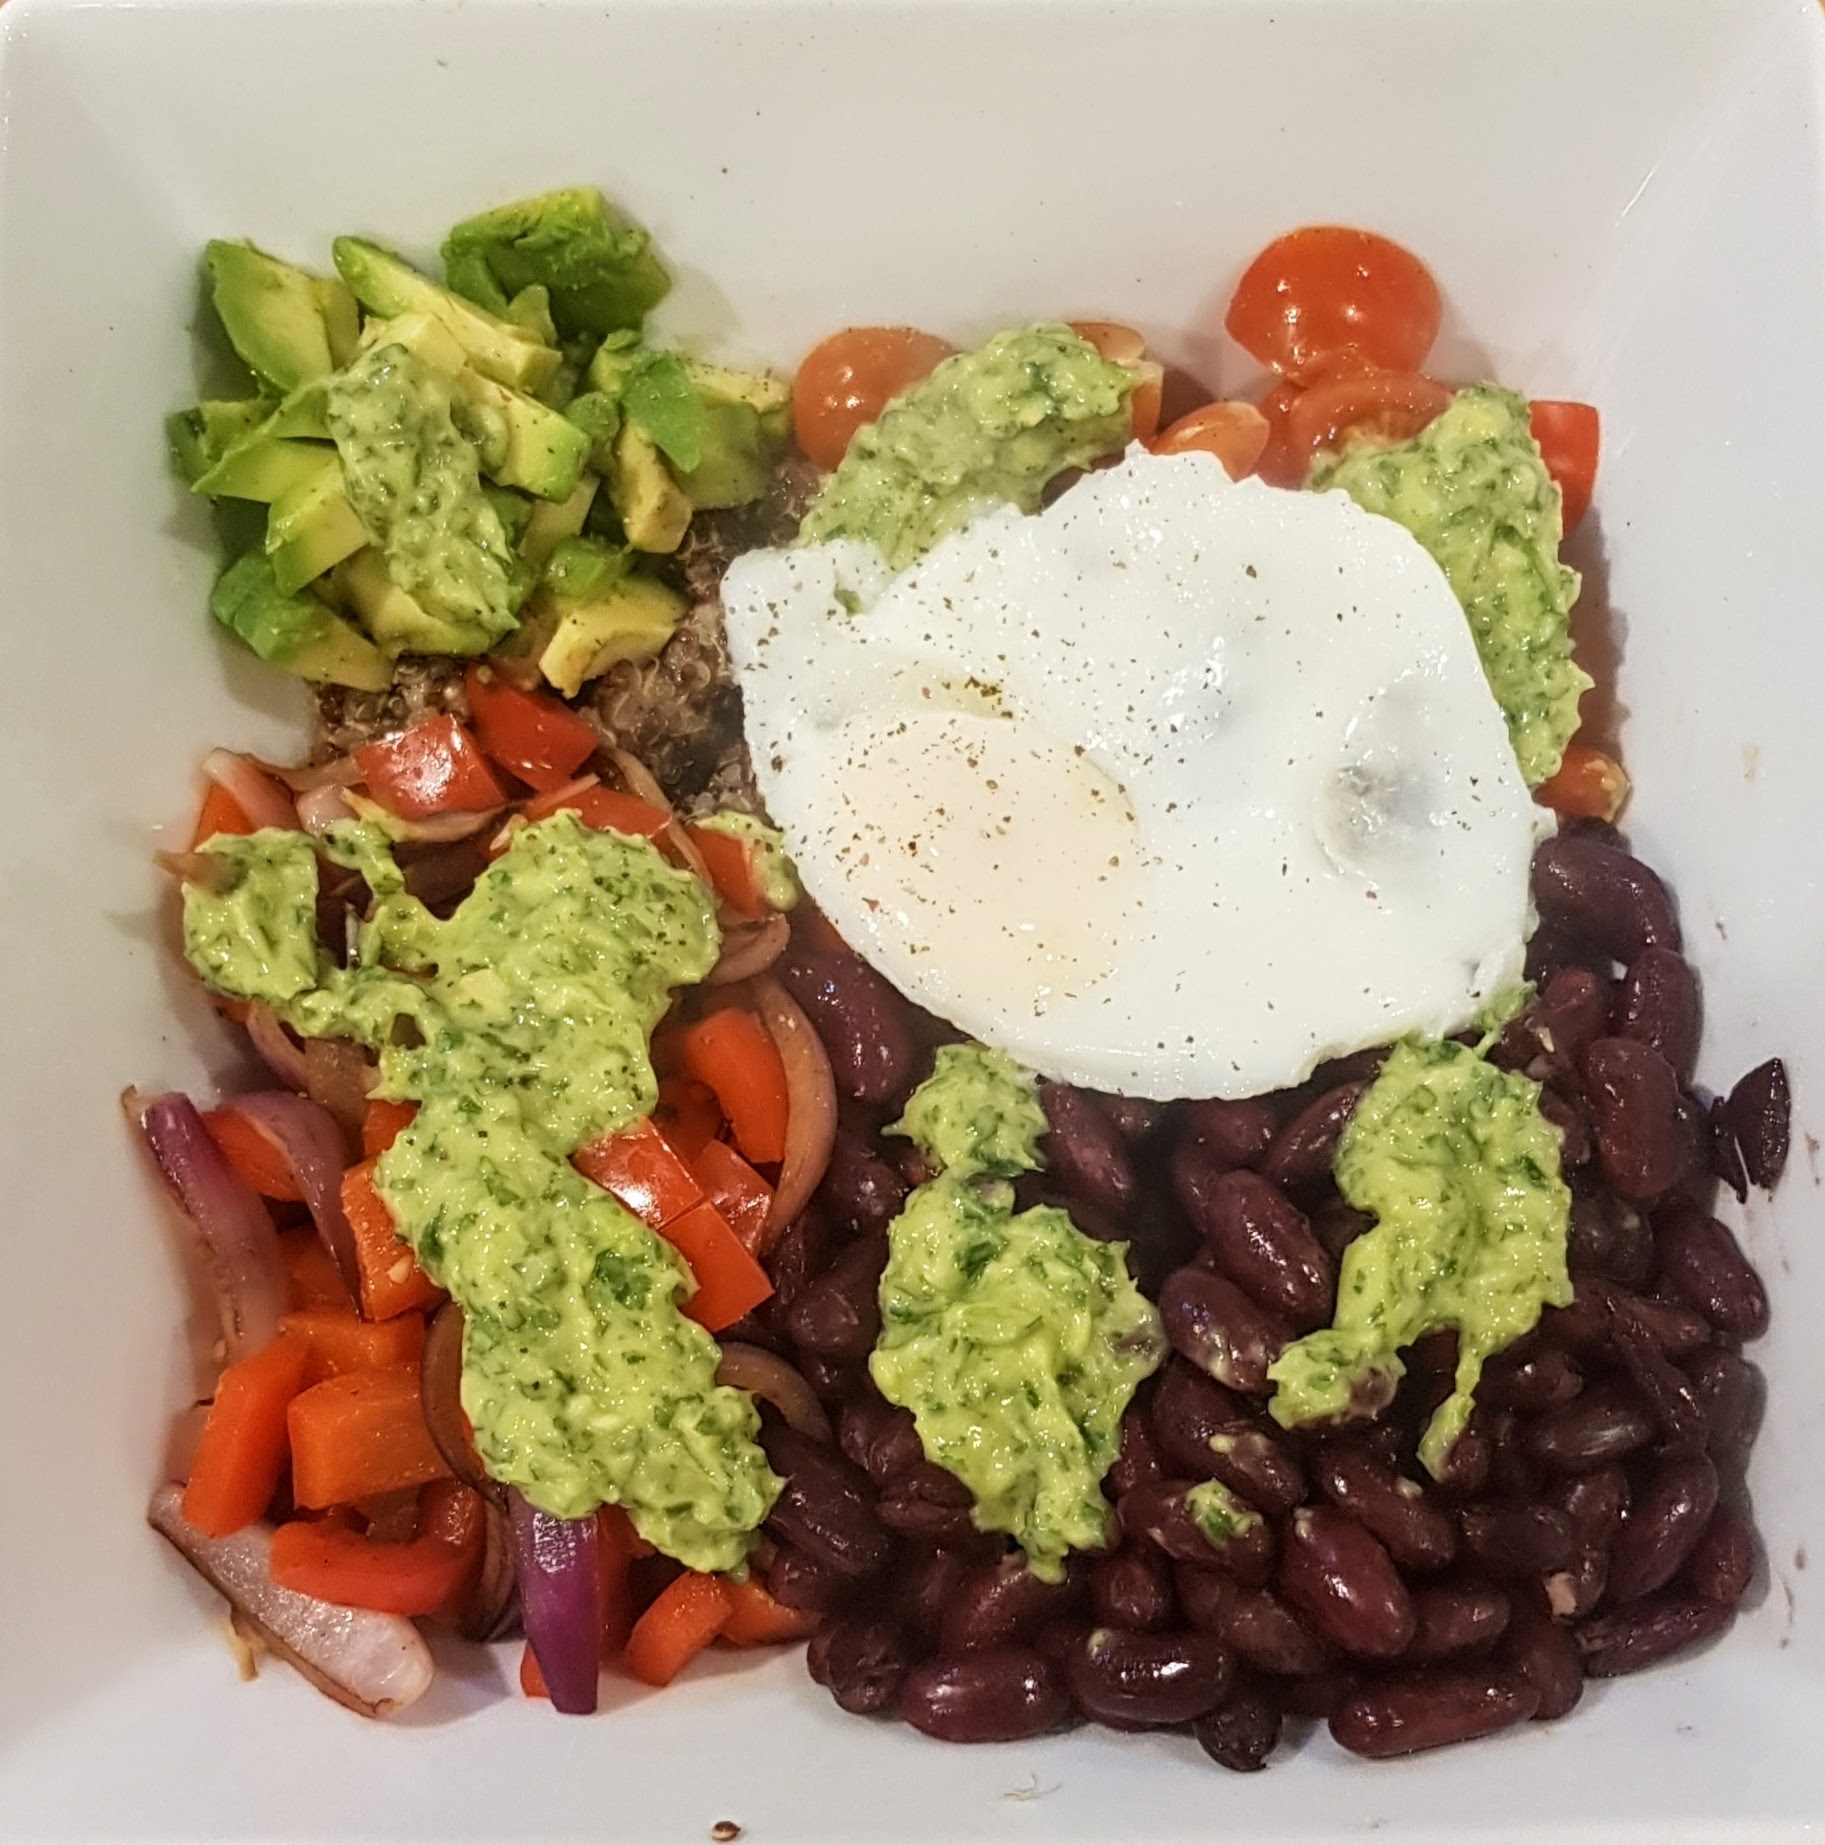
I had the pleasure of attending a live cooking session with Chef Ann Nolan (training chef with Whirlpool Cooperation) recently, the session was very informative and I learned a few tricks that I never knew! ‘Everyday is a school day as they say’, One of the recipes was this delicious Vegetable Quinoa Bowl and I just had to share with all of you as it was absolutely mouthwatering, so refreshing on the palate. The great thing about this recipe is that it is simple to make and if you don’t like an ingredient it is easily changeable to something you do. We all love the simple things in life, do we not?
Quinoa is higher in nutrients than most grains with protein & fibre being the highest and only contains 2g of fat per 100g, so very nutritious and not fatty at all. Quinoa is a good source of several minerals, including manganese, phosphorus, copper, iron, magnesium, and zinc. Quinoa may reduce blood cholesterol, blood sugar, and triglycerides. It’s weight loss friendly, gluten-free, and has been shown to increase the nutrient and antioxidant value of gluten-free diets.
Serves 4
For the Quinoa:-
125g Raw Quinoa
350ml Vegetable Stock
1/4 Tsp Salt
1/4 Tsp Black Pepper
1 Tsp Olive Oil
For the Coriander Lime Dressing:-
Handful of coriander, washed, keep stem
6 Spring Onions, roots removed, washed & cut into thirds (use the white part)
1/2 Large Avocado, peeled and diced
3 Limes, squeezed for juice only
1 Tsp Kosher Salt
60 ml Olive Oil
For the Vegetable Toppings:-
1 Red Onion, cut unto 1/4″ slices
2 Red Peppers, cut into 1/4″ slices
400g Tin of Black beans or Red Kidney Beans (you could also use chickpeas)
8-10 Cherry Tomatoes, quartered
1/2 Avocado, diced
4 Eggs (1 egg per portion)
Spray Oil
Salt & Pepper to taste
Place the quinoa into a saucepan with the vegetable stock, seasoning & oil, bring to the boil then reduce to a simmer, cover with a lid and simmer for about 15-20 mins until quinoa has absorbed the stock, take off the heat and let sit for 5 minutes. Do not stir while simmering, just leave it, fluff up with a fork after the 5 minutes resting time.
Meanwhile, lets make the dressing…..place all of the ingredients (except the oil) into a food processor and blend together, then slowly drizzle in the oil scraping down the sides as you go along. Keep adding oil until you get the consistency you like, whether that be thick or thin, it’s up to you. Move to the side for later.
Heat a little spray oil in a saute/ fry pan on medium to high heat, add the red onions & red peppers with seasoning and cook until slightly softened and browned, leave in pan.
Heat the beans in a small pan on medium heat, 4-5 mins until warmed through.
In a non stick fry pan (with lid) spray a little oil and bring to a medium heat, crack the eggs into the pan & season, let the egg become opaque then add about 4 tablespoons water, put the lid on and steam cook the eggs, no need to turn. Check after about 1-2 minutes, when the egg is white it’s ready, take pan of heat until ready to serve.
To plate, distribute evenly the quinoa, then peppers and onion, sliced avocado and then the beans and tomatoes, drizzle over your dressing then add the egg to the top….ENJOY!
Alternative options to try:-
*Roasted mushrooms, cauliflower, broccoli, spinach, spring onions, garlic dressing
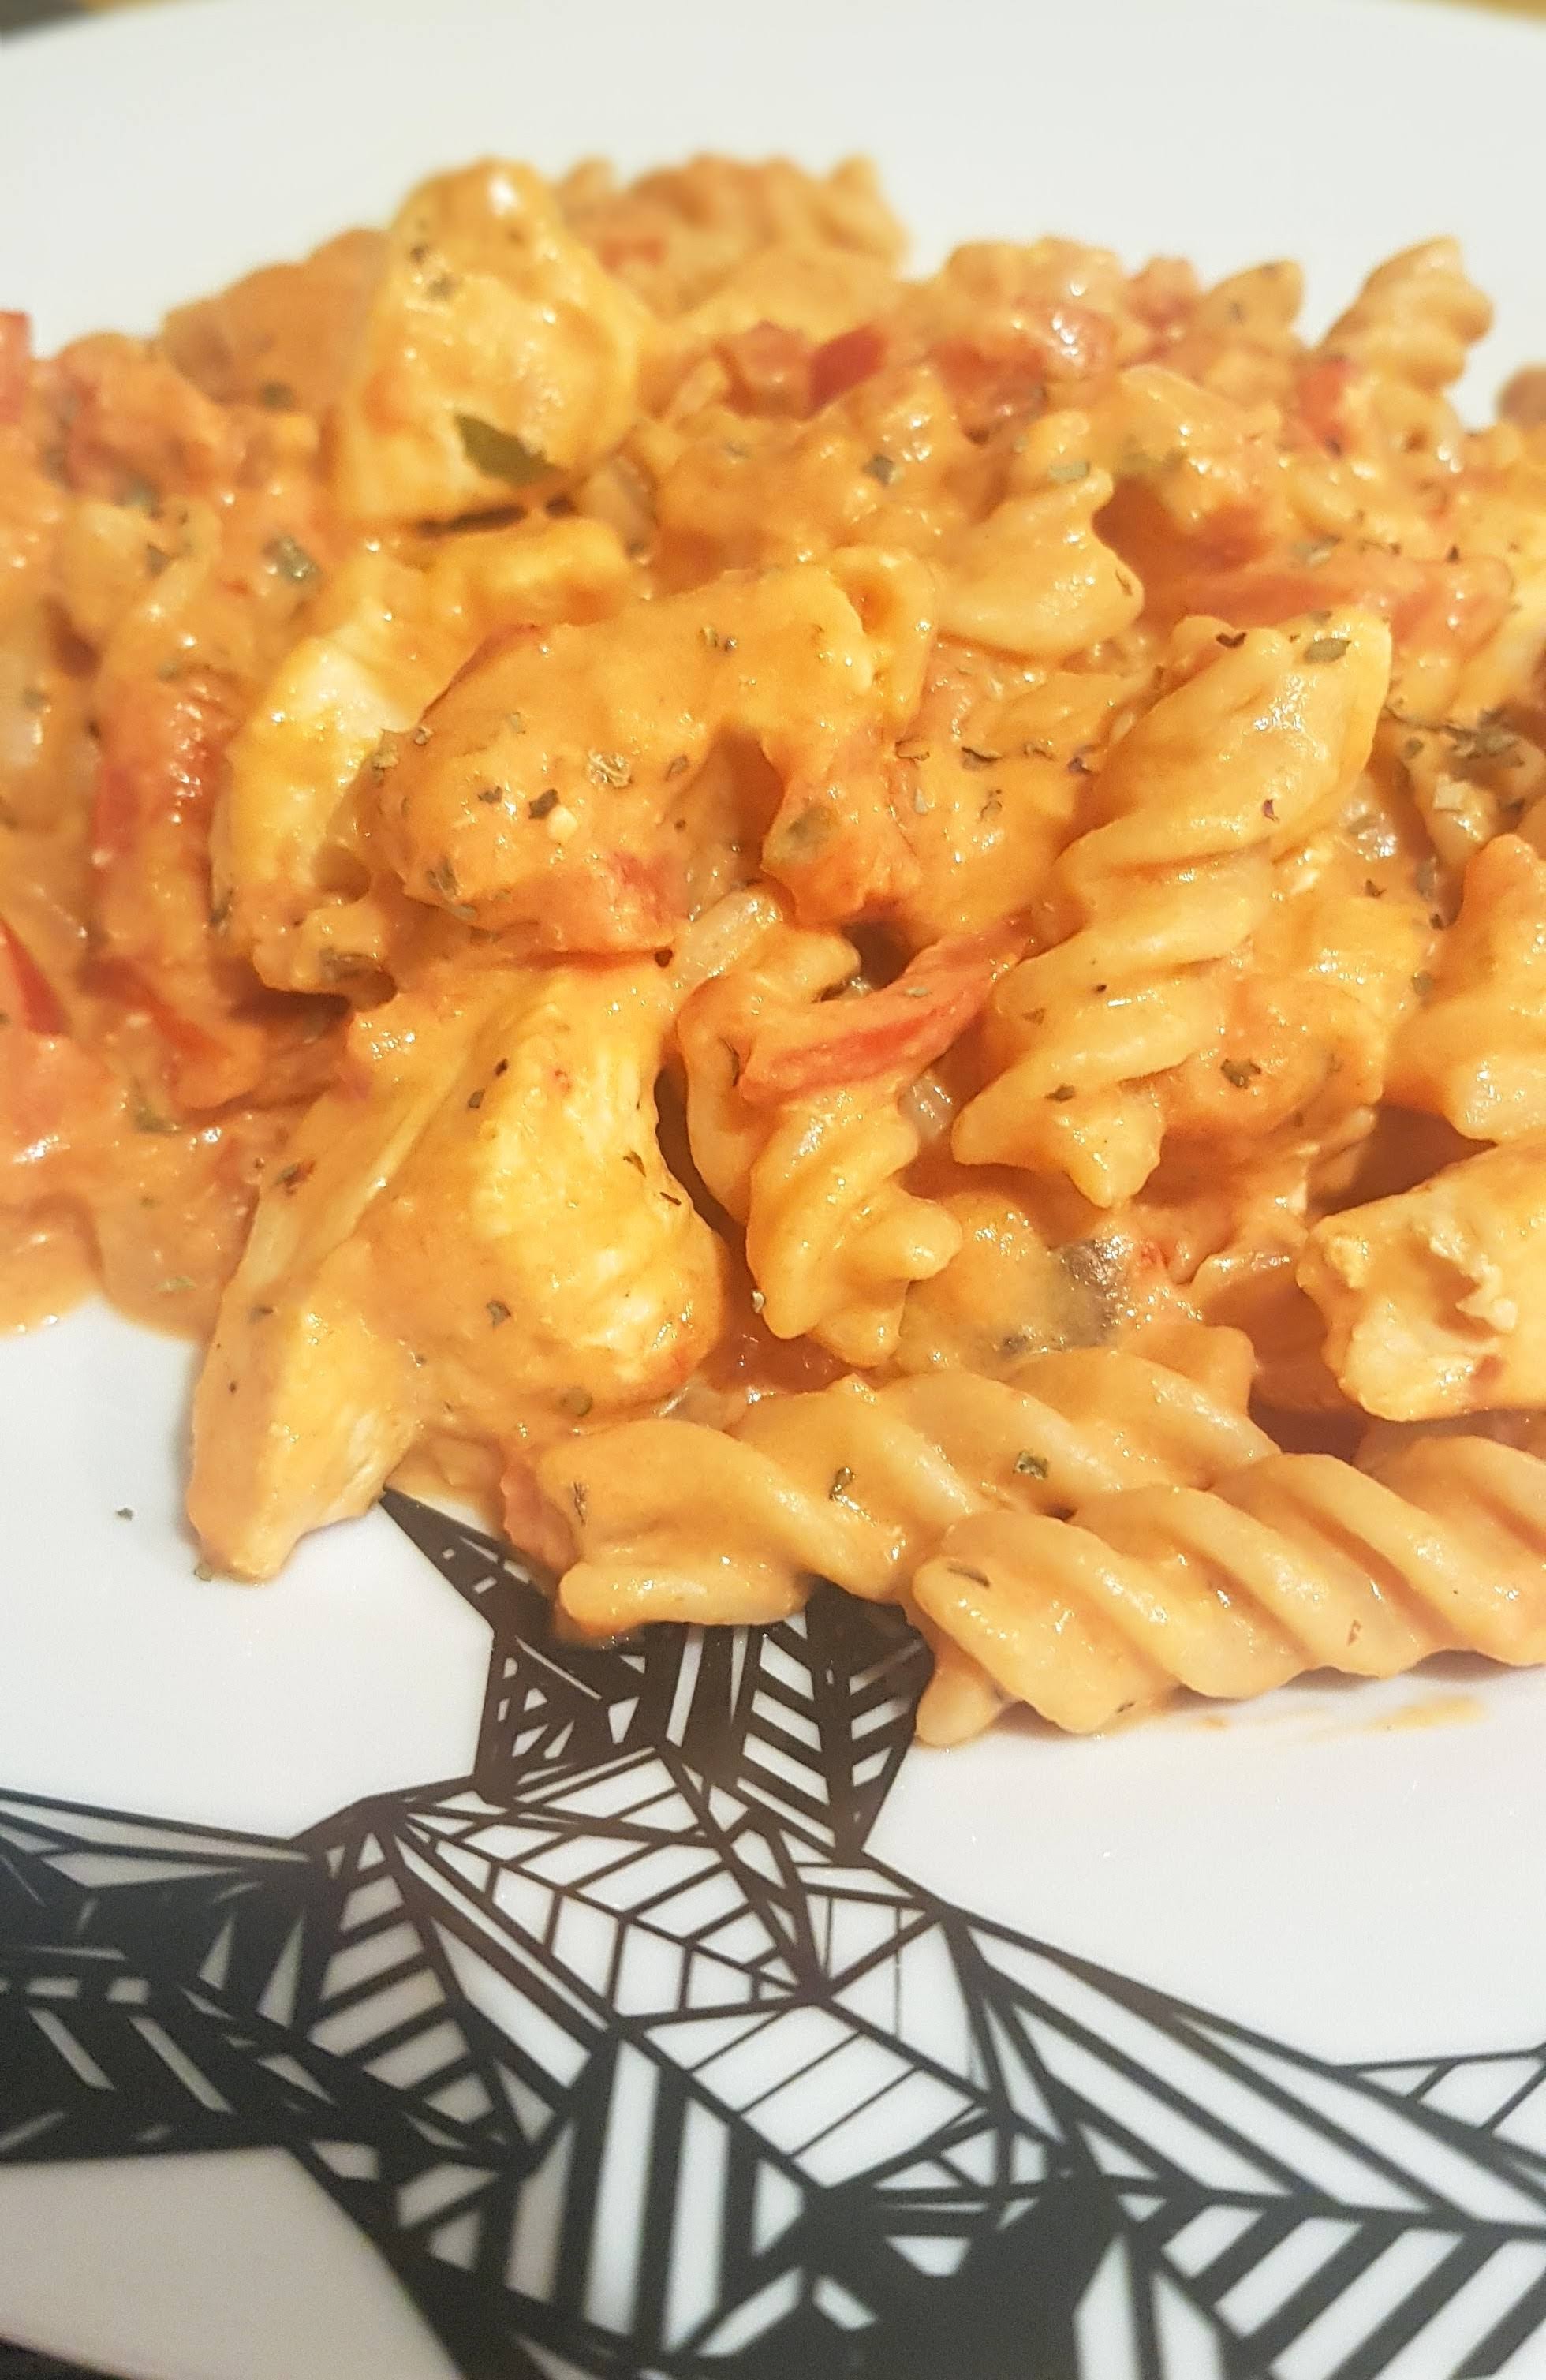
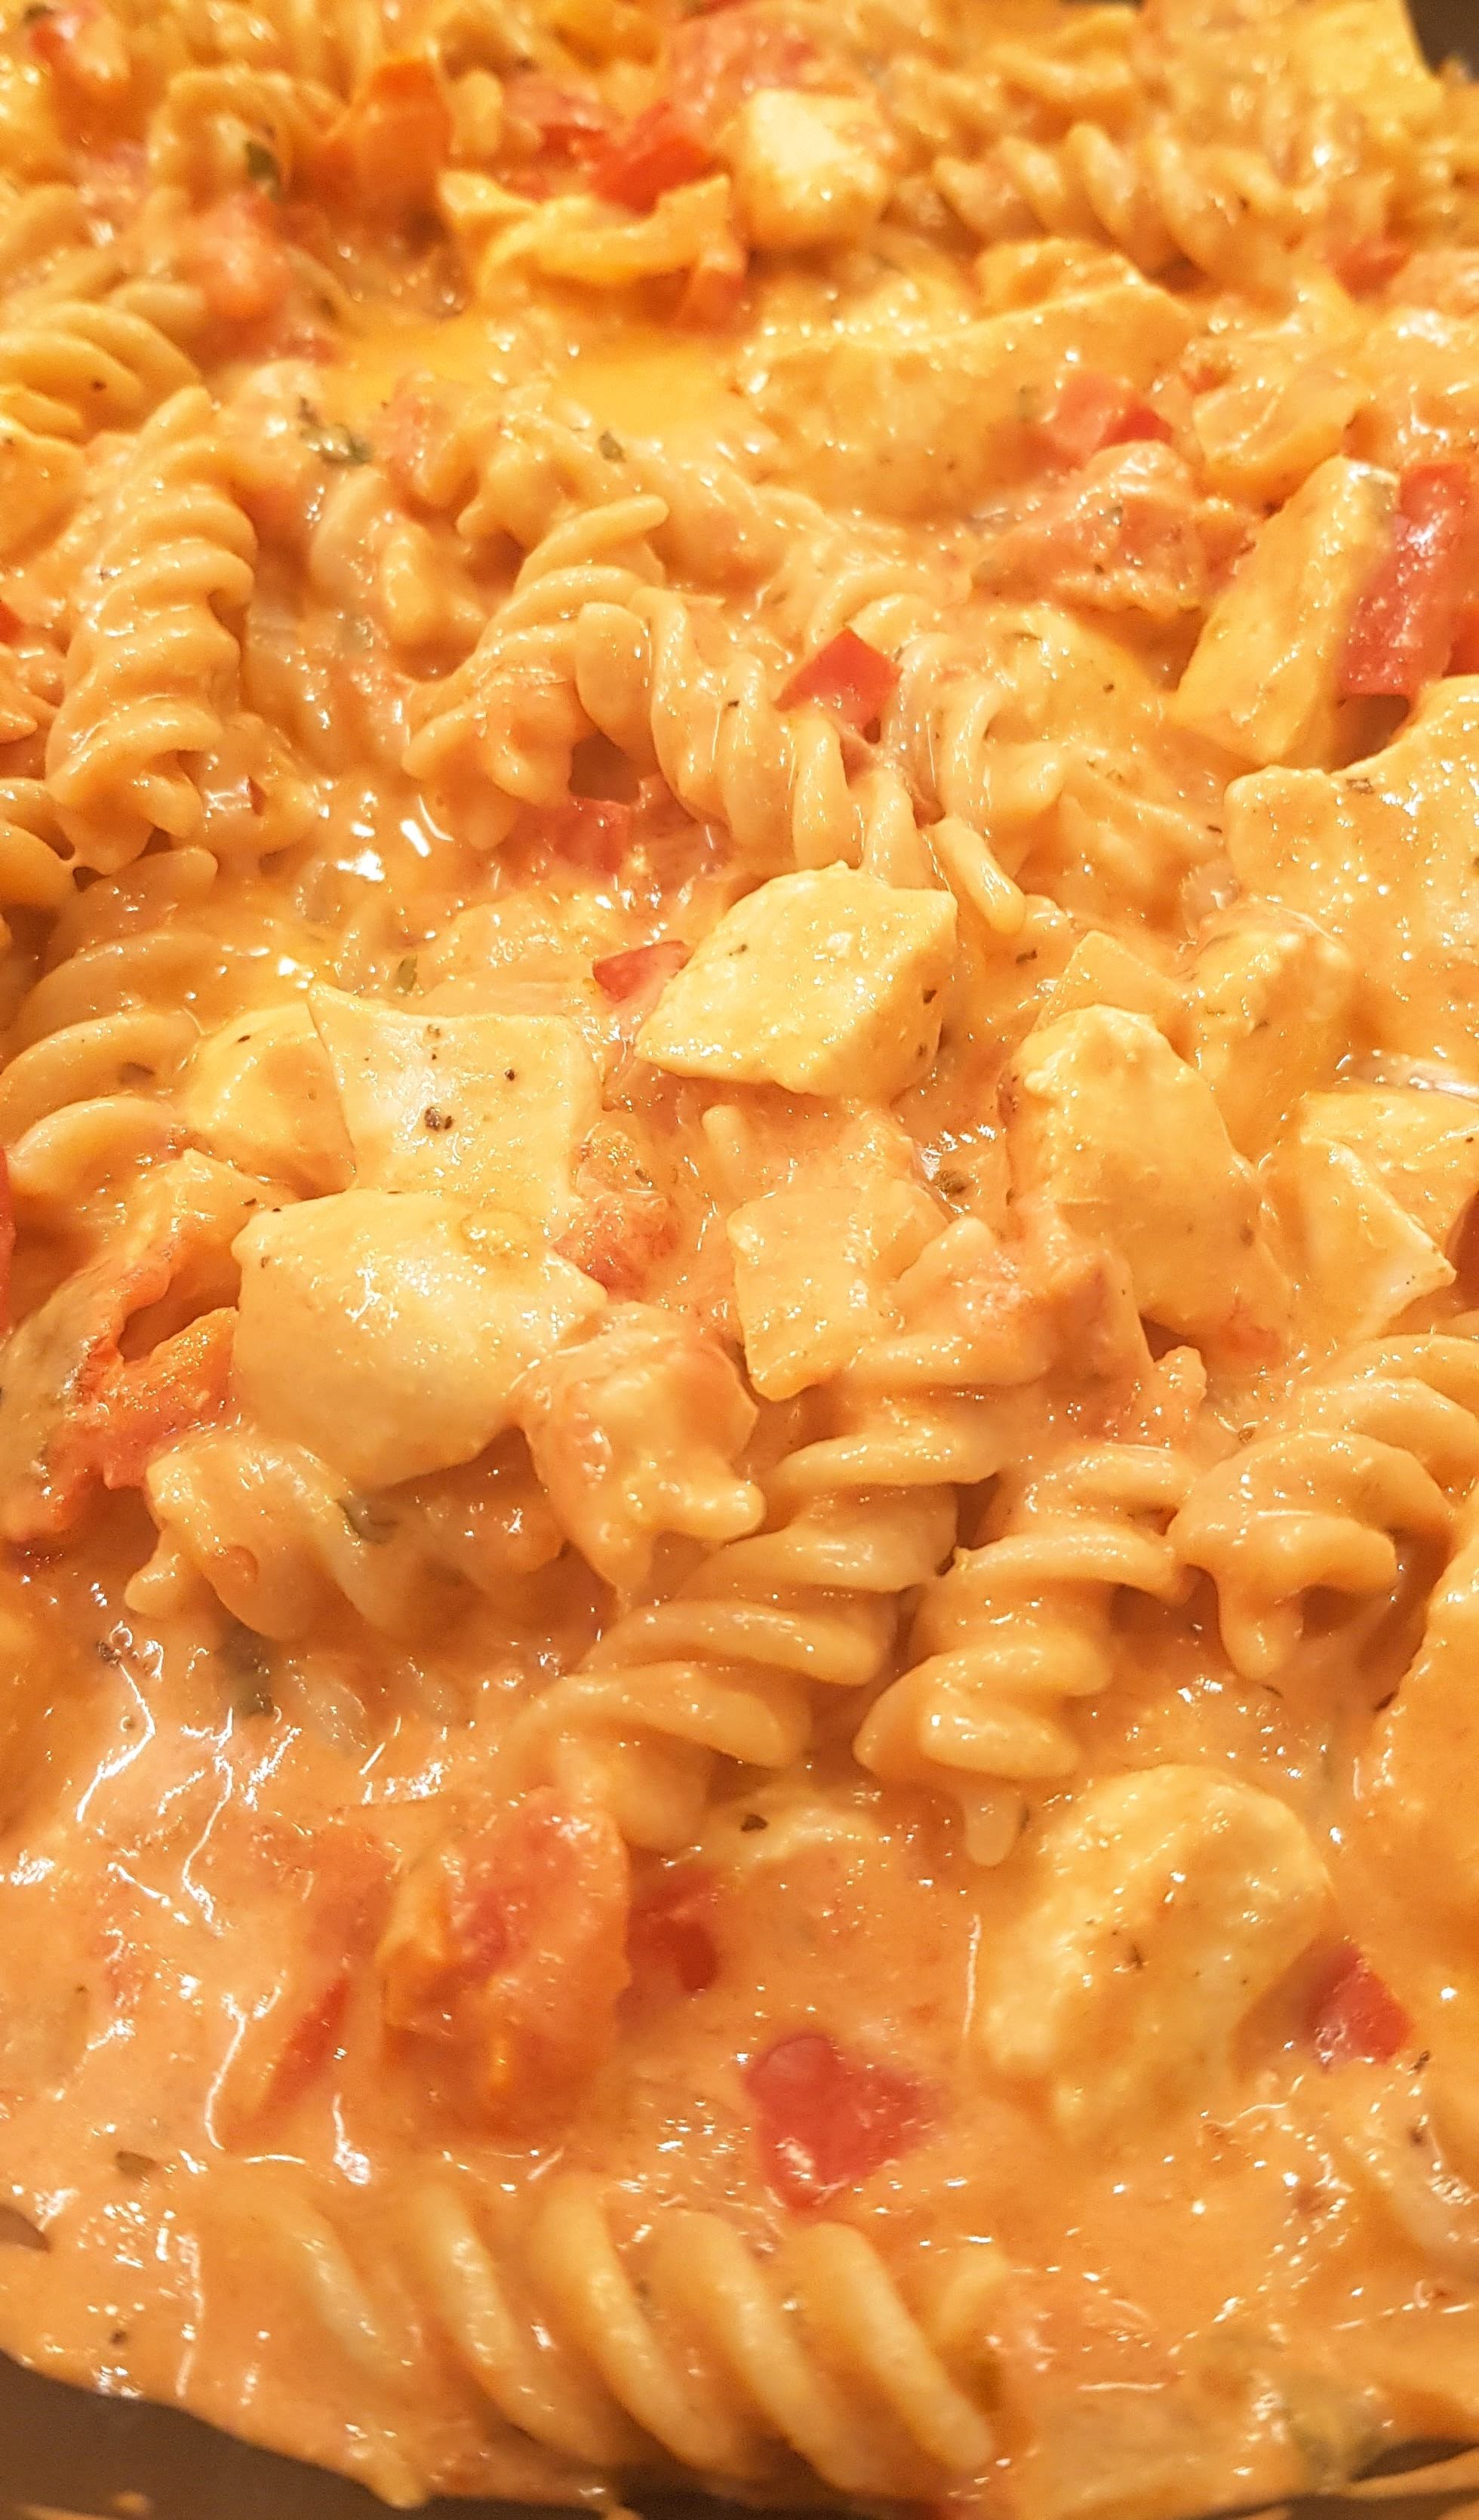
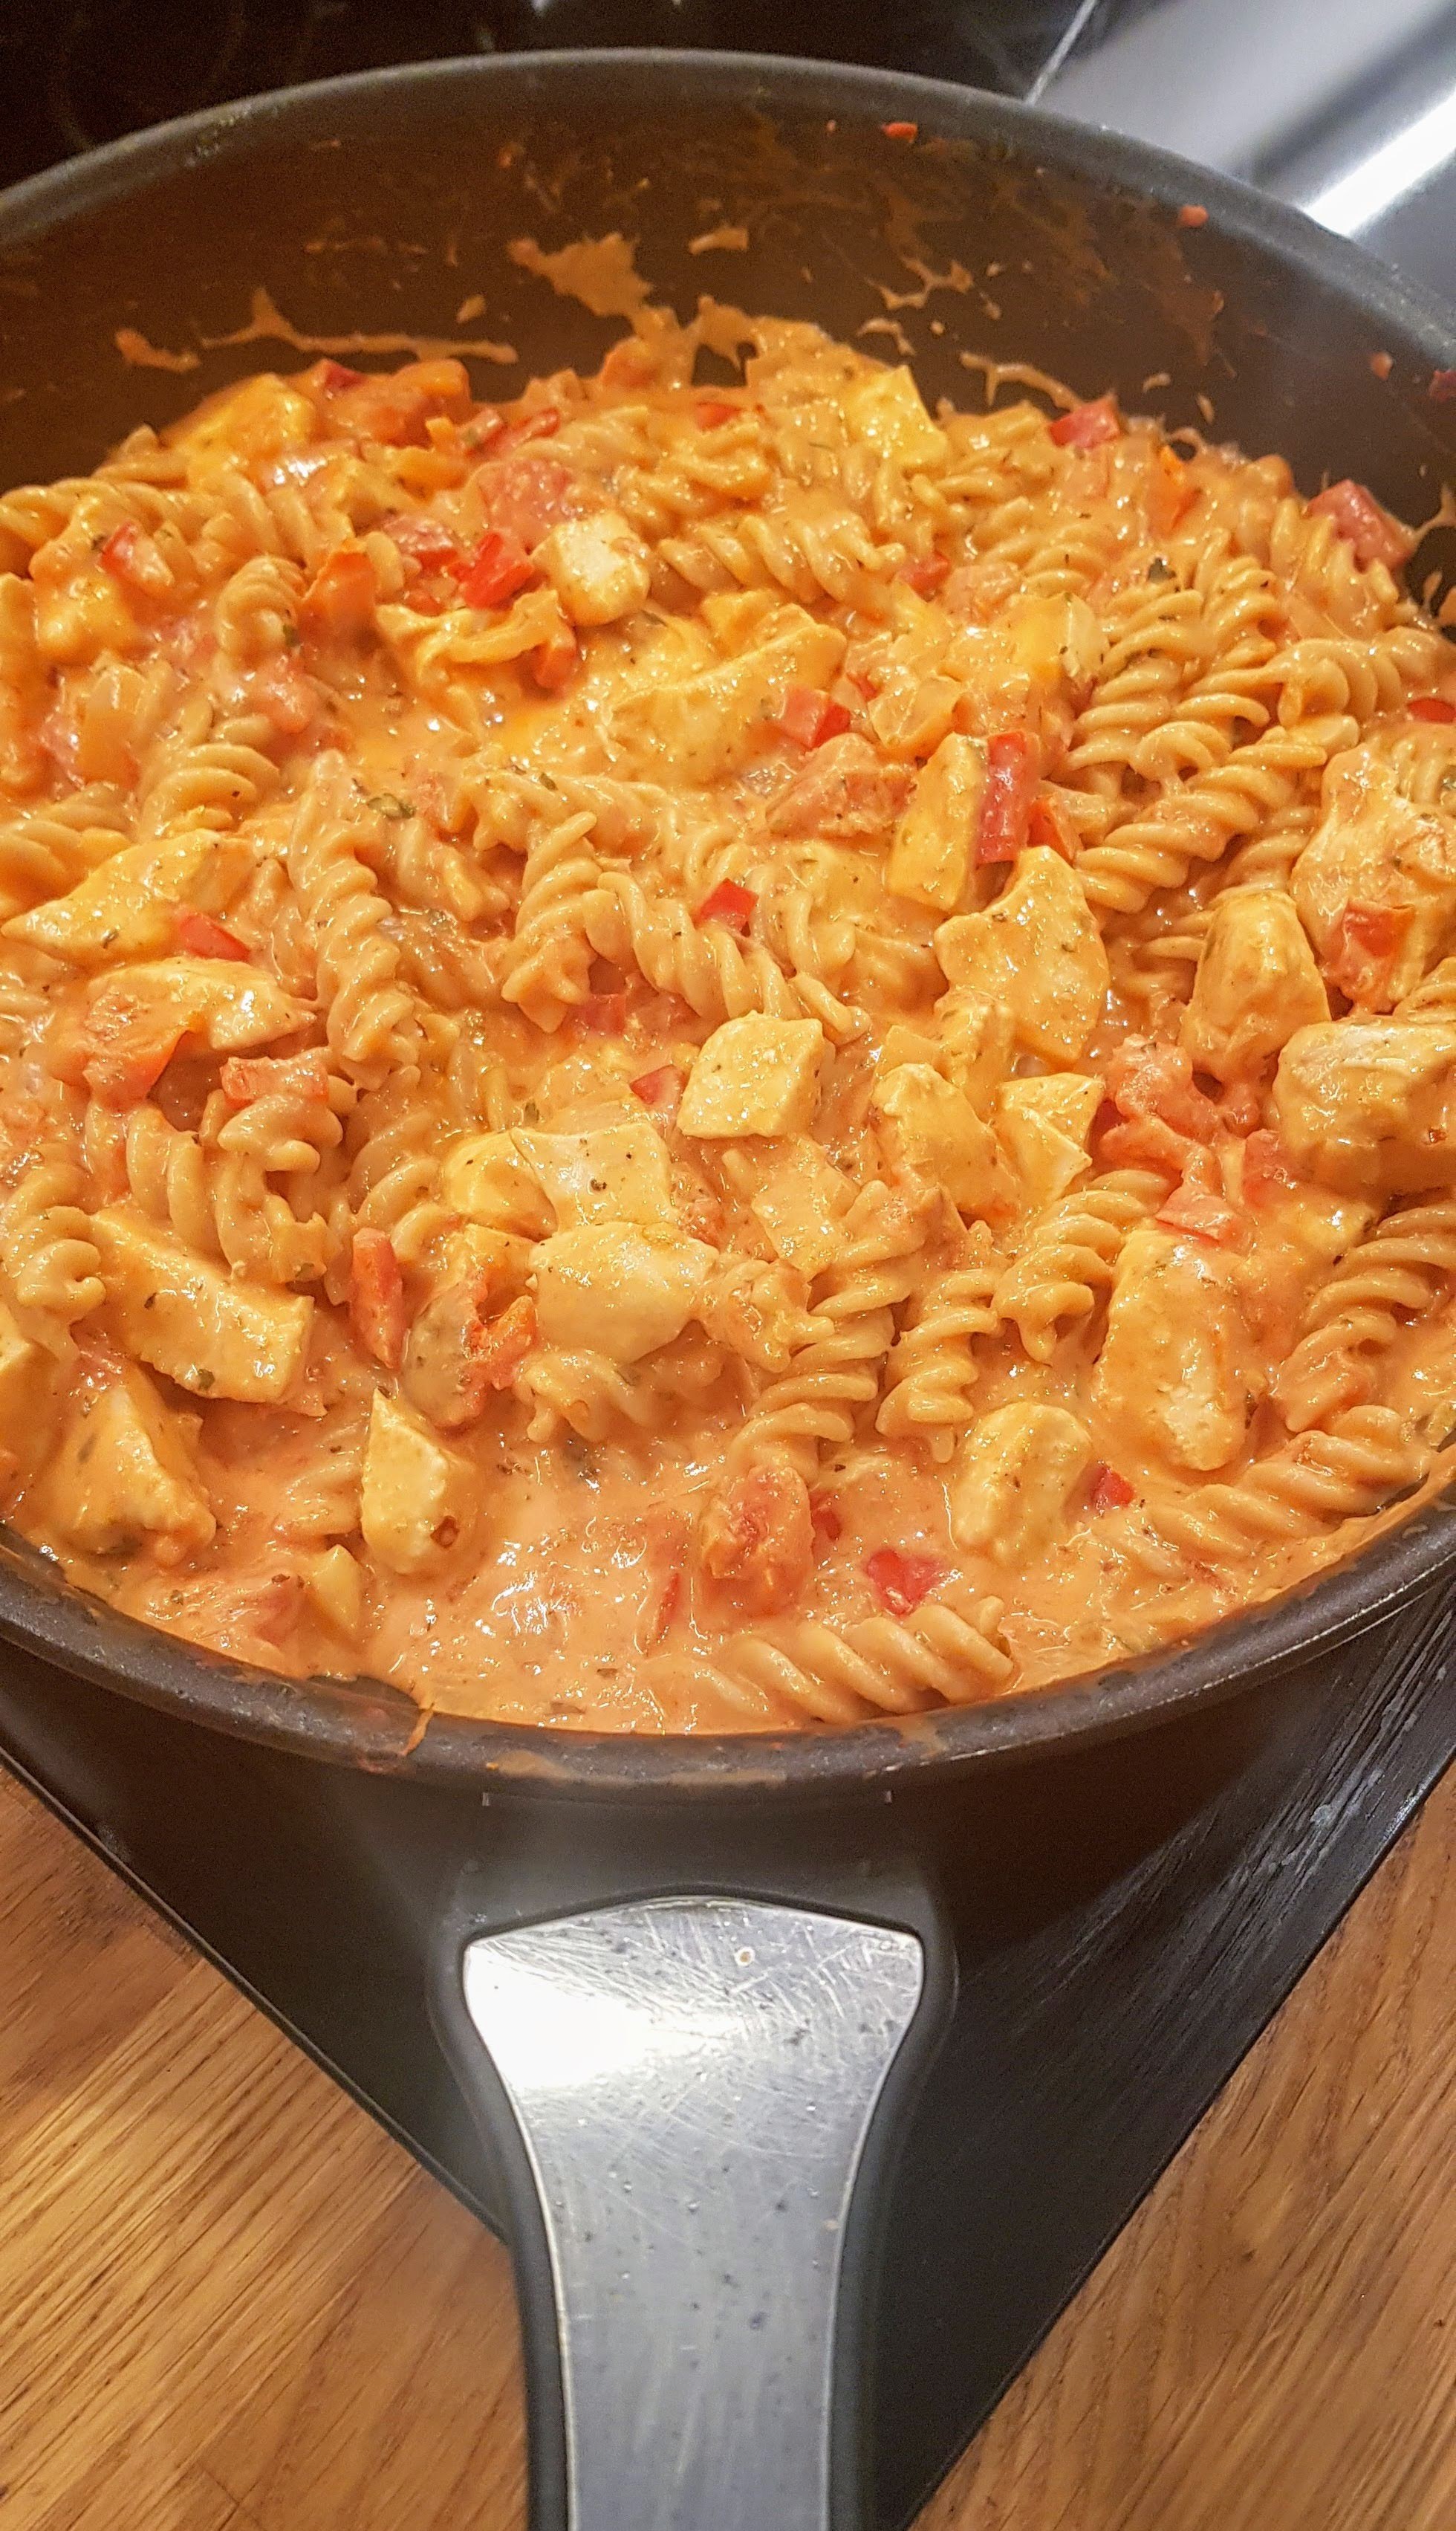
This recipe is so easy to make and is packed full of flavour, great one for the whole family, especially as you can adjust your own Chilli portions. I made it a lighter option too with the lower fat Philadelphia and it tasted delicious, you would never know it wasn’t full fat.
Serves 2
2 Chicken Breasts, diced into bite size pieces
100g Wholegrain Pasta
1 White onion, diced finely
1 400g Tin Tomatoes
1 Red pepper, diced
150g Philadelphia Cream Cheese
1 Tsp crushed red chilli flakes
1 Tsp of Italian Seasoning
Handful fresh Basil to serve.
Bring a pan of water to the boil and cook your pasta until soft (about 8-10 minutes)
Meanwhile, in a fry pan on medium heat, season with salt & pepper the chicken and brown, add in the onions and peppers & cook until softened (few minutes). Next add in the chilli and mix.
Pour in the tin tomatoes and Italian seasoning and mix though, reduce to a simmer and cook for about 5 minutes.
Next add in the cream cheese and mix through until melted, then when pasta is ready, drain and add to the pan, mix through until coated and simmer for a few minutes.
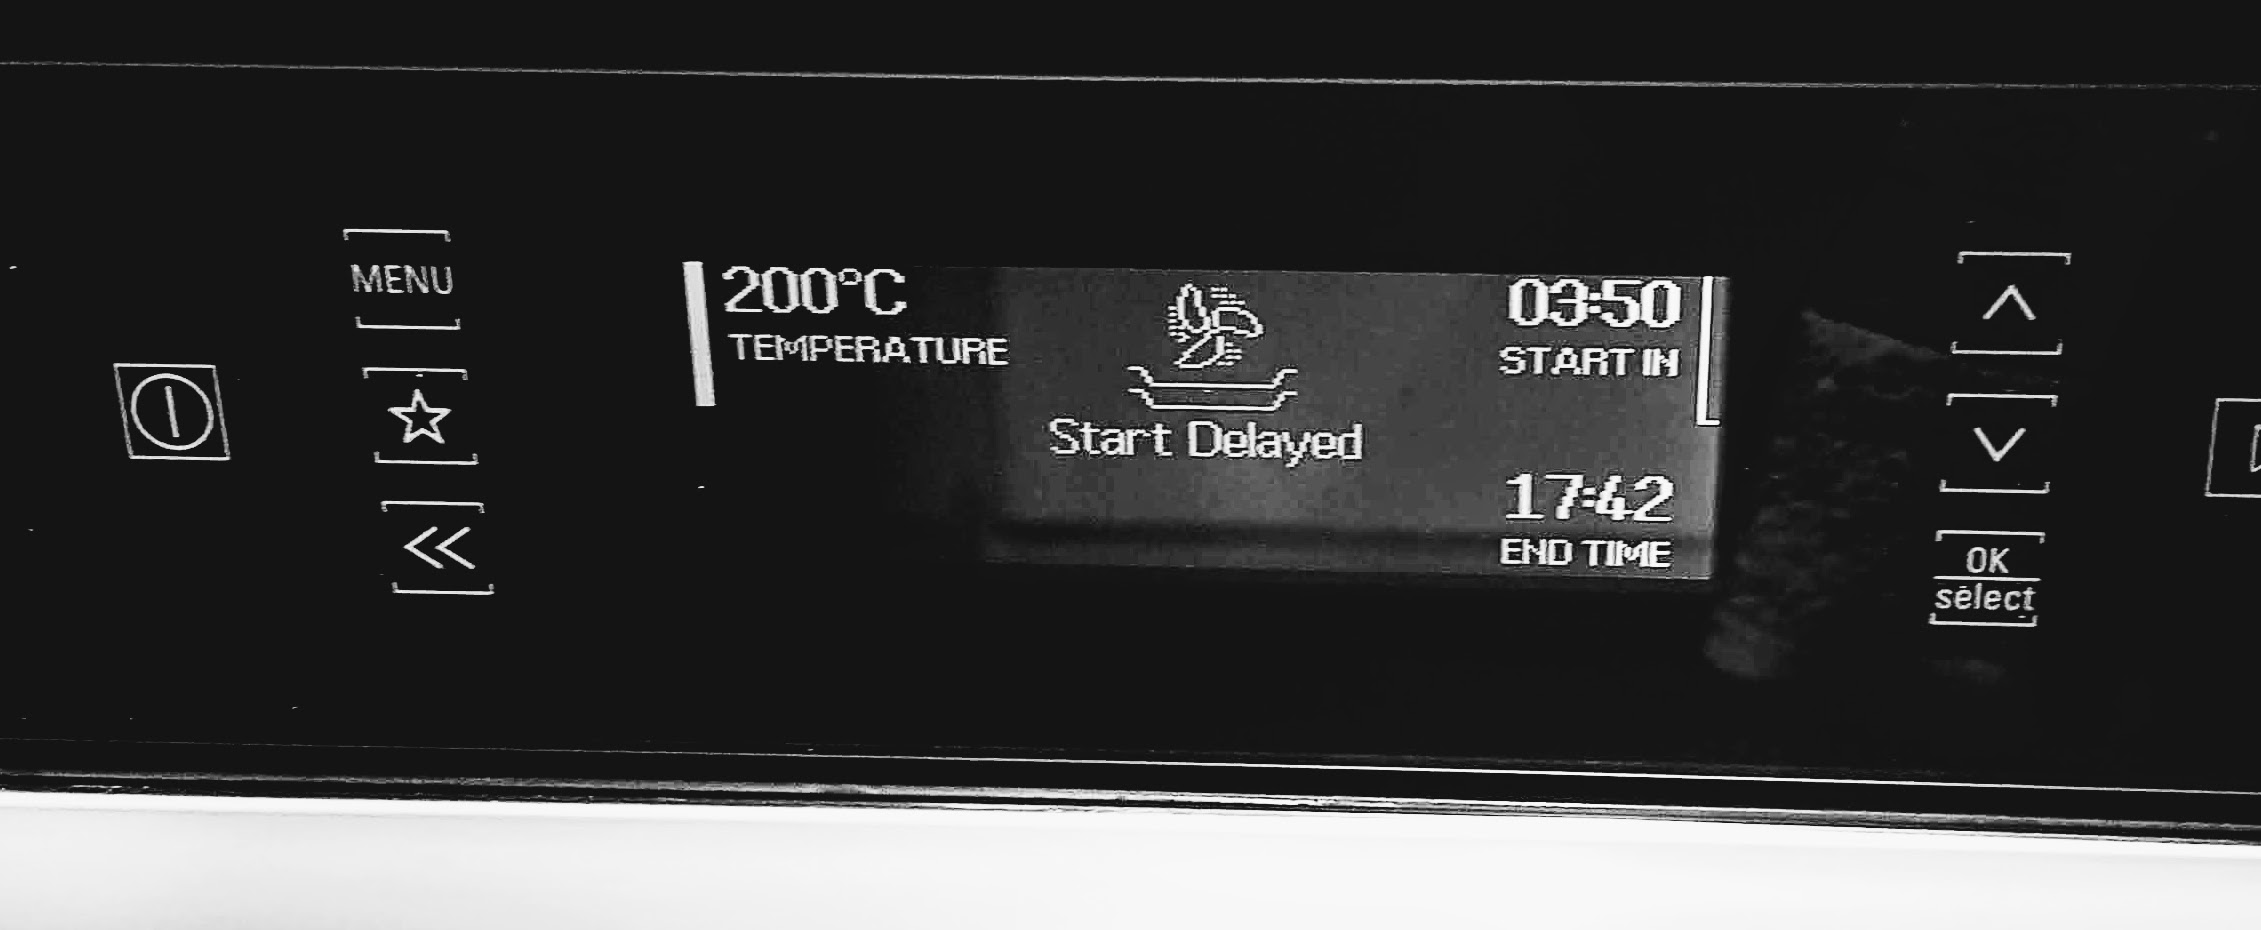
This is a great mid week dinner when you are short for time, easy to prepare and quick to bake. You can also make ahead and pop in fridge until ready or if you have a delay timer on your oven, pop it in the oven in morning and time for when you are due home. One of my favourite features on my oven is the 24hr programmable timer, I use it all time, I organise myself in the morning then I don’t have to worry about remembering to switch oven on later.
Oven Timer
This dish is healthy and packed with protein and vitamins, it also provides a richness with the Gruyere cheese, what’s not to like?
Serves 3-4
300-400g Broccoli Florets (you can use frozen or fresh)
40g Butter
1 Large White Onion, sliced
350-400g Chicken Breasts, cut into bite sized pieces
100g Creme Fraiche (use light for a healthier option)
200ml Chicken Stock
30g Breadcrumbs (about 2-3 slices)
50g Gruyere Cheese, grated
1 Tsp Dried Chilli Flakes
1 Tsp Dried Mixed Herbs (or any herb of your choice)
Salt & Pepper to taste
Preheat oven to 200deg. Bring a Saucepan of water to the boil and cook the broccoli for 5 minutes, Drain.
Melt the butter in a fry pan on medium to high heat and cook the onions until soft, remove with a slotted spoon.
Season the chicken and add to the pan and brown all over, about 3-5 minutes, set aside.
Add some butter to the fry pan and cook the breadcrumbs until slightly browned. Remove.
Layer up the chicken, broccoli and onions in an oven proof dish, season well. Pour over the chicken stock and creme fraiche, sprinkle the chilli flakes and herbs.
Sprinkle on top the breadcrumbs and finish with the grated cheese.
Bake in the oven for about 35 minutes until golden brown on top. Serve.
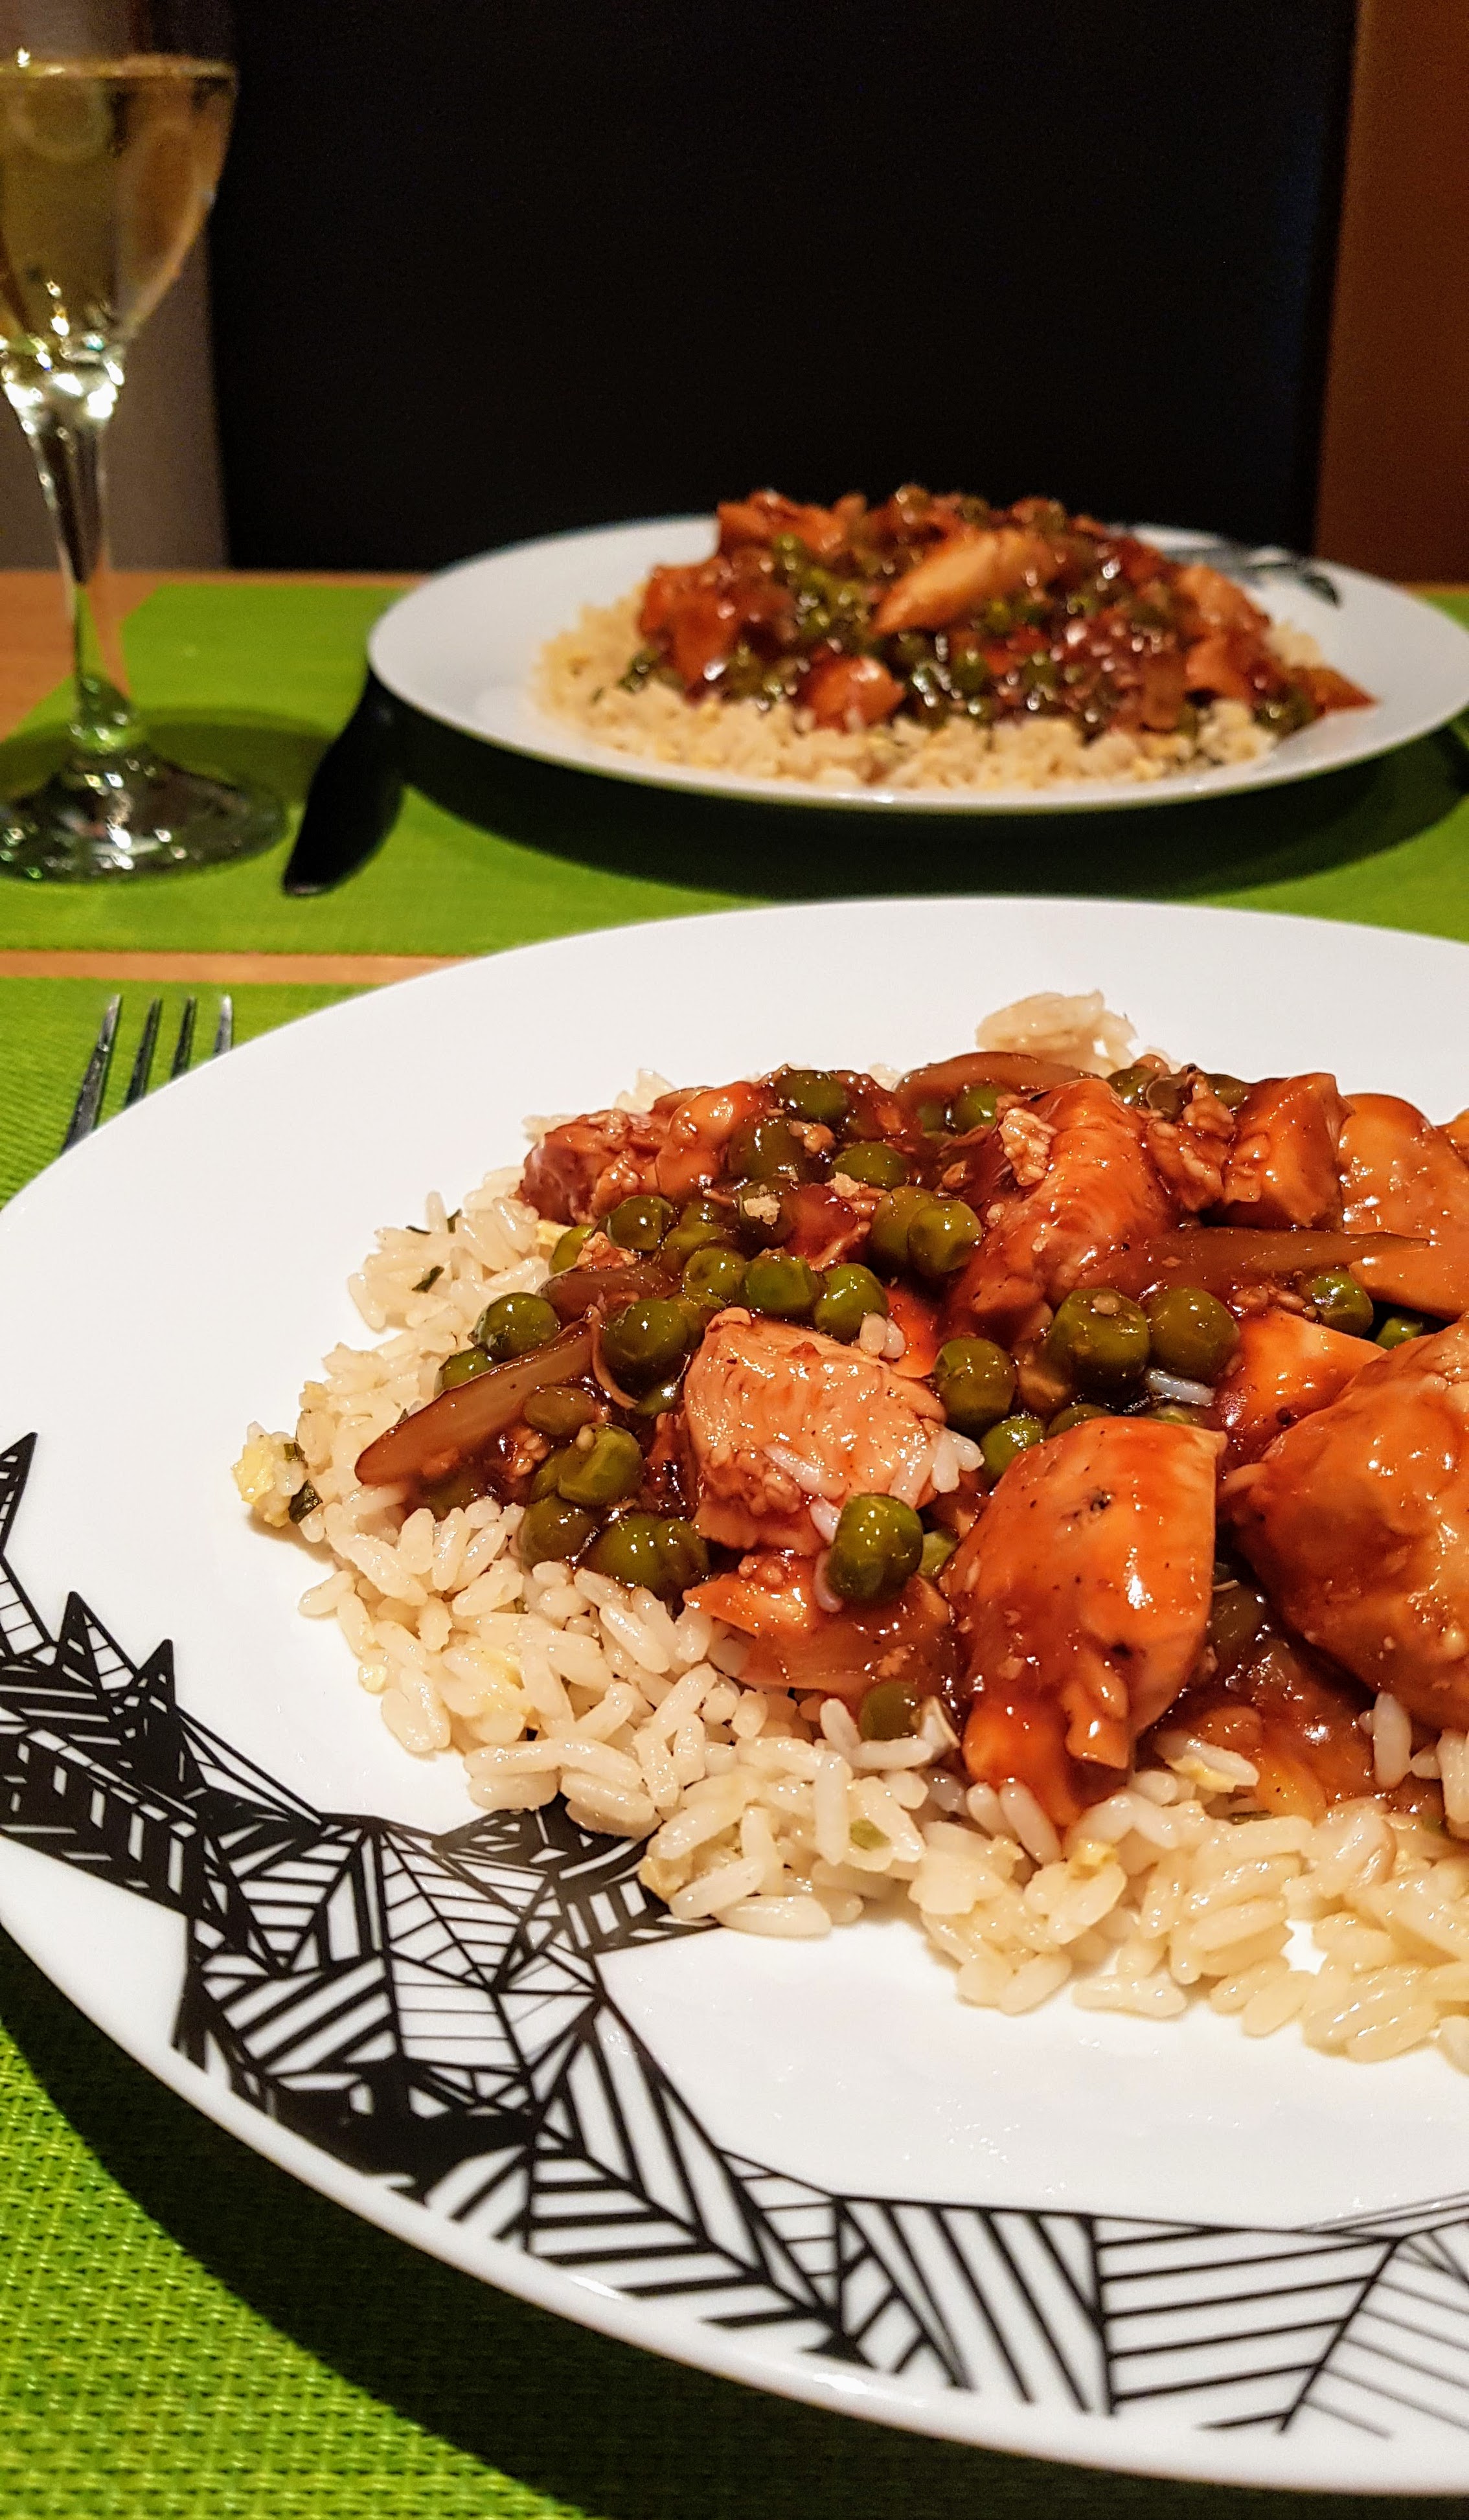
Although I maybe working from home during this pandemic, somehow I still don’t find the time to be preparing and making mid week dinners, so this recipe is a great quick throw together meal that is massively flavorful and satisfying. Only takes 20 minutes. I served it with some Egg Fried Rice. I do have a confession to make, it was microwaveable Egg Fried Rice, after all it only takes 2 minutes and to be honest is a great alternative when you don’t have time to make the real thing. Most brands now offer these ready packets such as Uncle Bens, Tilda, Blue Dragon and even supermarket own brands, they are are a great store cupboard essential or at least they have been during this pandemic lockdown period. Well, we all like to cheat sometimes, don’t we?
If you like it a little sweeter, you can add 1 tbsp of honey to the recipe. I use Heather honey which is a darker semi-sweet honey and delicious, it is made with the nectar collected from the tiny purple bell-shaped flower of the common Scottish Heather plant.
Serves 2
1 Packet 250g Microwave Egg Fried Rice
2 Chicken Breasts, diced into bite sized pieces
1 Tsp Minced Garlic
1 Tsp Oil
1 White Onion, diced
1 Tbsp Cornflour
150ml Good Quality Teriyaki Sauce
2 Tsp Sesame Seeds
1 Handful Garden Peas (I used frozen)
1 Tbsp Honey (Optional)
Salt & Pepper to taste
Heat the oil in a pan on medium to high heat and fry the garlic & onions until softened.
Season the chicken, add to the pan and cook until slightly brown all over.
Add in the garden peas along with 150ml of teriyaki sauce & honey (if using) and about 100ml water, place lid on pan and reduce to a simmer for about 15-20 minutes until chicken is cooked through. If the sauce is too thin, mix the cornflour with a tbsp of water and add to pan stir through to thicken the sauce.
Serve with some cooked rice (of your choice) and sprinkle over some sesame seeds for that extra crunch and nutrition. Yum! Enjoy!


You must be logged in to post a comment.