Scottish Oat & Pistachio Crusted Cod

Scottish Cod

I am very lucky to live in a Country with an amazing Food Larder and 1 type of Food that Scotland is known for is it’s Fresh Fish, the Scottish Fishing Industry is currently worth around £316 million to Scotland, unfortunately that number has went down recently due to Covid, but at the height back in 2015 it was worth nearly £437 million. Most of its catch comes in from Aberdeen, then some from central and southern areas. Some of the most popular seafood caught in Scotland are mainly shellfish such as Mussels, Shrimp & Crab but also Salmon, Cod, Haddock & Mackerel.

My local Fishmonger Ryan Black, is from a nearby Town called Kirkcaldy which is in the Fife region, they provide a fantastic service and deliver straight to your door, straight from the shore. There is nothing better than getting the freshest fish delivered the same day. I got some lovely pieces of Cod for dinner.

Having some Pistachios in my cupboard to be used, I decided to try my Pistachio Crust recipe with the Cod and it worked a treat….super delicious, healthy and quick mid week meal.

Serves 2

2 Cod Fillets

25g Pistachio’s

20g Scottish Oats

1 Tbsp Mustard Powder or 2 Tsp Dijon Mustard

1 Tbsp Lemon Juice

Salt & Pepper to taste

1 Tsp Dried Parsley or small handful of fresh

  1. Line a baking Tray with greaseproof paper and preheat your oven to fan 210 deg C
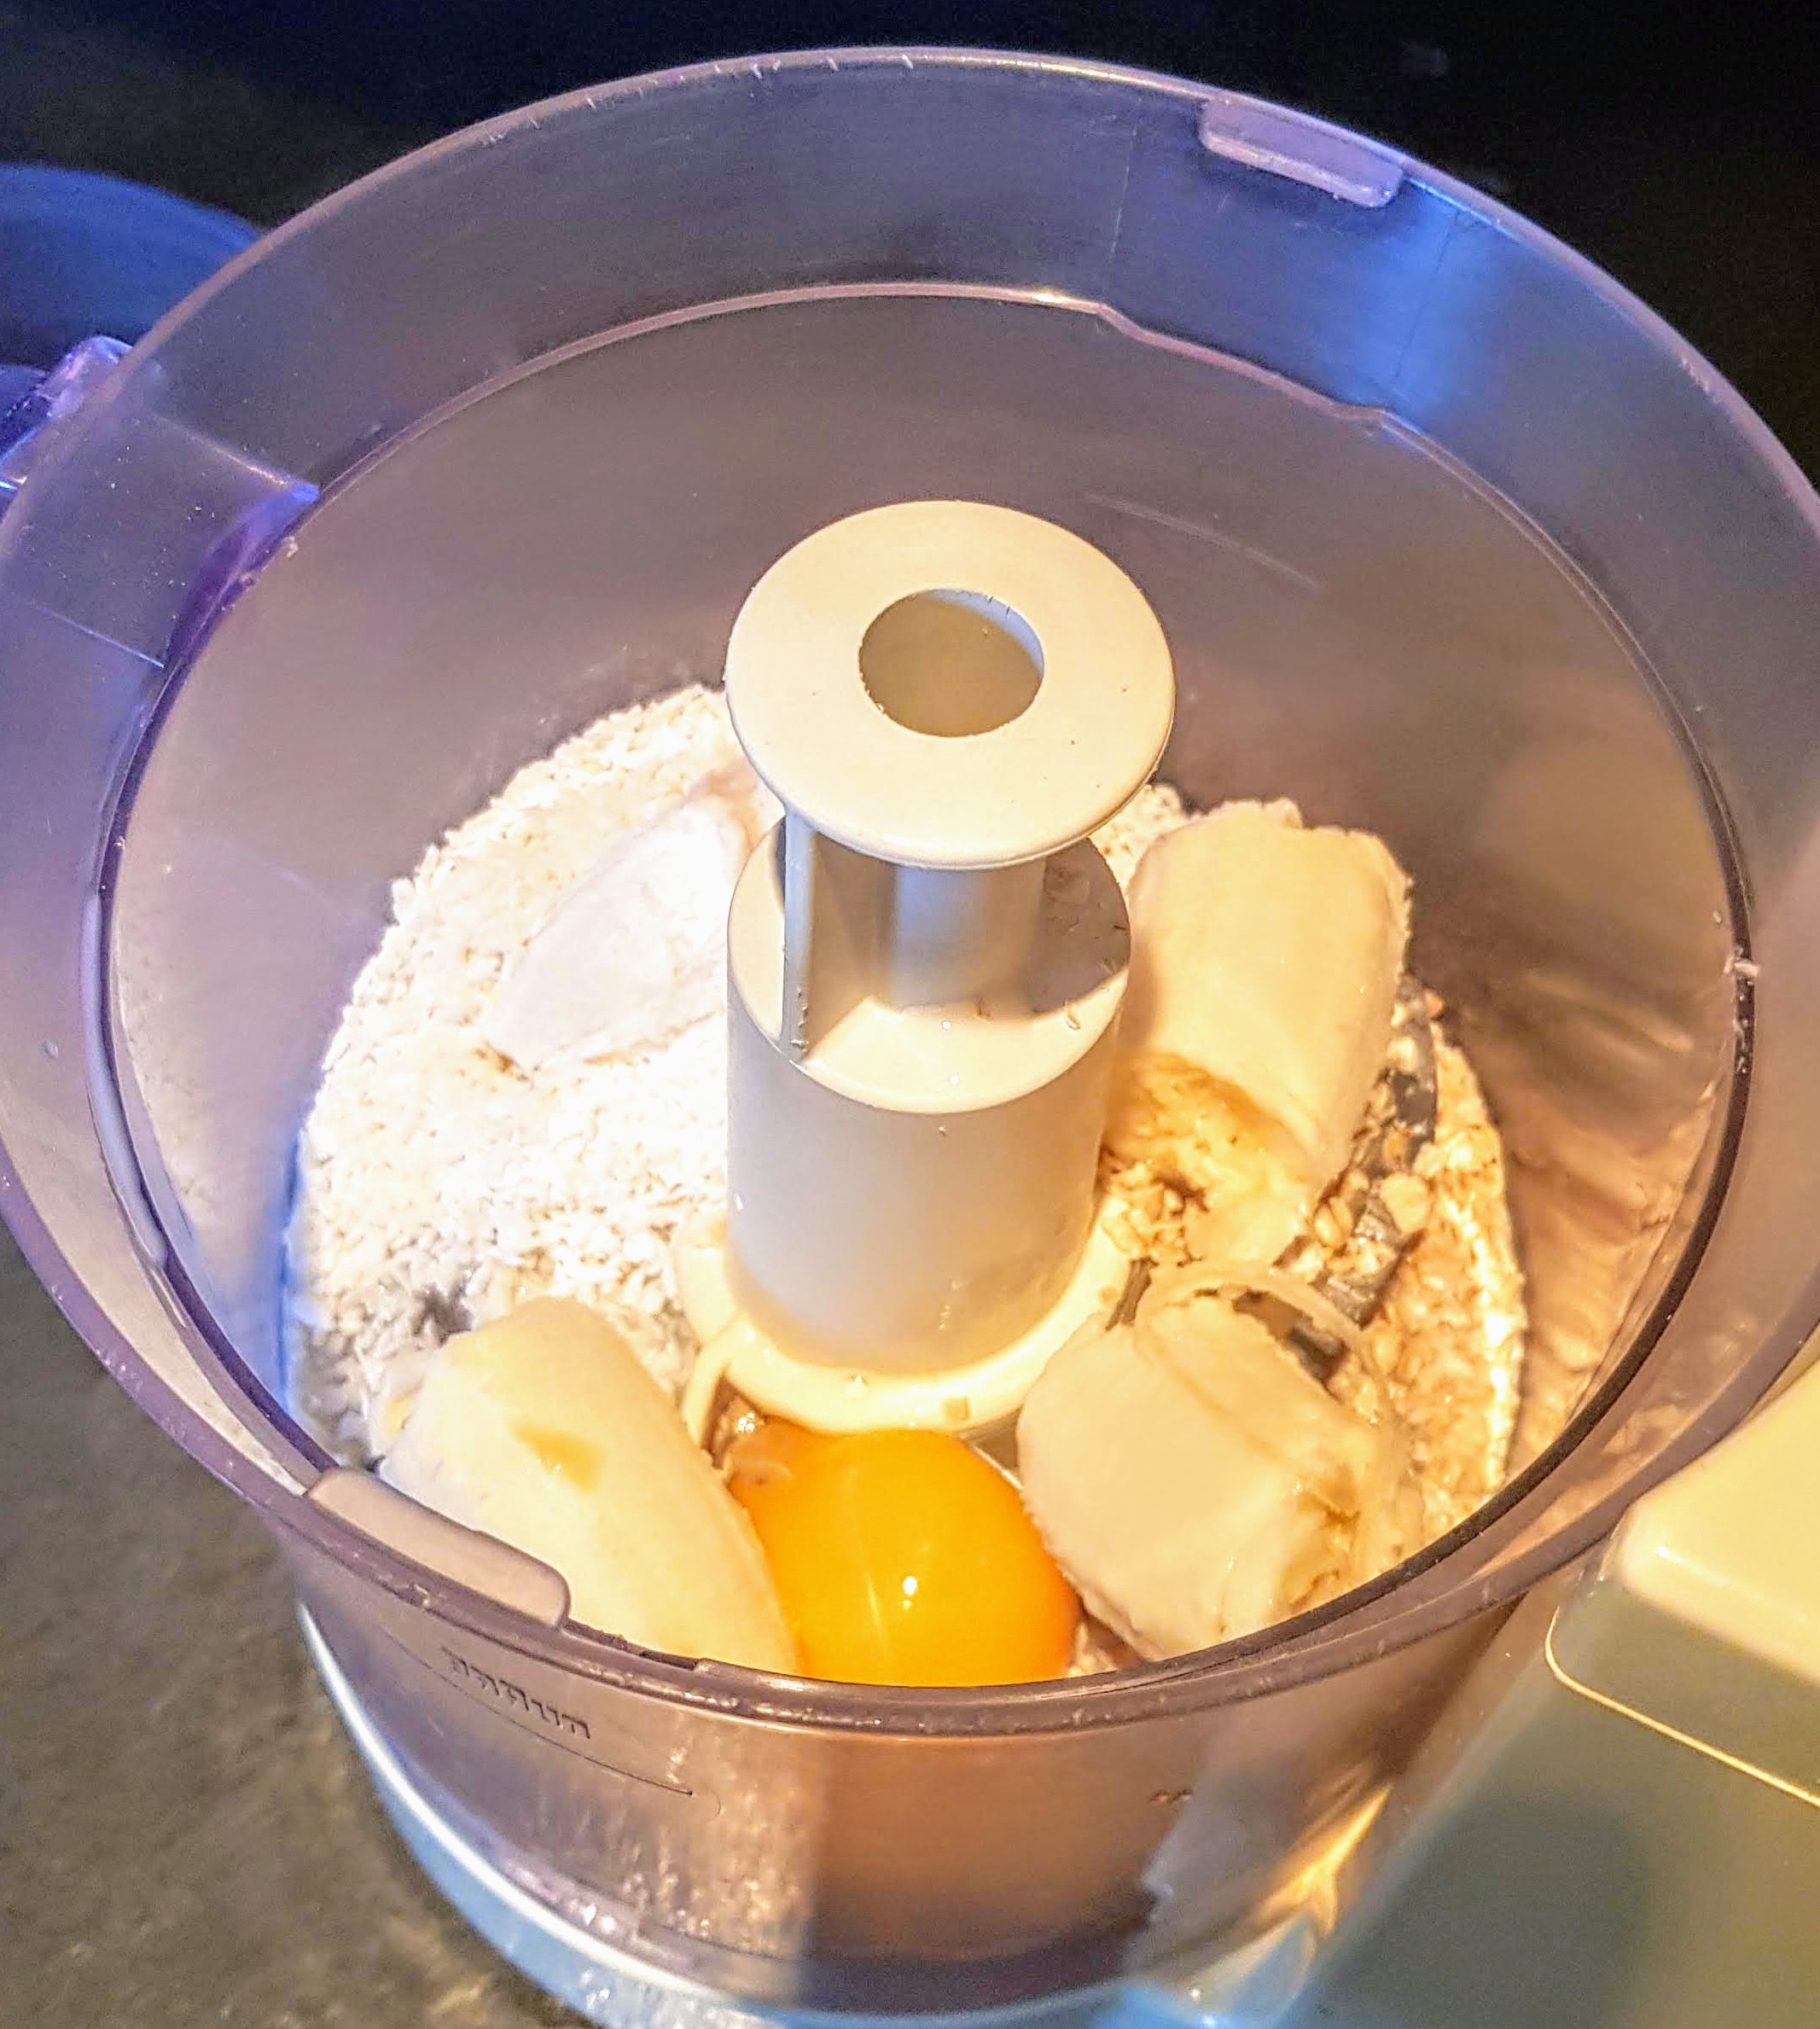
  2. Using a processor, blitz the pistachios and oats together with the parsley until roughly chopped
  3. If using mustard powder, take 1 tbsp into a bowl and squeeze 1 tbsp lemon juice in and mix into a paste, leave to sit for 10 minutes to allow flavour to develop.
  4. Lay cod onto baking sheet and spoon the mustard over the fish, season with salt and pepper, then place the pistachio crust mix over the top covering the fish, press down to secure. Bake in the oven for 12-15 minutes until opaque.
  5. Serve with a slice of lemon.
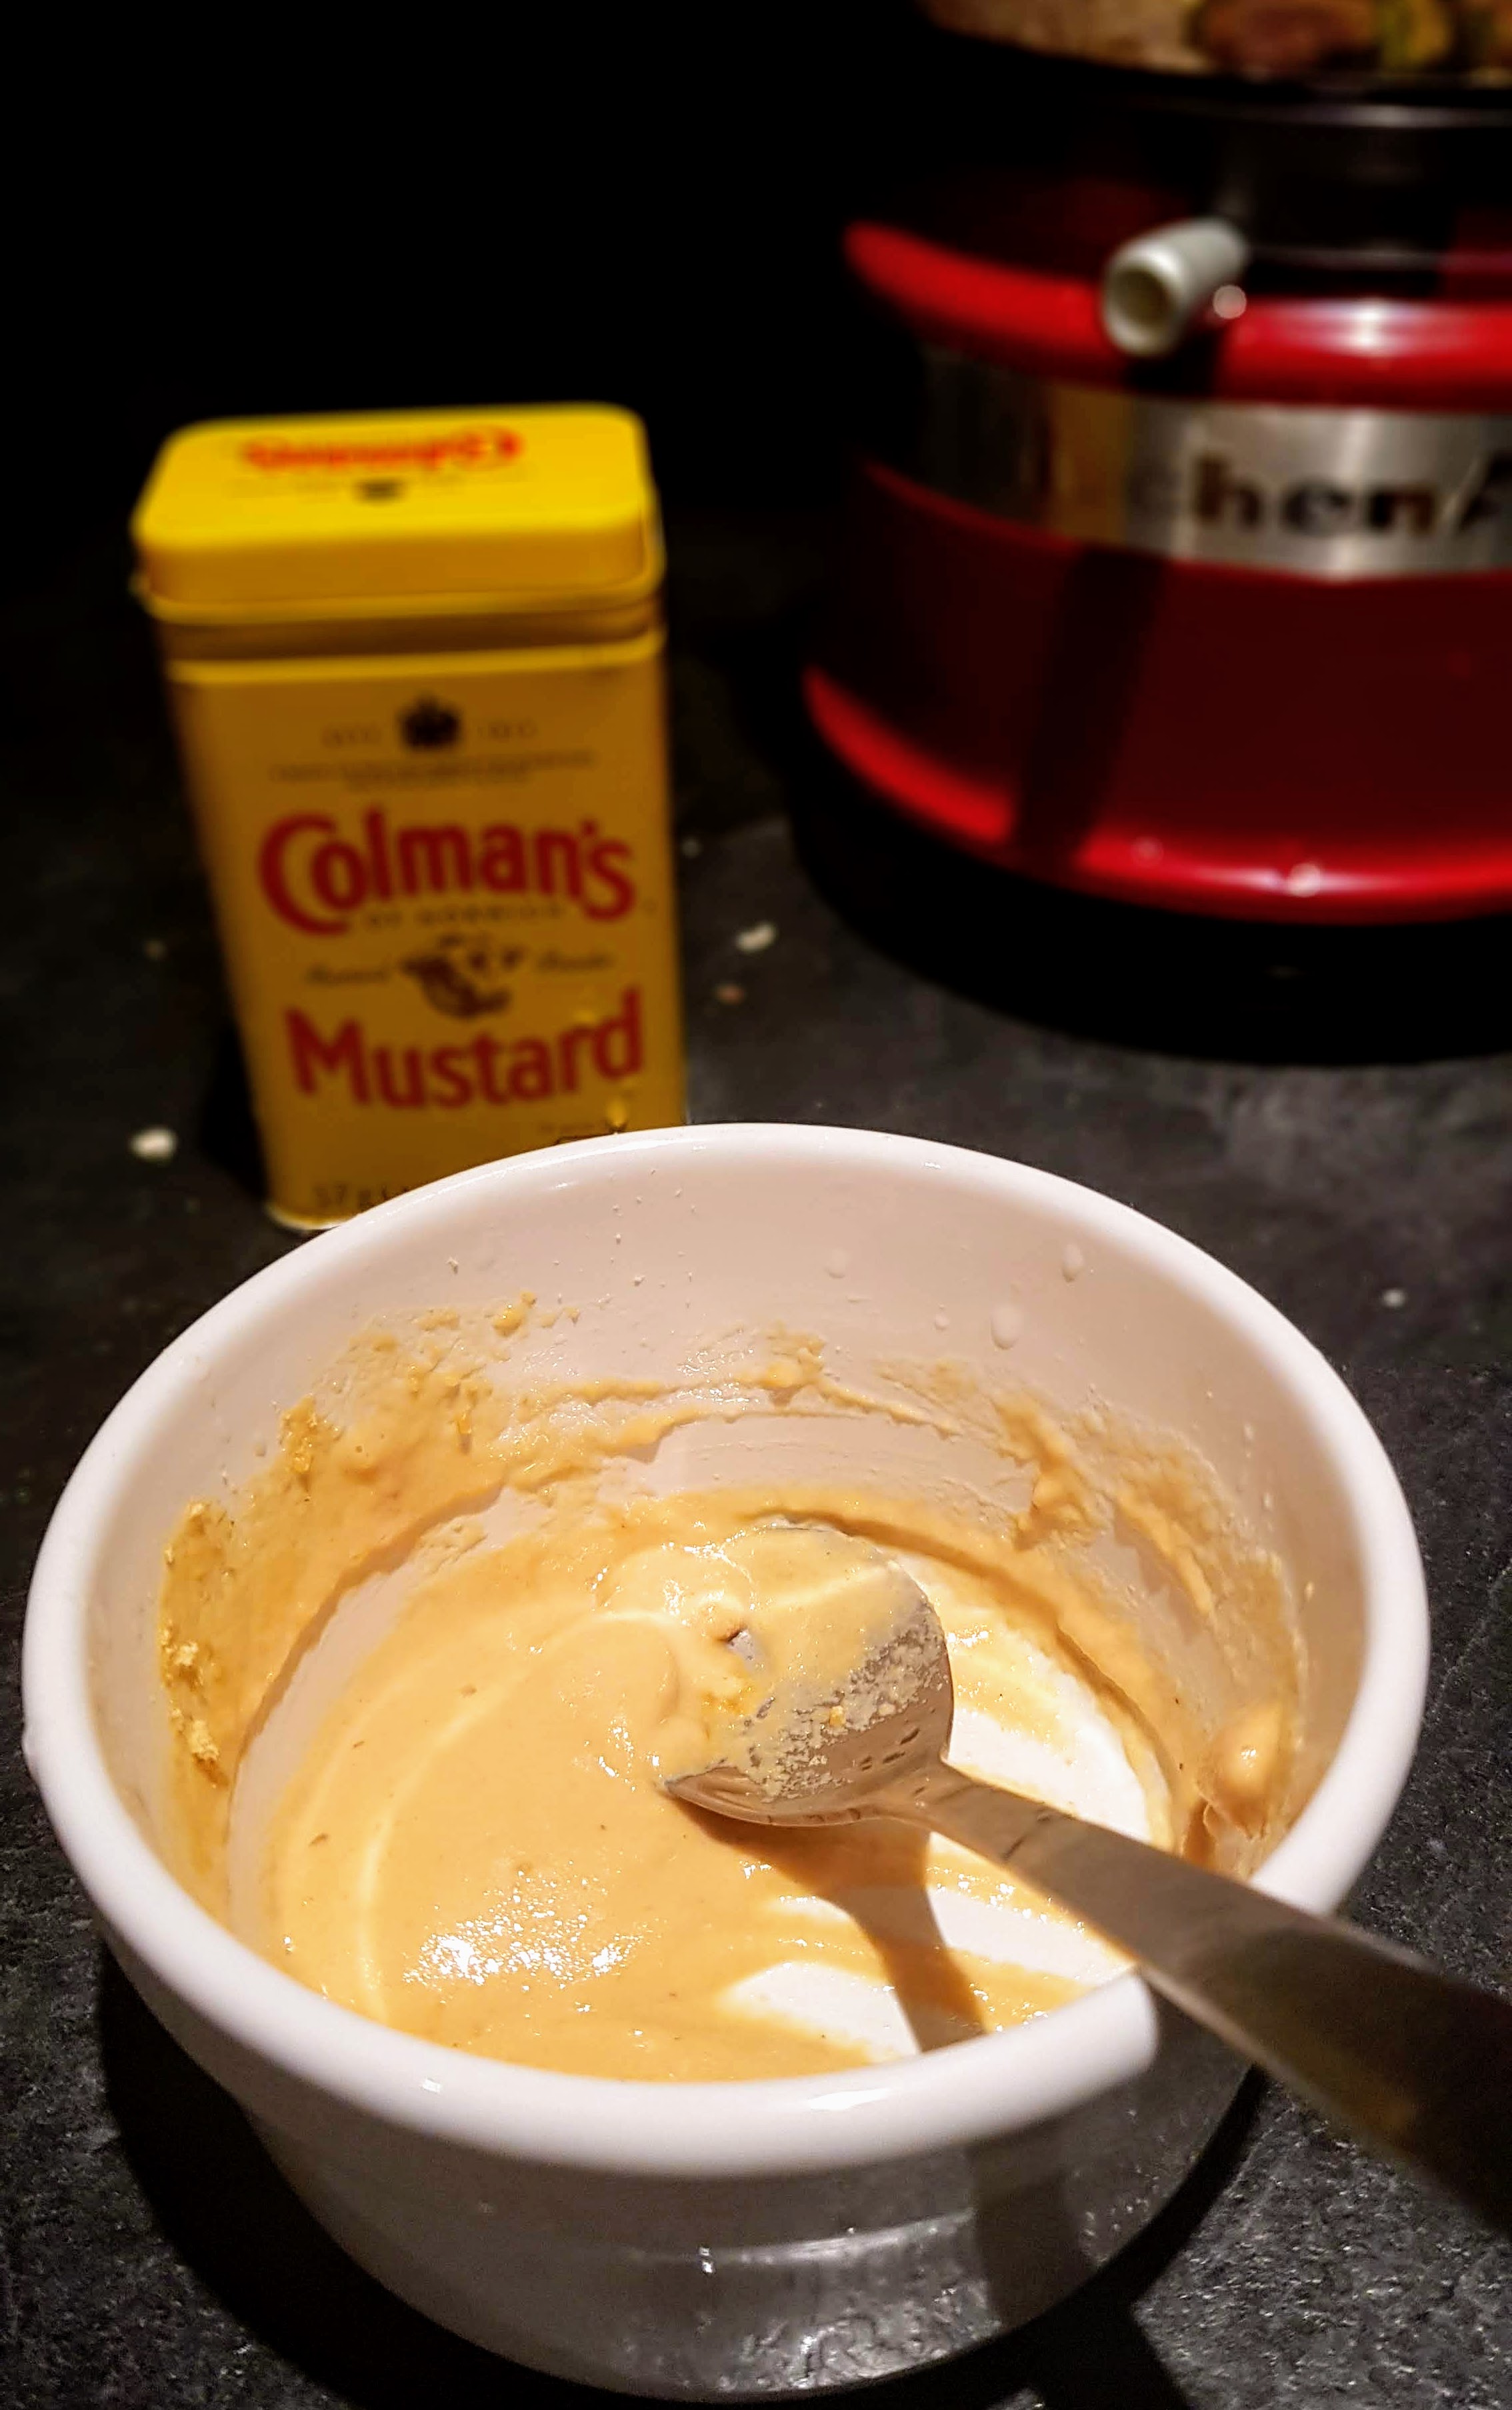

Chicken & Chickpea Thai Cakes

Chicken & Chickpea Thai Cakes

These little cakes are so easy to make and quick too, a great mid week dinner or even a quick lunch bite. What’s even better is that they are healthy, low in fat & low in calories at just 150 per cake.

Makes 8

2 Chicken Breasts

4 Spring Onions – chopped finely

1 tsp garlic granules or 2 garlic cloves, crushed

1/2 tsp ginger or 1″ fresh ginger chopped finely

1 tbsp dried coriander

2 tsps Soy Sauce

Zest & Juice of 1 lime

Salt & Pepper

1 tin of Chickpeas drained (400g)

1 tsp dried chilli flakes

Sweet Chilli Sauce to serve.

  1. Preheat oven to 180 deg and line a baking tray with greaseproof paper.
  2. Using of food processor blitz the chickpeas and chicken until minced.
  3. In a bowl mix everything together with your hands and form 8 small cakes about 1cm thick, place onto baking paper and bake in the oven for 15 minutes.
  4. Serve with some Sweet Chilli Sauce. Yum!
Chicken & Chickpea Thai Cakes

Stripey Omelette

Happy National Egg Day! (well in the U.S it is on 3rd June). I am helping them celebrate today my making myself eggs for lunch and a stripey omelette at that & why not! I do love experimenting with food…lol!

Eggs are so nutritious and filling, stored with lots of protein, about 13g in a large egg size. Eggs are also low in calories and full of vitamin D & B, so a good all rounder for any meal. I love eggs, you can scramble, poach, fry, bake, boil they are very versatile. Want to know even more, check out egg info here….https://en.wikipedia.org/wiki/Egg_as_food

I get my eggs delivered straight to my door from McQueens Dairies. This omelette made from Scottish eggs from Beaton Farms in Inverurie, Scotland.

3 Eggs – Large

Spray oil

Seasoning

  1. Start by separating the yolks from whites. Mix the yolks.
  2. Heat a little spray oil in a pan on a low heat and pour in the yolks only, cook gently for a few minutes until cooked.
  3. Using a knife gently & I say very gently as you don’t want to damage your pan, then slice into strips about 1-1.5cm thick and remove every 2nd one. (you can use the spare strips for another omelette or create a lattice design).

4. Then pour in the egg whites and cook gently on a low heat until the egg whites start to bubble.

5. At this stage if you are using a filling, lay it onto omelette and start to roll up in pan then decant onto a plate.

Serve. Yummy and Eye catching.


Salmon & Broccoli Pasta Bake

20190619_172159

Yum. Looking in my cupboards tonight I needed to use up an opened carton of tomatoes, packet of broccoli and cauliflower so this is what I came up with. Already planning on having salmon just didn’t know what with, so this was one of those delicious last minute meals. And under 500 calories it was healthier too.


Makes 2 portions

100g Wholemeal Fusilli Pasta (or penne if you prefer)

Handful or Broccoli florets and Cauliflower

1 tbsp low fat butter

1 tbsp plain flour

100ml skimmed milk

10g grated blue cheese (or cheddar if you prefer)

2 Scottish salmon fillets – cut into strips. (bite size pieces)

100g chopped tinned tomatoes

1 tbsp dried parsley

1 tbsp dried dill

Pepper to taste

1 tsp melted butter

2 tbsp panko breadcrumbs


  1. Pre heat oven to 180 deg
  2. Boil the pasta as per instructions and add the broccoli and cauliflower 4 minutes before ready.
  3. Meanwhile, to make the béchamel sauce melt 1 tbsp butter in a pan and add the flour, mix, slowly add in the milk, little at a time constantly whisking to prevent lumps. Remove from heat when it starts to thicken up. Then stir in the grated cheese.                                                                                              20190619_153535
  4. Mix the sauce into the pasta and empty into an oven proof dish, add the salmon and tomatoes and mix through. Season. Mix the panko breadcrumbs with the melted butter and sprinkle the panko breadcrumbs over.                                      20190619_154431
  5. Bake in the oven for approx 30 minutes. Serve.


20190619_162019

20190619_172244


Cajun ‘Dirty’ Rice

20190615_171443

This recipe is so easy to make and a great quick and satisfying classic. The word ‘Dirty‘ comes from the fact it looks dirty with the colour of the minced beef.  Made with rice and vegetables this is so healthy too, at only approx 300 Kcal per serving.


Serves 4

150g Long Grain Brown Rice (or white if you prefer)

1 Chicken Stock Cube – (300ml water if steaming, using Steam pot)

400g Scottish minced beef

1 red onion – chopped finely

4 bacon medallions – diced

3-4 tsp Cajun seasoning (depending on how spicy you like it)

1 tbsp Worcestershire sauce

1 carrot, diced

1 red pepper, diced

100g gardens peas

200ml beef stock

1 beef stock cube

bunch spring onions, sliced


  1. Cook the rice as per packet instructions. I used my Steam pot, decant rice into pot, add the frozen peas and chicken stock, cover and cook on Auto Rice setting for 18 minutes.                                                                                                    20190615_170431
  2. Meanwhile, spray a fry pan with low fat cooking spray, brown the mince, onions and bacon.                                                                                    20190615_165321
  3. Add in the Cajun seasoning, salt & pepper, worcestershire sauce and stir. Then add in the carrot, peppers and beef stock. Simmer for a few minutes until peppers are softened.                                                                                                      20190615_170415
  4. Add the cooked rice to the pan and mix through. Finish with the spring onions and serve. We served with some Corn Folded Flatbreads. Yummy!


20190615_171136

20190615_171353

20190615_172315


Rumbledethumps

This is a Scottish Traditional Dish, made up of mainly Potatoes, onion & cabbage. I love this dish it is such a warming comfort food dish but healthy and nutritious.  It was chilly & wet here today, so this was the perfect dish to go with my chicken tonight.


Serves 2

250g potatoes – skin on and cut into small chunks

200g Turnip – cut into small chunks

1 white onion – finely sliced

1/2 green cabbage – finely sliced

Salt & Rainbow pepper (or black pepper)

1 egg yolk

40g low fat cheddar cheese


  1. Preheat the oven to 200 deg
  2. Place the potatoes and turnip in a large pan salted boiling water and gently boil until slightly softened.
  3. Meanwhile, spray a fry pan with low fat oil and cook the onion & cabbage until softened and slightly browned.                                                                          20190603_175245
  4. Once potatoes etc have softened, drain and add the the cabbage pan, mix and gently mash, not too much as your still want some chunks.                                            20190603_175644
  5. Decant into an oven proof dish and mix with the egg yolk, season with salt & pepper and sprinkle the cheese evenly over the top.                                                    20190603_180019
  6. Bake in the oven for 15-20 minutes.
  7. Serve. Yummy!  (A little splash of Worcestershire Sauce with this is amazing also)

20190603_182250

20190603_182453

20190603_182447


Cuban Beef

20190519_164648

OMG! Super tasty meal, super healthy & low in calories, at only 417 Kcal per portion. Another thanks to PON for this recipe. The meat is so tender due to the slow cook match with cuban spices this is a real treat.


Serves 4

500g stewing scotch beef (fat removed)

Salt & pepper

2 onions sliced

240ml beef stock (2 stock cubes)

1 x 400g tin tomatoes chopped

2 green & red peppers, cut into strips

4 garlic cloves – crushed

2 tbsp tomato puree

1 tsp ground cumin

1 tsp dried oregano

1/2 tsp ground turmeric

1 tbsp fresh coriander

50ml red wine (or you can use a stock pot for less calories)

1 tbsp white wine vinegar

Cooked rice to serve (corn tortilla wraps optional)


  1. Season the meat well and brown over a high heat in a pan, remove with a slotted spoon and set aside.
  2. Add the onions to the pan and saute for about 3-4 mins
  3. Add the remaining ingredients to the pan and the browned meat                      20190519_164140
  4. Bring to the boil then reduce the heat to a low simmer, cover and cook on low for about 2 hours. (Or in an oven at 140 deg fan for 2.5 hrs)
  5. Pull the meat apart with 2 forks, serve on a bed of rice or with a low calorie corn tortilla.

20190519_165046


Oat & Banana Pancakes

20190405_092914

Oh yum! These were so tasty and so healthy. Waking up this morning to cold and wet rain outside I fancied something warm for my breakfast, so looking in my cupboards I had some scott porridge oats, a banana left and some Maple Syrup in the fridge………so yes, you guessed it, pancakes it just had to be.

My first time at oat & banana and they were pretty tasty.


Makes 4-6

30ml milk

1 egg separated

1 small banana

30g scotts porridge oats

1 tsp baking powder

1 tsp vanilla extract

Toppings:- I had crushed hazelnuts and Maple Syrup, but you could have yoghurt and fruit which would be nice too.


  1. Put oats, baking powder, milk, egg yolk, vanilla extract and banana into a processor or blender and mix until you get a smooth consistancey.                                20190405_085648
  2. Whisk the egg white until you get stiff peaks. Gently fold the egg whites into the pancake mixture.
  3. Heat up a non stick fry pan with a tsp oil and drop about 2 tbsps of the mixture into the pan and cook on a medium heat until you start to see the bubbles appearing, then flip and cook for a further minute or 2.                                                        20190405_091206
  4. Serve.


20190405_092934


Harissa Spice Veggie Tray Bake

20190310_183900

Oh yummy…….I had some left over Harissa Paste and some veggies in the fridge, and yes, you guessed it……Harissa Tray Bake it was.    I have to say this was super tasty and also super healthy…..I even got my boyfriend to eat veggies, which believe me is no mean feat….lol!

Great as a main dish or a side dish. I decided a main dish and served with some of my homemade Chapati’s


Serves 2 (main dishes)

1 large sweet potato – cut into small chunks

1 large red onion – cut into wedges

2 Carrots – cut into small chunks

1 x red & 1 x yellow pepper – sliced thickly

1 Cauliflower – cut into small florets

2 Parsnips – cut into small chunks

4-5 asparagus

1 x 400g tin chickpeas

1 x 200g tin tomatoes

2 large heaped tbsps of Rose Harissa Paste

1 tbsp oil

Coriander

Salt & pepper to season


  1. Place all vegetables into a food bag or bowl, then add the harissa paste and mix thoroughly to coat all the veggies. (this can be stored in fridge for later if need be)
  2. Preheat oven to 200 deg and oil a baking tray.
  3. Empty the vegetables (except asparagus) from the bag onto the baking tray and make sure they are spread evenly. Bake in the oven for 25 minutes.
  4. Now add the chickpeas and the asparagus to the tray and bake for a further 15 minutes or until evenly browned all over.
  5. In a microwave bowl add the chopped tin tomatoes with salt & pepper to season and warm thought for about 1-2 minutes.
  6. Pour tomato sauce into a serving dish, empty the vegetables from the baking tray into the serving dish and mix through.
  7. Serve with some sprinkled coriander. Yummy!

20190310_184252

20190310_184333


Sweet Potato, Butternut Squash & Spinach Curry Burgers

20190211_181138

Oh yum. In my aim to be eating a bit healthier this year, I took my hand to these little nutritious burgers, they were so delicious and very filling too.

Makes about 6

200g butternut Squash – sliced

200g Sweet Potato – sliced

1 medium onion – finely chopped

1 clove garlic – crushed

1 tsp dried chilli flakes

1 tsp ground cumin

1 tsp smoked paprika

1 tsp dried coriander

100g Spinach

Salt & Pepper to taste

  1. Cook the butternut Squash and mash up. (I steamed cooked mine using my steam pot for about 6 minutes)
  2. In a bowl mix the butternut squash, wilted spinach, onion, cumin, paprika, coriander, salt & pepper, chilli flakes & garlic.                                        20190211_153656
  3. Place a cutter onto a sheet of greaseproof paper or plate and fill the cutter with the mixture making individual circles. Approx 2 cm thick.                                                20190211_174658
  4. Heat up the Crisperplate for 2 minutes and cook on Crisp setting for 6 minutes, turn then cook for a further 4 minutes (depending on how well you like them cooked, you can cook for a further 2 minutes for extra brownness) Alternatively, fry in a pan for about 6 mins on medium heat each side with a little oil.                              20190211_180637
  5. Serve. Yummy!
  6. I added some potato wedges to my crisperplate at the same time for a one pan meal.

Taco Pulled Chicken Wraps with Homemade Salsa

20190112_194157

Delicious little Saturday night dish (or any night for that matter)  I also used corn tortillas and made my own salsa to keep the fat and calories lower. I am on a mission this year to eat a little healthier and try new ideas and flavours. This is packed with flavour and filling too.

You could of course use Tacos instead of wraps.


Makes enough for about 6 wraps

For the chicken:-

2 large chicken breasts

1 tin chopped tomatoes

2 tbsp Taco Seasoning (see below)

For the Salsa:-

2 tomatoes – chopped

1 onion – chopped

1 lime juice of

2 tsp dried coriander

1 tsp sea salt

*

Sour Cream to taste

Taco Seasoning:-

1 tbsp chilli powder

1/4 tsp garlic powder

1/4 tsp onion powder

1/4 tsp crushed red pepper flakes

1/4 tsp dried oregano

1/2 tsp paprika

1 tbsp cumin

1 tsp sea salt

1 tsp black pepper

Add all above to a little jar and mix. Store in cupboard.

20190112_160434


  1. Place a little oil in a pan on medium heat
  2. Coat the chicken with the Taco Seasoning about 1 large tbsp per breast and gently colour the chicken in the pan.
  3. Add in the tin tomatoes to the pan with the chicken, cover and slow cook on a low heat for about 4 hours.
  4. Meanwhile make the salsa by adding the chopped tomatoes, chopped onion, salt, coriander and lime juice in a bowl and mix together. Store in fridge until needed.    20190112_161740
  5. About 1/2 hour before about to serve, take 2 forks and shred the chicken in the pan. Continue to cook uncovered for about 1/2 hour, this helps thicken the sauce.              20190112_181543
  6. Warm up your tortillas as per instructions on packet, place on a plate.
  7. Spread a thin layer of sour cream, place some shredded chicken on top, then some tomato salsa then another little dollop of sour cream, wrap and devour! Yummy!

You could also add in a little avocado or some grated cheese.


20190112_194154


Low Calorie Chicken Tikka Masala

tikka

Oh Yum! This tastes just as good as the high calorie version, don’t believe me? Try it.


Makes 2 – 302 calories per serving (add 120 calories for 50g wholegrain rice)

2 chicken breast

1 tsp frying oil

MARINADE:

2 tbsp curry powder

1 1/2 tsp smoked paprika

1 tsp sea salt

10g chunk fresh ginger, grated

1 garlic clove, crushed

4 tbsp plain fat free yoghurt

SAUCE:

1 tbsp oil

1 medium onion, chopped

2 garlic cloves, crushed

10 g chunk ginger, grated

1 tbsp curry powder

2 tbsp tomato puree

2 tsp caster sugar

1 tsp sea salt

250ml cold water

2 tbsp single cream


1. Make the marinade:- mix curry powder, paprika and salt in a bowl, add ginger, garlic and yoghurt and mix well.

2. Cut chicken breast into chunks and add to marinade, mix well and leave for 1 hour in fridge at least or up to 12 hours.

3. To make the sauce: heat the oil in pan, tip in the onions and ginger and cook for 10 mins, cover. add the curry powder and cook for another 2 mins, add the tomato puree, caster sugar and salt and stir constantly for another 30 secs.

4. Pour water and simmer for 4 mins. Remove the pan from heat and blitz with hand blender until smooth.

5. Heat oil in pan, add marinated chicken and fry over medium heat or No. 7 on Induction Hob for about 5 mins until browned.

6. Pour into the chicken the masala sauce and add the cream, cook for 4 mins. Serve with some rice.