


I was looking through all my recipes the other day and came across this one from my Gran’s old Cookbooks, one I hadn’t tried before. So with the wet weather to day was that day I was going to try these. Back in the day my gran always used margarine for baking, personally I think butter is a much better flavour so this was the 1 thing that I changed & I added in some pistachios to the base to give it a bit more crunch.

Makes about 16-20 squares (depends on how big a slice you want…lol!)
For the Base:-
200g Digestives, crushed
120g Butter
50g Light Brown Sugar
1 heaped tbsp Cocoa Powder
1 tsp vanilla extract
2 heaped tbsp desiccated coconut
40g Chopped Pistachios
1 egg beaten
For the Peppermint Centre:-
50g Butter
3 tbsp milk
1/2 tsp peppermint extract
230g Icing Sugar
Green Food Colouring
For the Chocolate:-
140g Milk Chocolate (55% cocoa) I use Lindt, definitely my favourite.
40g Dark Chocolate (70% cocoa)
1 tbsp butter
- Use a 9″ square baking tin and line with baking paper or foil
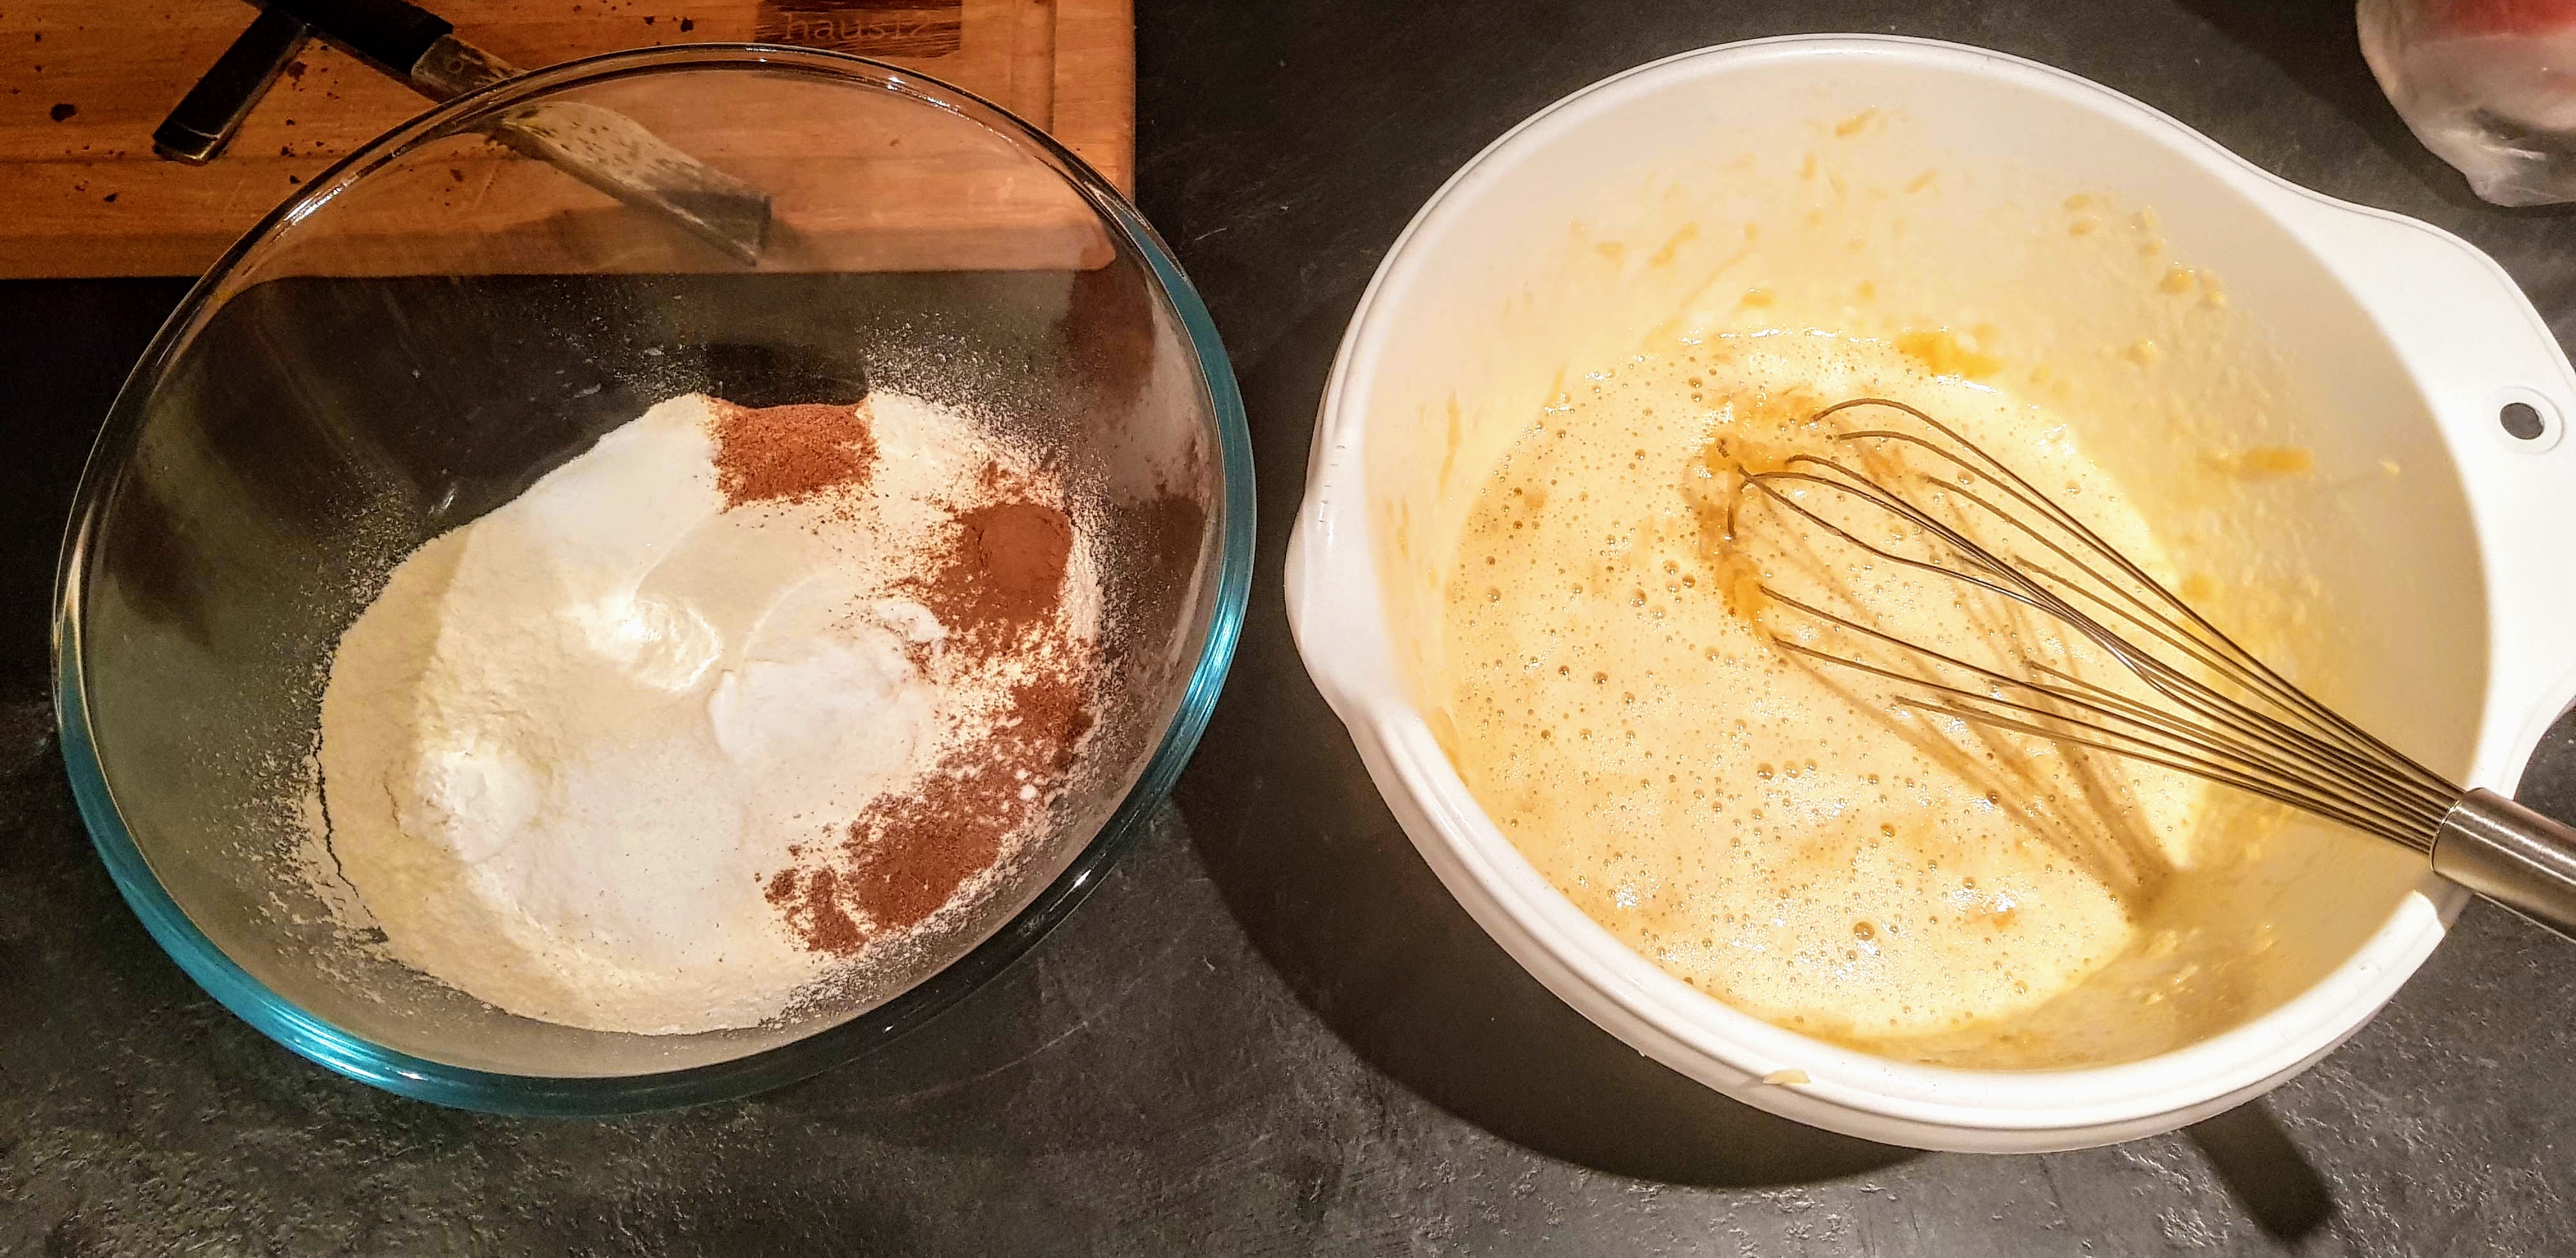
- In a saucepan over a low heat melt the butter, stir in sugar & cocoa powder, bring off the heat and whisk in the beaten egg, return to heat and whisk until thickened, this only take a minute or 2. Remove from heat, stir in the vanilla extract, digestives, pistachios and coconut, mix together so everything is coated well. Using a spoon, spread the biscuit base mixture into you baking tin and smooth. Refrigerate for about 1 hour until hardened.
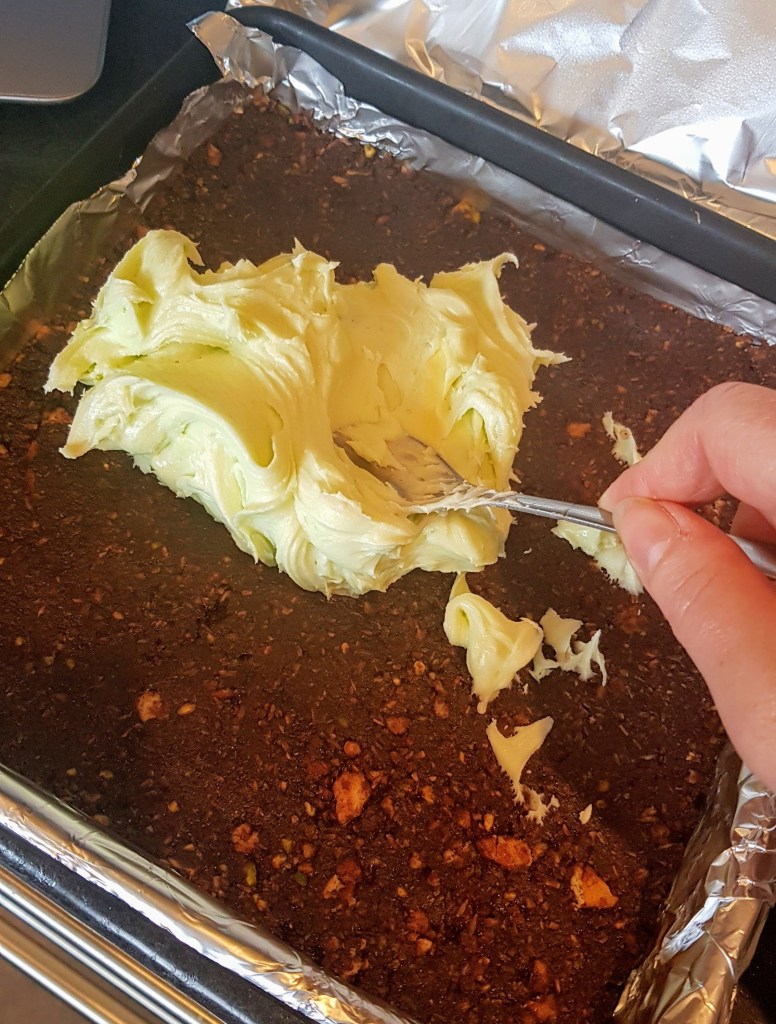
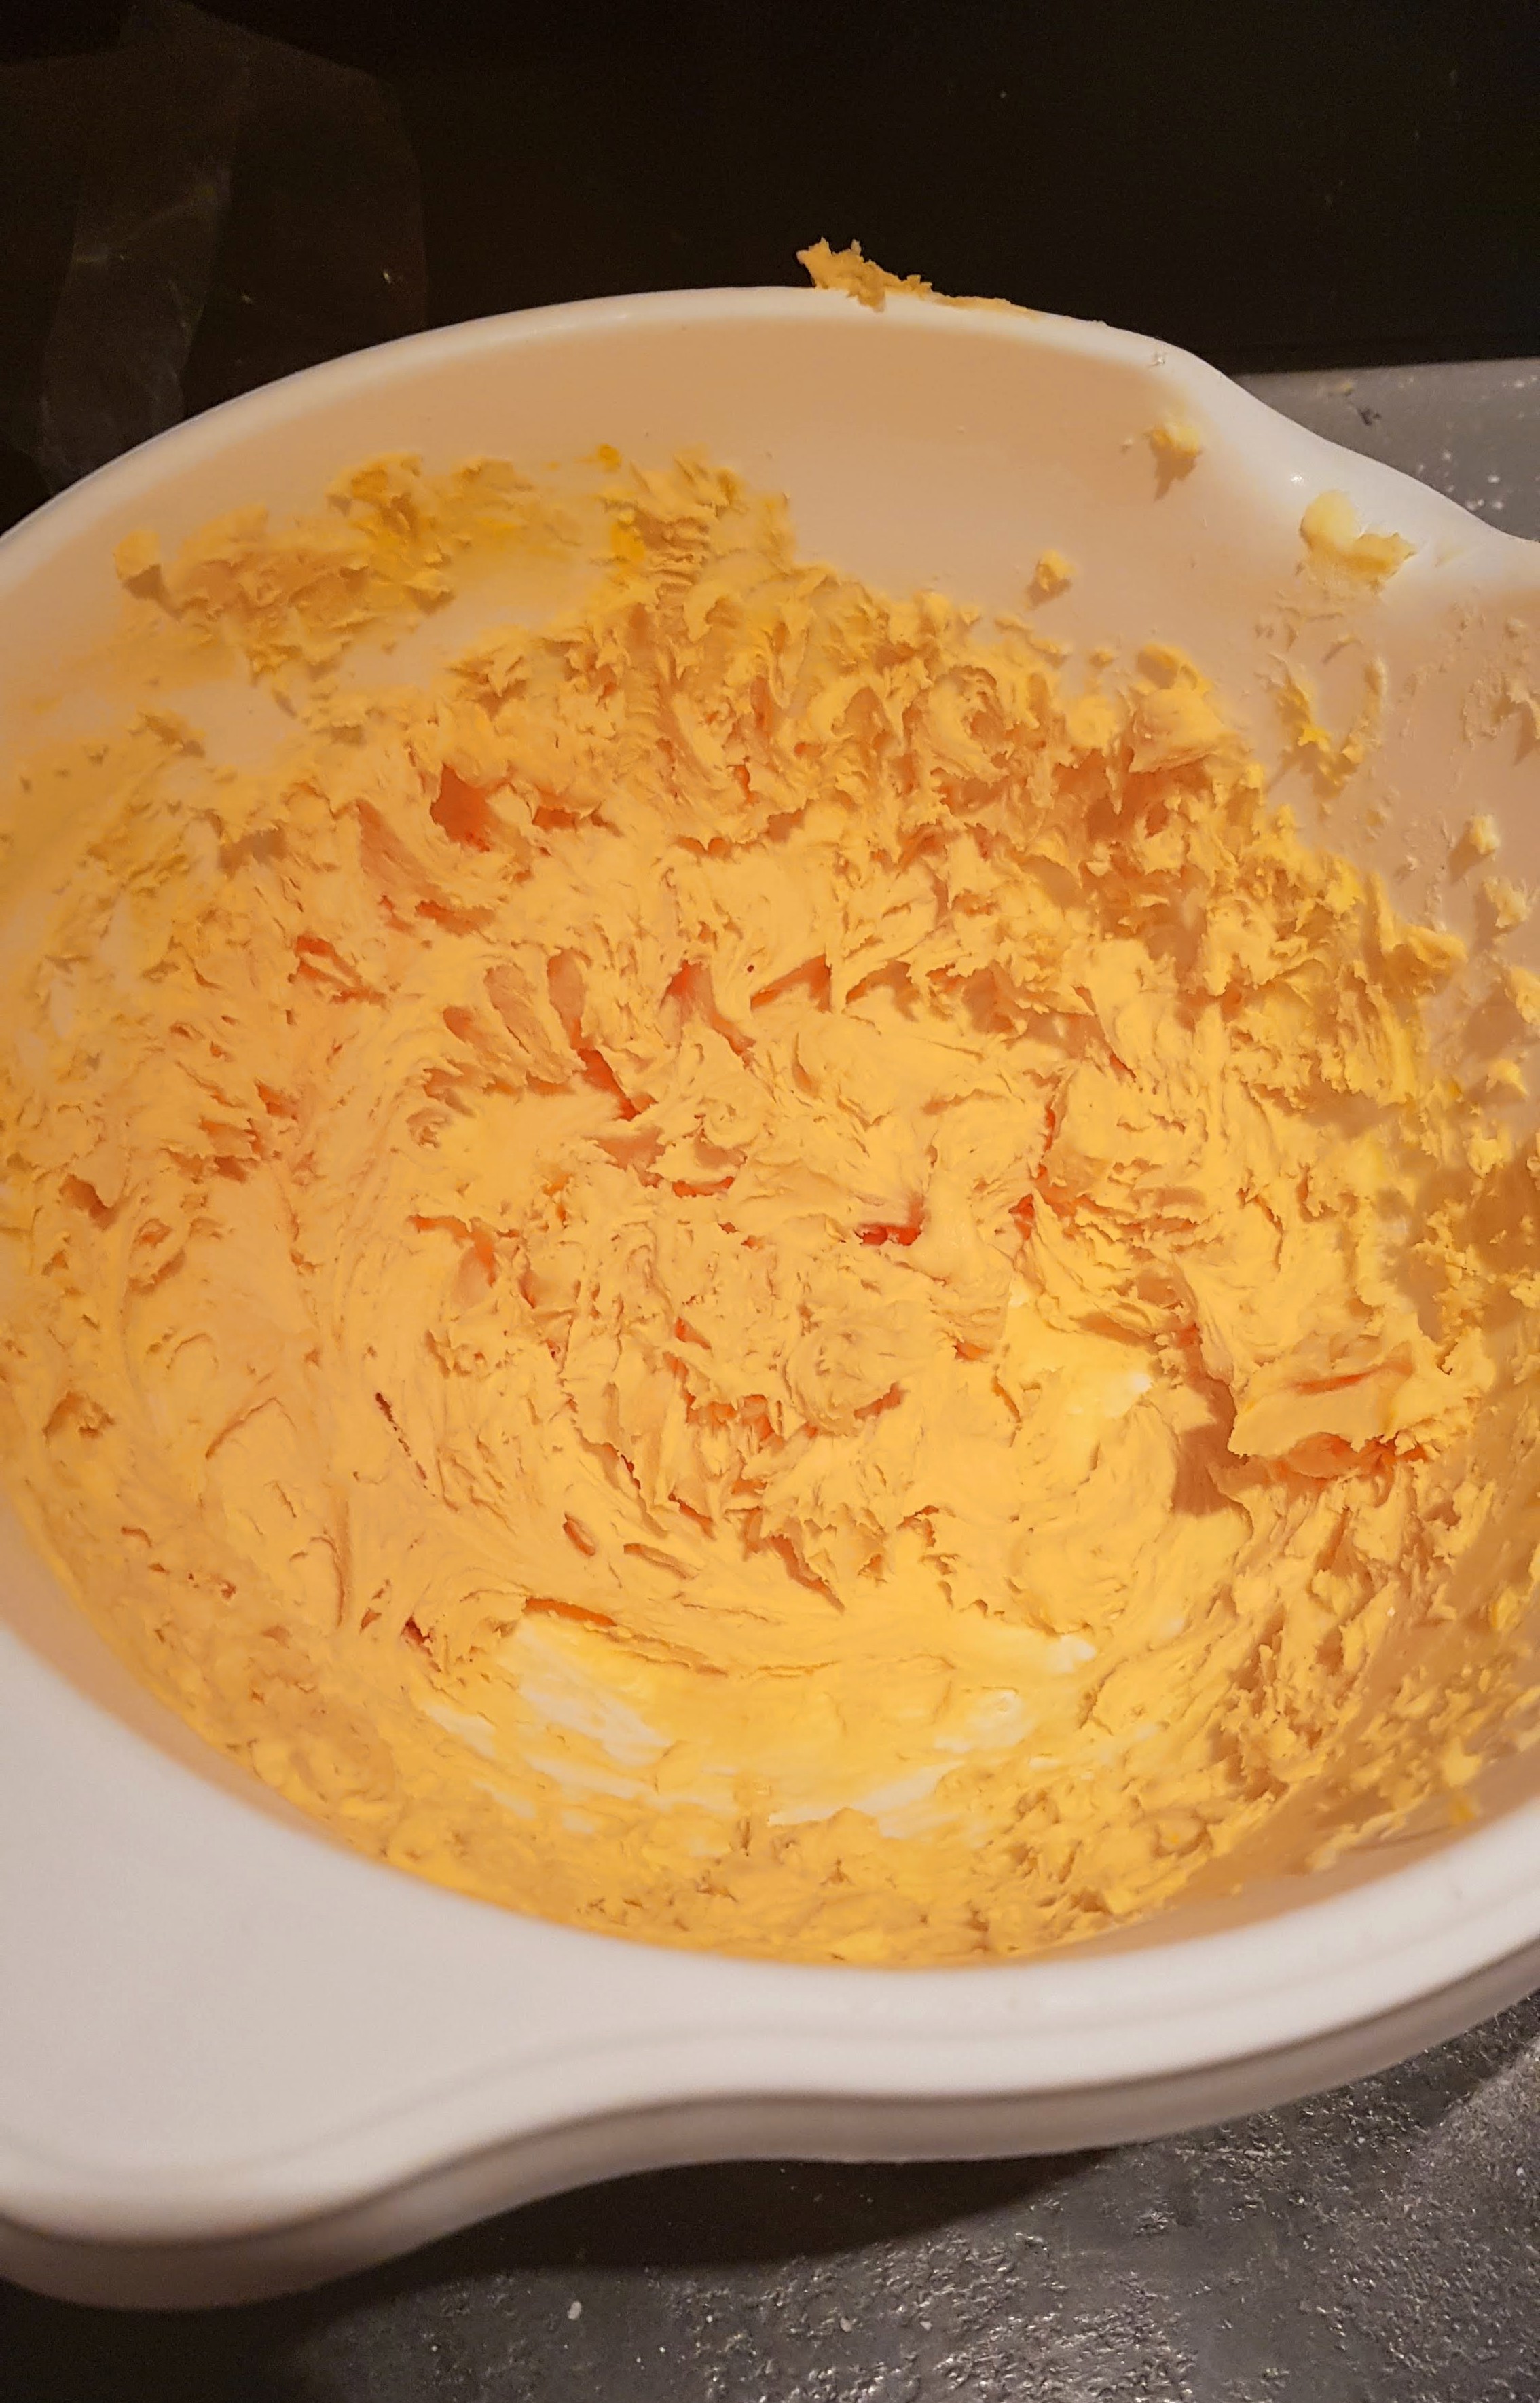
- Using a mixer, stand or hand whichever you have, beat the butter until smooth. Add the icing sugar, milk, peppermint essence and food colouring and mix until blended. Smooth this mixture over the top of your biscuit base and return to the fridge to set for about 30 minutes.
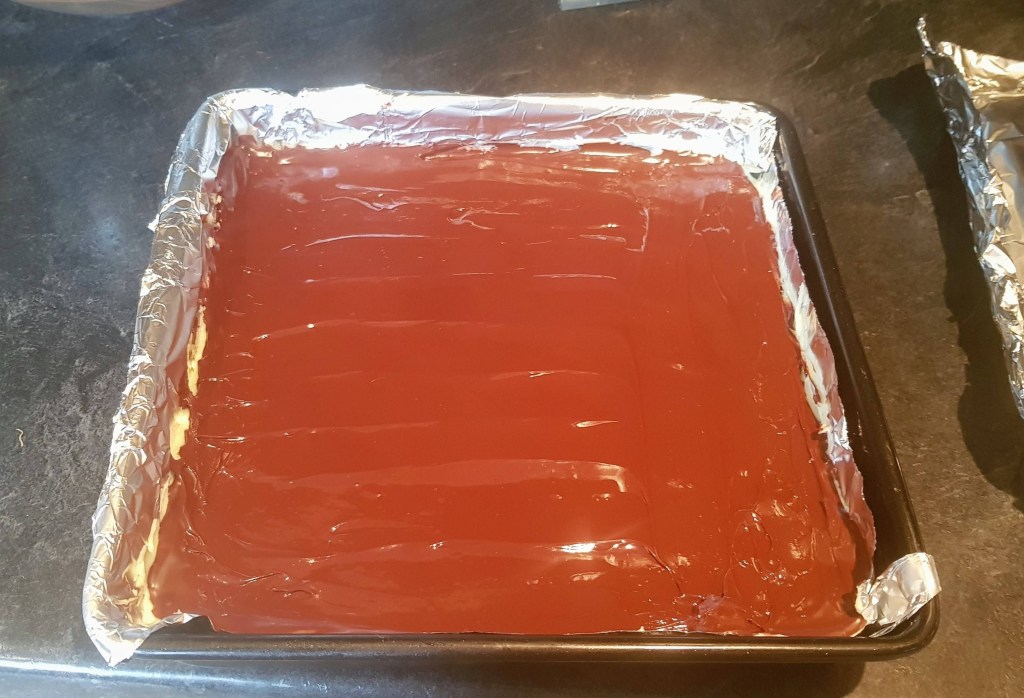
- Meanwhile, melt your chocolate with the butter in a glass bowl over a pot of simmering water and allow to cool slightly. (about 5-10 minutes)
- Pour chocolate over the buttercream and smooth, return to the fridge to allow chocolate to harden. (about 30 minutes).
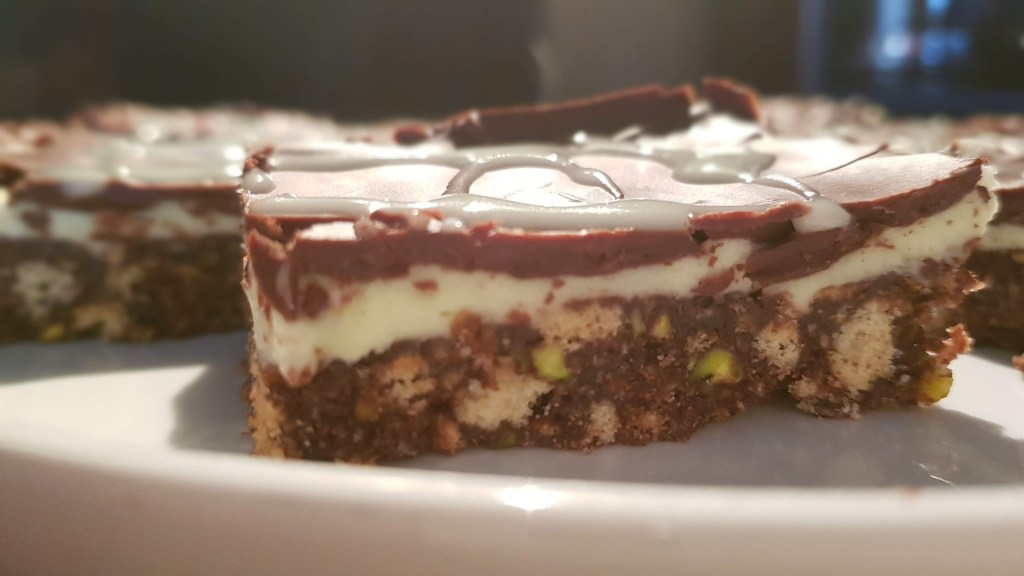
- Once chocolate has hardened you can now decorate (if you wish), I just drizzled some green icing over the top and returned to fridge to set.
- To prevent the chocolate from breaking when cutting into slices, remove from fridge and bring to room temperature. I made that mistake of slicing too soon and my chocolate cracked.


You must be logged in to post a comment.